Crafts

Baby’s First Christmas Tree Trunk Ornament DIY

We like to celebrate everything around here, especially all of Trent’s firsts. So of course, that means we want to find ways to make Trent’s first Christmas special and memorable. We already have his first Disney Christmas ornament just waiting for his little photo.


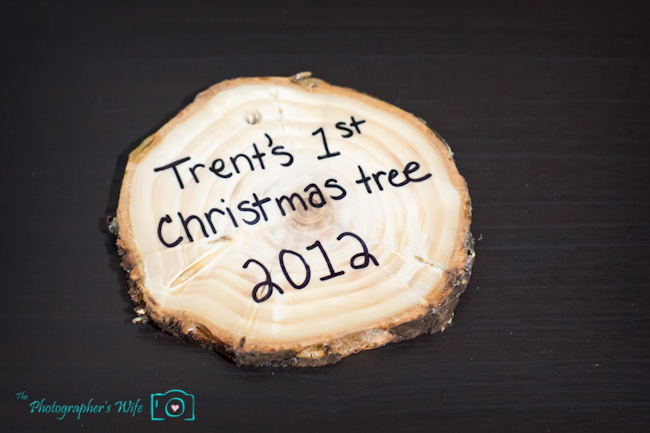
We had a blast picking out Trent’s first tree and decorating it (and making this awesome video), and we wanted yet another way to commemorate his first Christmas, so we decided to keep Trent’s first Christmas tree forever…literally!! An ornament made from the trunk of our Christmas tree!


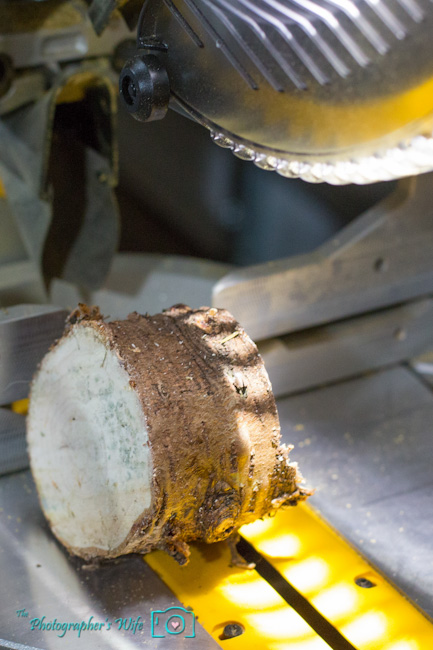
This was a simple project with just a few steps, and you can let someone else do the first step too if you want. We started out with a piece of the tree trunk that we had to cut off in order for the tree to fit in our house.


If you prefer, you can have someone at the tree lot cut the piece for you. Most tree lots will saw off a bottom piece of the tree anyway, since it gives a fresh cut to help the tree better soak up water once it’s in the tree stand. Just have them give you the piece they cut off!


We then used a mitre saw to cut off a clean, thin piece that will be the ornament.


Our piece was about a half inch thick.


Then, write whatever you want! We wrote “Trent’s 1st Christmas Tree 2012″ but you could also write:

“Our First Christmas Tree”

“Our First Tree - 2012″

or just the year in the center. We used a Sharpie marker, but it ran a little, so I would recommend using a paint pen.


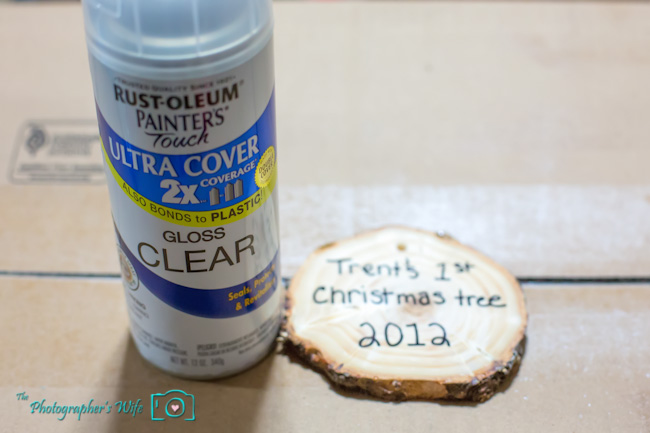
Spray several coats of clear gloss spray paint onto the entire piece. It really will need several coats, as the tree will soak up the first few coats.


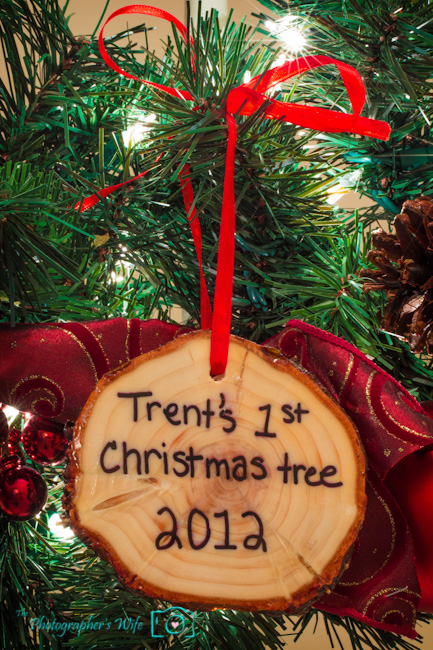
Drill a hole at the top, string a ribbon through and make a bow.


Hang it on your tree for years to come!


Check out our other craft projects HERE!


The Photographer’s Wife fans, be sure to:

Subscribe to our posts | Like us on Facebook | Follow us on Twitter


Do you enjoy reading The Photographer’s Wife? I hope you do! If so, please consider clicking each of the banners below to vote for me as a Top Mommy Blog and Top Baby Blog! All you have to do is click…nothing to sign up for…and you can click once every 24 hours!

Thank you!

Top Mommy Blogs - Mom Blog Directory

Benjamin Moore Aura Paint IKEA Upgrade

As a BzzAgent, I was recently invited to try Benjamin Moore Aura Interior Paint.


From Benjamin Moore/BzzAgent:

Aura® Waterborne Interior Paint with Color Lock® technology is, quite simply, the finest paint Benjamin Moore has ever made. No other paint rivals its performance, durability and vitality. Introduced in 2006, Aura® was the first product launched on the Gennex® colorant system, and it revolutionized the industry with its combination of high performance, low odor and low VOCs. Superior paint that is more eco-friendly? That’s a win-win within any home.

And we haven’t even touched upon the colors. Oh, the colors! Thanks to Benjamin Moore’s exclusive Color Lock® technology, Aura® paint delivers truer hues and richer colors and looks fresh for years. The line covers like no other — even the deepest Aura® shades never require more than two coats. And if that’s not enough, Aura® is available in every Benjamin Moore color, including the Color Stories® Palette. With over 3,600 colors to choose from, there’s almost no limit to what your roller can do.


I was immediately excited and accepted the campaign. We needed a swift kick in the butt to get on a project that we’ve been dreading…the dining room wall.

Ok, that doesn’t sound or look like a big deal, but that’s because you may not be able to see the true monster hiding underneath that crackling paint…


WALLPAPER! (Cue scary theme music)

That’s the upper corner of our dining room. It started out with just a couple of cracks in the paint, but it has slowly grown. When we moved in 3 years ago, the interior of the house had already been painted by the previous homeowner who basically did a “flip” on the house by revamping it a little in order to up the appeal factor. Well, it looks he attempted to peel back the wallpaper and gave up rather quickly.


He then must’ve just decided to paint over it and we are now left with a wall that is slowly peeling back more and more. Sneaky bastard.

When the house was inspected, the inspector said there might have been a leak in that corner at some point, but that it appears the leak has been fixed. Because of that, we were hesitant to fix the wall before getting the roof replaced and just dealt with it by not looking in that corner. Now that we are in talks to replace the roof (Holy EXPENSIVE Batman!), we thought now would be a good time to tackle the project. So I accepted my Aura paint Bzz Campaign with full intentions of getting on that ASAP.

Then the man of the house told me it wasn’t going to be a quick and easy task, so I figured we could do it over one of our weekends. However, with Bzz Campaigns, you only have a certain amount of time to report back on your project and before we knew it, all of our weekends were full with activities and we had no time to complete the project. Sad face.

I wasn’t about to give up, though. And besides, I was given a product to try…so I’m going to use it darn it! It’s also been a while since my last craft project so I decided to upgrade Trent’s IKEA easel!


We bought this during our IKEA shopping extravaganza for all of Trent’s nursery items. Seriously, $15 for this easel is an absolute steal. I frickin love IKEA and wish we had one in our town and didn’t have to drive almost 4 hours to the one in Orlando.

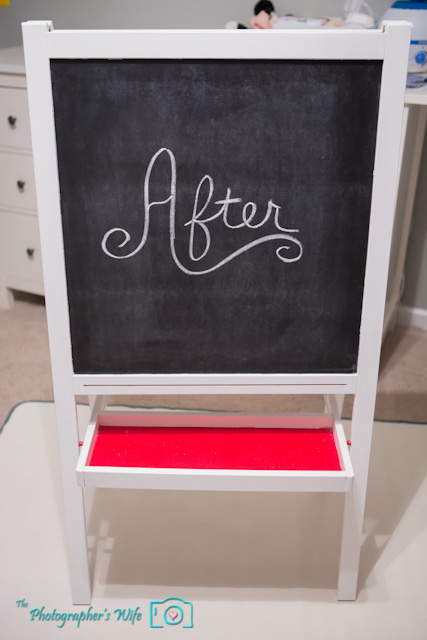
Most of Trent’s furniture is white, so I decided to paint the easel to match his other furniture using a small can of white Benjamin Moore Aura paint. Interior paint isn’t just for walls! And since I’m lazy, I was hoping that by using a higher quality paint and primer in one would mean I would only have to use one coat to complete the project.


I couldn’t find our large plastic sheet to put on the floor underneath the easel to prevent splatter on the carpet, so I just turned one of his rugs over instead. I was going to risk it and not put anything down, but good thing I didn’t since I ended up getting 3 drops of paint on the back of the rug. Oopsie.

I used Frog Tape to tape off around the wooden edges so the paint wouldn’t get on the chalkboard/whiteboard.


I also put a strip of Frog Tape under each of the legs to not get paint on the rug.


After one quick coat, I let it dry for a few hours while we went out. The paint went on smooth with great coverage and I didn’t have to go over the same spot repeatedly.


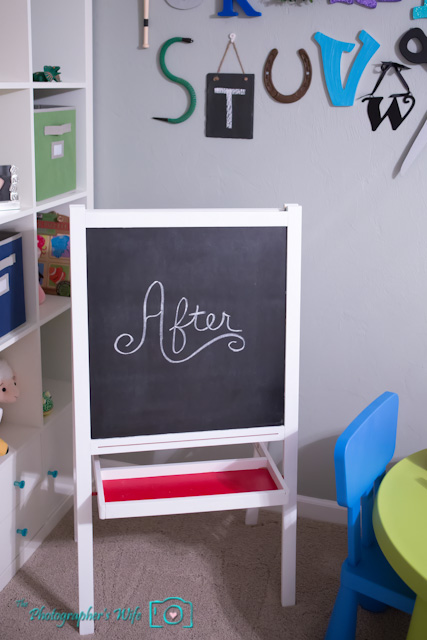
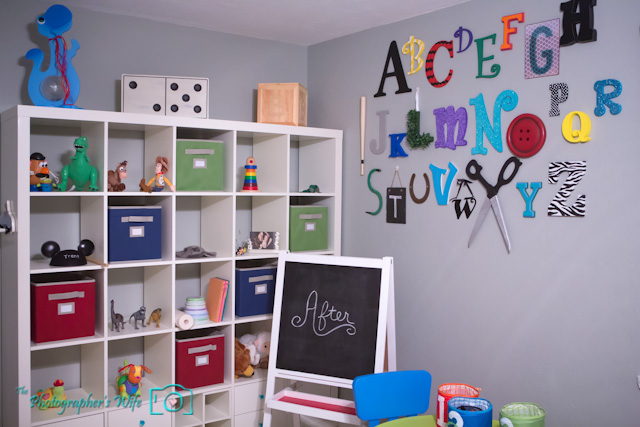
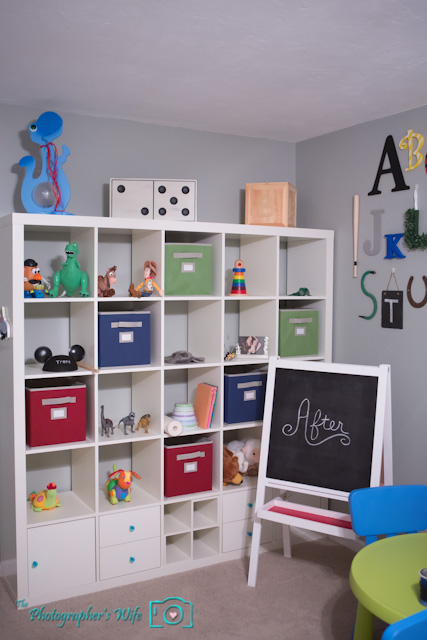
I pulled the tape off and TA-DA! It now matches the rest of the room!


I can’t wait to try this with an entire room. We’ve used Benjamin Moore paint before in Trent’s nursery and it was great (you can see it in the above photos - the color is Grey Horse). I was pregnant at the time, so the low VOC feature was perfect, along with the ease of application meant I could help paint without hurting my pregnant self.

As for the dining room, we have our paint ready for when we finally decide to tackle that hot mess and we will definitely share our experience here with you guys. I’m actually interested in finding out what kind of tacky wallpaper is hiding under there!


Disclaimer: I received this product for free as part of BzzAgent campaign in return for my honest, hype-free opinion. All opinions are my own and I was not compensated in any other way.


***

The Photographer’s Wife fans, be sure to:

Subscribe to our posts

Like us on Facebook

Follow us on Twitter

 

Play Dates and Pumpkins

This weekend was full of Halloween fun! And it’s not even Halloween yet…I love it!

Last week, we set up a few pumpkins in a leaf pile in the front yard to do a little photoshoot with Trent. We got three large pumpkins at Publix for $5.99 each, a total bargain in my opinion. We went to a pumpkin patch one year, grabbed 2 large pumpkins and a few mini ones and had to pick our jaws up off the floor when we heard the total was around $70 (there were no signs posted). For pumpkins that are going to rot in a couple of weeks? Ummm, no. Needless to say, we won’t be going there again and we are more than happy with Publix pumpkins!

Anywho, we dressed Trent up in jeans and a t-shirt with a skull and crossbones on it. Even his shoes had skulls on them. Trent is so bad-ass.

Unfortunately, after a few shots of him sitting up against the pumpkins, I stepped a few feet away so that I could get his attention to smile for the camera and he started to lean to the side and ended up face-planting into the pile of crinkly leaves and it freaked him out so badly. I felt awful. :(

Luckily, he got over it pretty quickly and we did a few more shots.
And we took these for our added entertainment.

On Saturday, we went to a wedding and the annual Halloween party at Brett’s mom’s house. I’ll save the details for another post when all the photos are ready, but I will say it was beautiful and so much fun. Trent was the perfect lil’ ring bearer and was so good throughout the ceremony.

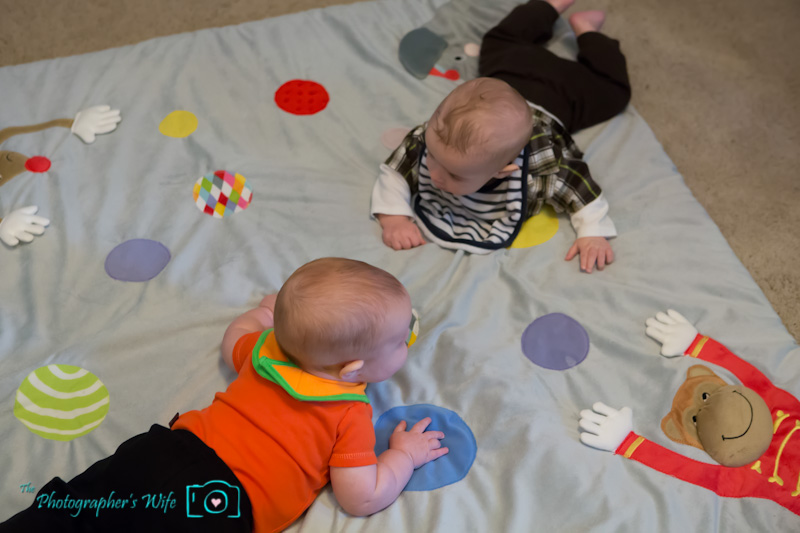
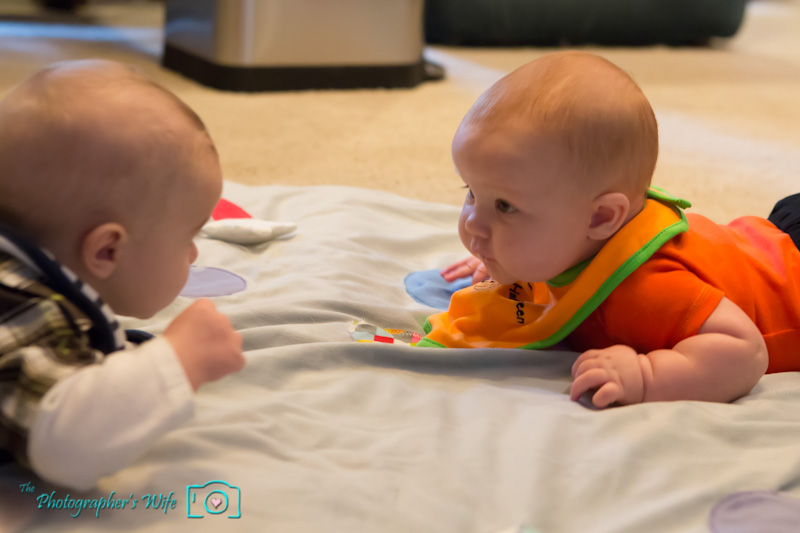
On Sunday, some friends brought over their son for a play date with Trent. Their son was born on the same day in the same hospital and our recovery rooms were next door to each other. How weird/cool is that? They are little birth buddies!

I was so glad they could come over. Since Trent doesn’t go to a daycare, as much as I know he loves spending time with daddy all day, he will miss out on the daily social interaction. This may not be as much of a big deal now, but we still want take opportunities for him to play with other kids whenever we can.

We started out with some tummy time.

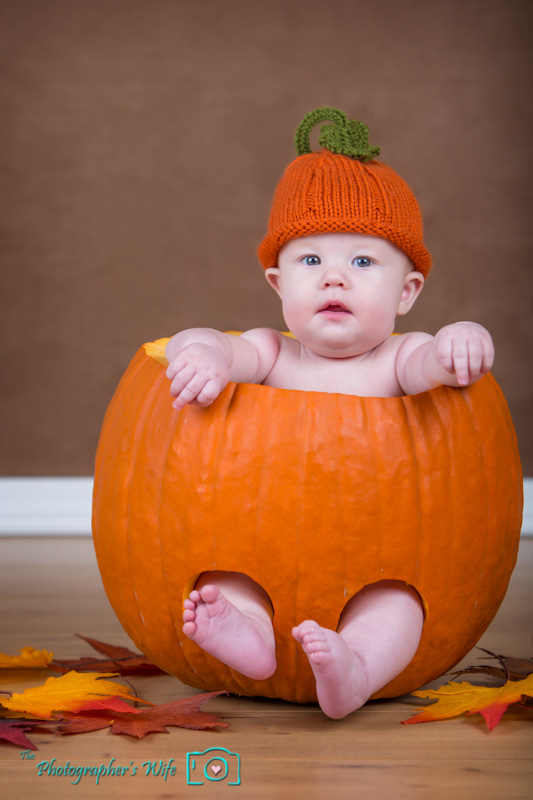
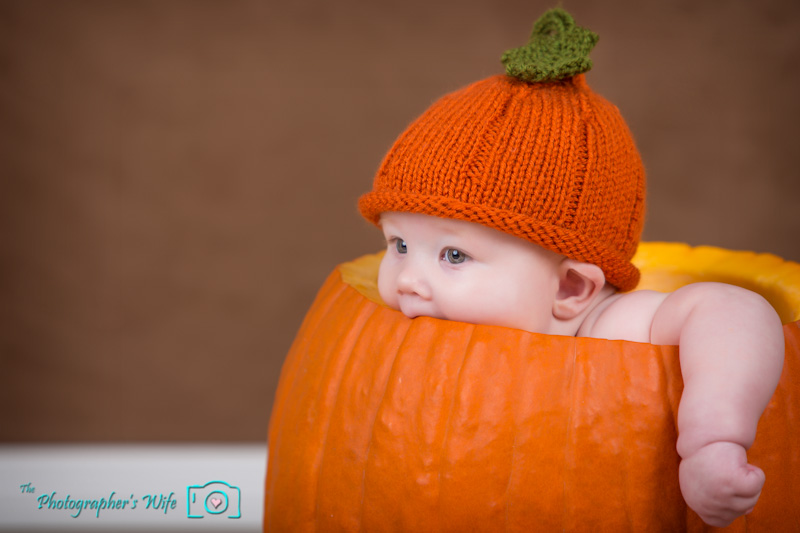
While the babies were staring at each other playing on the tummy time mat, Brett carved a pumpkin for the next item on the agenda…babies in pumpkins!!

Trent decided he was going to have a taste of the pumpkin and there was no turning back. He had his first taste of something that wasn’t breast milk and he couldn’t get enough of it. It made for some pretty hilarious photos. He was munching around the edge like it was a cob of corn.
I’m guessing we should include pumpkin on the menu for when he starts eating solid foods.

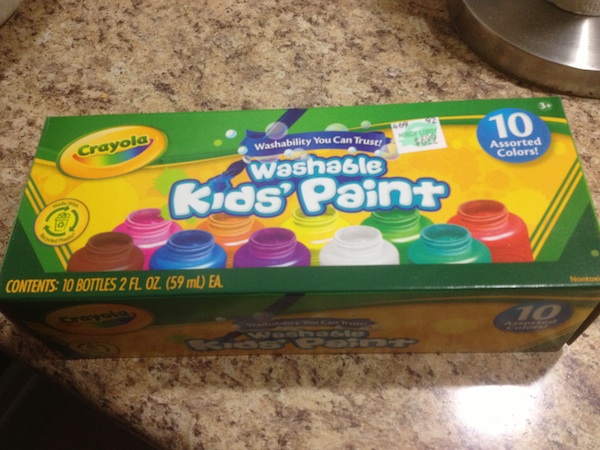
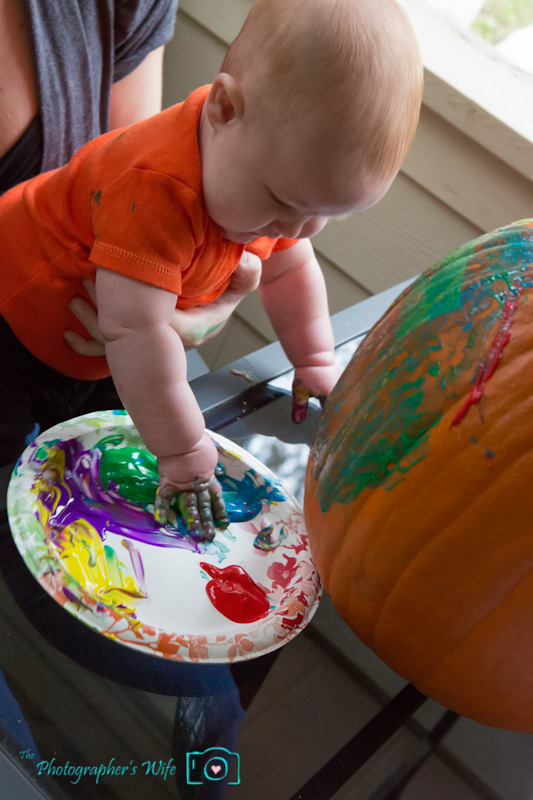
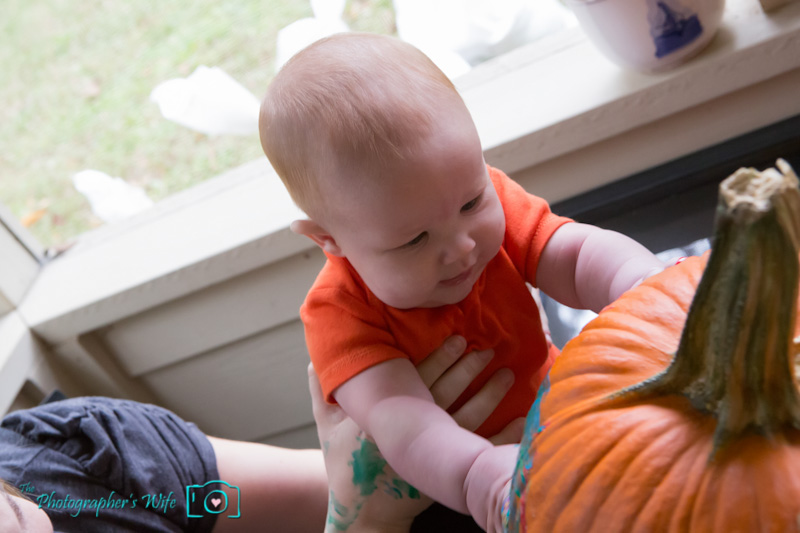
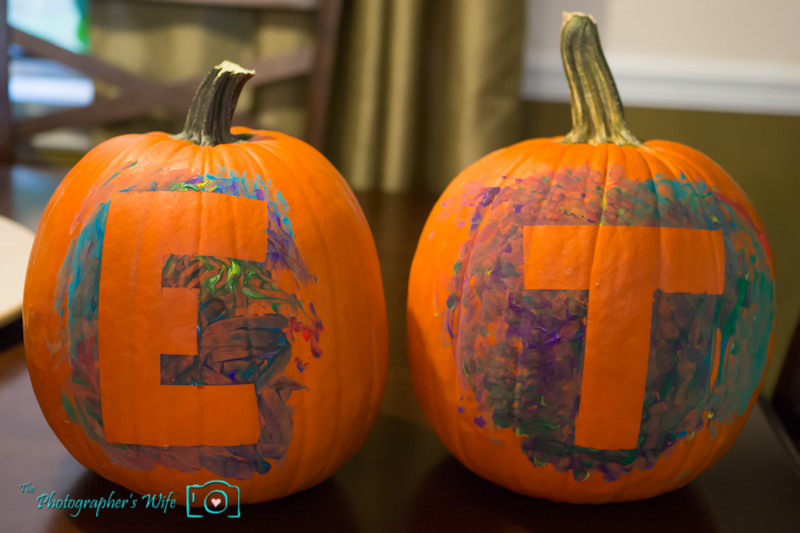
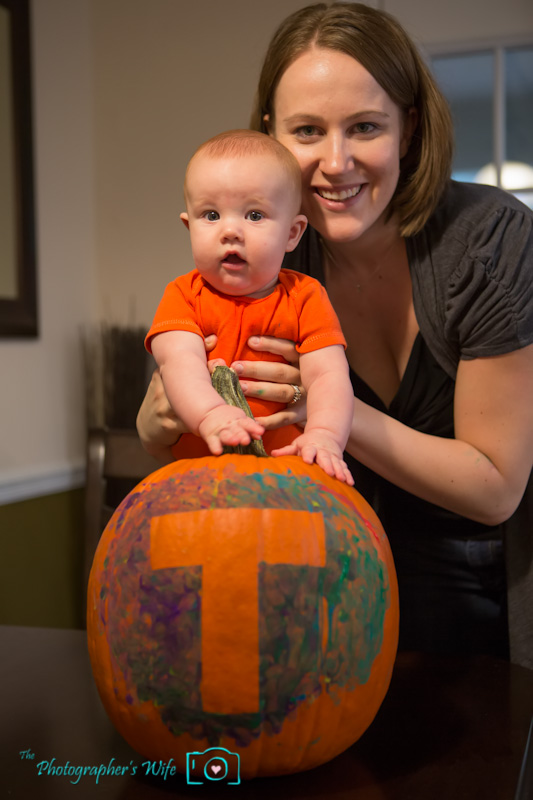
Then it was time for our babies to be artists with their first pumpkins! I grabbed the idea for their pumpkins from here and here. We used Frog Tape to make their initials on each of their pumpkins and then poured some Crayola washable paint onto paper plates.

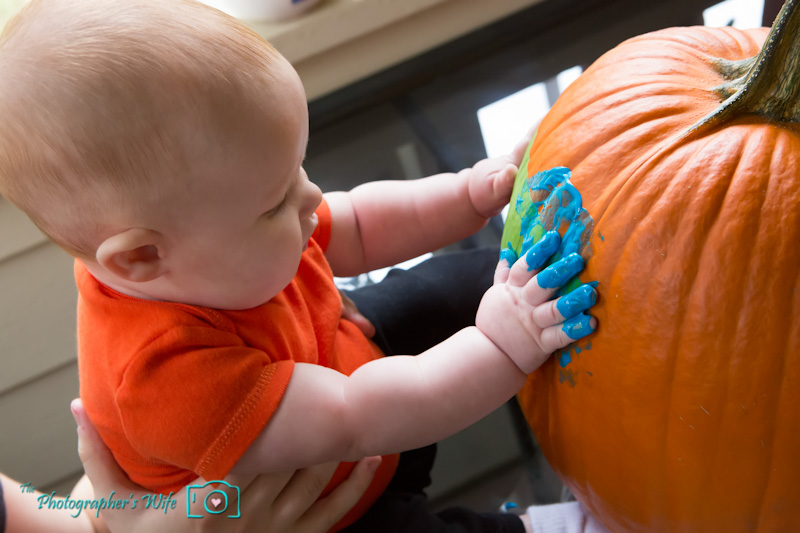
I dipped his hands into the plate and he went nuts with excitement.

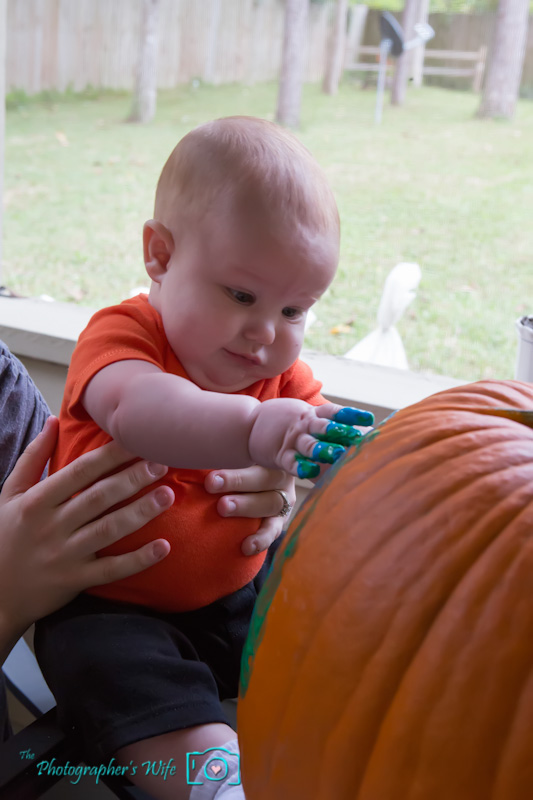
I guided his hands over to the pumpkin and briefly moved his hands around to show him what to do and then he did it all on his own. The only thing I did was make sure to dip his hands into more paint every once in a while.

Good thing I got washable paint, look at my hands! Haha. After several minutes, he decided he was hungry instead, but luckily we were finished and just had to let the paint dry before the big reveal.

I love them!

This post was submitted to the Fall Pinterest Challenge hosted by a group of blogs. I’ve had this baby in a pumpkin photo pinned for so long just waiting for when I had a baby to stick in a pumpkin. And I just recently pinned this in preparation for Halloween, since there’s only so much a 4 month old can do to decorate a pumpkin. I’m so happy with how both projects turned out. If you’re interested in seeing the other projects in the Fall Pinterest Challenge, you can go to any of these following blog links:

Young House Love

Bower Power

Our Fifth House

Ugly Duckling House


***

The Photographer’s Wife fans, be sure to:

Subscribe to our posts

Like us on Facebook

Follow us on Twitter


Painting with a Twist

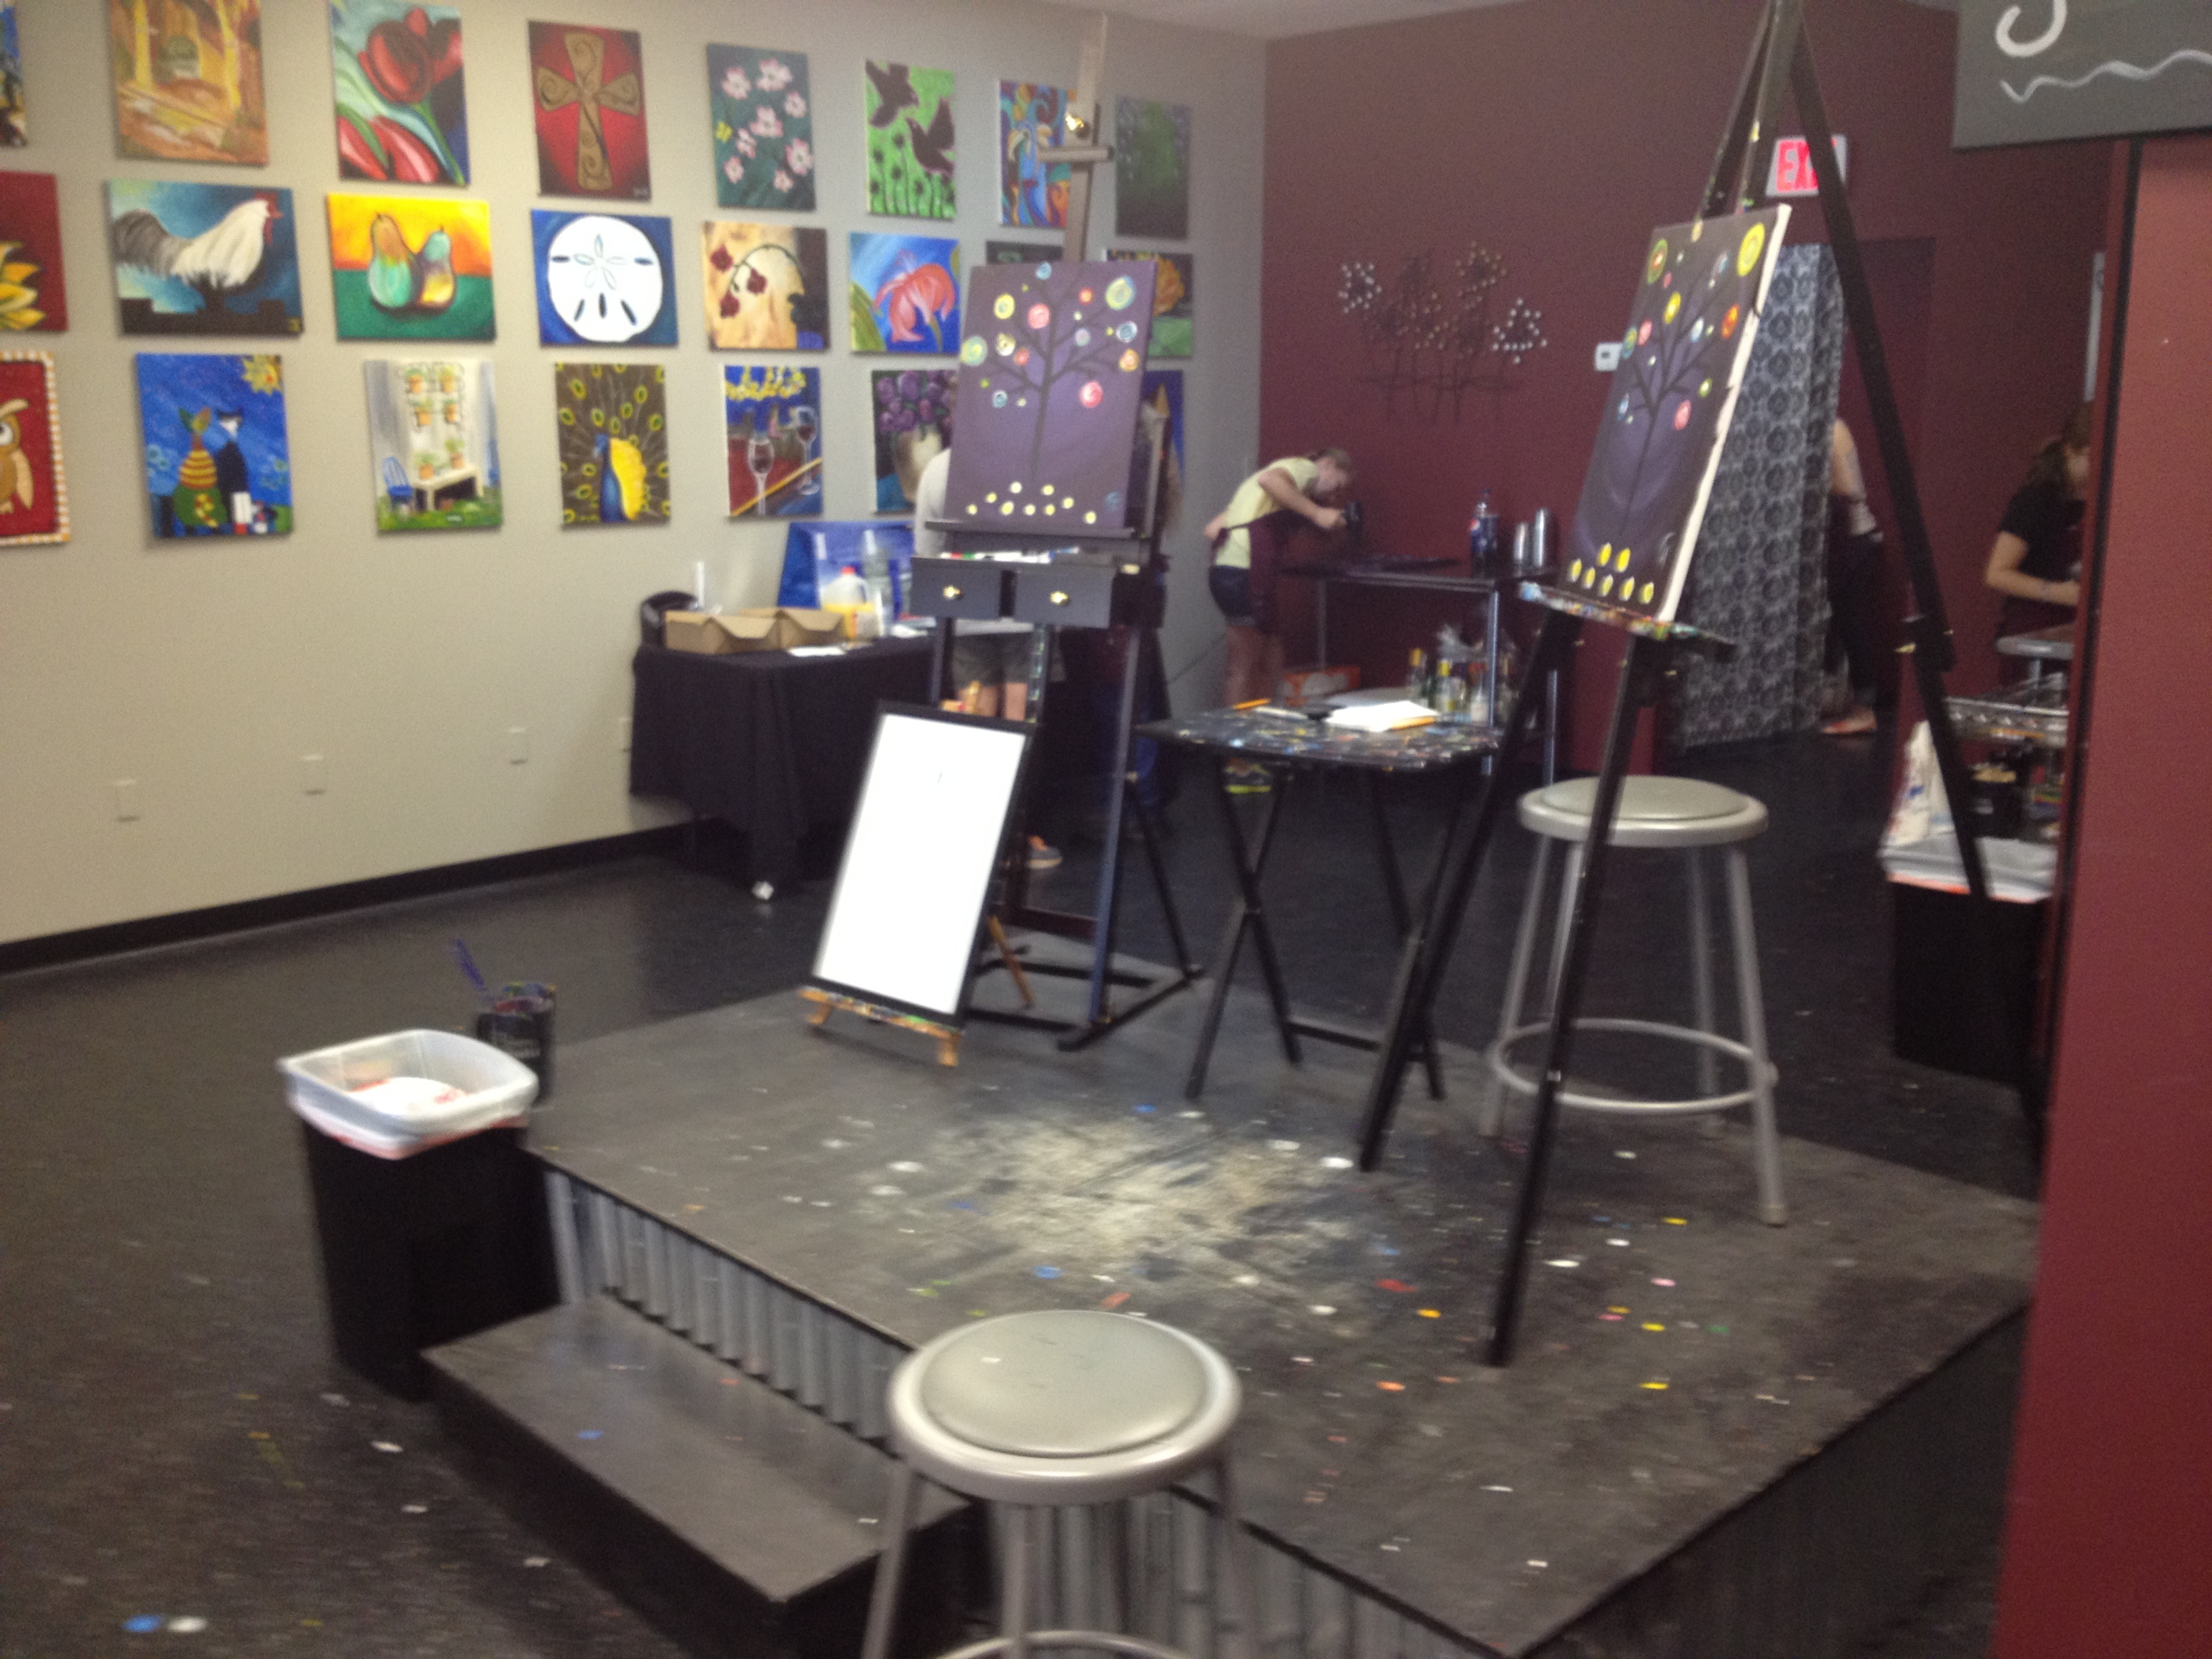
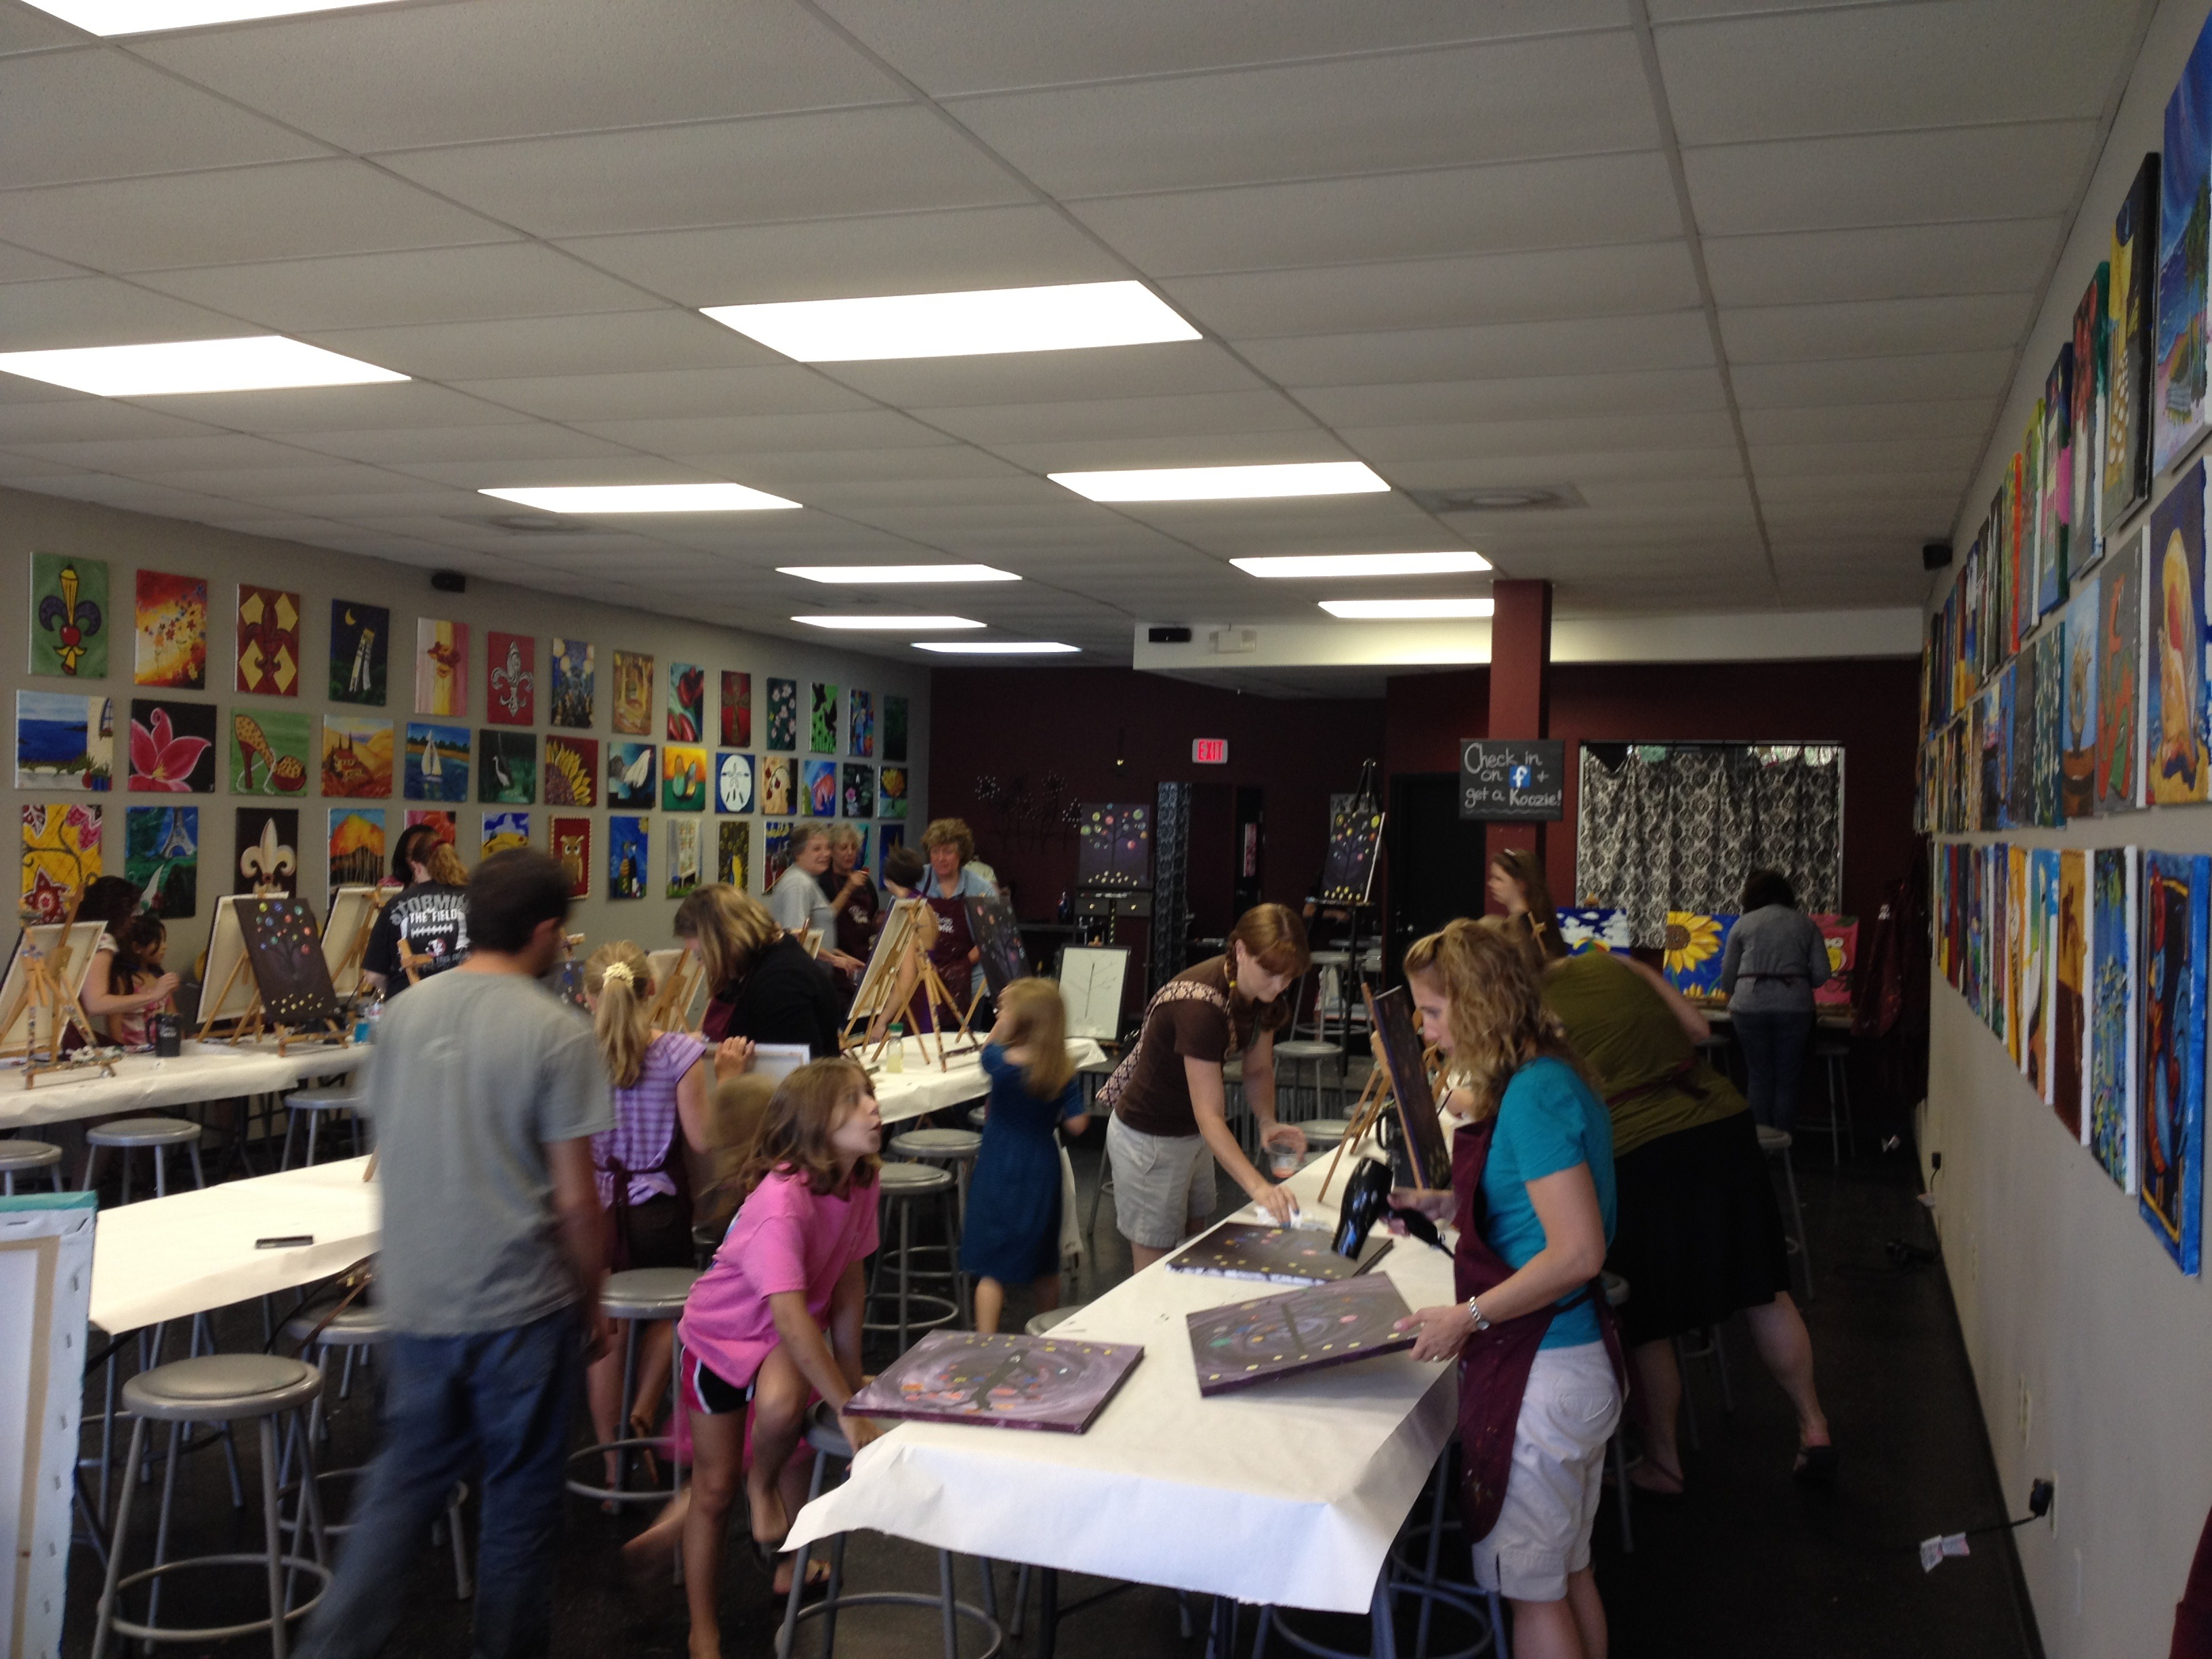
Recently, I joined a few friends for a birthday party at Painting with a Twist - Tallahassee!

What’s really great about Painting with a Twist is that you can bring your own food and drinks (including alcohol) to enjoy while painting.

We brought some cupcakes from Lucy & Leo’s Cupcakery and ingredients to make strawberry mimosas. I enjoyed a chocolate cupcake first, with a virgin strawberry mimosa. No real mimosas for this pregnant gal. :(

I recommend a fork for this cupcake…it was so rich! And then I enjoyed a strawberry cupcake. This one was definitely my favorite…which is weird because I’m normally a chocaholic! The frosting was light and fluffy. Consumed in three bites. Om nom nom.

(Sorry for the blurry iPhone photo - it was probably because I was in a rush to consume the cupcake!) In addition to the varieties mentioned above, our group also consumed red velvet cupcakes and gluten-free cupcakes, which they offer on select days or for pre-order!

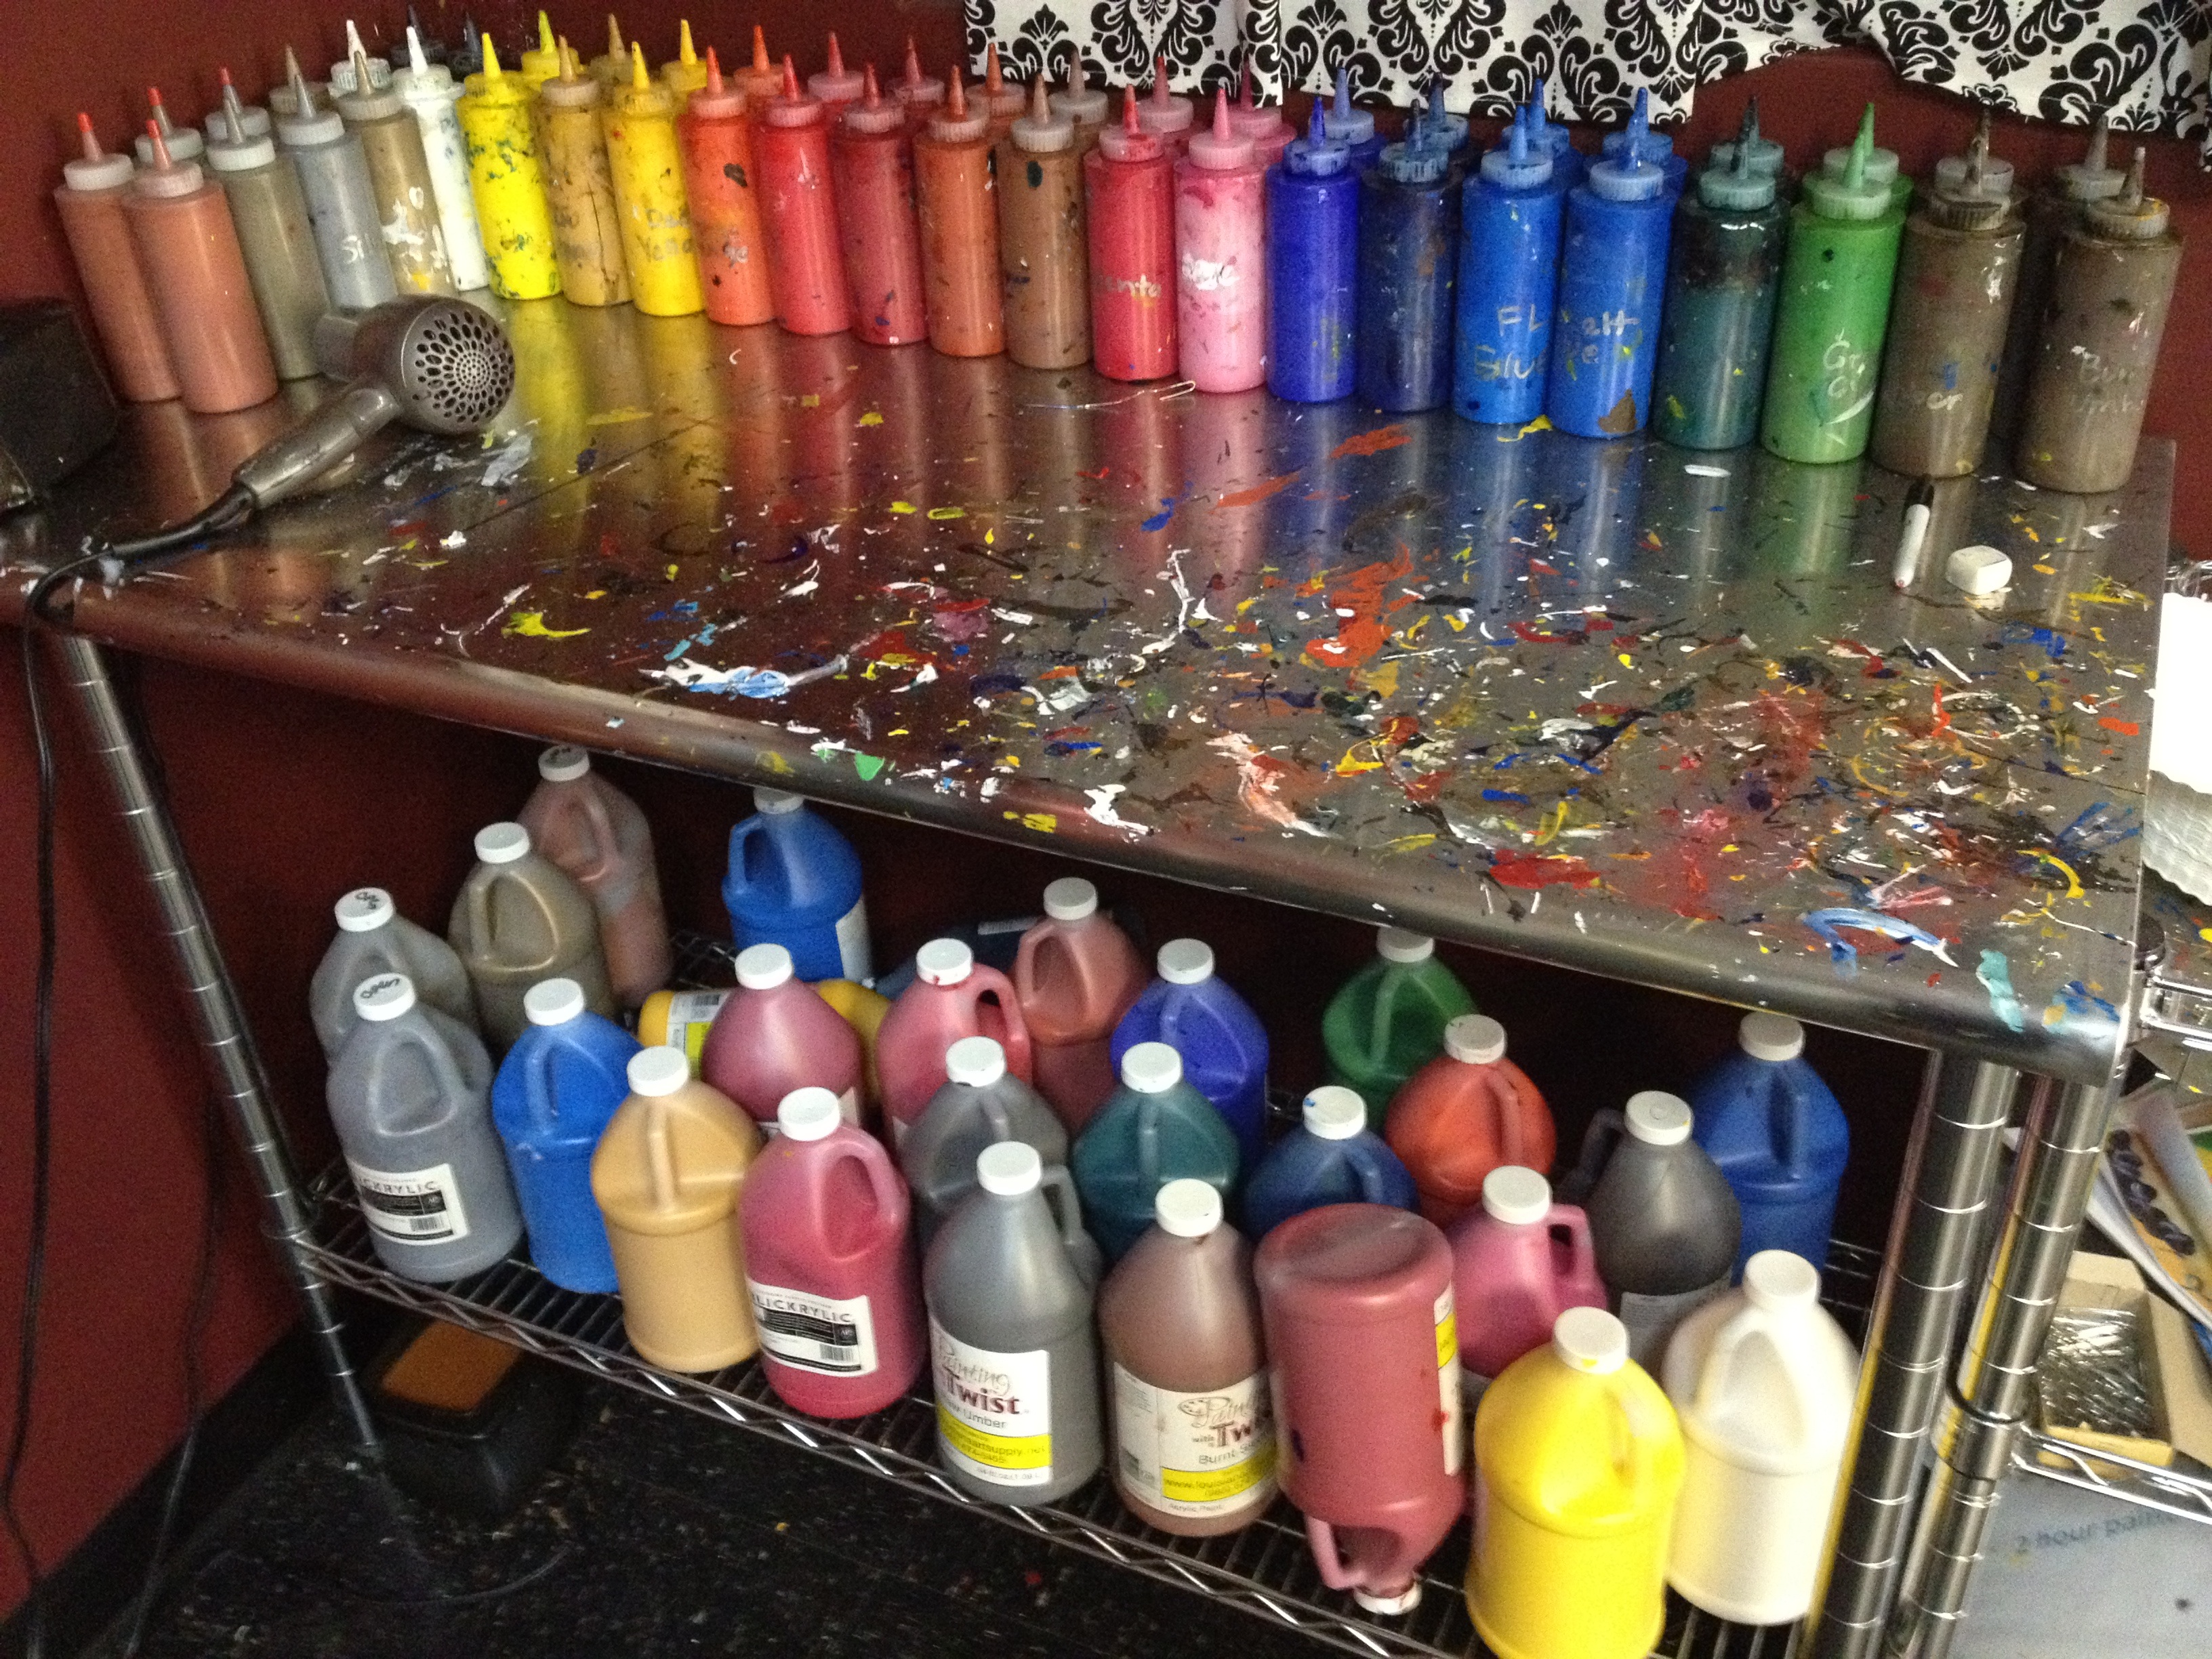
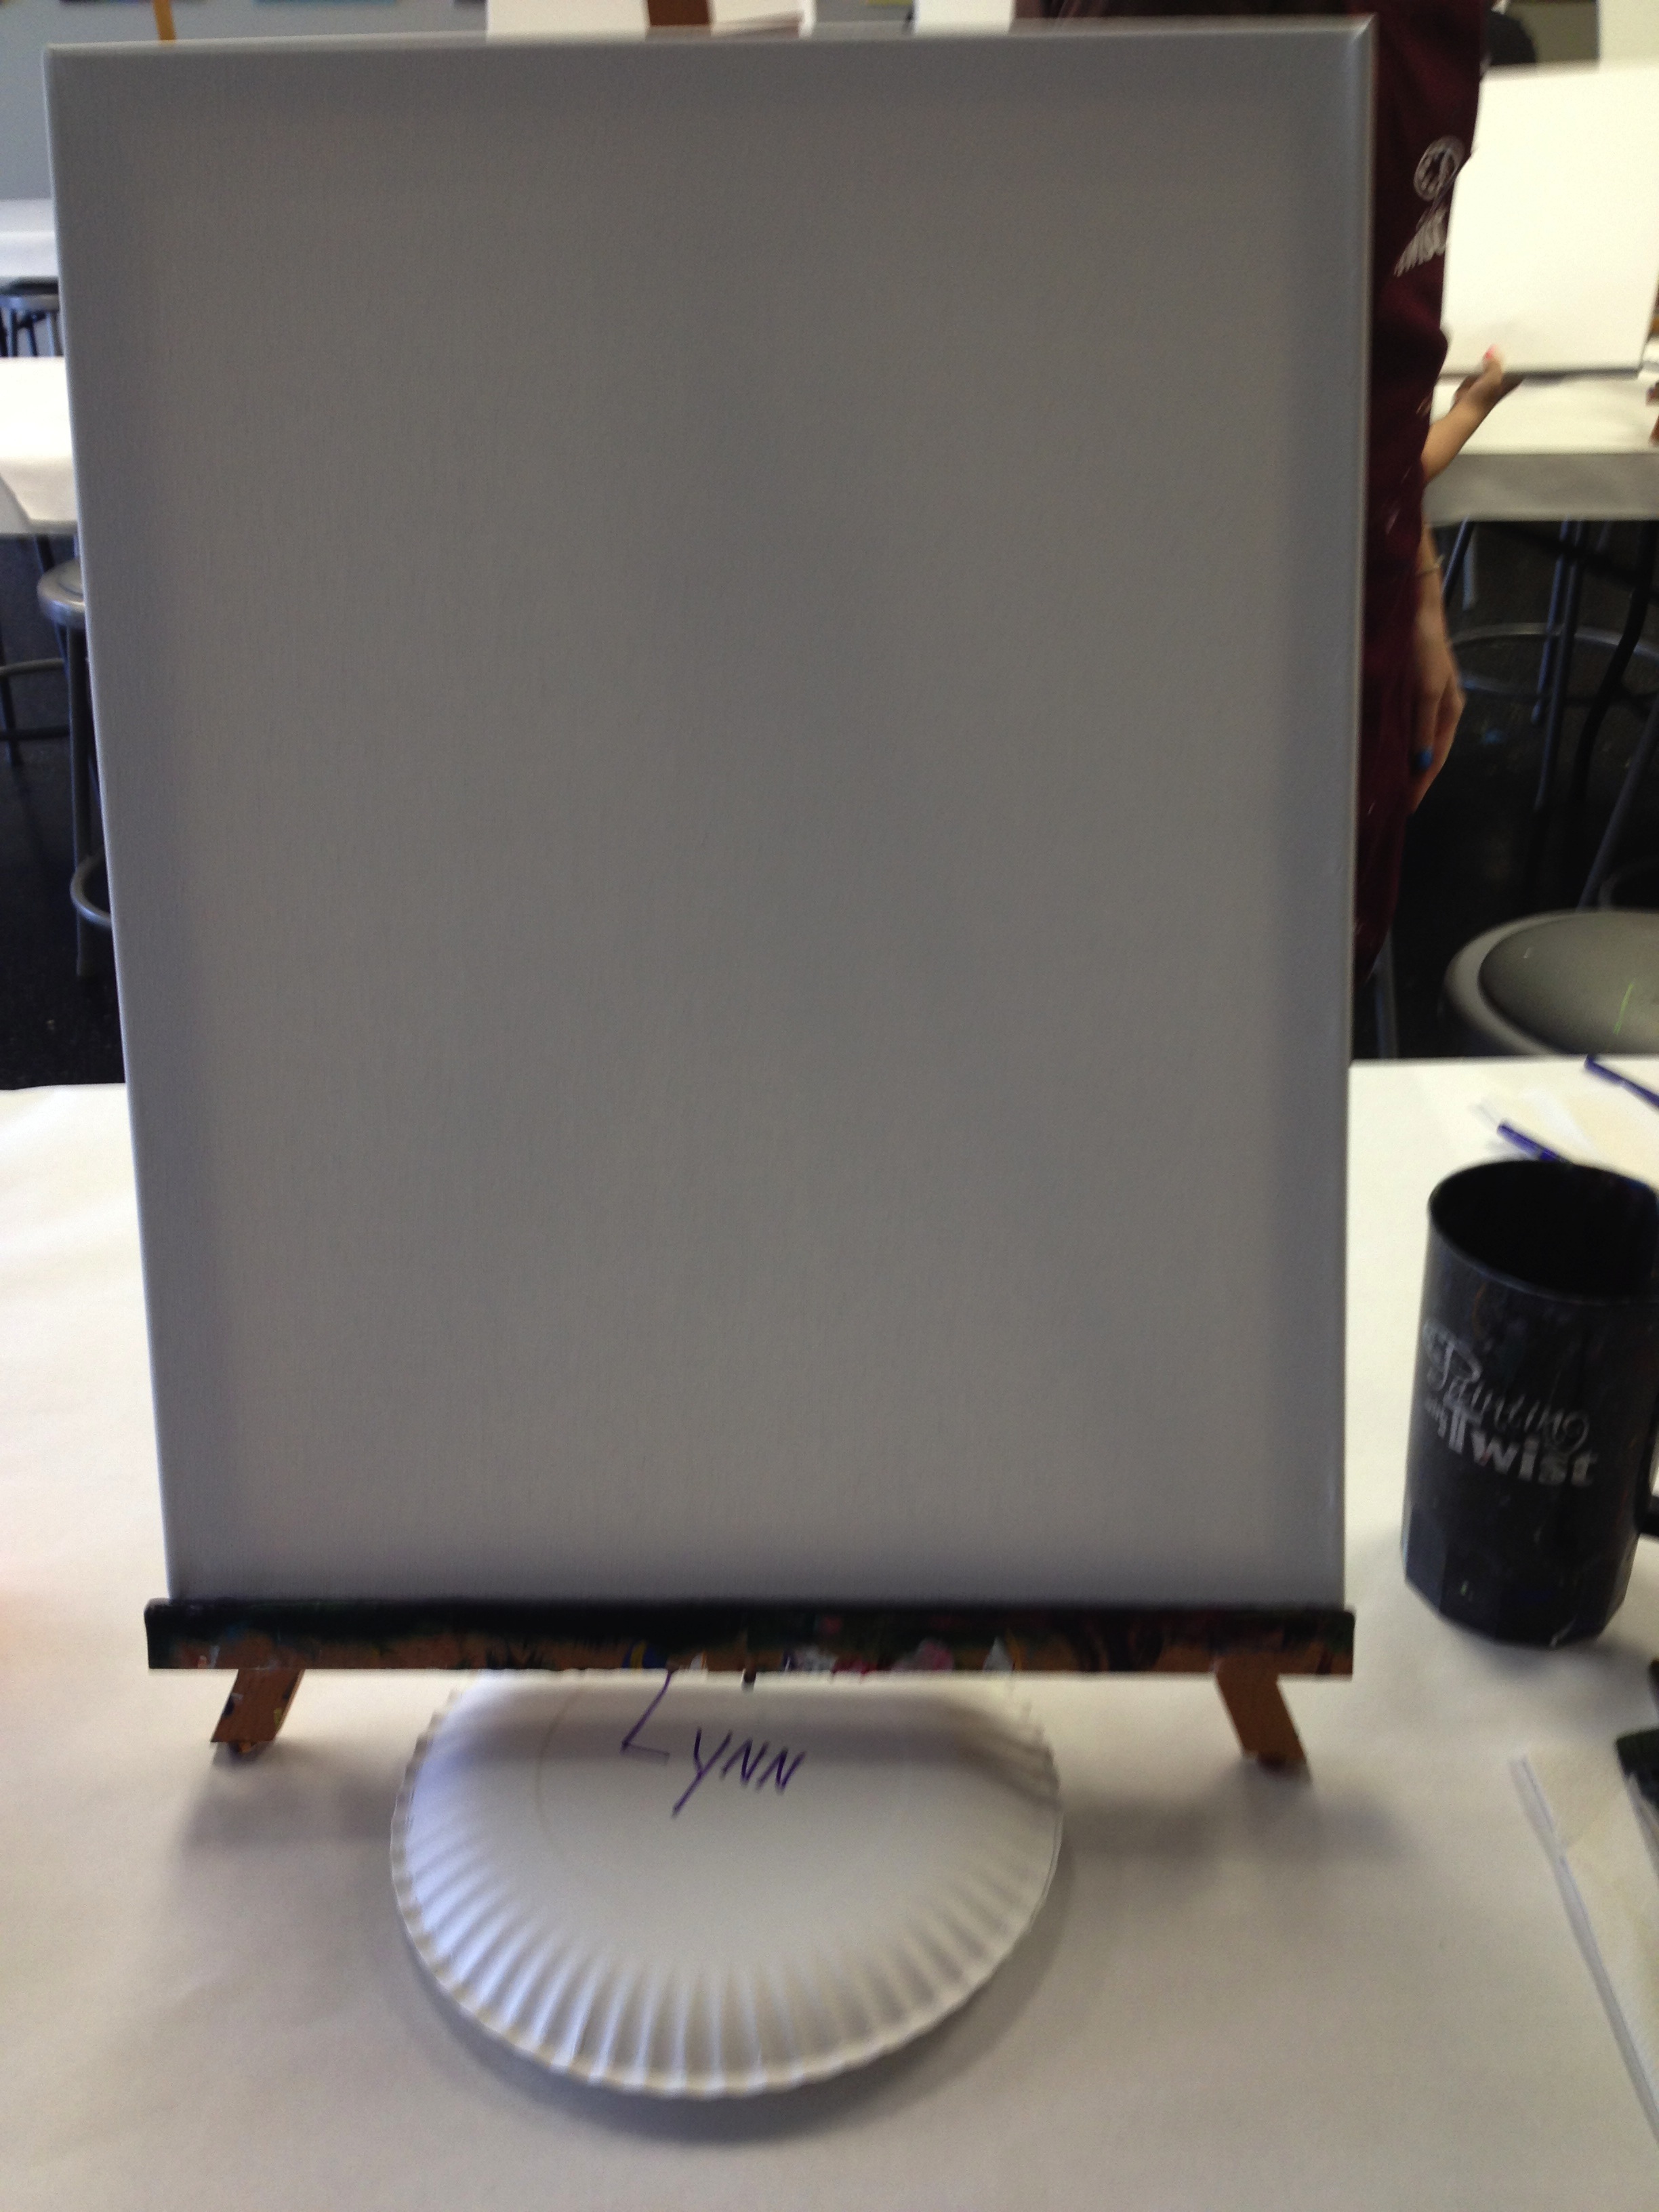
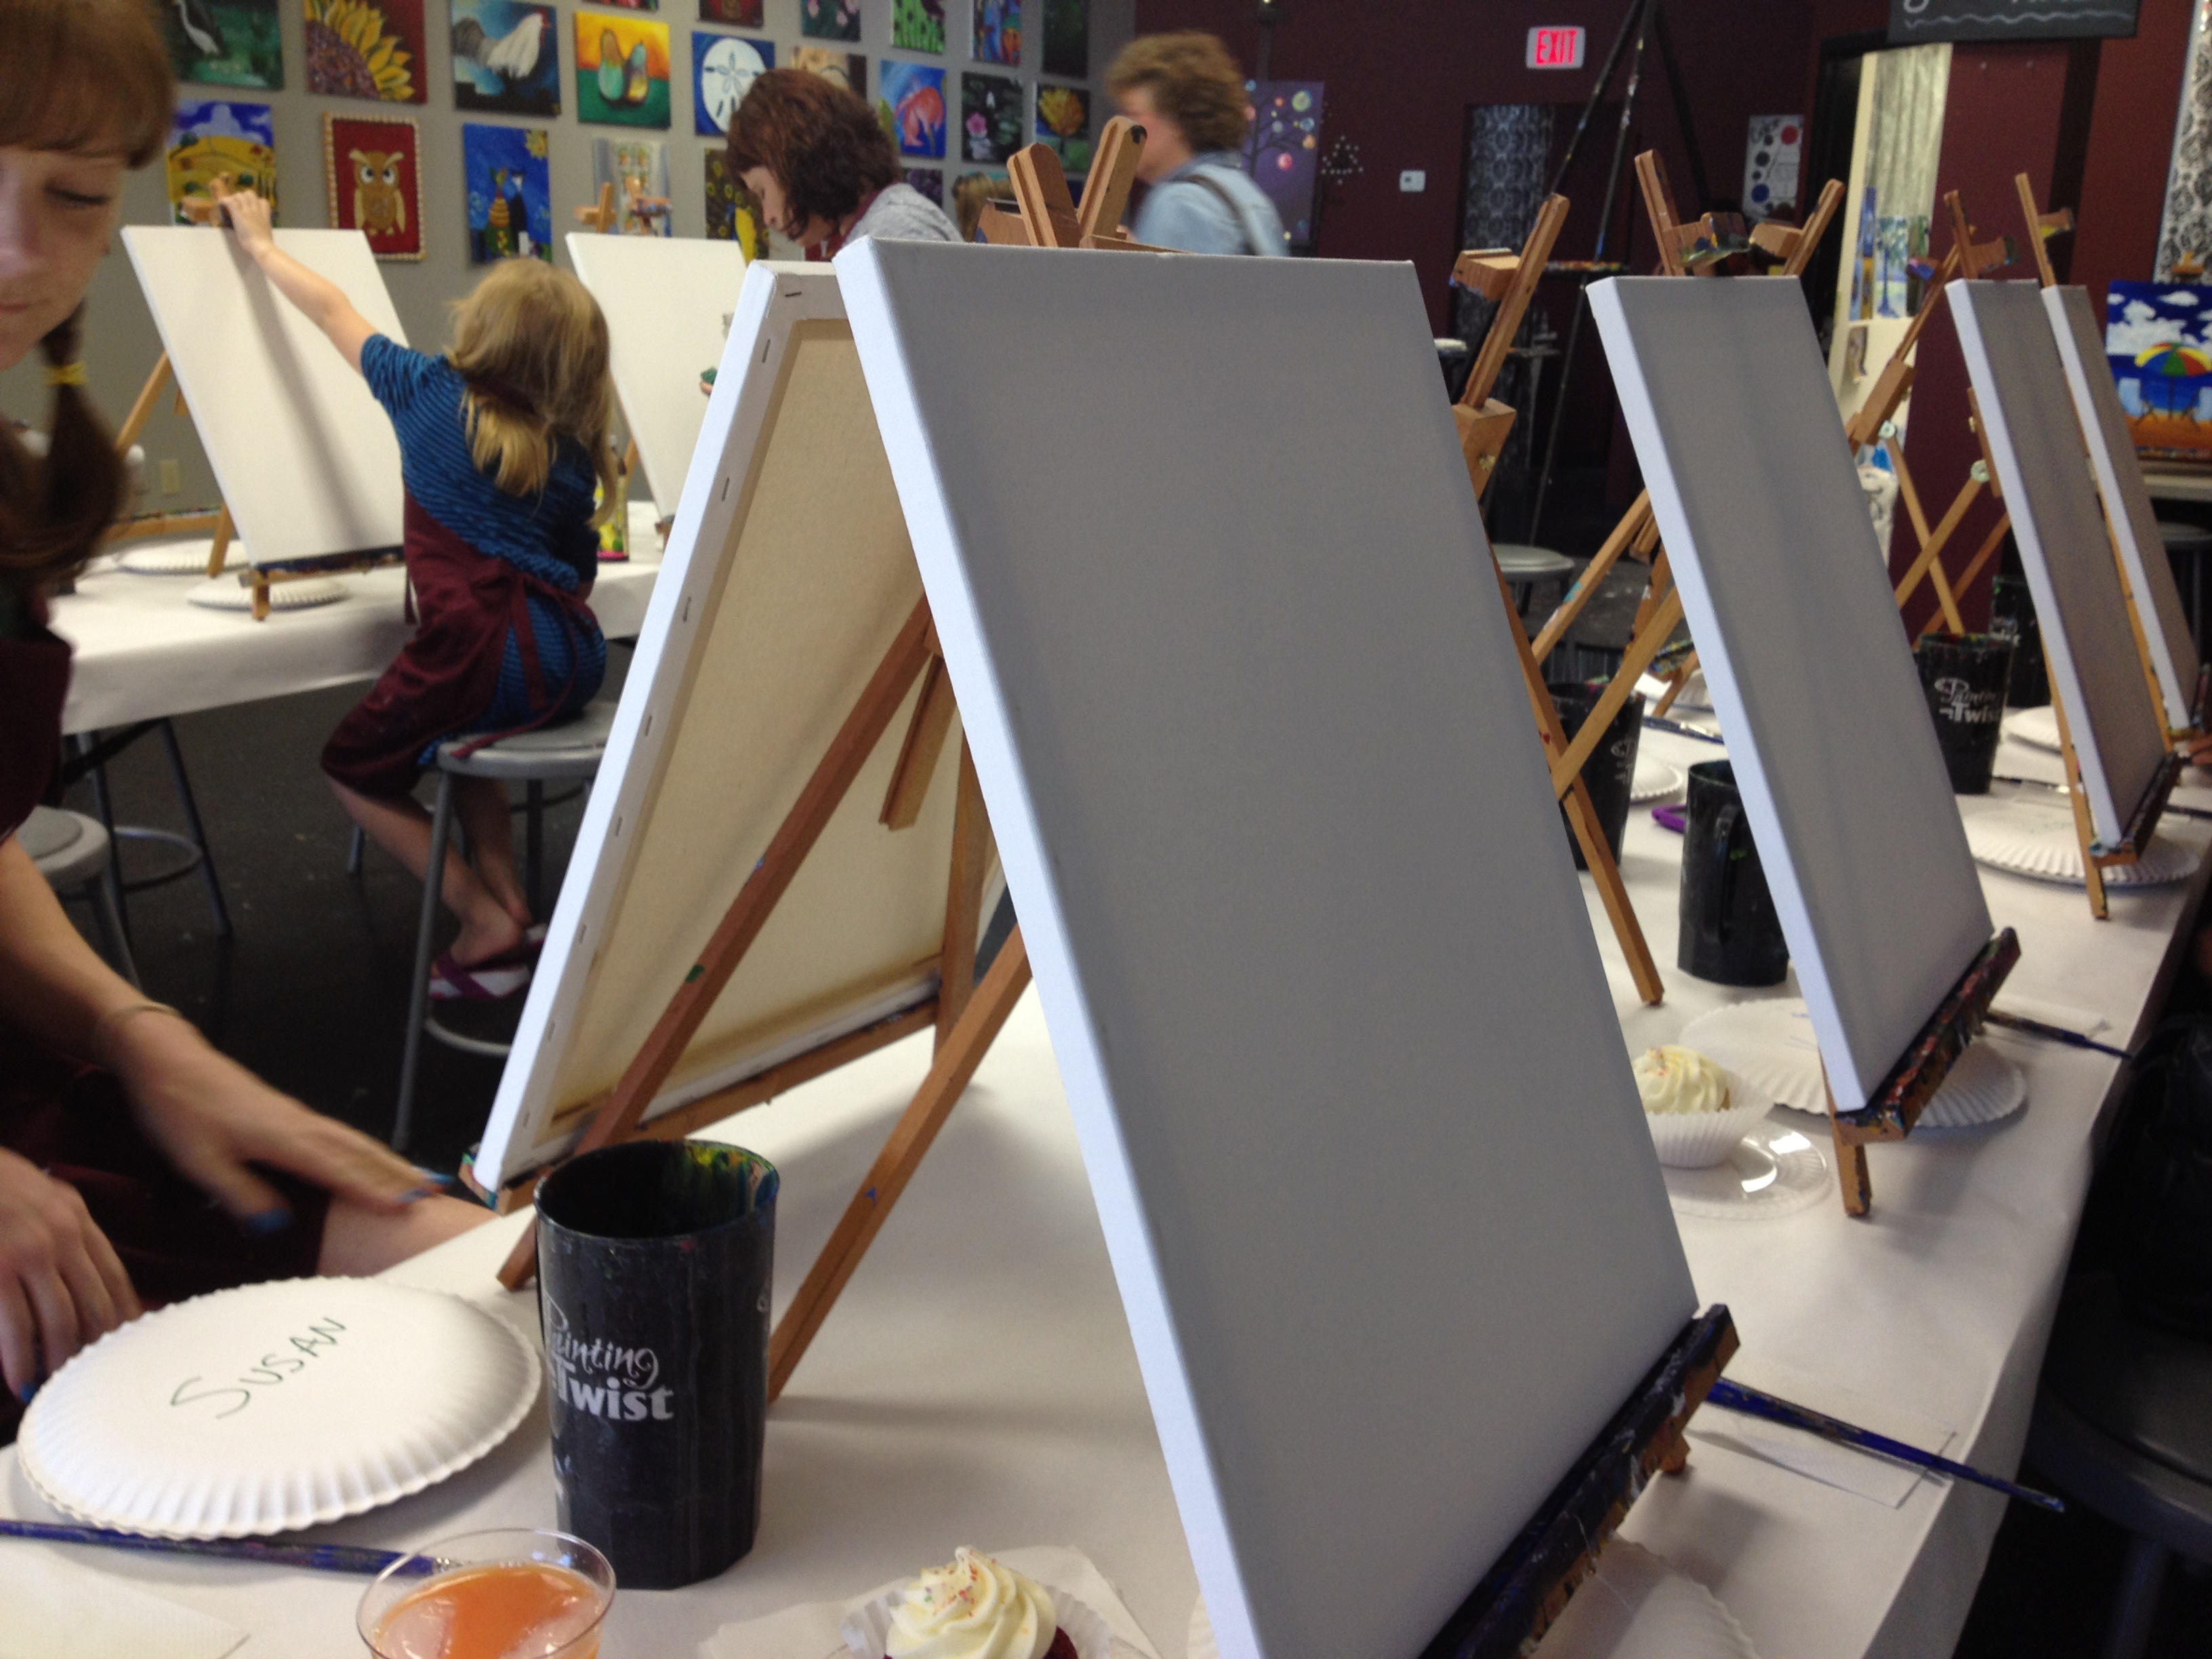
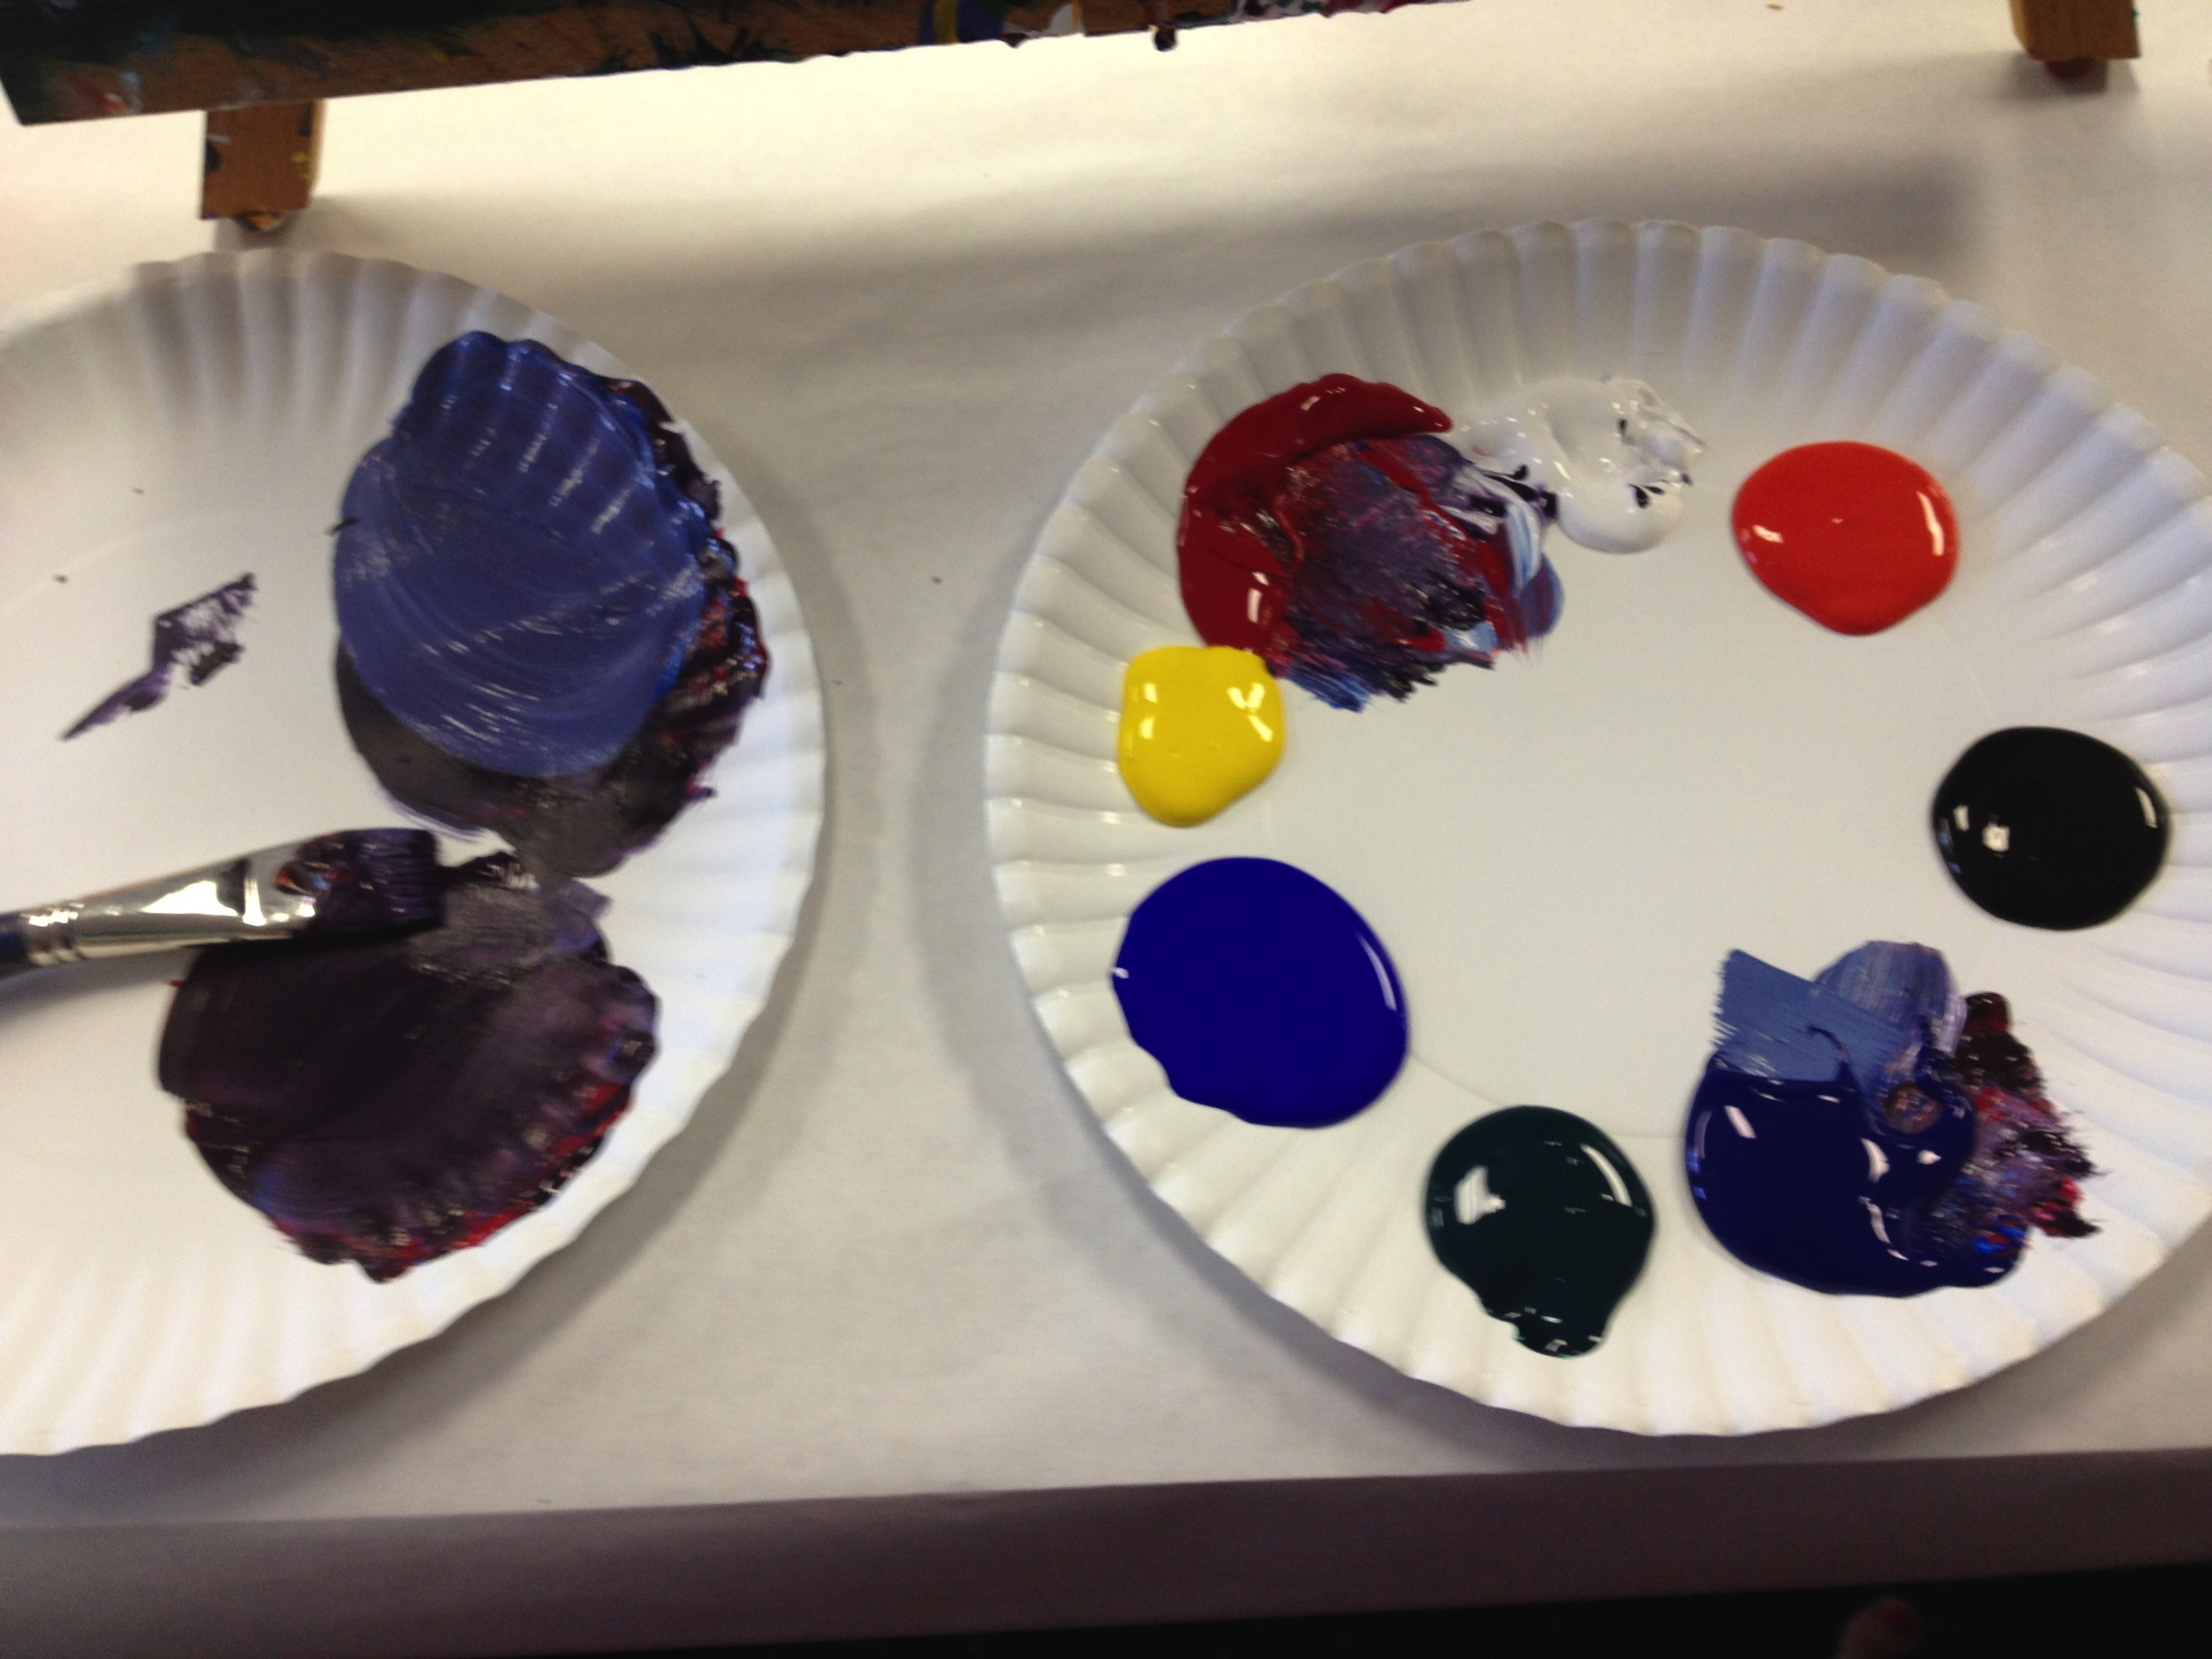
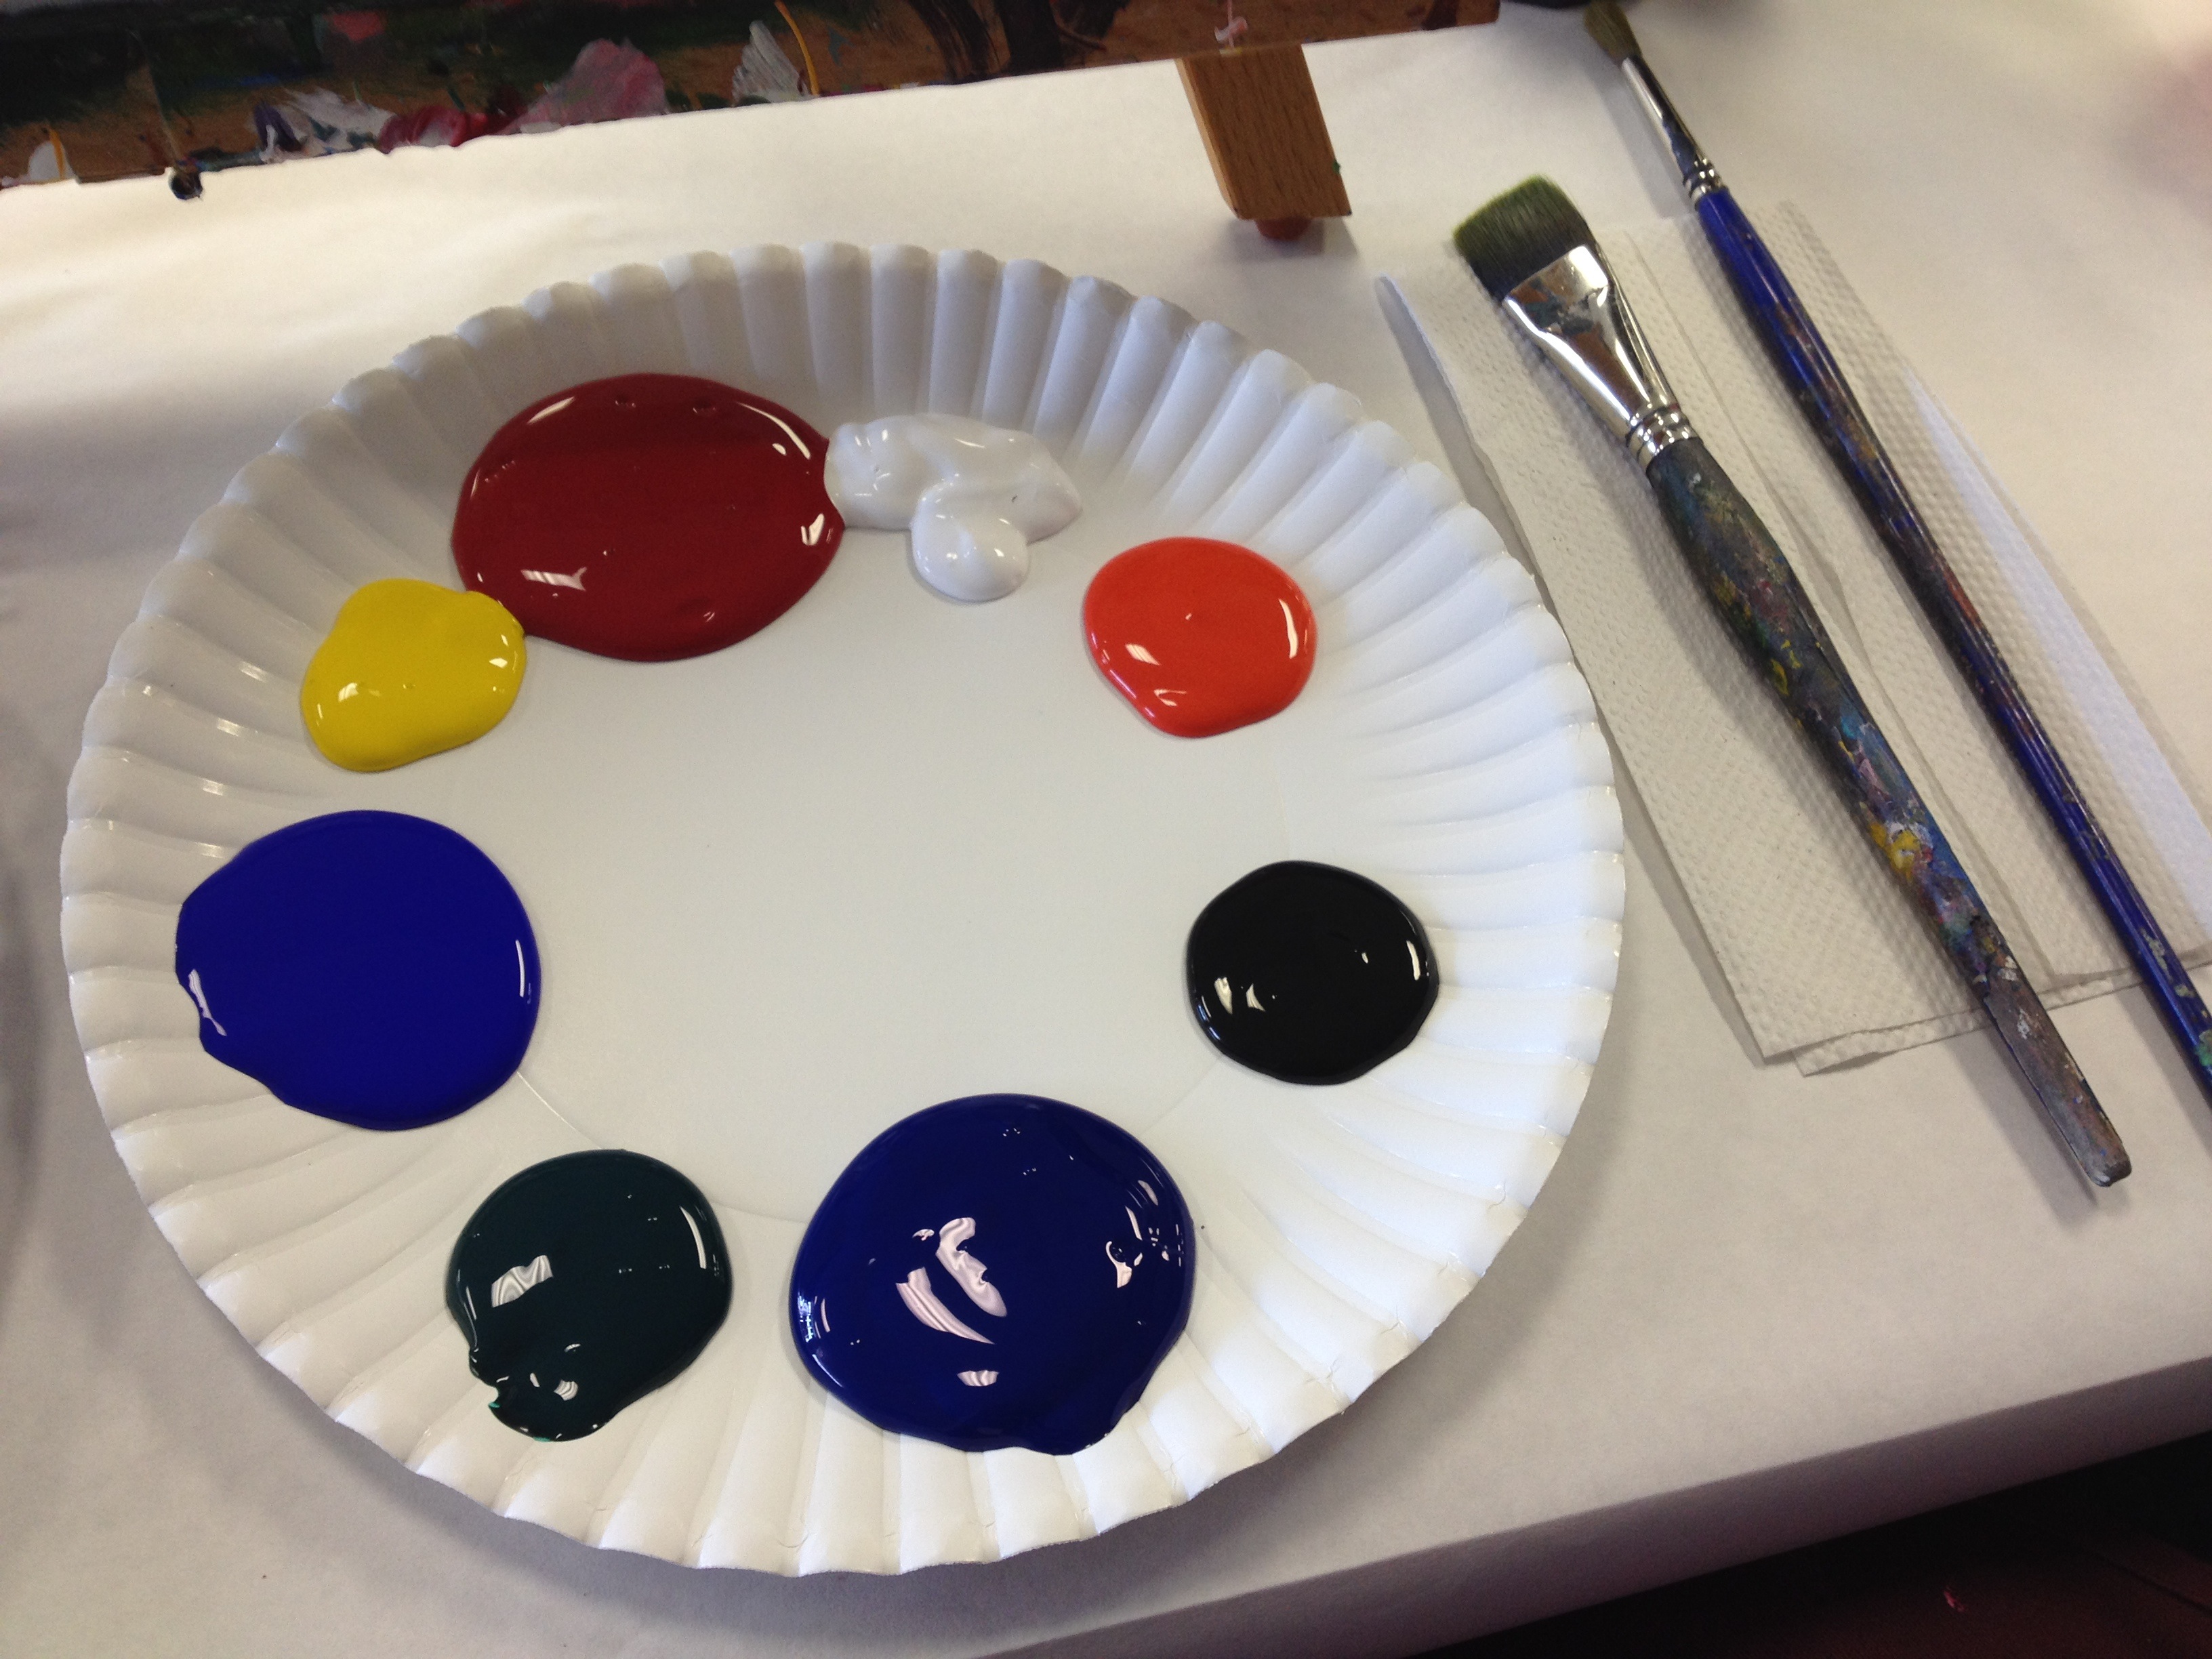
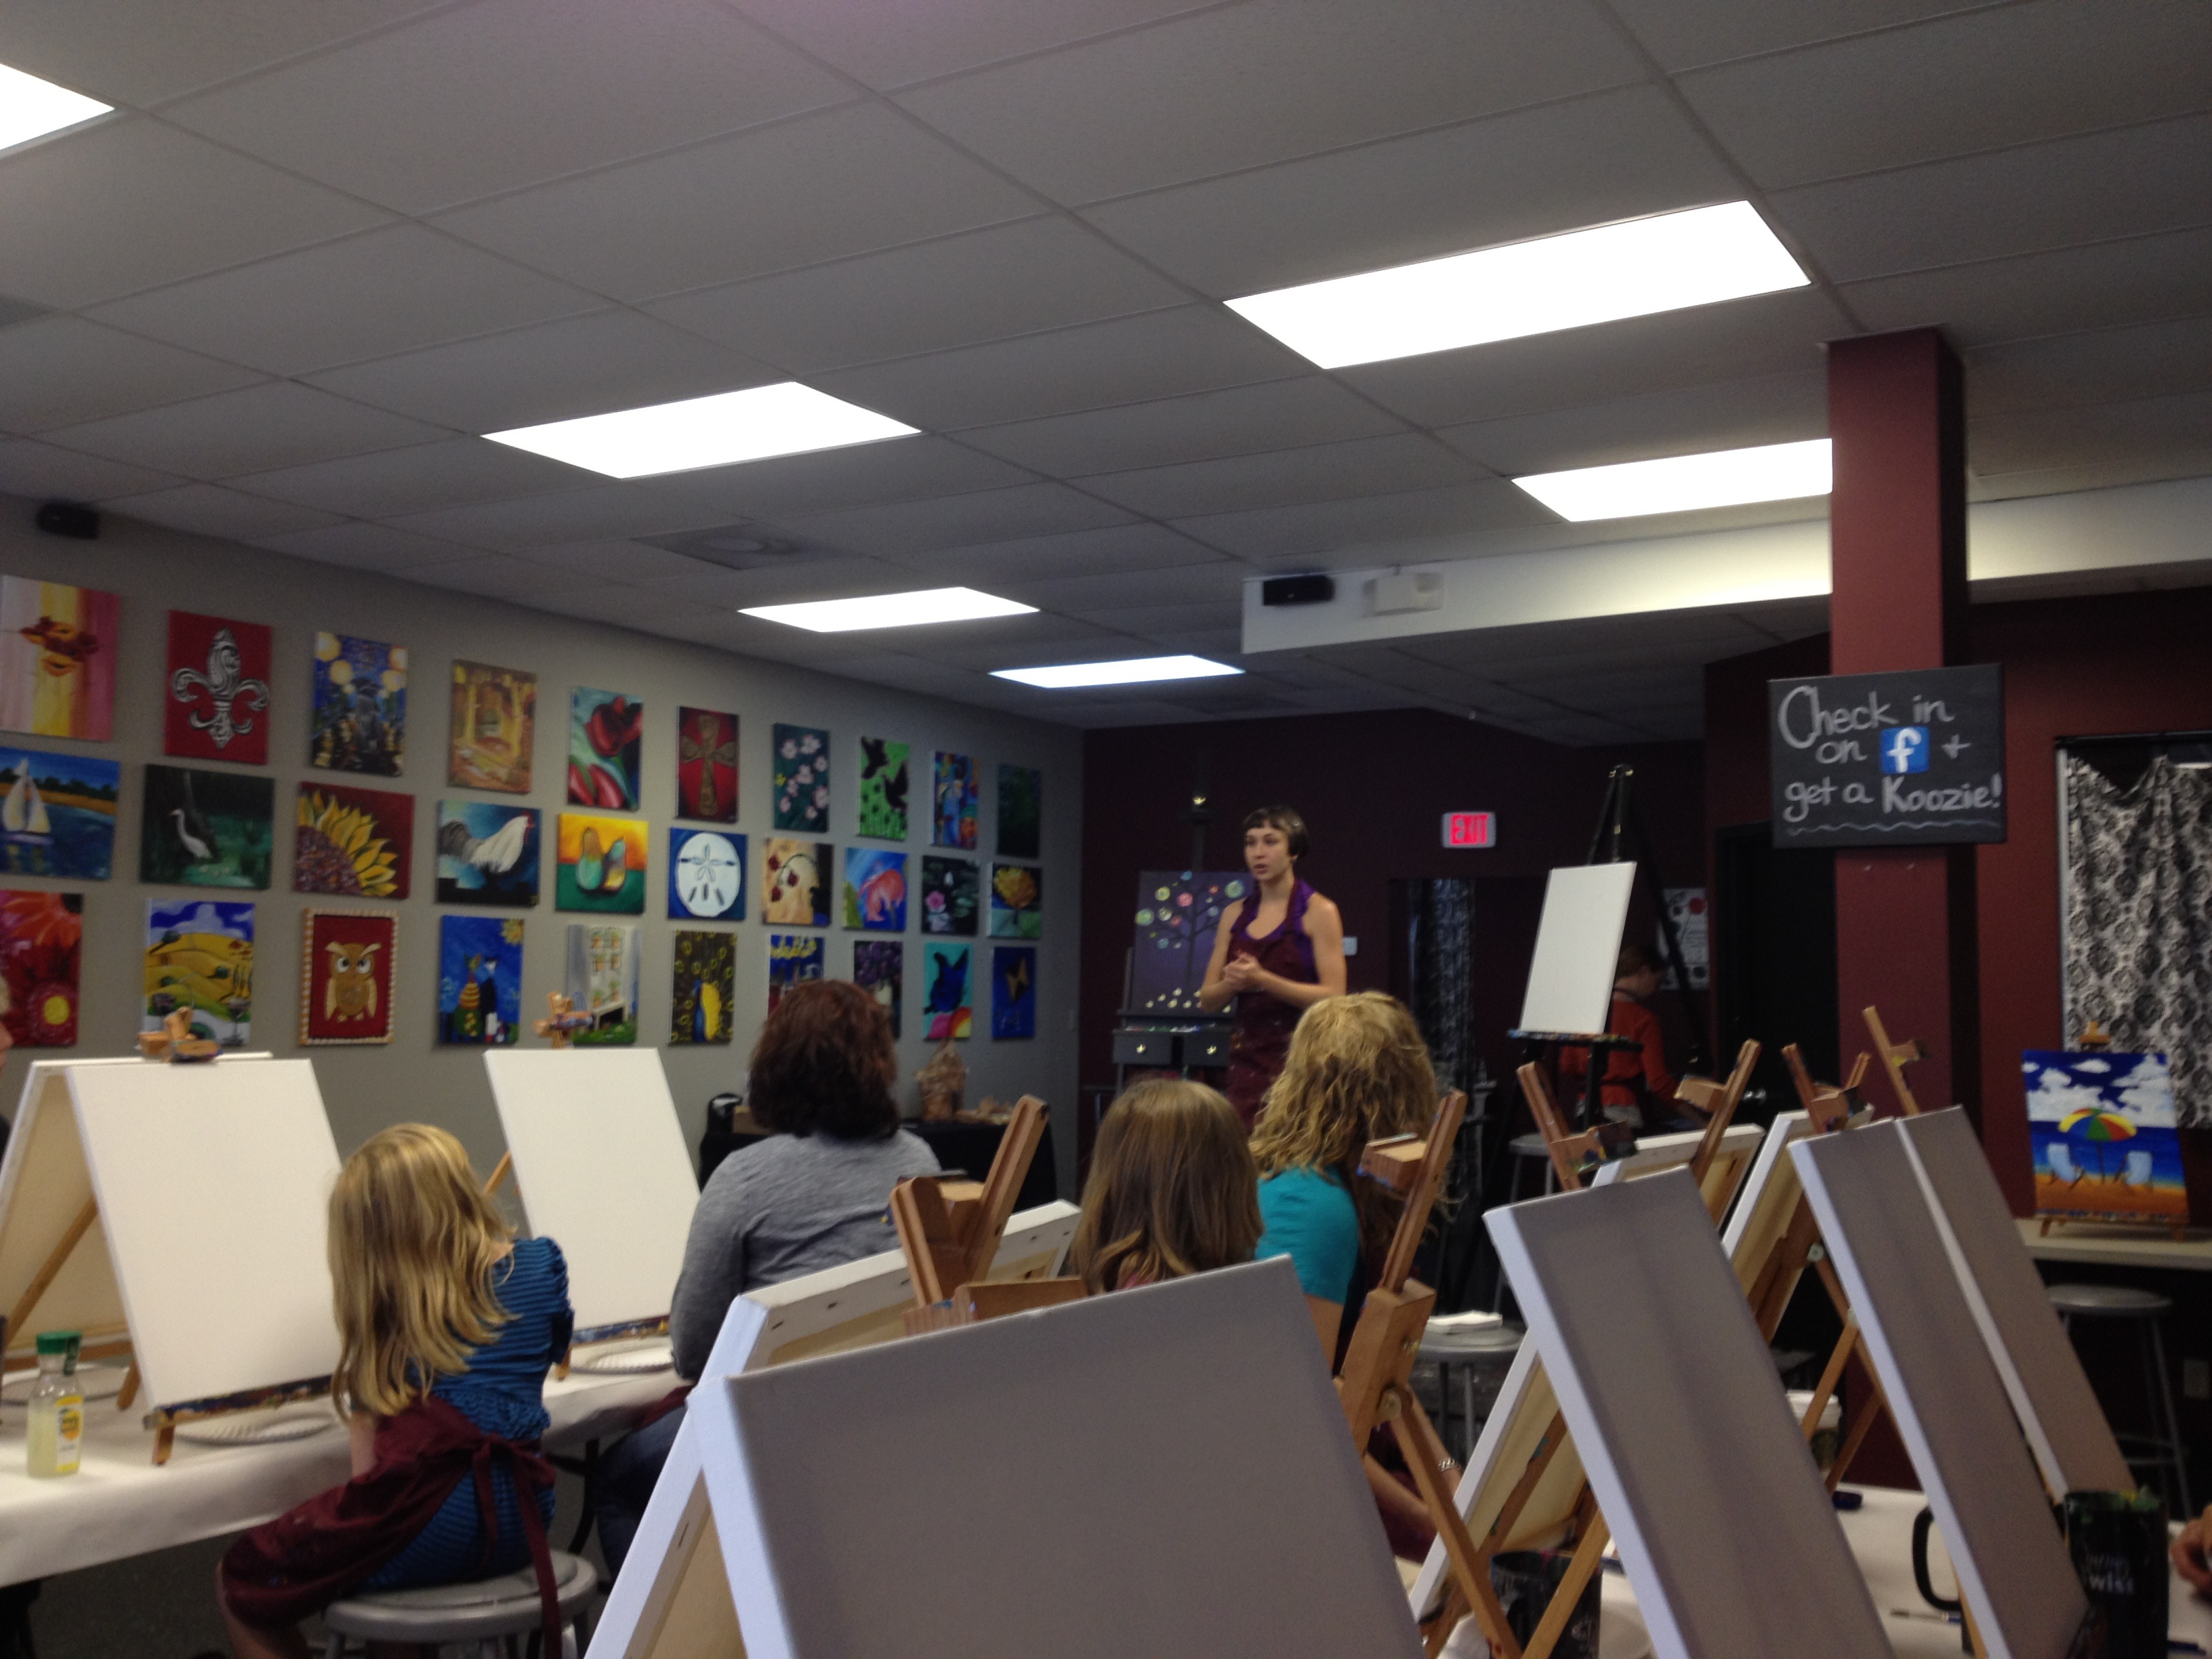
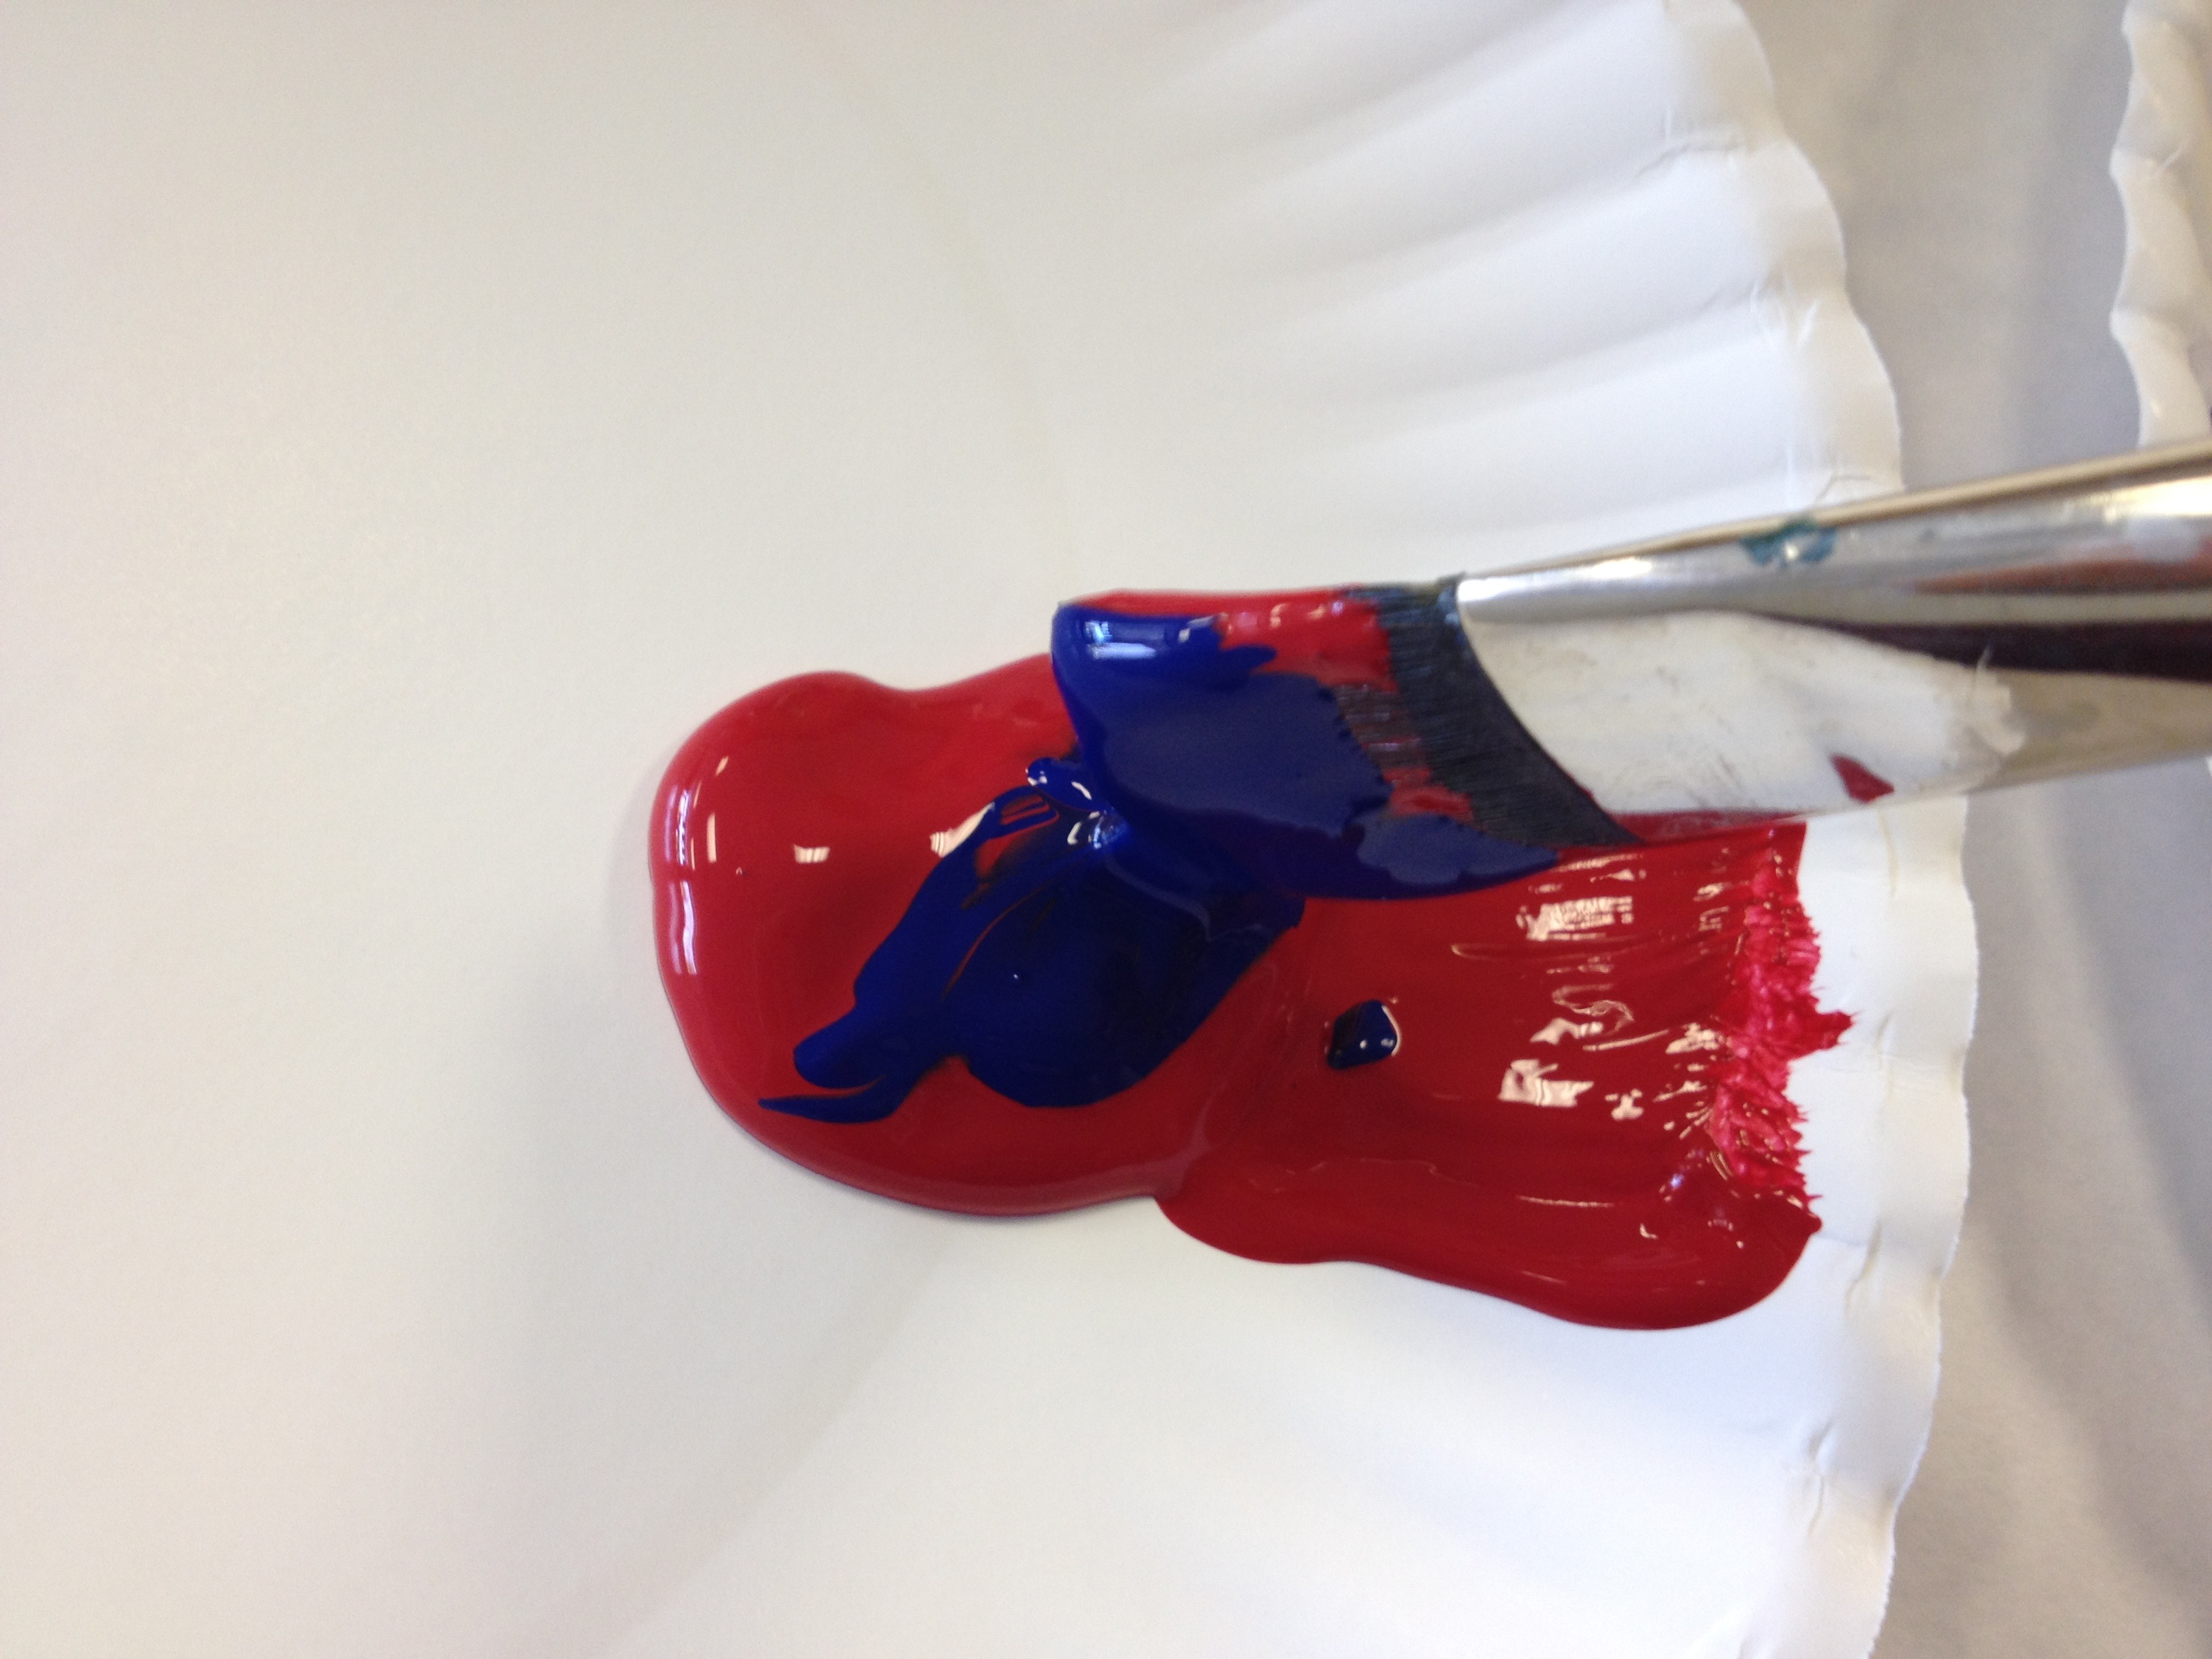
When we first arrived at Painting with a Twist, we checked-in and were given a blank canvas to set up at our station. At our stations, we had set up for us a plate of several gobs of paint, two paintbrushes, a cup of water to rinse the brushes and napkins.

When it was time to begin, our instructor took the stage to give us step-by-step instructions on how to paint our masterpieces. The instructions were super easy to follow.

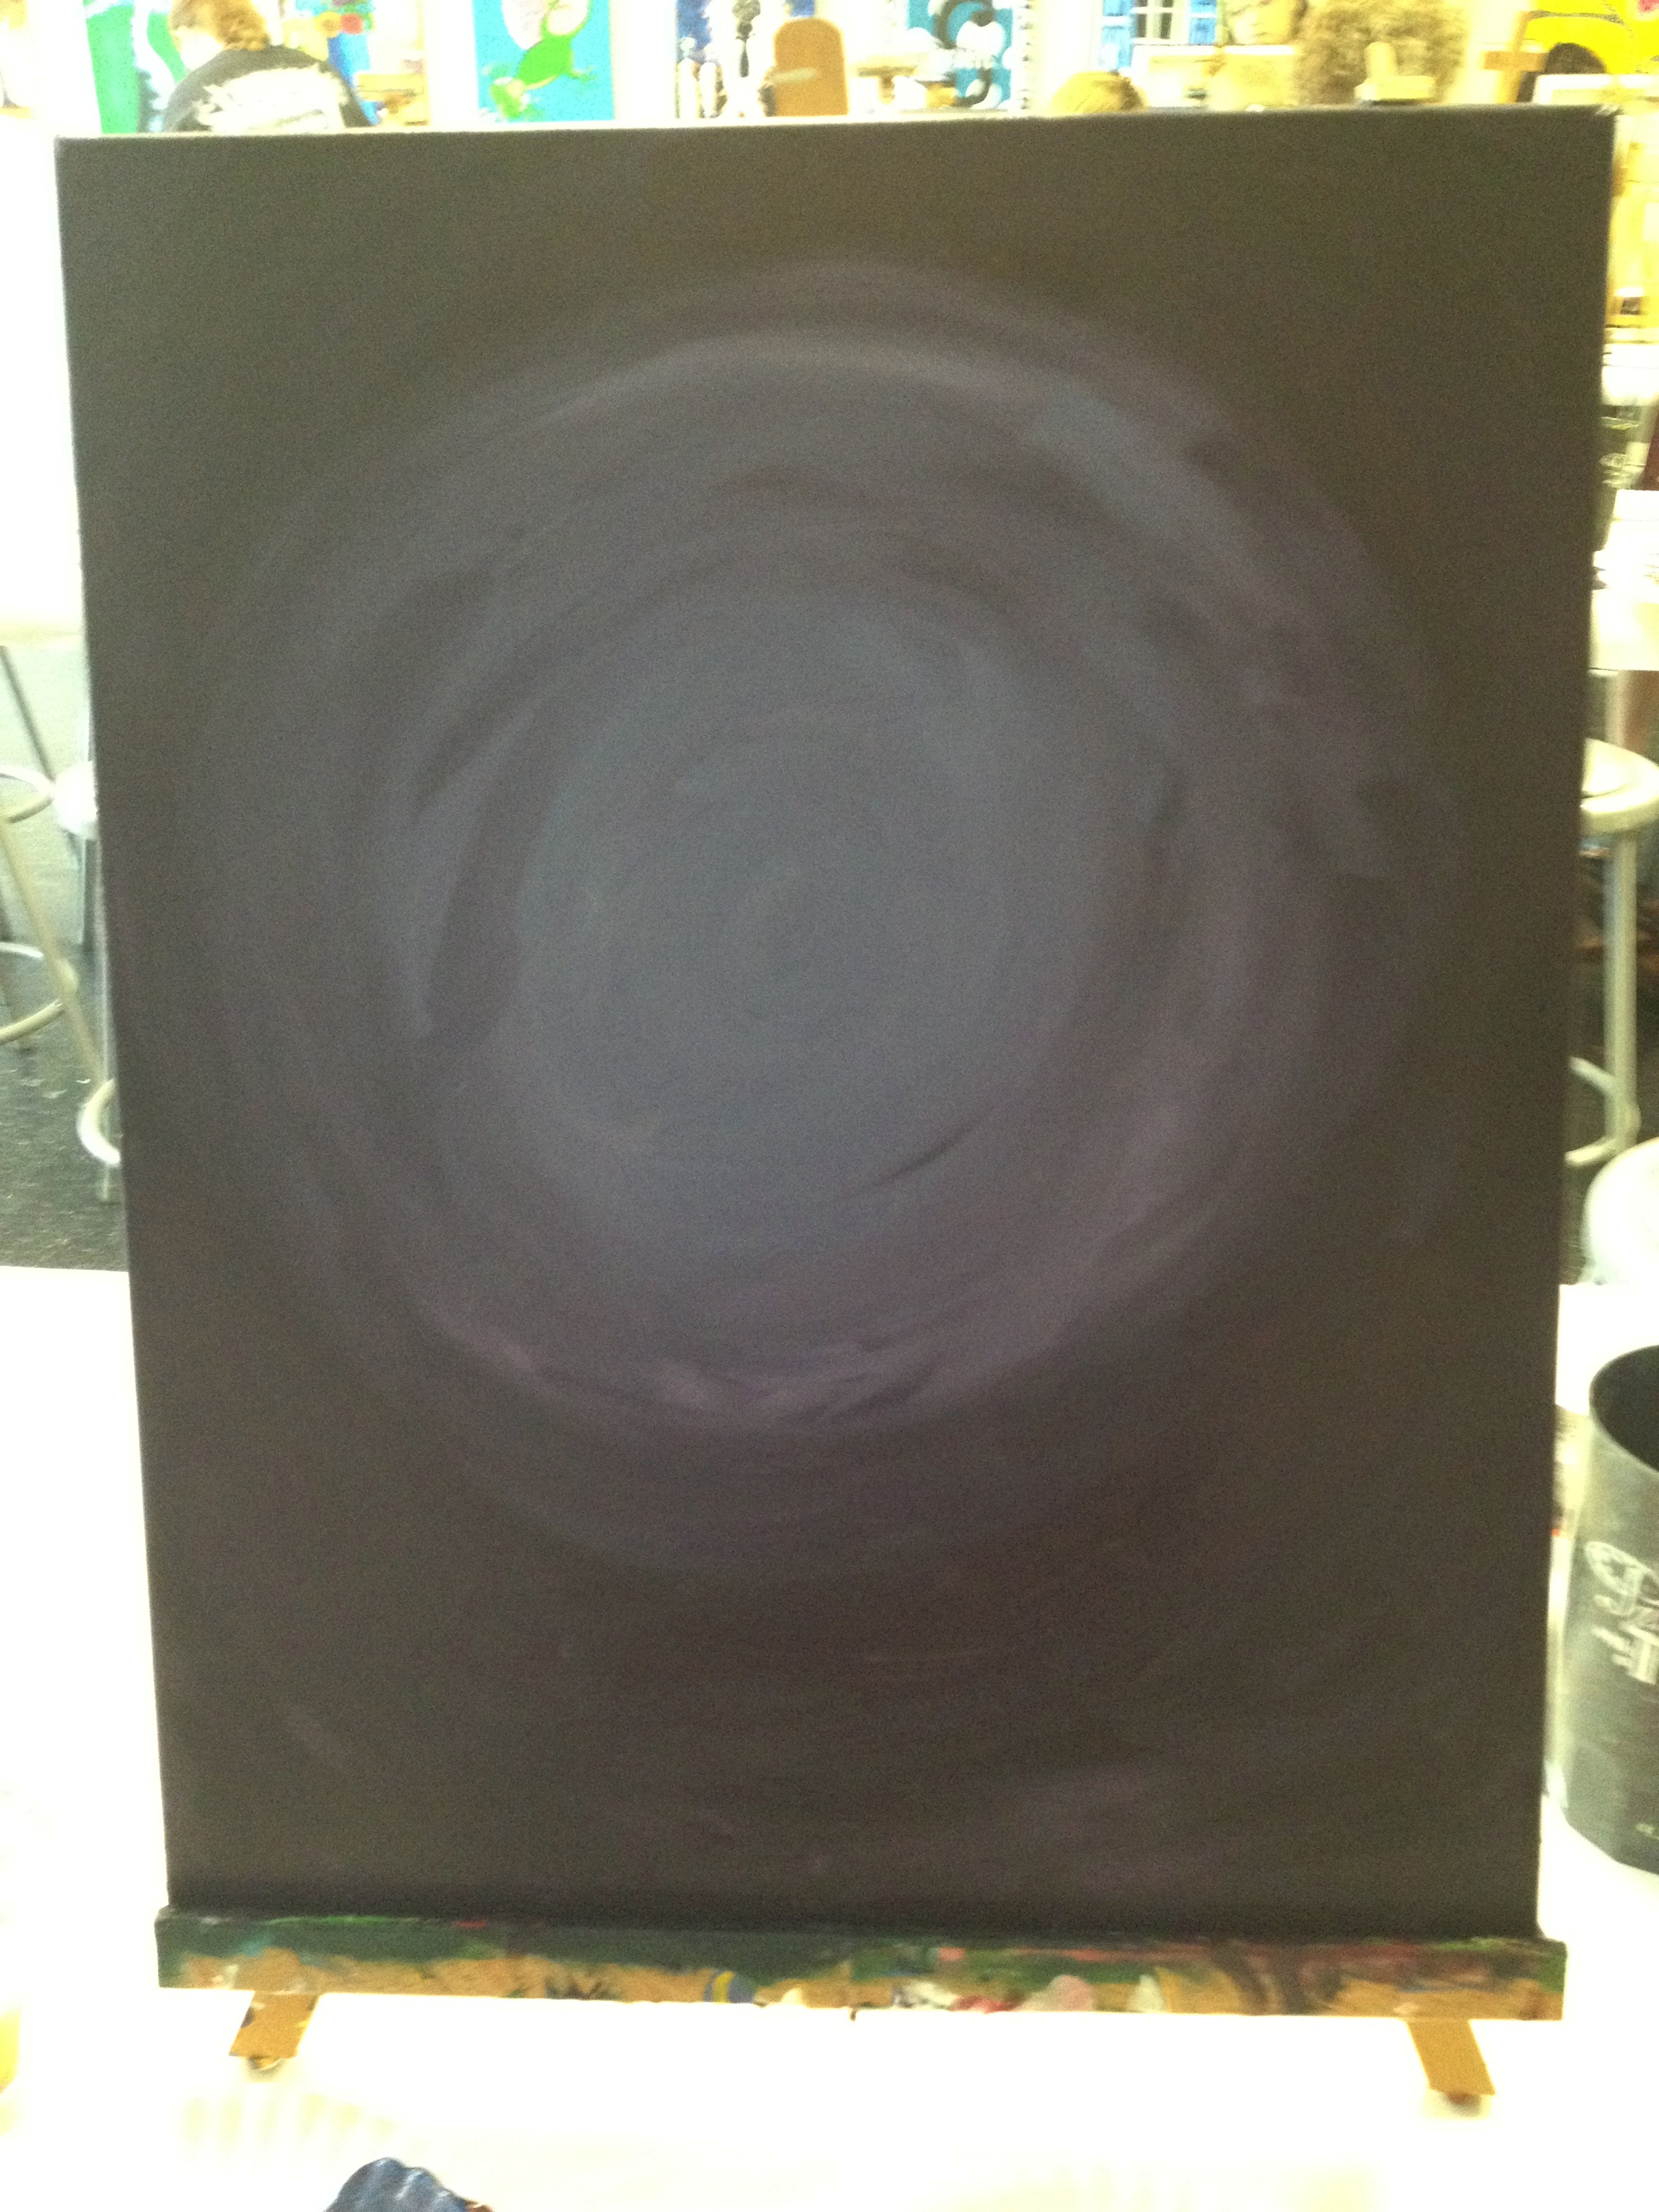
Our first step was to mix two brush scoops of red with one scoop of blue to make our purple background, then to paint the purple onto the canvas in a circular motion starting in the center of the canvas.

Then, we took white paint and painted in a circular motion starting in the center and working our way outward, so that it would mix with the purple background paint. Easy stuff!

Starting to get messy!

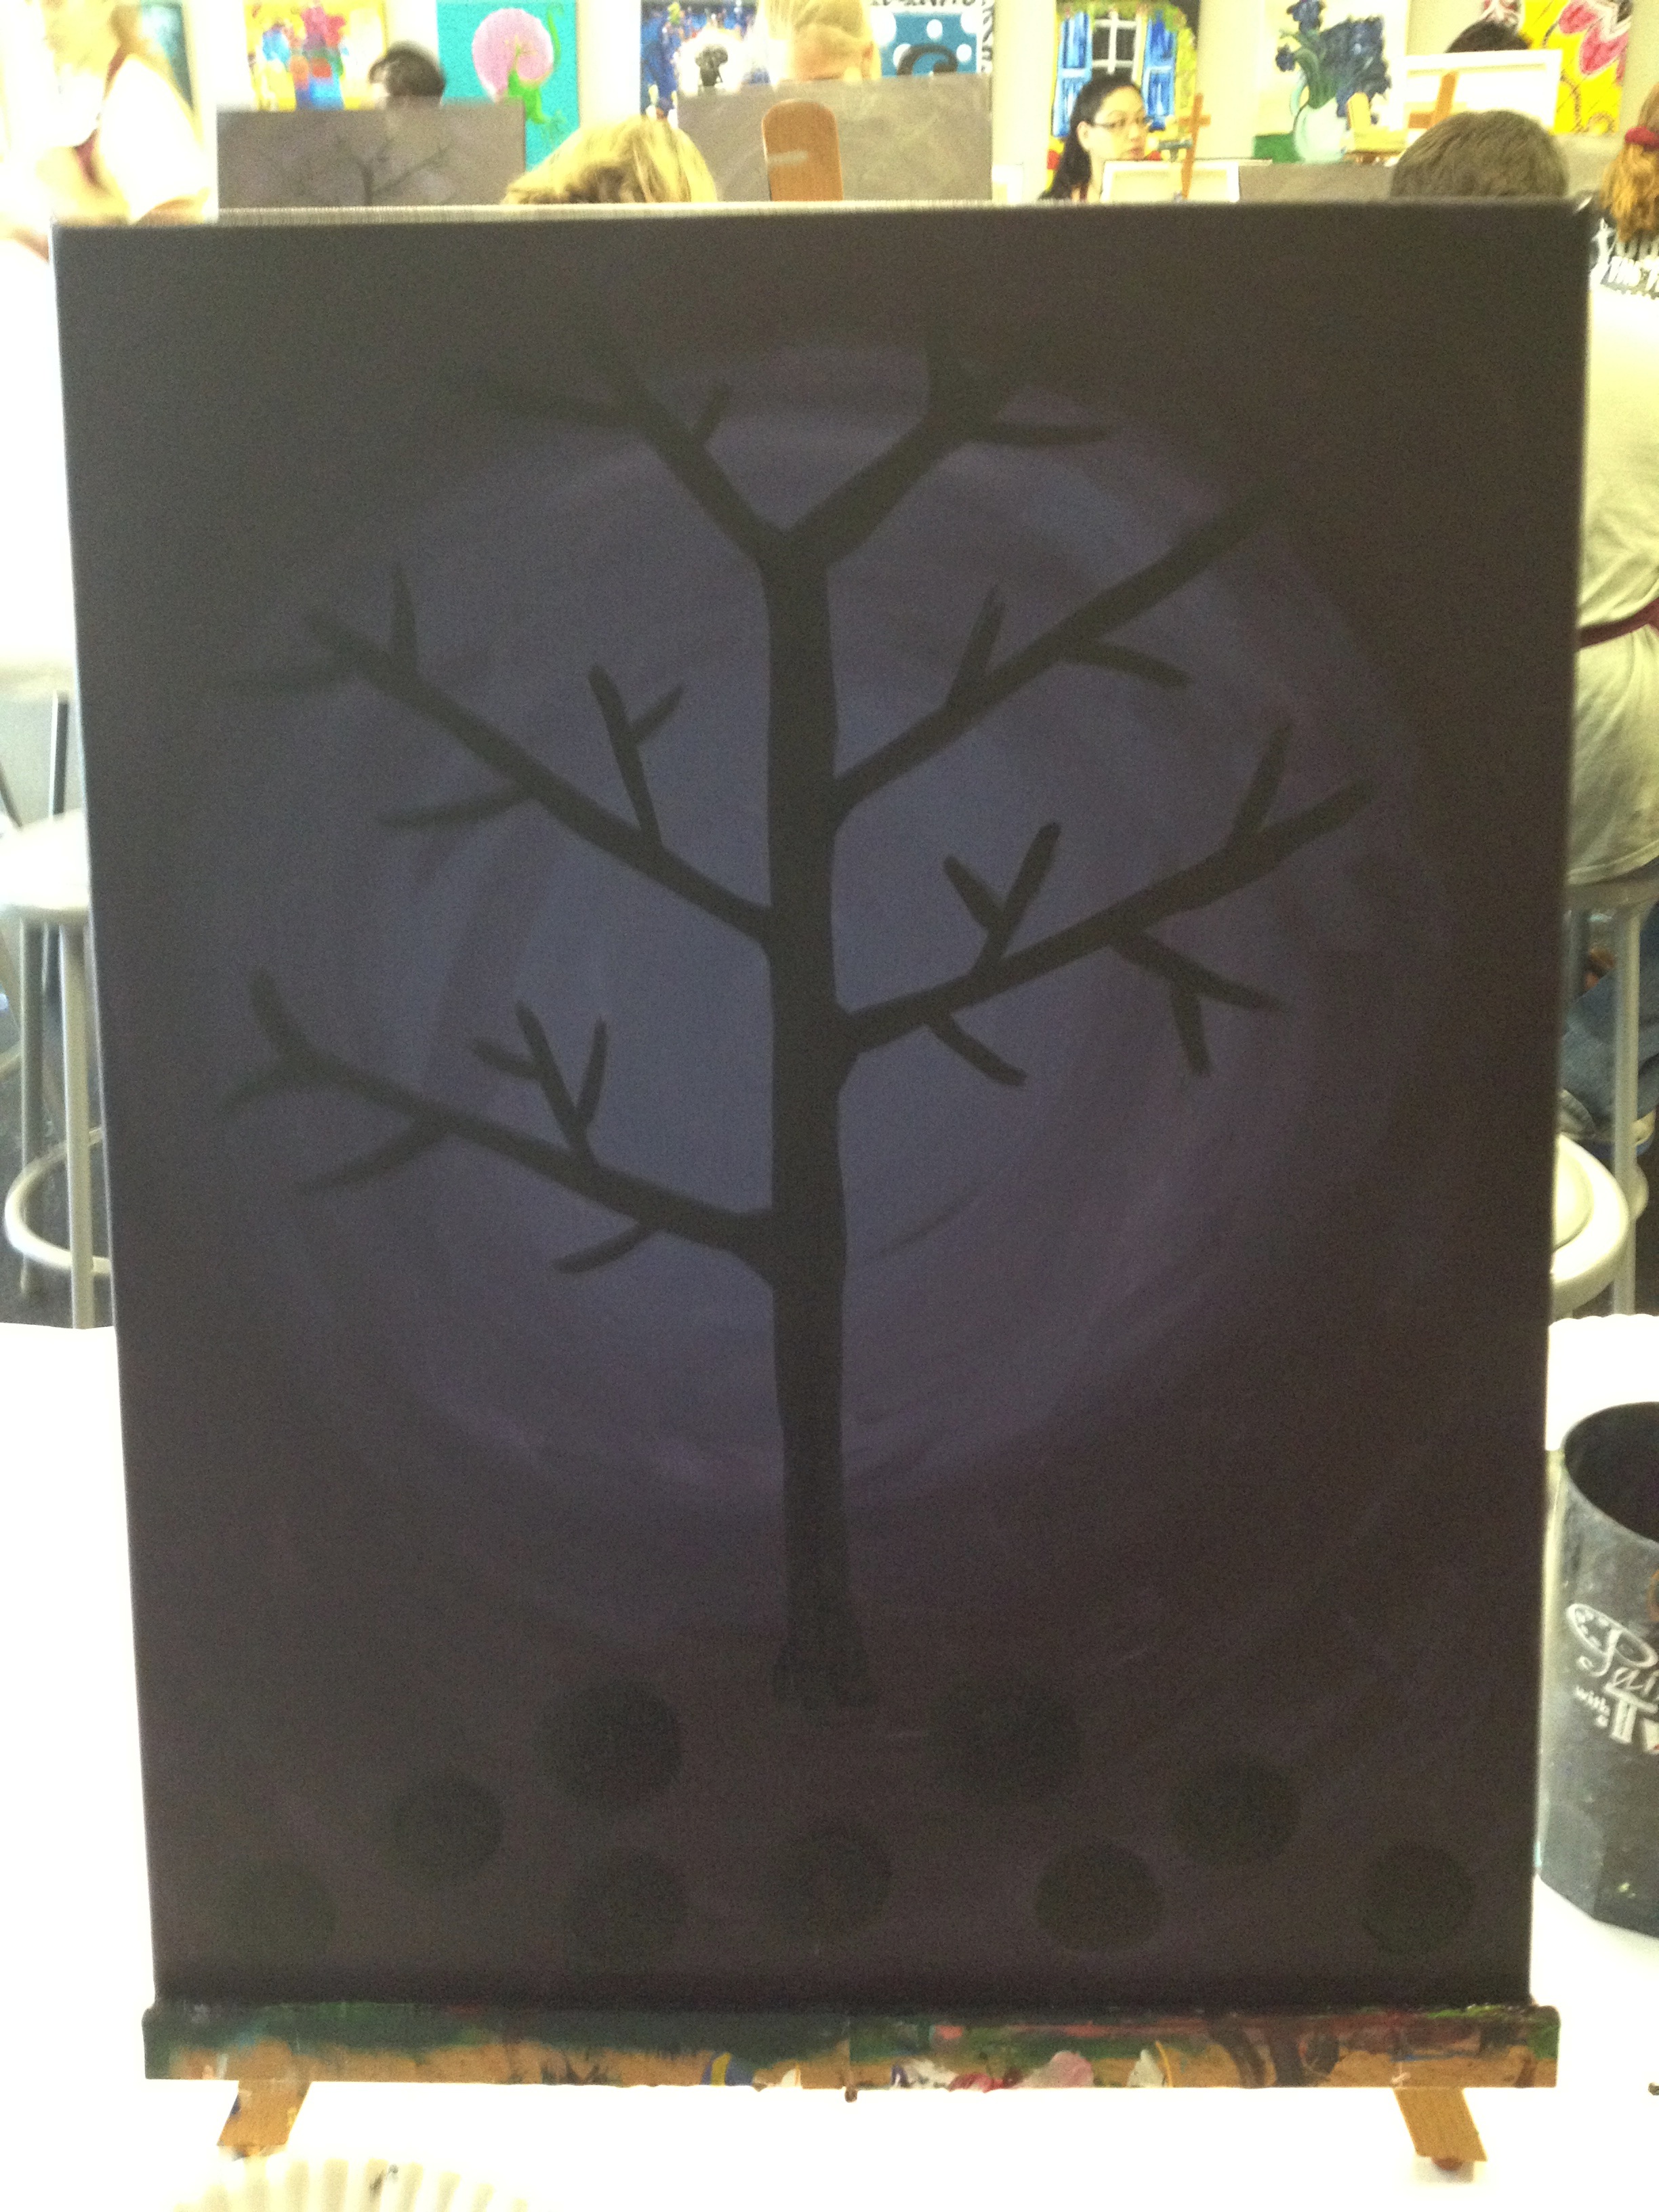
Then, it was time to draw our tree. From here, it was free painting basically. We all drew our flowers onto the canvas by mixing different paint colors together. At the end, we could use the provided blow dryers to dry our paintings before taking them home with us.

The finished product!

Oh yeah, just call us all artists now.

We had such a great time! I’ve already found the perfect spot for my painting in the house.

They also book private parties where you can pick any painting from their catalog, which sounds really fun too!

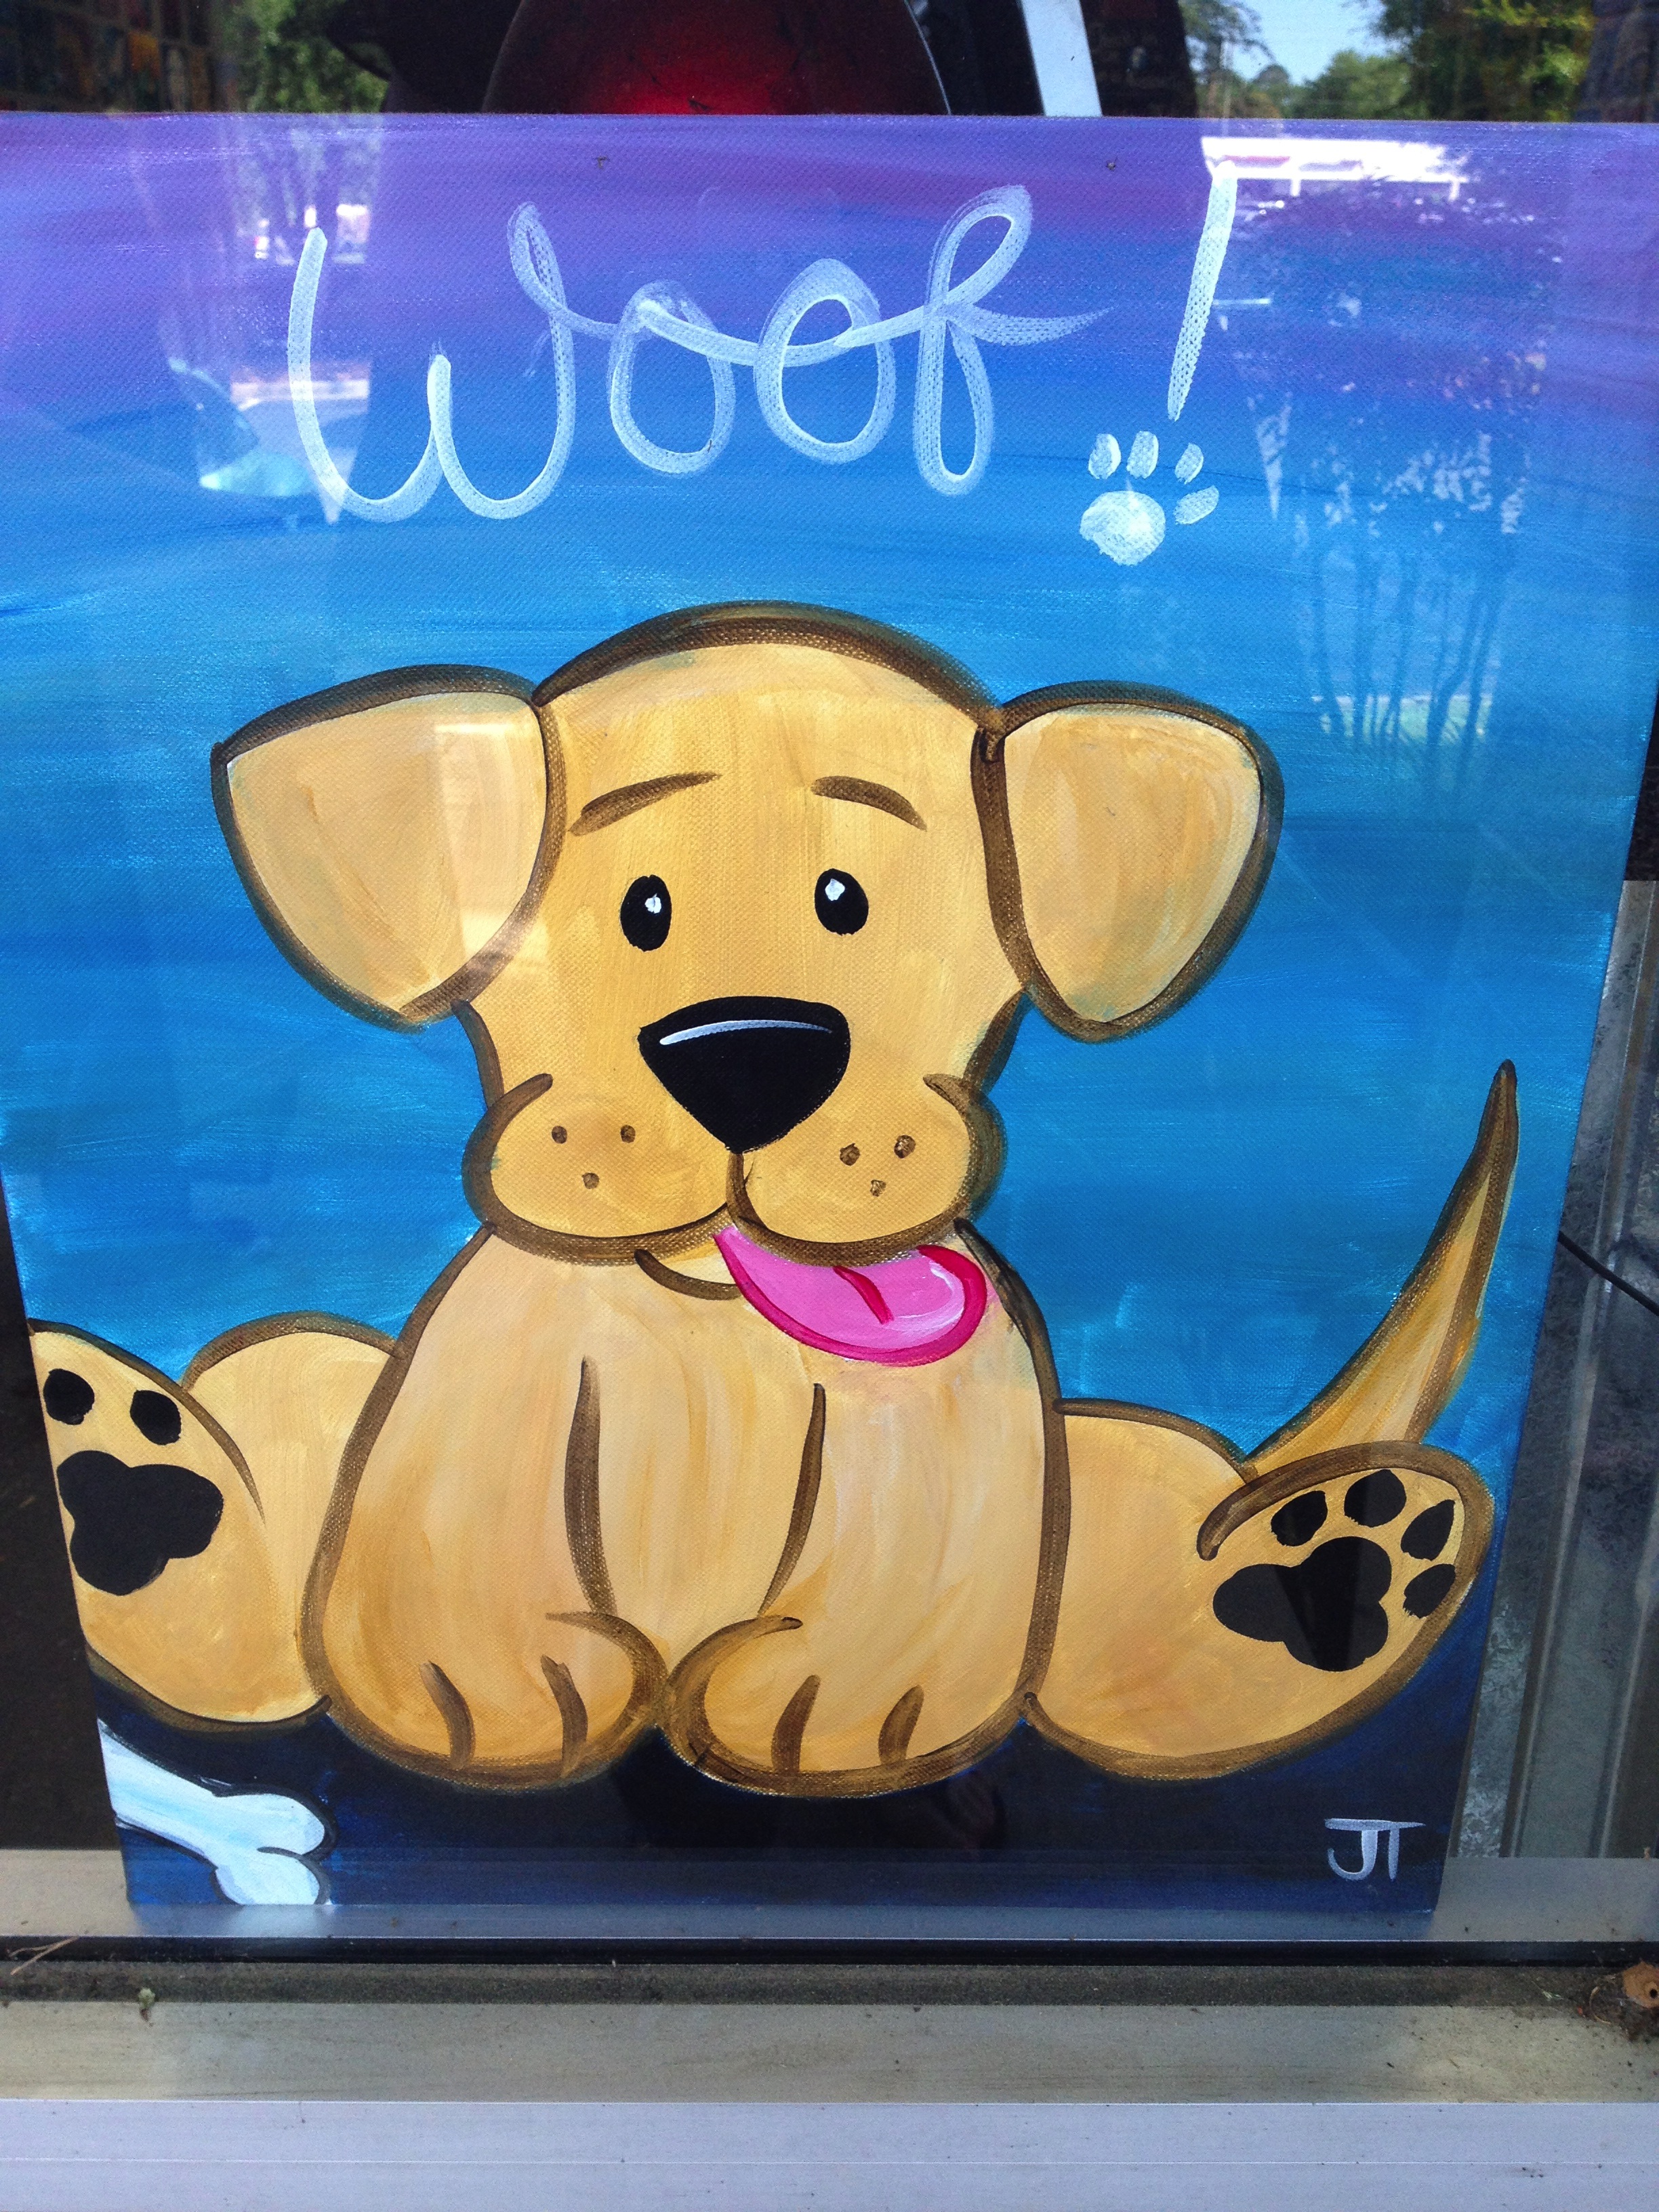
This particular day/time was considered Family Day, and there were several kids there that looked like they were having so much fun too! Maybe we will bring Trent here one day…maybe to paint this…

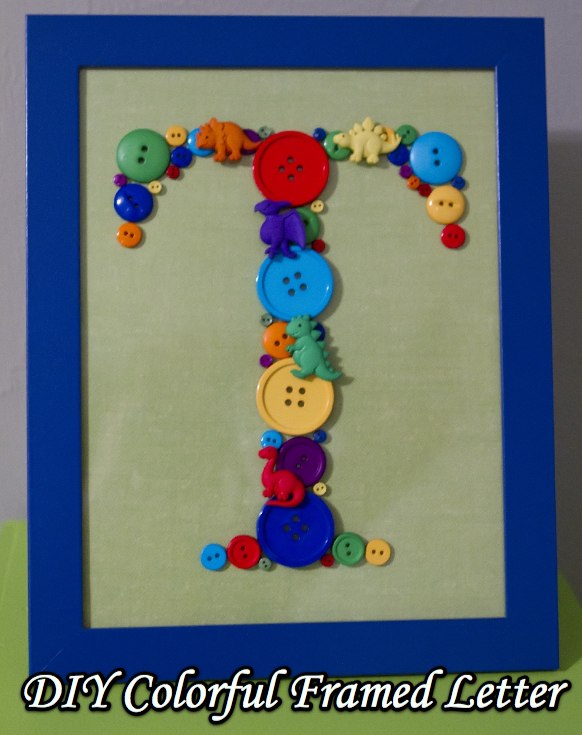
DIY Colorful Framed Letter

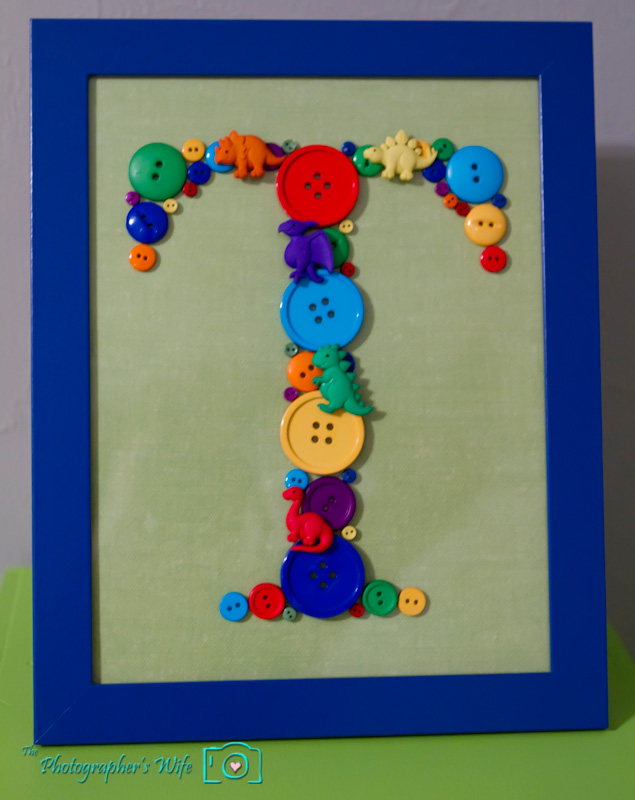
This framed letter project was one of the VERY first things I pinned on Pinterest! I never forgot about it and couldn’t wait to do it once we decided on Trent’s name.

It was super cheap and easy and you can make it unique to your color theme and child.

Supplies:

Frame (this one from IKEA was only $1.99!)

Colored scrapbook paper (for the background)

Different size buttons (choose colors to fit your theme)

Other unique buttons/pieces to add in (we chose dinosaurs!)

Hot glue gun

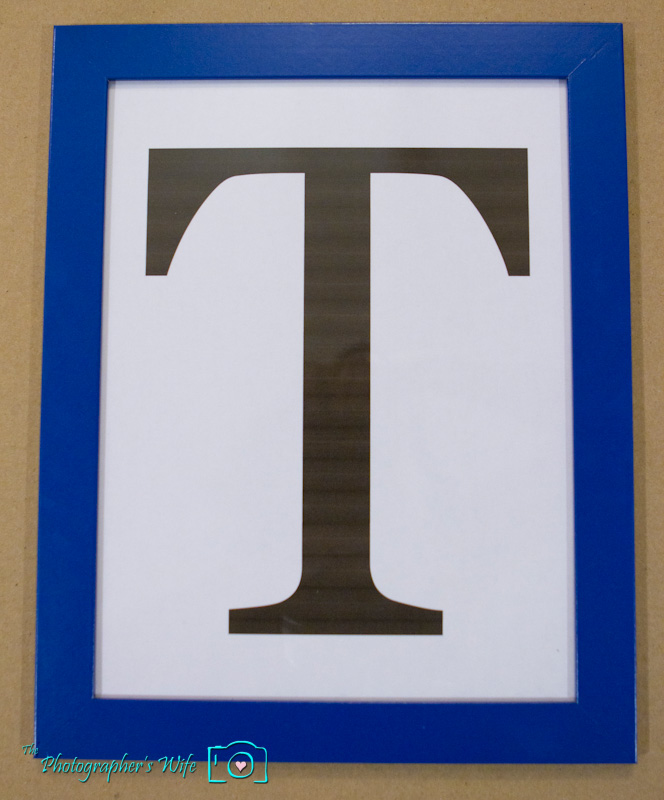
Print out the letter onto a sheet of paper and insert into the frame. This will be your guide on where to place the buttons. I attempted to create a T with the buttons without doing this first and it was taking forever!

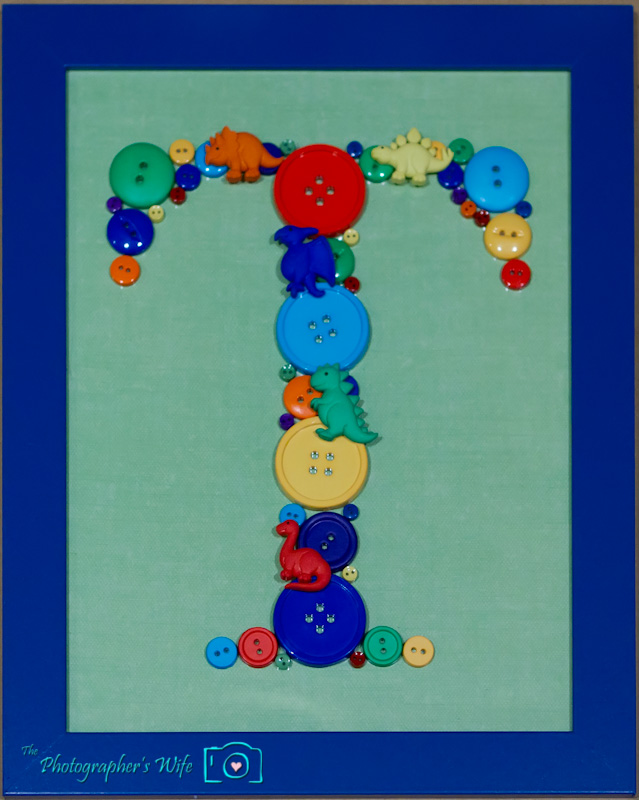
First, place the buttons in the spots that work best to fill in all of the letter, making sure to find spots for your unique buttons. Super small buttons came in handy to fill in the very small remaining spots. Next, pick up each button one at a time, place some hot glue on the back and press it back down in the exact spot you had it.

Remove the white sheet of paper with the letter on it and replace it with the colored scrapbook paper.

You’re left with your letter of choice!


View some of our DIY Projects from Trent’s Nursery!

DIY Jumbo Hanging Barrel of Monkeys

DIY Pirate Door Sign

DIY Growth Chart Ruler

Nursery Closet Makeover

DIY Scrabble Letter Blocks


The Photographer’s Wife fans, be sure to:

Subscribe to our posts

Like us on Facebook

Follow us on Twitter