Category Archives: Crafts

Easy Pom Pom Learning Toy Craft for Toddlers

Sometimes, it’s the simplest ideas and toys that can help a child learn motor skills and keep them entertained for hours. This toy is the perfect example that you don’t need to buy an expensive toy to achieve the above goals. We made this toy with items we already had at the house, so it was free for us, but if you were to have to purchase them, it would only be a couple of dollars.

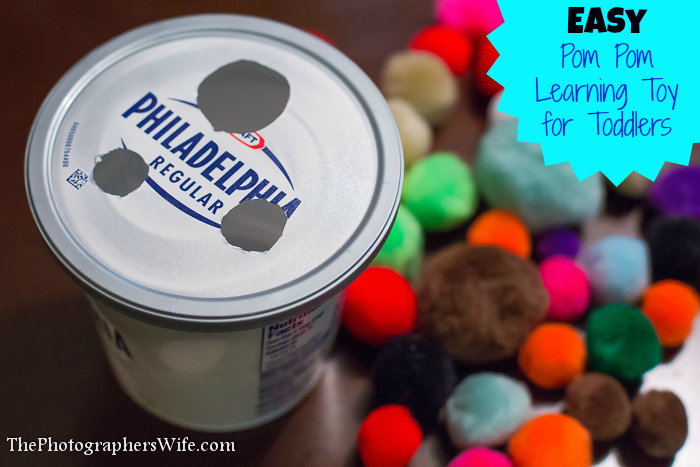
We used an empty cream cheese container (cleaned out, of course) and a bunch of pom pom balls in various sizes. You can use any type of plasti container with a lid…butter, cream cheese, sour cream, yogurt, etc. You can find the pom poms at your local craft store and probably at most mass retailers like Target and Walmart. Or here is perhaps the largest bag of pom pom balls I have ever seen and it’s still under $10.
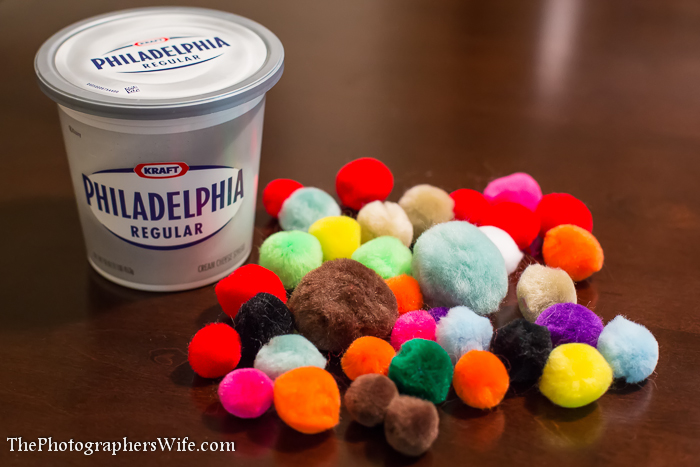
PomPom Toddler Toy-1

After the plastic container has been cleaned, cut a few holes of various sizes in the lid. We used a razor blade, but you could also use a knife.
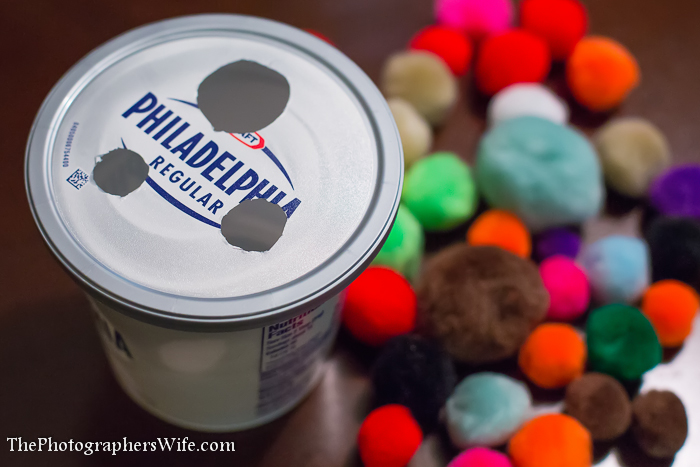
PomPom Toddler Toy-2

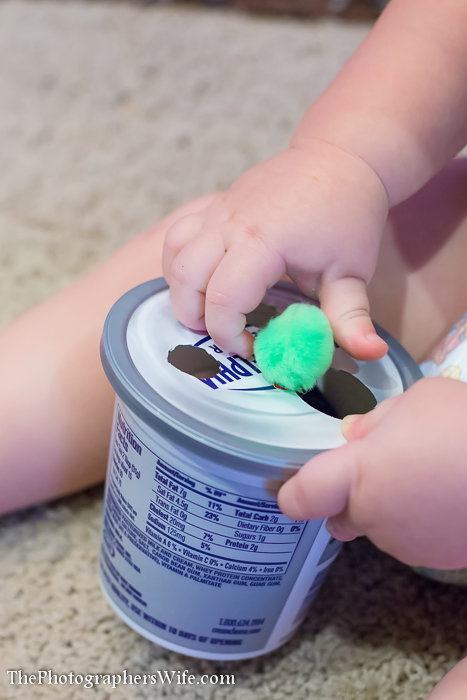
And that’s it! Told you it was easy. We handed Trent the container and set a bunch of pom pom balls near him and showed him what to do and he was off. He picked up on it right away and before we knew it, he had put all the balls into the container and was opening it to dump them back out again!
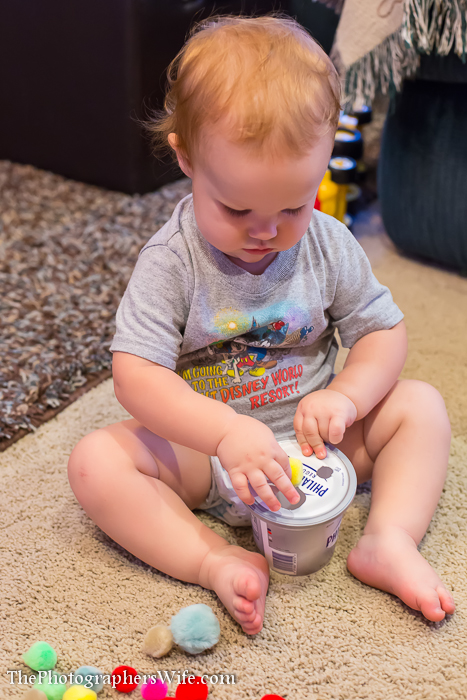
PomPom Toddler Toy-3

This helps him learn what size pom poms fit into each hole (although I think he outsmarted us and puts them all through the largest hole…).
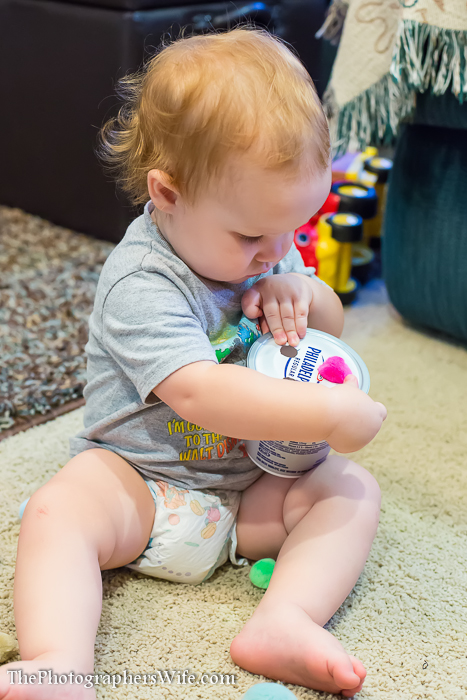
PomPom Toddler Toy-4

As you can see, pants are not required to fully enjoy this toy.
PomPom Toddler Toy-5

No joke, this toy has entertained him for hours since we made it about 2 weeks ago. He even had a friend come over last week that was interested in this toy more than most of the other toys.
PomPom Toddler Toy-2

Making toys like this makes me want to think of/find other simple, educational type toys to make…preferably with stuff we already have laying around the house. Have any ideas that you’ve done or seen? I’d love to hear about them in the comments or on our Facebook page!


xoxo
Lynn

Like us on Facebook | Follow on Pinterest | Subscribe on YouTube | Follow on Instagram
Monster Party Utensil Holders

Have you gotten enough monsters yet? Of course not!

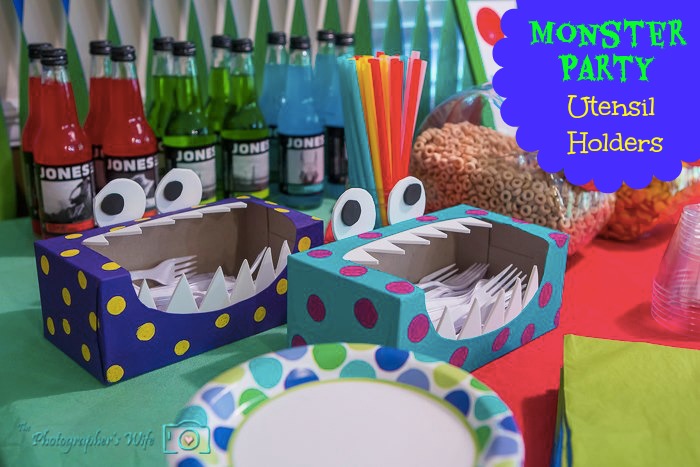
The remaining monster craft project from Trent’s monster 1st birthday party that I’m sharing are these monster utensil holders made out of tissue boxes.

Monster Party Utensil Holders

Stuff we used:

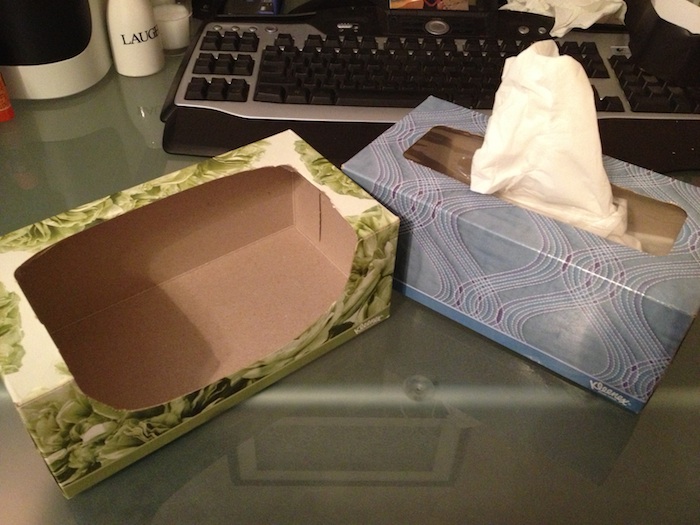
2 long tissue boxes
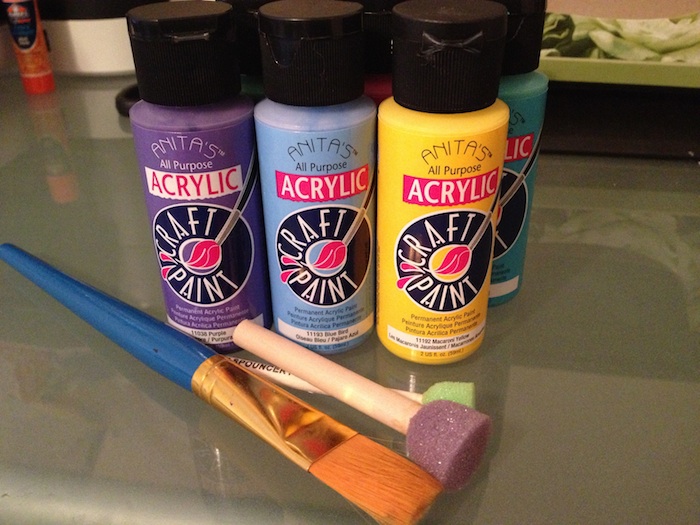
Acrylic paint
Small paint or foam brush
Small dot paint sponge
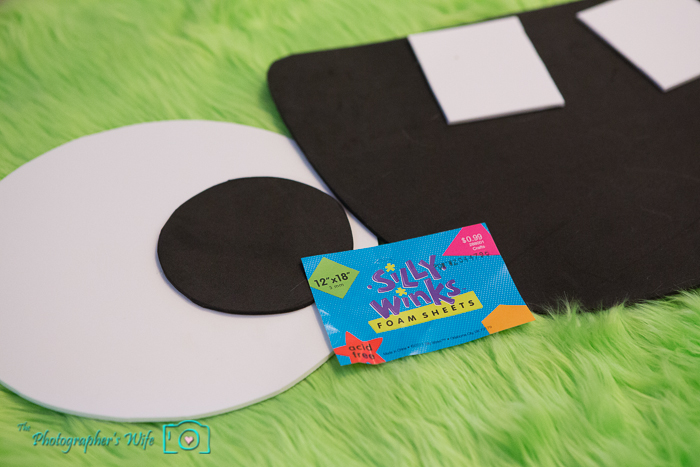
Foam sheets in black and white
Hot glue gun and glue

{Warning! iPhone photos ahead!}

Monster boxes 2

Luckily, we were in need of tissues since we were sick before his party (Dear lady in the elevator at Disney World: thank you for sneezing AFTER the elevator door closed AFTER I held the door open so you could enterɉ۪preciate it)

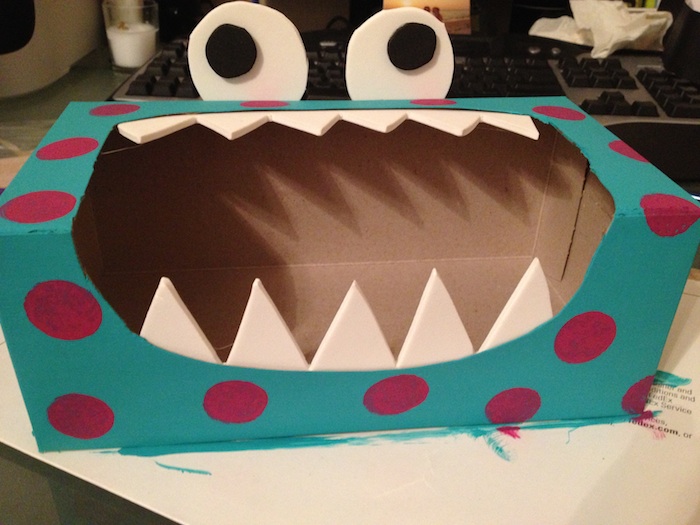
So we purchased 2 long tissue boxes, removed the plastic and cut the mouth by extending the opening that was already there.

Monster boxes 3

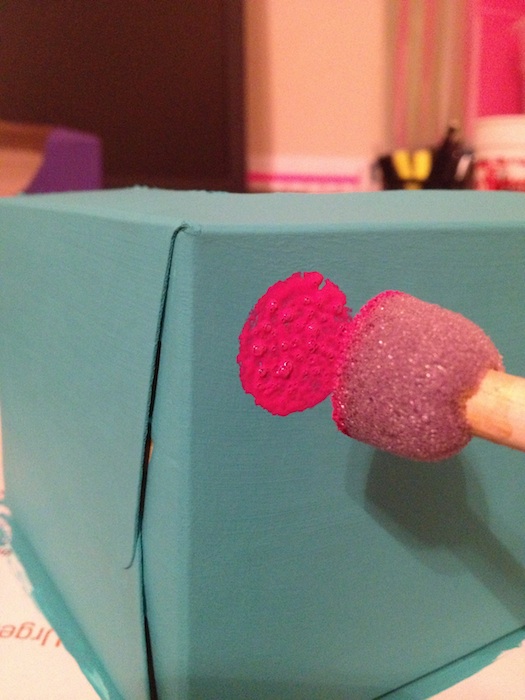
Then, I painted the entire boxes with acrylic paint (except the bottom) - I picked bright colors, not all monsters are dark and scary ;)

It took 2-3 coats to cover the flower decoration on the box. Then, I took a small dot sponge, and painted dots of a different color paint all around the box.

Monster Boxes 1

Then, I cut out teeth from the white foam board, and hot glued them to the inside of the mouth. Chomp, chomp yo.

Monster boxes 4

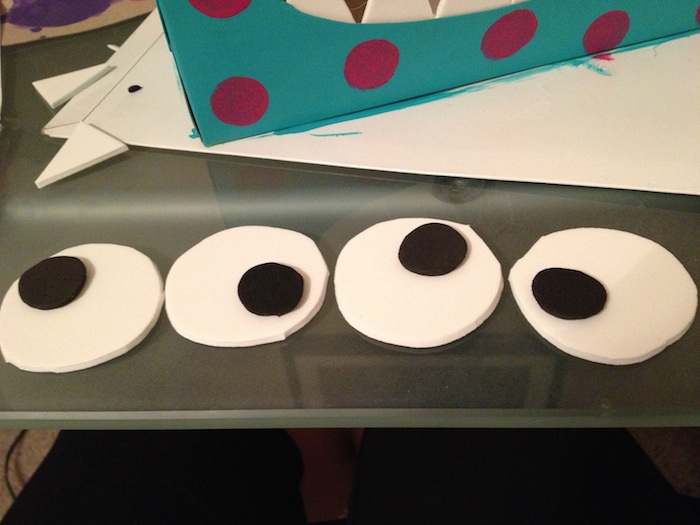
For the eyes, I cut out 4 large circles from the white foam sheet, and 4 small circles from the black foam sheet. I glued the black circles onto the white circles. I put them in all different directions to make for a more kooky crazy monster.

Monster boxes 5

Then, I glued the eyes onto the back of the tissue boxes.

Monster boxes 7

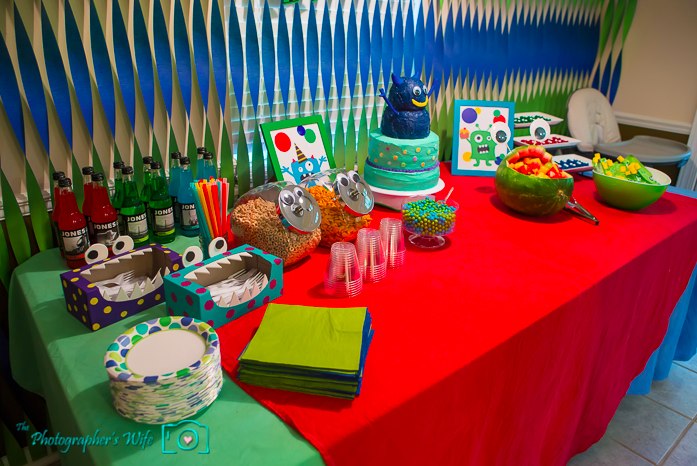
We filled them with utensils and were ready to party!

A Monster First Birthday Party - The Photographer_s Wife-1

You can see the full Monster 1st Birthday Party post, with lots of photos, a shopping list and other DIY projects HERE!


xoxo
Lynn

Subscribe by email | Like us on Facebook | Follow us on Pinterest | Subscribe on YouTube


Monster Party Favor Bags

You can see the full Monster 1st Birthday Party post, with lots of photos, a shopping list and other DIY projects HERE!


Even though our little guy was just turning 1 and all his friends were around that age too, we still put quite a bit of thought into the goody bags. We were really taking our monster theme very serious!

Trents First Bday-12

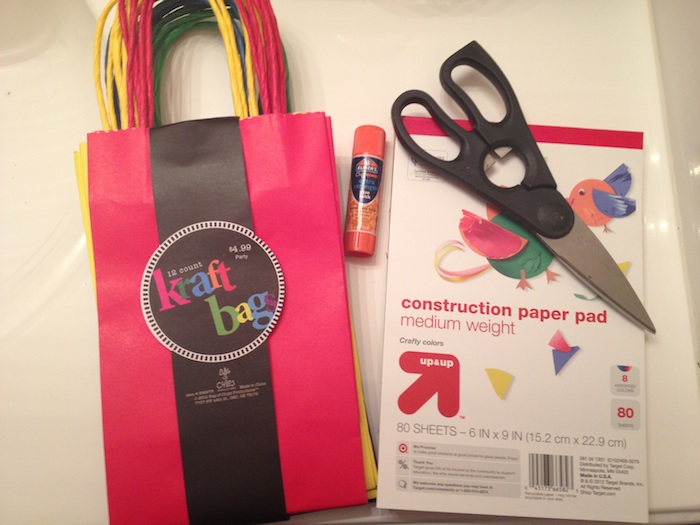
Stuff we used:

Colorful paper bags with handles
Booklet of construction paper (I had this leftover from Valentine’s Day)
Scissors
Glue stick

Monster favor bags 3

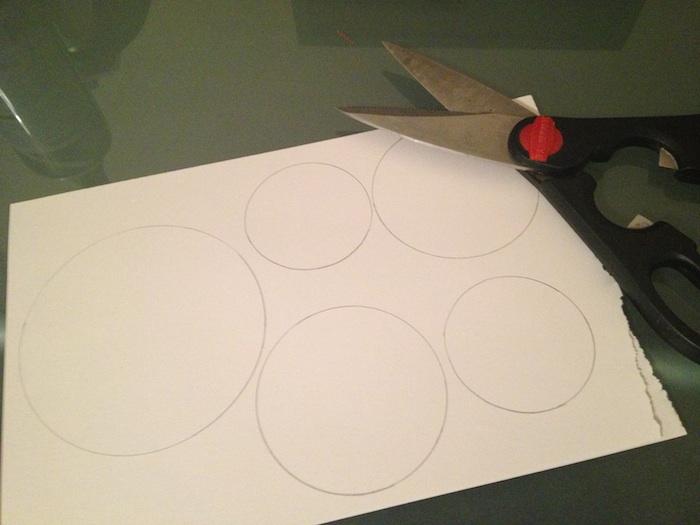
Cut out eyes from the white sheets of construction paper. I used random objects from around the house to draw my circles.

Monster favor bags 4

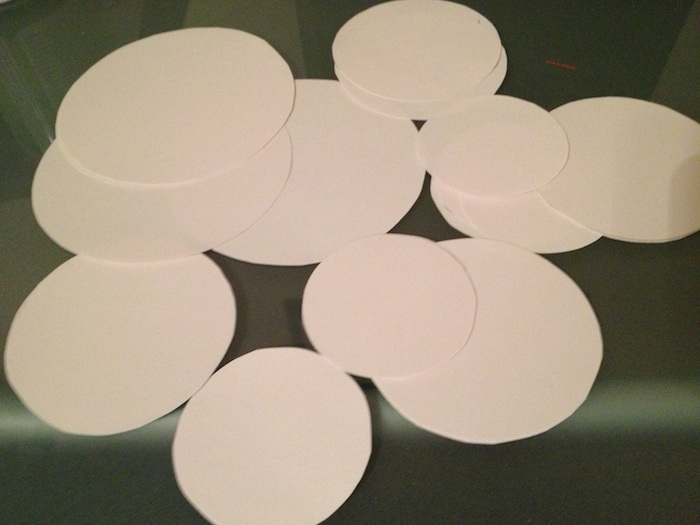
Monster favor bags 5

I cut a few large circles to make a few cyclops monsters, and then 2 other sizes to make kooky-eyed monsters.

Monster favor bags 6

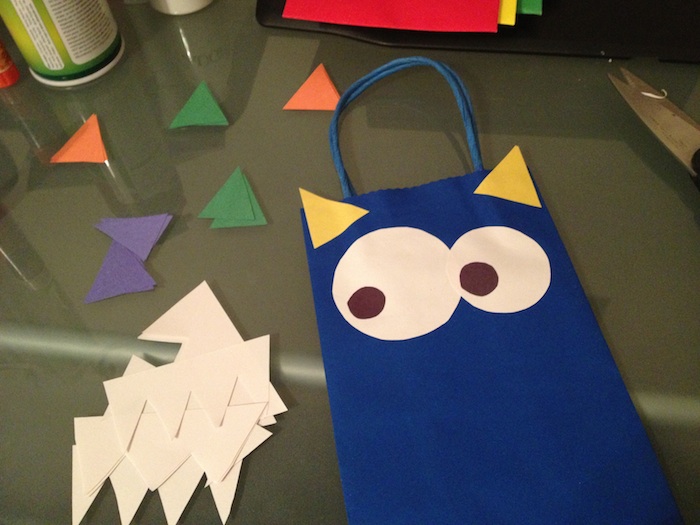
Cut out small circles from the black construction paper as the pupils of the eyes. Cut out teeth from the white construction paper. Cut out horns from the colored paper. Glue the small black circles onto the large white circles - I glued them on in all different directions to make them kooky-eyed monsters!

{You can tell I got super into it because I forgot to take photos of each of those steps…oops!}

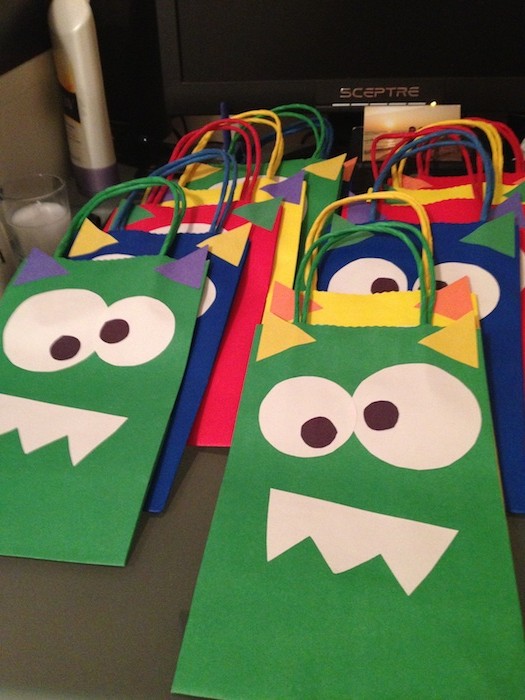
Glue the eyes and teeth onto the main part of the bags and the horns onto the top corners of the bags.

Monster favor bags 2

Monster favor bags 1

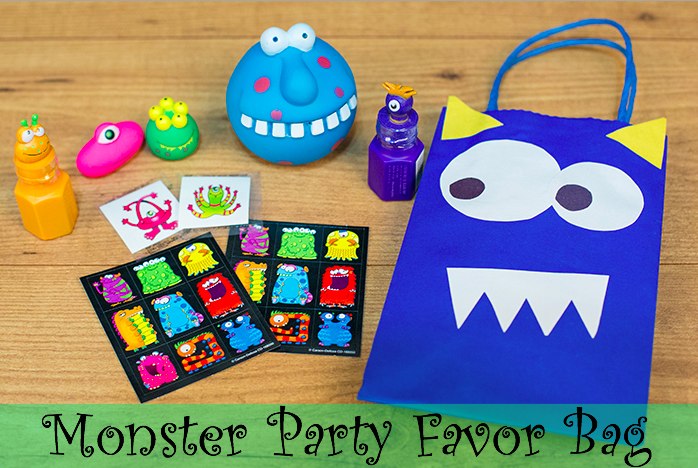
Open them up and they are ready to be filled with goodies! Here’s what we filled ours with, a bunch of monster fun!

Monster favor bag-1

Here’s a list of what we put in our monster favor bags:

Colorful bags – Hobby Lobby (or similar here)
Monster squirt balls
Monster tattoos
Monster stickers
Monster bubbles
Monster finger puppets
You can see the full Monster 1st Birthday Party post, with lots of photos, a shopping list and other DIY projects HERE!
xoxo
Lynn

Subscribe by email | Like us on Facebook | Follow us on Pinterest | Subscribe on YouTube

Monster Party Bean Bag Toss

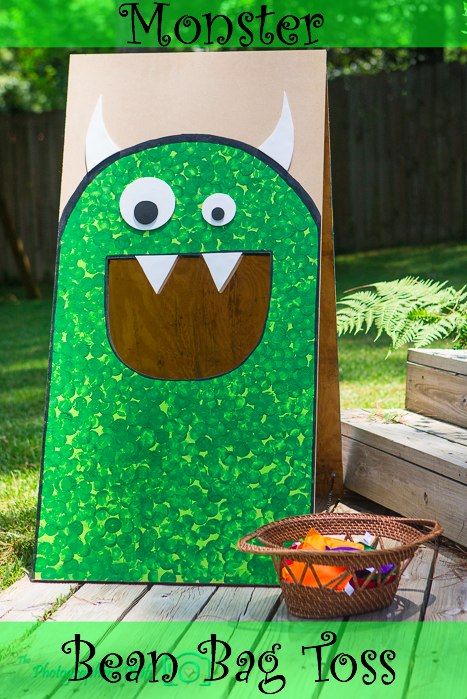
Knowing that Trent’s 1st birthday monster party was going to mostly be outside, we wanted to include a lawn game for kids (and adults too!) to play with when they weren’t in the pool. So we created a Monster bean bag toss!

Monster bean bag toss-11

Stuff we used:
2 large sheets of wood
Green paint
Dot sponge
White and black foam sheets
2 door hinges and required screws
2 small chains and 4 screw and washer sets
Bean bags


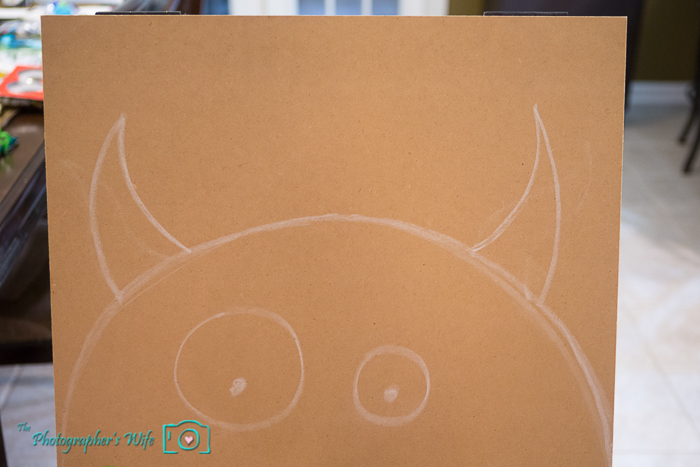
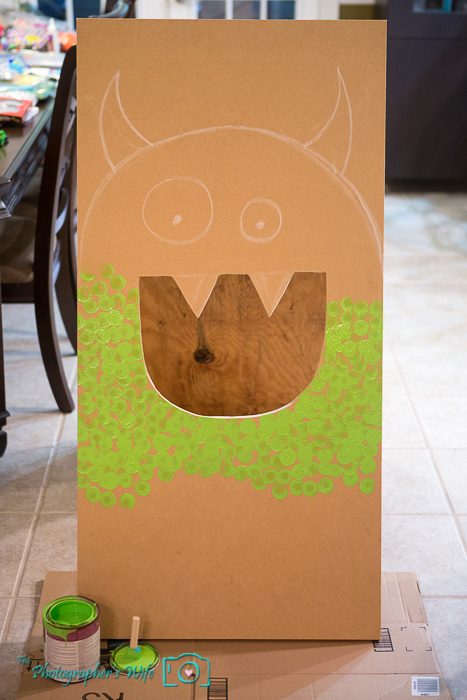
First, we drew an outline of the monster we wanted to make.

Monster bean bag toss-2

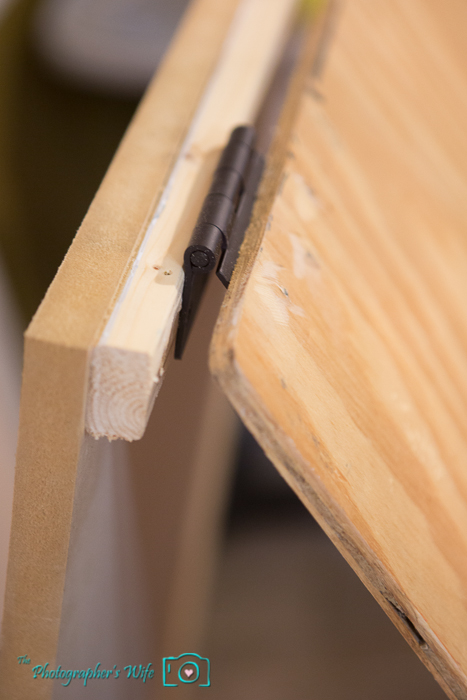
Then we screwed on the door hinges to the top inside of the piece of wood with the monster on it to the top of the other sheet of wood…this makes a V with the 2 sheets of wood.

Monster bean bag toss-3

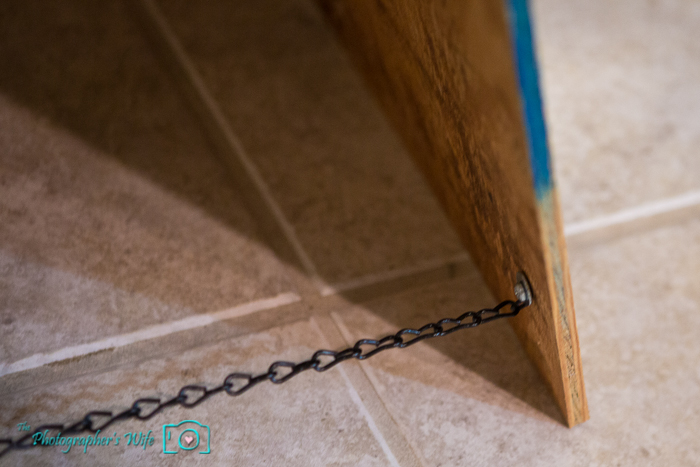
Screw the chains onto the bottom of the sheets, connecting the sheets together. The door hinges and chains allow the sheets to fold flat and to extend out and stand in the grass independently.

Monster bean bag toss-4

We cut out the mouth using a jigsaw. This will be where the bean bags get thrown into, so keep that in mind when deciding how big (easy) or small (difficult) to make the mouth opening. Sorry, we forgot to take a photo immediately after this step, but you’ll be able to see the opening in the rest of the photos.

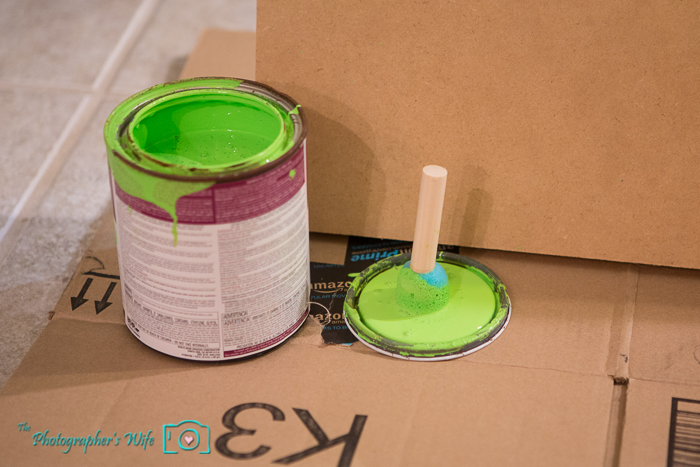
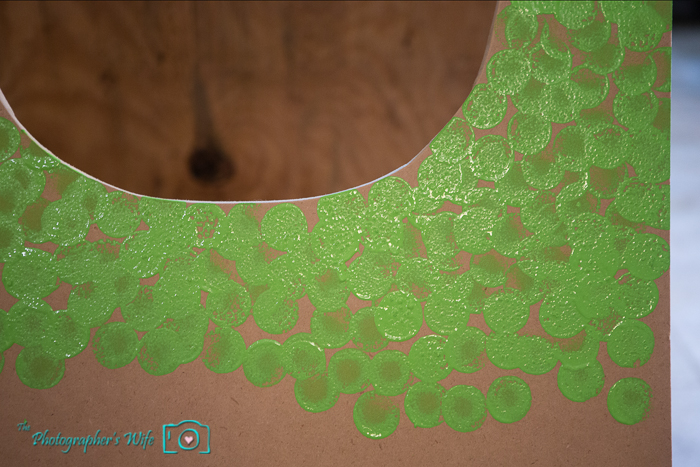
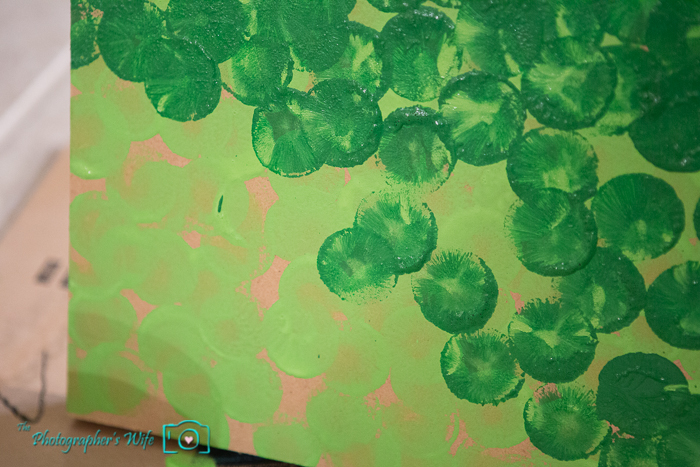
We used some leftover green paint from painting a side table in Trent’s nursery and a dot sponge to paint the monster.

Monster bean bag toss-6

Monster bean bag toss-5

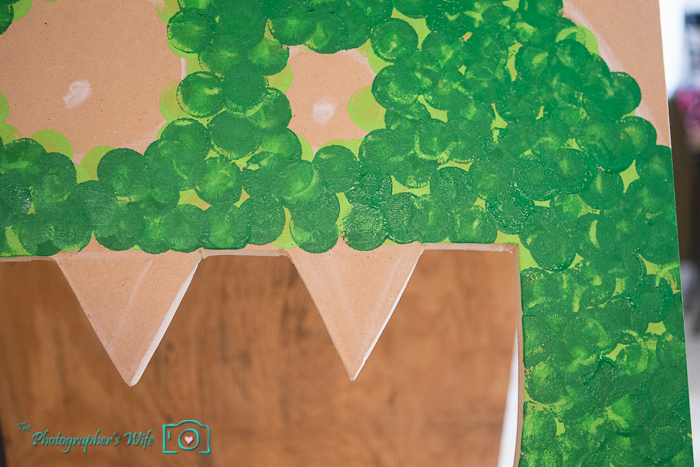
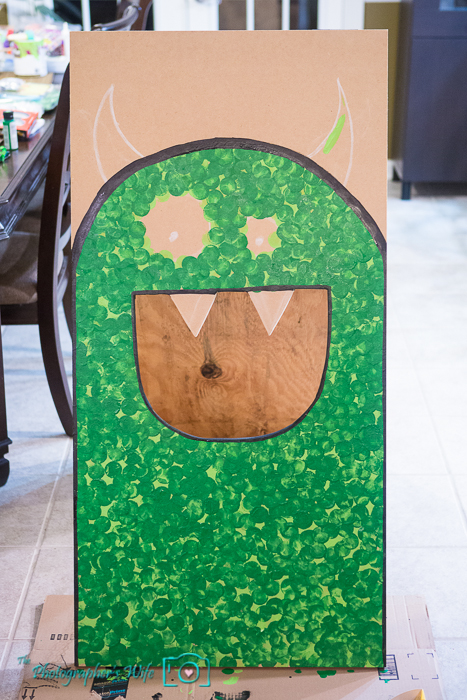
We covered the entire monster except for the eyes and horns.

Monster bean bag toss-1

Then, to give the monster a little more dimension, we used a darker green acrylic paint to paint more dots over the lighter green. This step is totally optional as long as you cover the monster enough with however many colors you use.

Monster bean bag toss-7

Monster bean bag toss-8

We outlined the monster with black paint and also painted the edges of the wood inside the mouth with black.

Monster bean bag toss-9

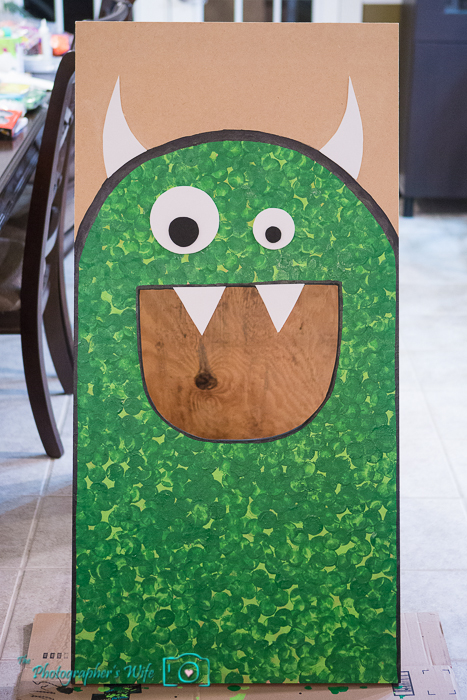
We cut out horns, eyes and teeth from the foam sheets.

Monster bean bag toss-10

Add a basket with the bean bags, place outside and have fun!

Monster bean bag toss-11


You can see the full Monster 1st Birthday Party post, with lots of photos, a shopping list and other DIY projects HERE!


xoxo
Lynn

Subscribe by email | Like us on Facebook | Follow us on Pinterest | Subscribe on YouTube


Monster Party Photo Booth DIY Tutorial

This was THE main project for Trent’s 1st birthday monster party…aside from the cake and other yumminess, of course ;)

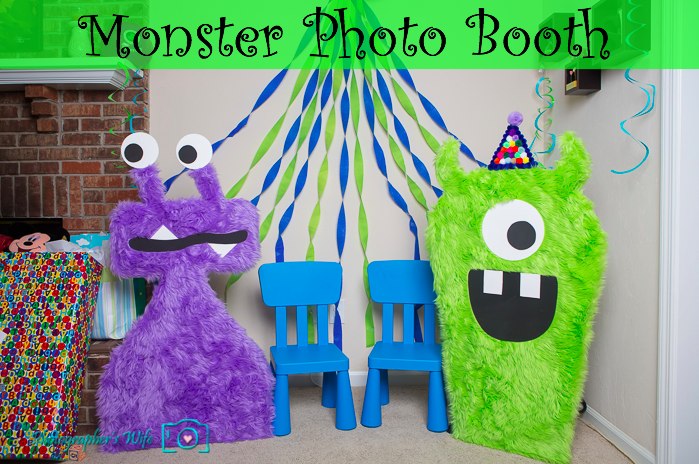
Monster Photo Booth Tutorial

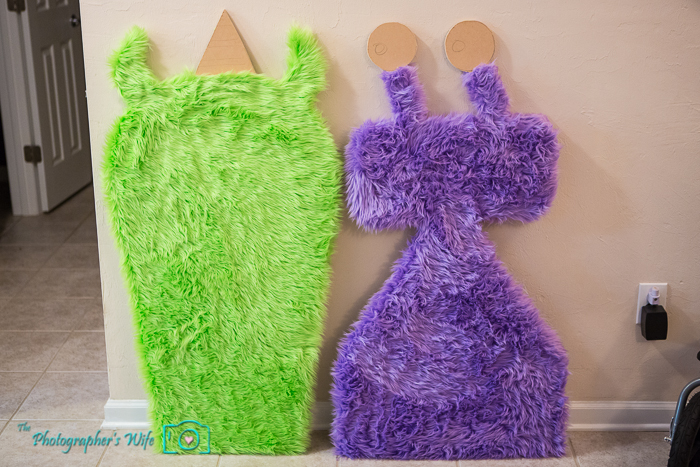
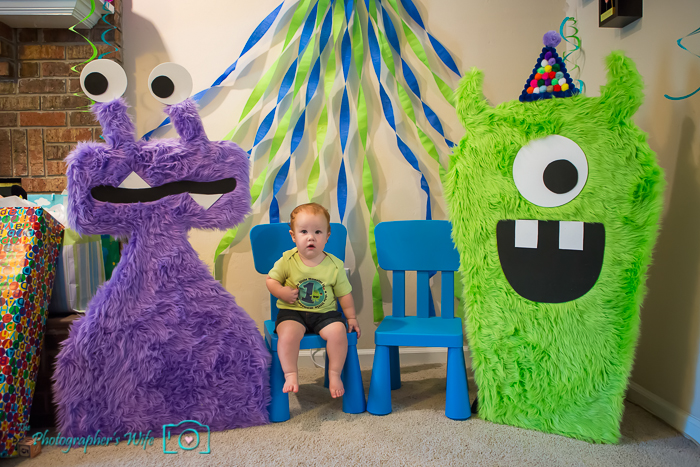
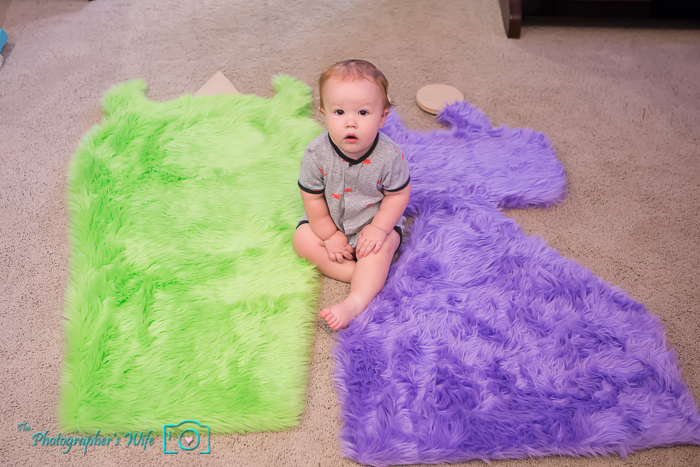
Brett made these monsters to use as a photo booth that Trent, his friends and even the adults could pose by. It was a HIT! The kids liked them because they were fluffy and fun and the adults took the opportunity to be silly. Here’s how we did it!

Stuff we used:
2 large, thick pieces of wood
2 pieces of fabric large enough to cover the wood (we used Fabric.com)
Foam sheets in white and black
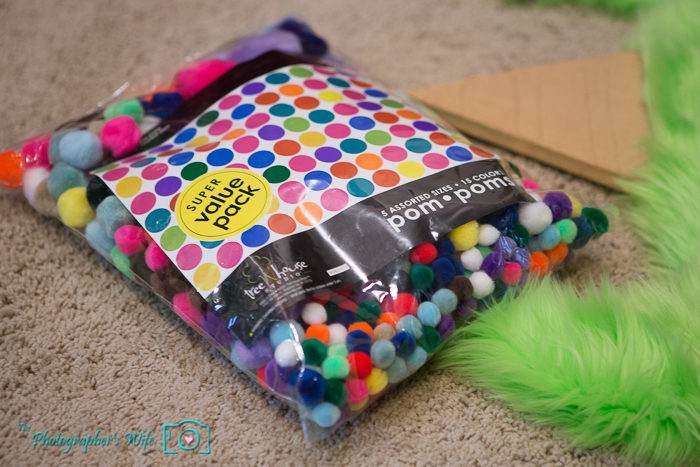
Bag of pom-poms
Hot glue
1 2×4 piece of wood
4 L brackets and required screws


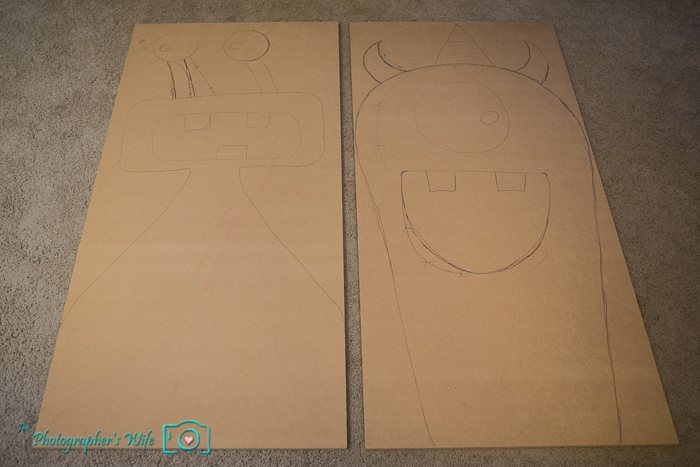
We purchased 2 thick, large pieces of wood, layed them on the floor and started drawing what we wanted the monsters to look like.

Monster photo booth-3

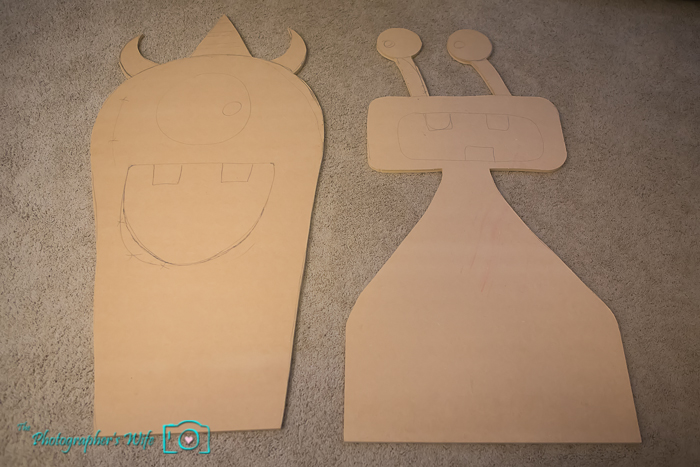
We used a jigsaw to cut the outer shape of the monsters.

Monster photo booth-4

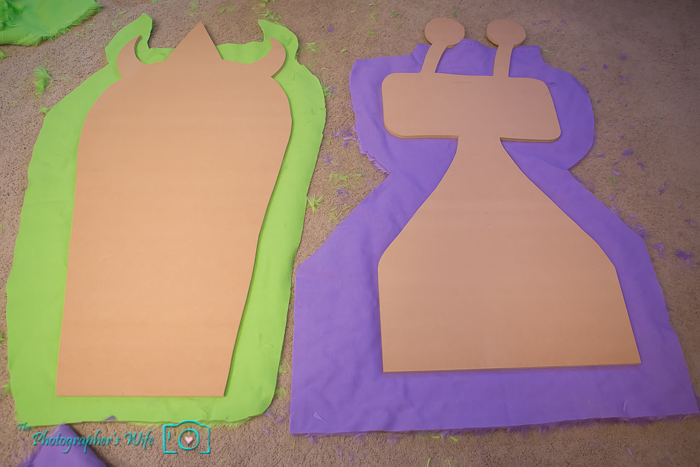
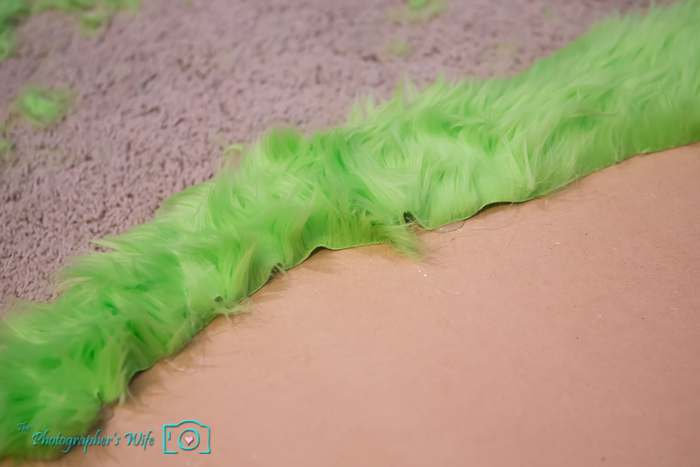
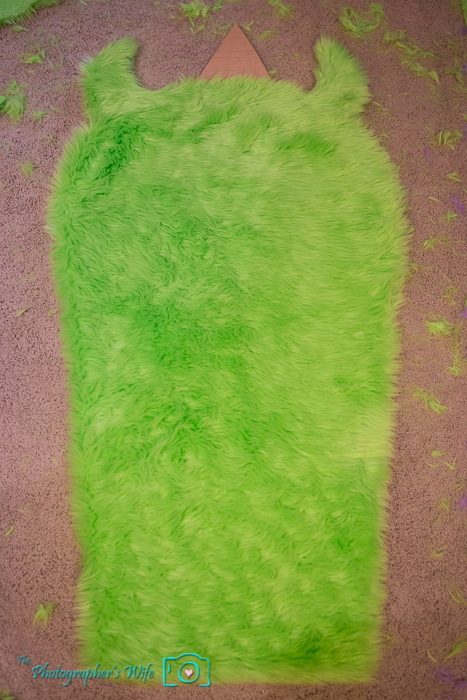
Next, we layed the fabric down with the fluffy side down, then placed the monsters face down on the fabric and cut the fabric around the edges of the wood, leaving about an additional 3-4 inches. This additional fabric will be wrapped around the wood and secured to the back of the monster.

Monster photo booth-5

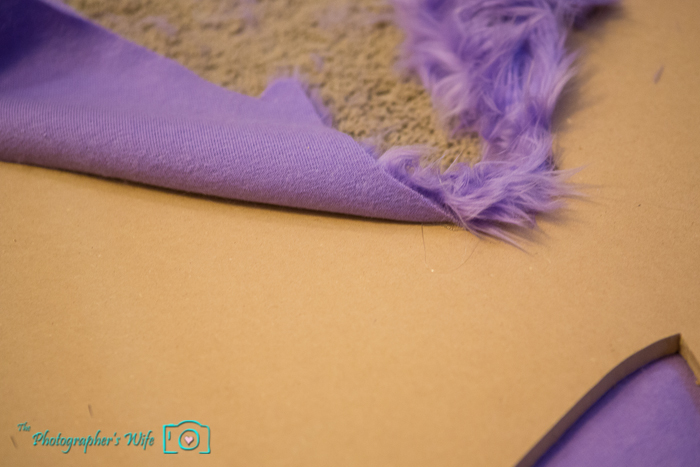
We wrapped the fabric around the edges of the wood and hot glued the fabric to the back of the monster. Work your way around the monster and do one small section at a time to minimize creases and wrinkles.

Monster photo booth-6

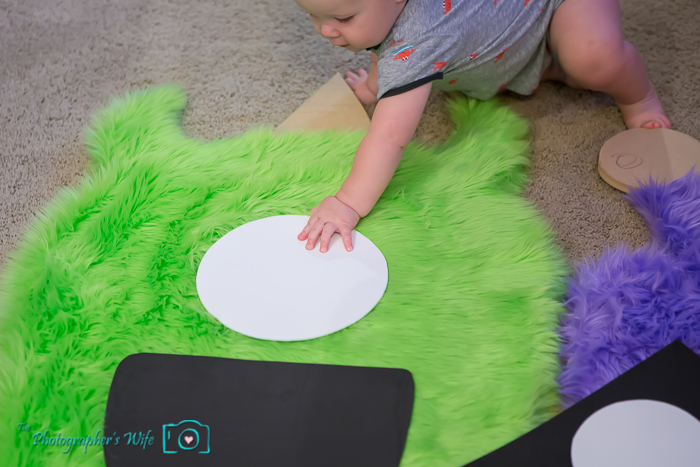
Big fluffy monster…ready for facial features! (You will need to vacuum afterward!)

Monster photo booth-7

We then did the same thing to the other monster.

Monster photo booth-8

So FLUFFY!

Monster photo booth-9

“But Dad, it’s MY party and I want to help!!”

Monster photo booth-11

We used foam sheets for the eyes and mouths. These were so easy to cut and we just hot glued them to the fabric.

Monster photo booth-12

“No, Dad, the eye goes HERE!”

Monster photo booth-10

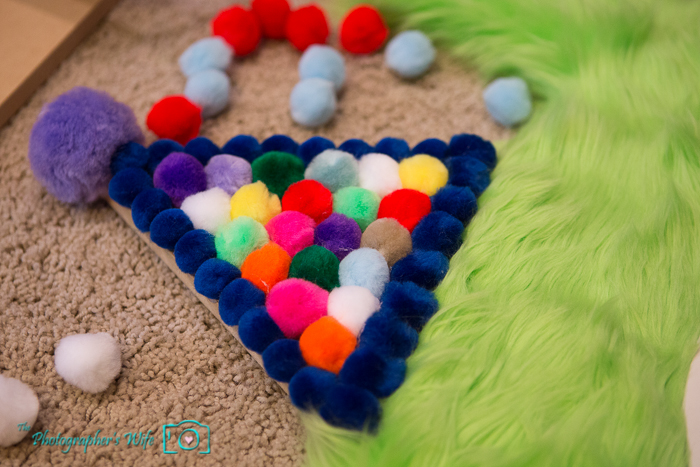
We made one of the monsters wear a party hat, so we used a variety bag of pom-poms to decorate a festive party hat.

Monster photo booth-13

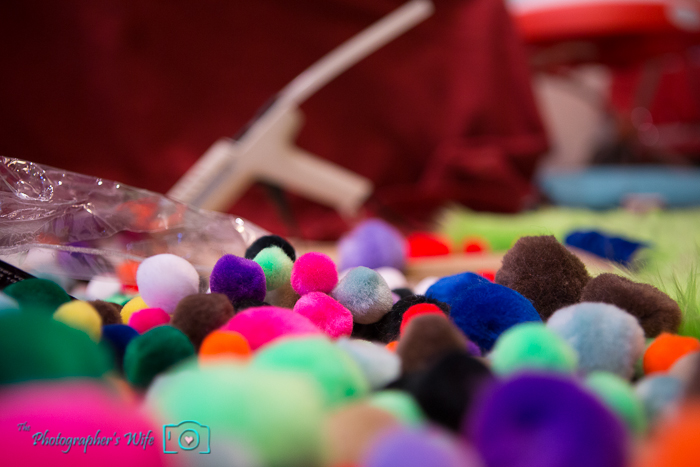
Pom-poms everywhere…not fun with a 1 year old in the house.

Monster photo booth-14

We hot glued the pom-poms to the wood to make a party hat.

Monster photo booth-15

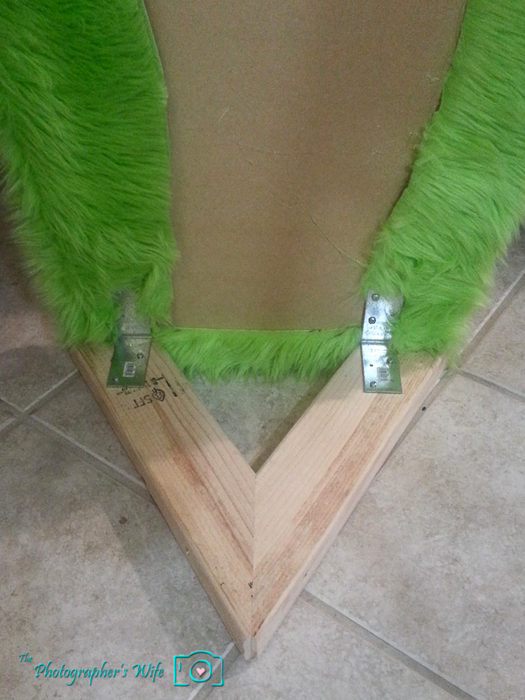
To make the monsters able to stand on their own, we cut the 2×4 into 4 angled pieces and attached 2 angled pieces to each monster with L brackets and screws.

Monster photo booth-1

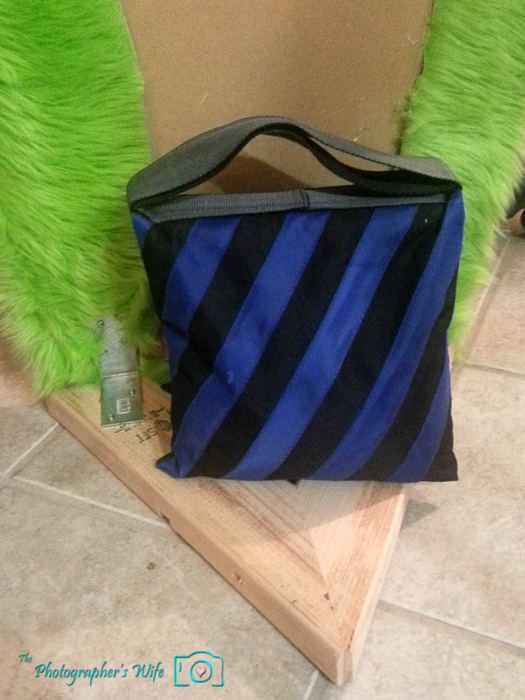
To be a extra safe (we had several wee ones at the party…including our own little guy!), we placed sandbags on top of the feet as extra weight to prevent the monsters from tipping over. We already had the sandbags, but you could use anything heavy.

Monster photo booth-2

We added 2 IKEA children’s chairs and some wall decorations and we were ready to get our pose on!

Monster photo booth-16


You can see the full Monster 1st Birthday Party post, with lots of photos, a shopping list and other DIY projects HERE!


If you enjoyed this post, check out out other parties by visiting our parties page!


xoxo
Lynn

Subscribe by email | Like us on Facebook | Follow us on Pinterest | Subscribe on YouTube