With a photographer in the house, it’s no secret that we take a lot of photos. I’ve also said before that the majority of those photos remain in the computer or hard drive. However, when we do print them, we prefer to do more with them than just printing a regular photo. We prefer unique methods of printing, like on canvas, metal or acrylic. Plus, sometimes we just don’t feel like buying frames!
There are many photo-printing companies out there, so we do love trying new-to-us companies to see the quality that is delivered. When we needed a very large photo for Aubrey’s nursery (we had a very blank wall to fill), we turned to Posterjack!
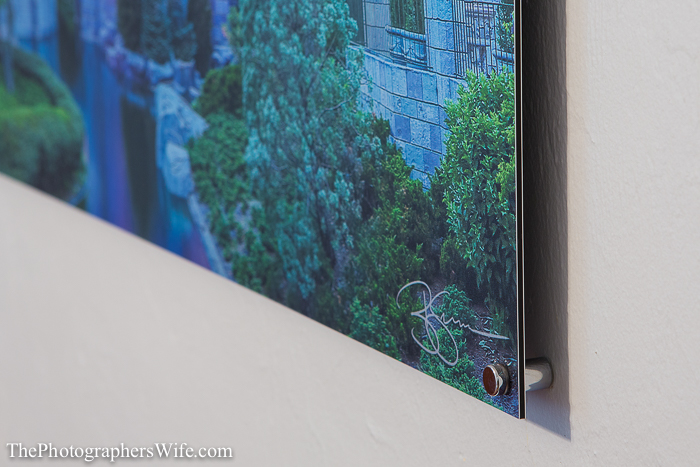
We had never tried Posterjack before, and after being introduced to them, we chose to get one of our favorite Cinderella Castle photos from Brett as a metal print. We initially wanted it to be an acrylic print, to give it a more glossy and vibrant look, but chose to get a bigger size in the metal print for 2 reasons: 1) it’s a little cheaper and 2) it offered a unique look that we thought would be great in her room.
I will admit, we had an issue with our initial print. Mr. Photographer noticed something that needed correcting, so I contacted the company and they rushed a brand new print out to us. I was pleased with how they handled it.
Once we got the 2nd print, we were very pleased with how it came out and how it looks in her room.
Printing on metal has several benefits:
- The colors are extraordinarily vibrant and the depth of the coating gives photos a luminous quality that no paper print can achieve.
- Less costly than having to buy a frame and matting. Also, no glare from being covered in glass.
- Provides a modern look and several hanging options.
- Lightweight, but rigid.
We chose one of their hanging kits to come with the print (stand-off kit). It looks ultra flat and almost like it is floating off the wall.
Depending on how you look at the photo, the image seems to have a 3D effect, with various things in the picture “popping” out at you.
We really like how the deep purples and blues are displayed…perfect for her purple and gray room! A large print like this is a great focal point for any room!
All prints are available in a variety of sizes, from 8×12 to 36×48 to panorama to fit your decor style.
Ordering from Posterjack is easy! Simply go to Posterjack.co, upload a photo, choose your print and size, then sit back as it gets delivered straight to your door!
If you can’t find a photo, you can visit Posterjack’s art shop and choose from 1 million photos to create a piece that’s perfect for your home.
Which ever you choose, the end result will always be the same: a stunning piece of photo art that’s unique to your home.
Not like you need me to tell you, but it’s hot here in Florida during the summer. Then, multiply that by 10 for being pregnant in Florida during the summer and it’s no surprise that I drink a lot of water. Our entire family does. Brett likes to use those flavor pouches in his water and I like to water down Trent’s juice so that he gets flavor without all the sugar (in between the cups of water and milk that he drinks).
We’ve joked before how nice it would be to have a water dispenser unit in the house, that way we know we are getting clean, delicious water without using the hard water that is prominent in the tap water here in Florida. But those are only used in office buildings for lawyers and doctors, right?
Wrong!
In fact, why shouldn’t a family get to enjoy and benefit from clean, purified water without using a bunch of plastic bottles that are bad for the environment?
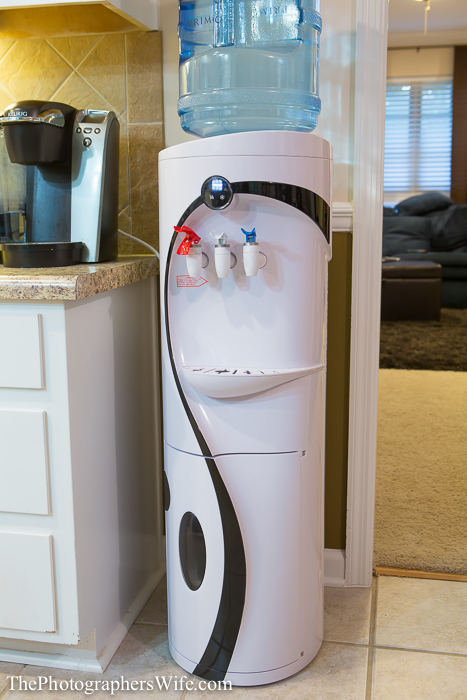
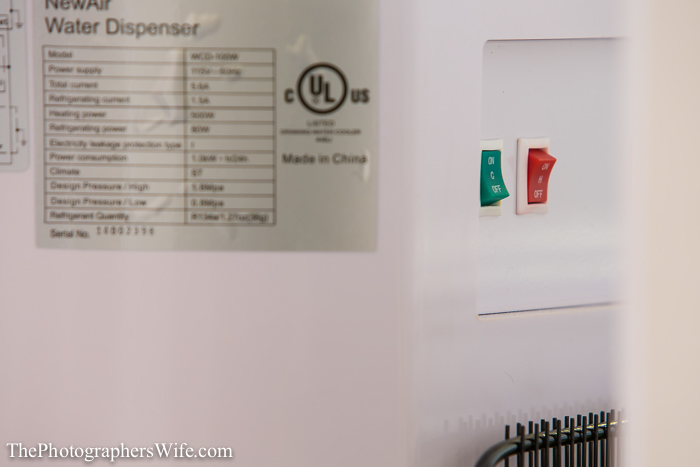
We have had the NewAir WCD-100W Water Dispenser in our home for almost a month and we have benefited so much from it.
Designed to work with 2-gallon, 3-gallon or 5-gallon bottles of drinking water, you are sure to never run short again, when it comes to water. This unit does not require a long installation process, simply place the unit on a flat surface away from direct sunlight and plug it in. This is an ideal solution for instant hot beverages in the morning and cold drinks in the afternoon.
I was glad that we had the perfect little convenient spot for it in between the dining room and kitchen.
One concern I had when first getting this was “How expensive are the bottles of water?â€
So Brett headed out to the stores to see where he could get them from. Sure, we could sign up for a service, and that is definitely something convenient we will look into (I’m a big fan of being lazy and having things delivered to my door!), but right away, we wanted to know our options. Lo and behold, the large bottles of drinking water are available at many retailers, including Home Depot, Lowe’s, and Walmart. We chose to get a 5-gallon jug, which costs $12 up front, but $6 is a deposit, which you just keep translating that into your next purchase…essentially making each 5-gallon jug just $6. That’s a pretty decent price for all of that water and much easier than buying and going through a bunch of bottles. I bet we can find it even cheaper if we searched more.
Setup
Setup was simple. Out of the box, it is recommended that you set the unit upright for 30 minutes, just in case of any unsettling by being shipped on its side. Insert the jug of water on top, plug the unit in and then run the valves according to the instructions to flush out any potential dust in the unit. After just a small wait before the hot and cold temperatures are reached, you are ready to enjoy!
Also note, I’ve seen some videos out there of people putting their water jugs in the unit and making a big mess. This is because they took off the cap that comes on new jugs. Proper installation will leave no water spills…promise!
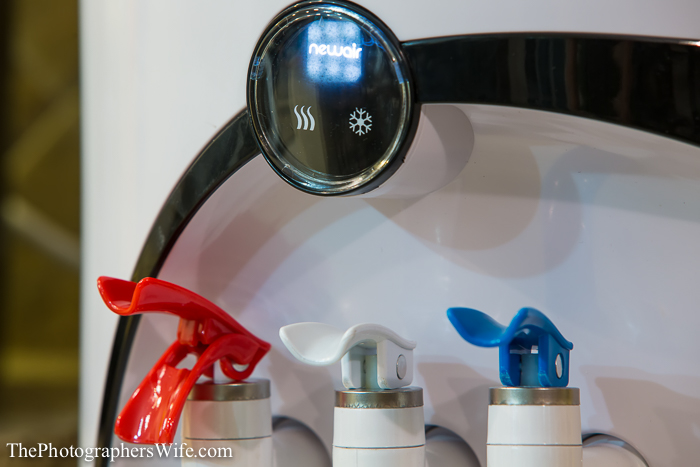
Speaking of temperatures, this unit has 3 temperature options: normal, cold and hot. Which led me to my second concern…â€We have a toddler. Will he burn himself with the hot water?â€
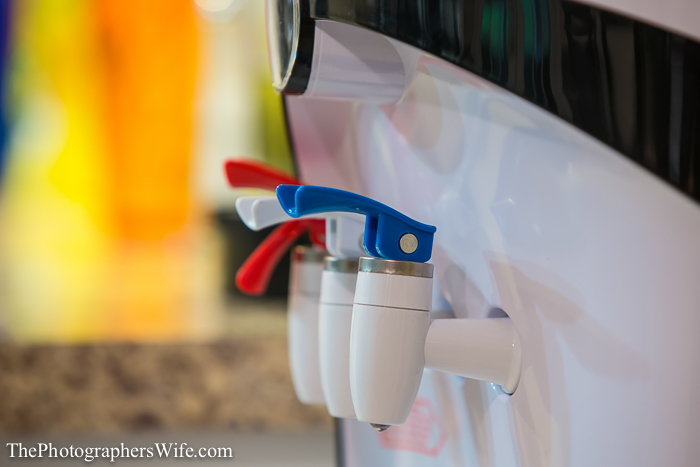
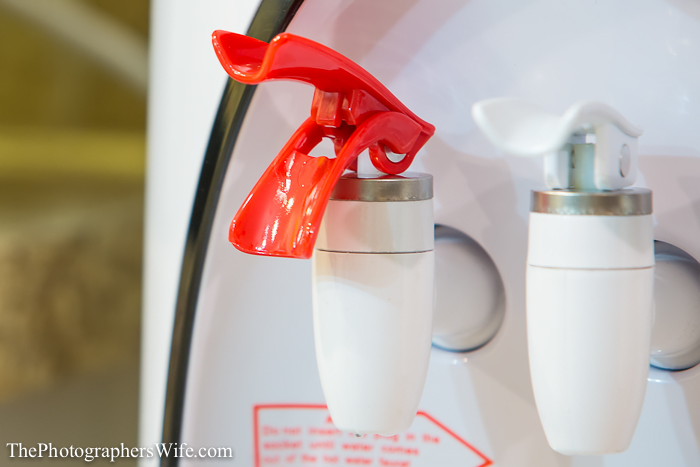
The hot water valve has an extra level of safeguarding compared to the normal and cold valves. You have to squeeze the two levers together and then press down at the same time, which while isn’t difficult for an older child or adult, most would say is a little tough for a younger toddler to do on purpose. You can’t just accidentally pour hot water; it is a deliberate movement that I, as a parent, definitely appreciate.
I also wondered if my toddler, in one of his curious discoveries, would have fun pouring water all over the place by pressing down the other valves. However, so far other than putting some toys in the drip tray while Brett was setting it up, he hasn’t touched the unit. He watches us get our water and that’s it.
In the month we’ve been using it, we are are now on our third 5 gallon jug. We have used the cold water constantly and it tastes delicious. I feel like we drink even more water than before because it tastes good and I don’t want to waste it once I pour it into my cup. Even Trent drinks more water!
The hot water has so many uses. I use it to make oatmeal, hot cocoa, and tea. Instead of using the microwave, I just pour some hot water into my oatmeal and let it sit for a moment, stir in my other ingredients and then enjoy. I can bet that we will be using much more of the hot water function in the Fall and Winter (mmm hot apple cider).
Some other things I like about the NewAir Water Dispenser:
-Drip tray: to catch spills
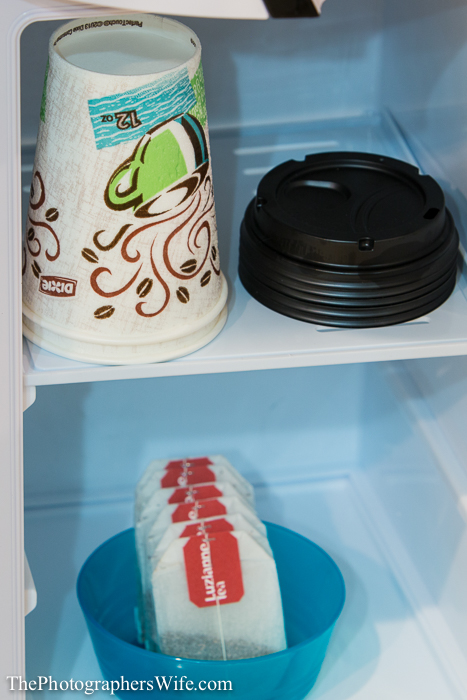
-Small compartment at the bottom: can be used to store a number of things, such as cups, stirrers, oatmeal, cocoa, tea, sugar, etc.
-Hands-free pour: I like that I don’t have to hold down the cold or normal valve when dispensing the water into a cup. I can place my cup underneath the valve on the drip tray, push down on the valve, let my cup fill up and then pull up on the valve when done.
-Sophisticated design: It looks nice in our home!
The best part is that we are getting good quality water without negatively impacting the environment (or our wallets). The NewAir WCD-100 is a great investment for any home or office and as a mom, it’s definitely a good way to get your entire family to drink more water!
Here’s a short video I made showcasing the NewAir WCD-100W:
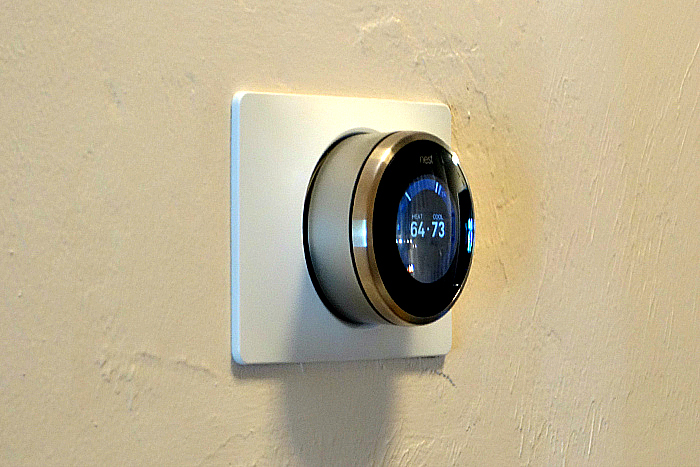
Two summers ago, over the course of several weeks, we often found ourselves unusually hot or cold, even though we had the temperature set to the same degree we always do. This was right after Trent was born, so we needed to constantly adjust the thermostat to keep it at a comfortable level for our new baby. After seeing a higher than average electricity bill, we decided that something wasn’t right. Since the main unit was fairly new, we figured there was a problem with our thermostat not being able to accurately detect the temperature of the house.
We purchased a replacement, but just as it arrived in the mail, our local electric co-operative announced that they were giving away Nest thermostats to the first 1,000 people in our area to sign up for one in order to improve efficiency and reduce usage. Free stuff - Woot!
We signed up and returned the thermostat we had just received (Thank you AMAZING Amazon return policy!). Within a couple of weeks, someone came out to install the thermostat (even though most people could probably install it themselves relatively easily, they just wanted to make sure everyone’s units were properly connected).
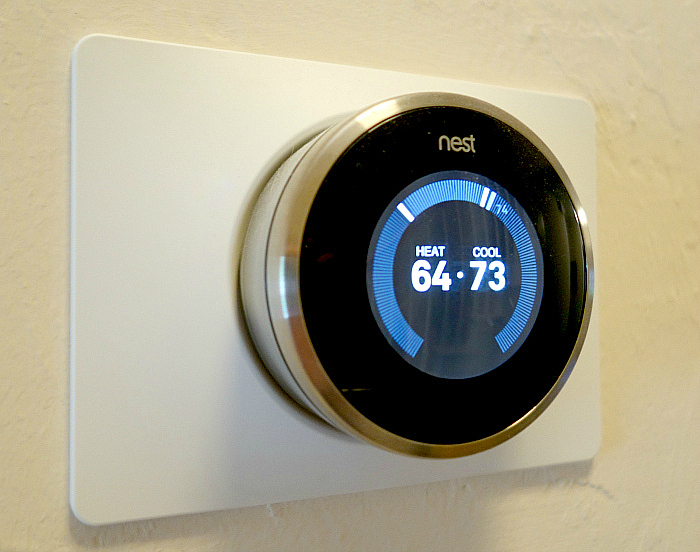
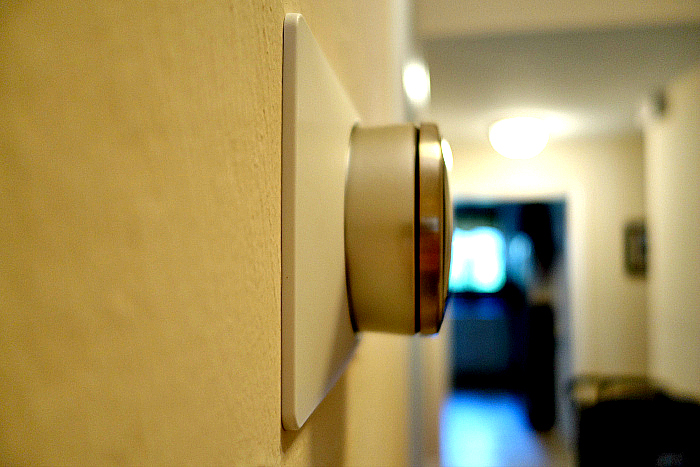
We absolutely love it. Not only does it look sleek and modern, but we haven’t had any issues with temperatures in the house ever since we got it, other than the occasional disparities between the first and second floor, which is typical for a 2-story house anyway. It’s easy to program and offers some pretty neat features.
-It learns your habits. Over time, the Nest learns what temperatures you like at what time and will adjust itself automatically. For example, if you turn the temperature to 70 degrees around 10pm before you go to sleep every night, the Nest will learn that and turn to that temperature automatically. You can adjust what the Nest has learned if you want it to do something different (like if you wanted it to change at 9:30pm instead of 10pm). You can also pause the learning if you are going on vacation or changing your habits temporarily so that it doesn’t learn a random schedule.
-It senses when you walk by and the screen turns on so you can see the temperature and current settings without having to press a button. Yep, I’m lazy.
-You can set a range of temperatures, not just cool or heat. Florida temperatures are super wonky, especially in the winter. One day it’s 55 and the next it’s 80, I love it and hate it at the same time. You can set the temperature to a range, such as 69-75, so that the heat kicks on if it goes below the range and the cool kicks on if it goes above the range. You don’t have to flip the switch from one type to another. Score another point for us lazy people!
-You can set an Away temperature. We like to use less heat or a/c when we aren’t in the house, whether it be a trip to the grocery store or a week-long vacation, we set an away temperature that we are comfortable with given that time of year. You can either set the Nest to Away, or it will set itself to Away if it hasn’t sensed any movement in some time. You can turn this feature off if needed.
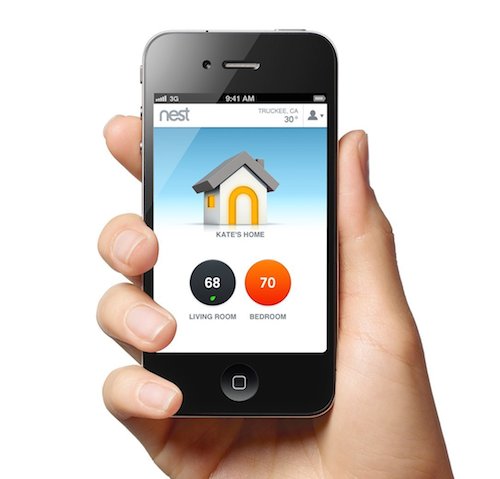
-You can view everything and adjust anything from your Apple or Android device. This is one of our favorite features. If we forgot to set it to Away and we don’t want to wait for it to set itself, we can go onto the app and set it to Away, or we can change the temperature when we know we’ll be home soon. We are extremely forgetful, so the app gets used quite a bit, and this saves us money because we would have otherwise had to let the temperature remain where it was instead of using less while we’re gone. And yes, we have changed the temperature from our phones on the couch or in bed with the thermostat just a few feet away. Don’t judge me.
-You get emails detailing your monthly usage and efficiency. Instead of just relying on what the electricity bill says, we get to see what the Nest reported, including reasons for why we might have used more or less than usual, as well as suggestions for improving usage next month. They use a “leaf” to signify if you are being efficient given the outside temperature.
We have definitely noticed a difference since the Nest was installed. We feel like the temperature is what it says it is and not unnecessarily turning on or off like our old one. Of course, with Brett home all day instead of away at work, our bill has stayed slightly increased, but has decreased from us being able to utilize the extra features, like the automatic adjustments and away feature.
Also, since I have been extremely hot this pregnancy, I want to reiterate how much I love being able to turn the air down from my phone while laying in bed at 2 in the morning.
Here’s their official video which gives you a preview of what it has to offer:
I was not paid or perked for writing this review. I did receive the product for free, but as part of a local resident efficiency program. I just wanted to share our honest take on a product we personally have and love.
We always knew we wanted to have some sort of sand or rock box for Trent once he was old enough for one. We also knew we want to “build†one, but we debated over which type of sand or rocks to buy.
We initially thought sand, but did you know that regular play sand is carcinogenic? Me either! You can get non-carcinogenic sand, but then we thought about how messy it could get and what a pain it would be to clean up.
So then the question was which type of rocks to get. We LOVED the rocks in the children’s fossil dig area at the T-Rex Restaurant in Downtown Disney, which were African Ivory Coast rocks…very small and almost sand-like. We looked for them online and found them to be very expensive for each bag…and seeing we would need at least 12 bags, we reconsidered.
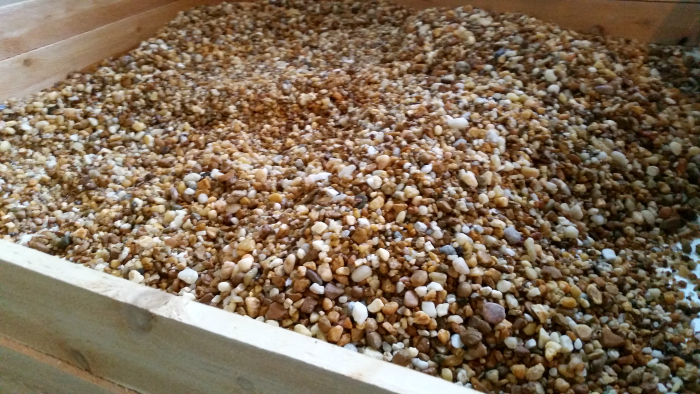
We ultimately decided on Pea Pebbles/Gravel. It was like $3 a bag and we could get them at Home Depot. We are very happy with decision, as there were a variety of sizes in each bag…some as small as the African Ivory Coast rocks that we initially wanted!
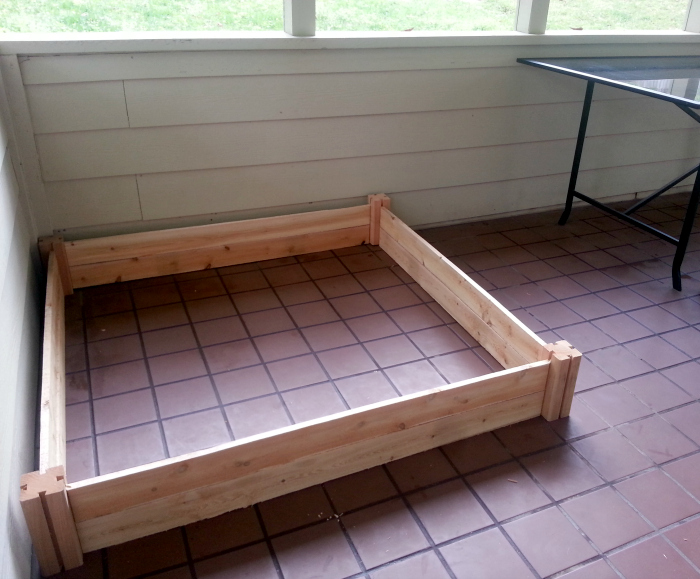
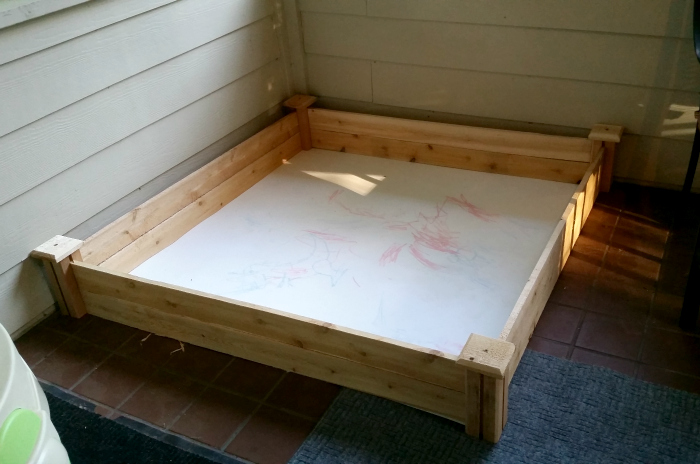
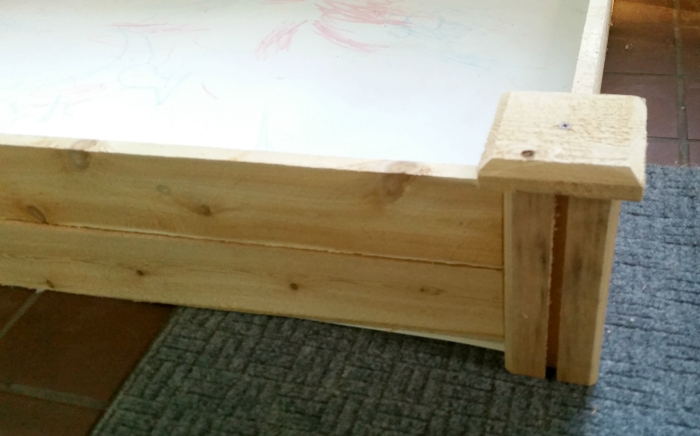
Also from Home Depot was a 4×4 cedar raised garden bed kit that we got on sale for $35.
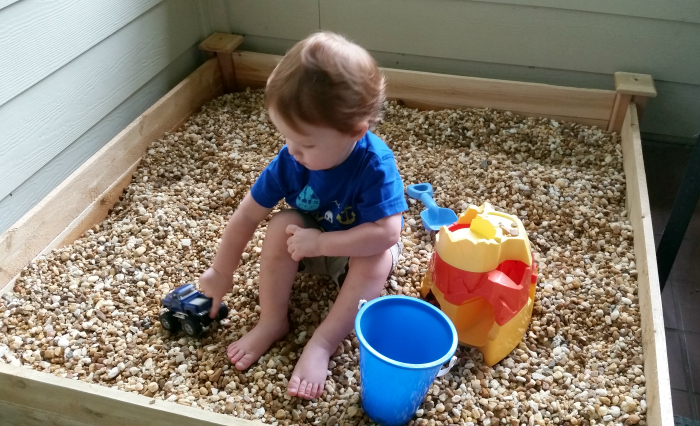
It was very easy to set up and fit perfectly in the corner of our back porch.
We had some leftover white pvc liner that we put on the bottom to have a layer between the floor and the rocks….which, as you can see, Trent the chalk artist used as his canvas one day.
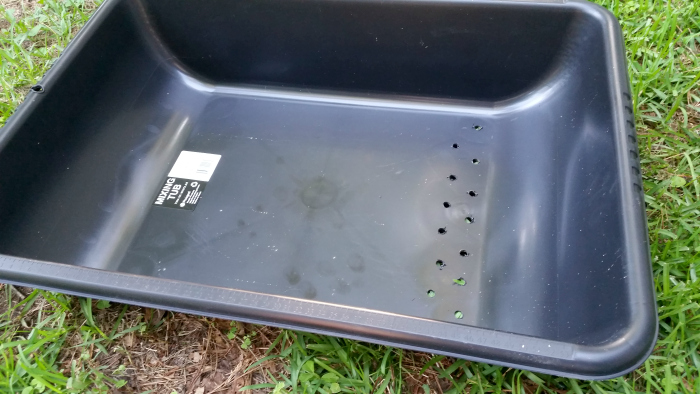
The one thing with bags of rocks is that they can be pretty dirty, so each bag needed to be dumped and rinsed before going into the rock box. Brett drilled holes into a plastic concrete mixing basin to help with this (about $5).
He dumped a bag or two of rocks in at a time and then sprayed them with the hose.
Trent was such a good helper, too! He wanted to hold the hose and move the rocks around to get them all clean.
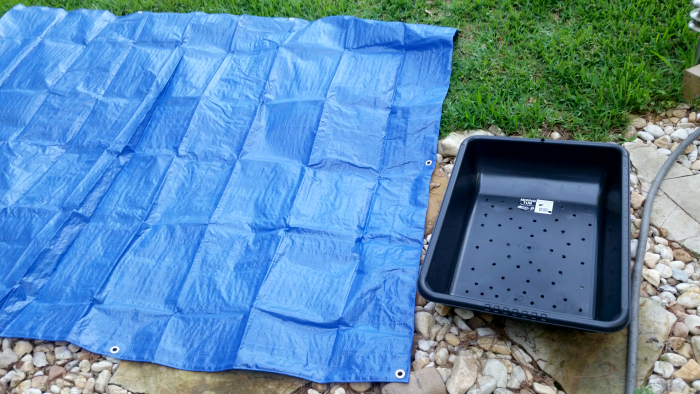
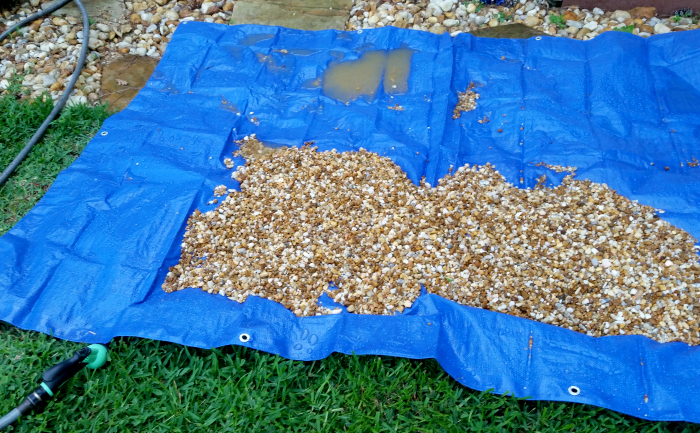
Brett initially laid out a tarp to spread the clean rocks onto for them to dry before transferring them to the rock pit…
But that process was taking too long and not worth the extra effort, so he just started letting them drain a bit in the basin and then put them into the rock box.
We ended up with about 4-6 inches of rocks in the rock box.
I don’t know who the bigger fan is, Trent because he’s in it all the time and can see it from inside the house and begs to go out to play in it all the time? Or us because it keeps him entertained without an iPad while we clean or relax?
Either way, it is definitely a hit. Sometimes Trent will still be in his jammies when he just can’t help himself and has to get in and play.
Even Sheepy likes the rock box apparently.
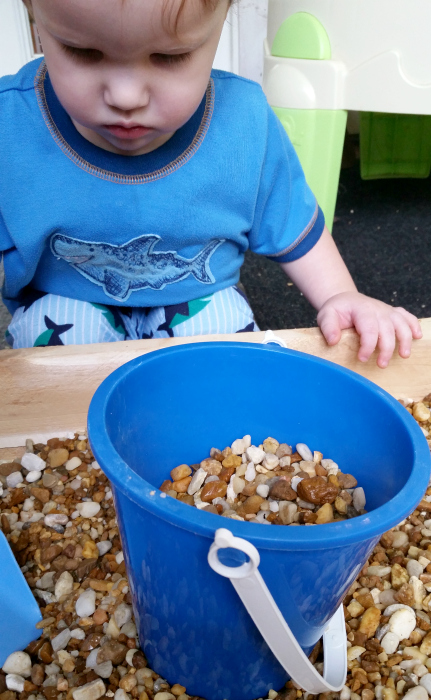
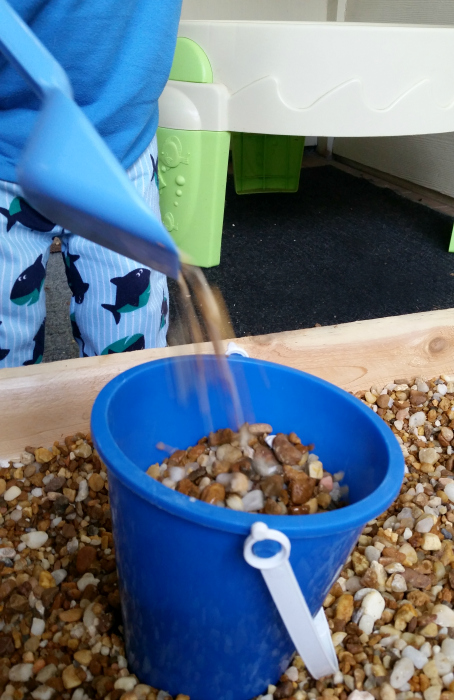
Trent likes to fill all his containers with rocks, if there is a toy that has a space for rocks to fit, it probably has rocks in it right now…trucks, buckets, you name it. Sand toys work great in the rock box.
He also likes to grab handfuls of rocks and put them on his head and let them roll off. Bath time is a necessity!
A rock box is an amazing addition to any household with a toddler!
Don’t you always feel like the pillows at hotels are so much better than the ones you have at home? Well, we feel that way with the pillows at Disney. It’s either that or we are so dead-tired at Disney that anything feels comfortable…some people don’t even need a pillow.
Nonetheless, we have constantly been on a search for good pillows. The folks at Reverie must have known this, because they recently asked if I would like to experience their Sweet Slumber Pillow. Umm, yes please!
A little about the Sweet Slumber Pillow:
Contains shredded natural Latex
Hypo-allergenic and dust mite resistant
100% cotton quilted, removable cover is machine washable
Of course, Brett was jealous that I would get to try a new pillow…especially since he has been on the hunt for pillow replacements longer than I have.
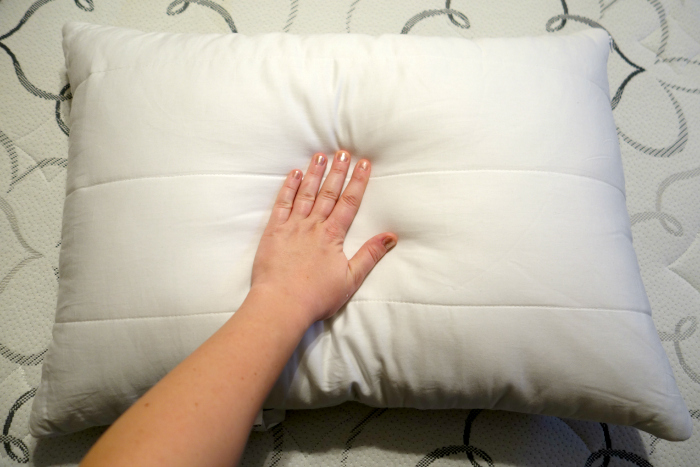
When it came in the mail, the box was heavy…this was no lightweight pillow! Because it is filled shredded latex, it is much heavier than your average pillow. But perhaps this was what we needed. It is thick enough that I was able to replace my two pillows with just this one.
I liked how it lifted my head up to just the right height without having to use two pillows. I slept just fine, but would have liked for it to be a king-sized pillow, as I had to move it back and forth every time I rolled over (which is a lot for this pregnant gal).
I let Brett try it the next night. He thought it was a good mix of firmness and fluffiness.
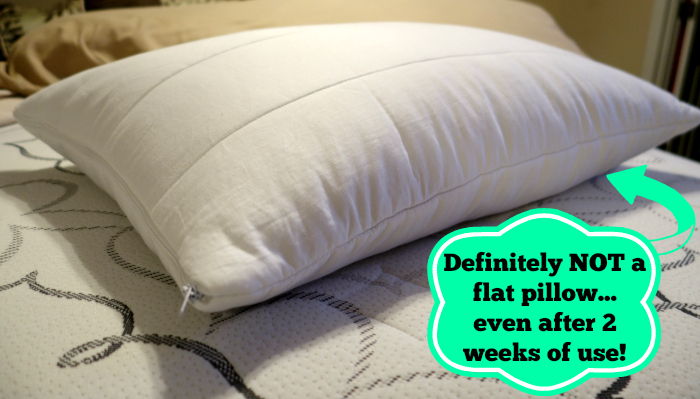
Overall, the Sweet Slumber Pillow was much better than many we have tried. This pillow would last much longer than regular pillows that fall flat within a couple of months. Pillow preferences vary so greatly from one person to the next, so keep that in mind. Since it is filled with shredded latex, you’ll want to skip this if you have a latex allergy. This pillow would be great for someone that wants a fairly firm pillow, that holds your head a few inches off the mattress, and offers extras such as hypo-allergenic and dust-mite resistant.
 The Photographer's Wife Parenting, Disney, Travel, Reviews & Other Randomness