Crafts

Custom Disney Mousekeeping Tip Envelopes

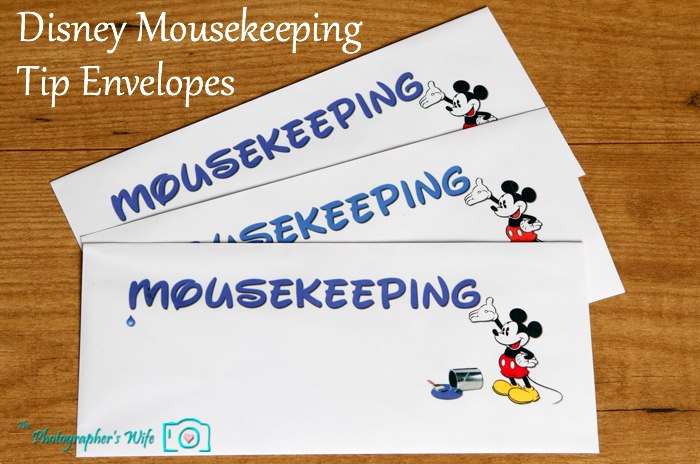
One simple way we like to add a little magic to our Disney World trips is to create custom tip envelopes for Mousekeeping. Sure, we could just leave our cash on the table, which we do sometimes on spur of the moment trips, but when we have time to prepare, we like to put a little more effort into the envelopes.

Mousekeeping envelopes-2.jpg

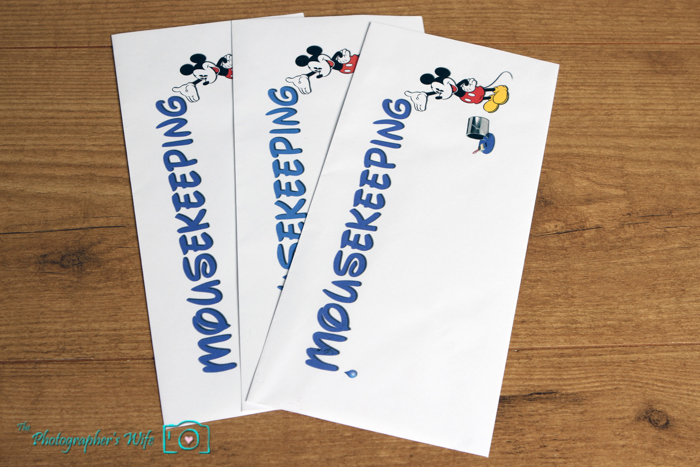
Mousekeeping is known to do special things from time to time, like display your stuffed animals, toys or souvenirs in a funny way in the room or window. We figured if we find a special way to give them their tip, then perhaps they would give us a little magic back too (and maybe not do this??). Sometimes it works and sometimes it doesn’t, and that’s ok. In the future, we think Trent will enjoy leaving a special envelope for Mousekeeping.

Mousekeeping envelopes-4

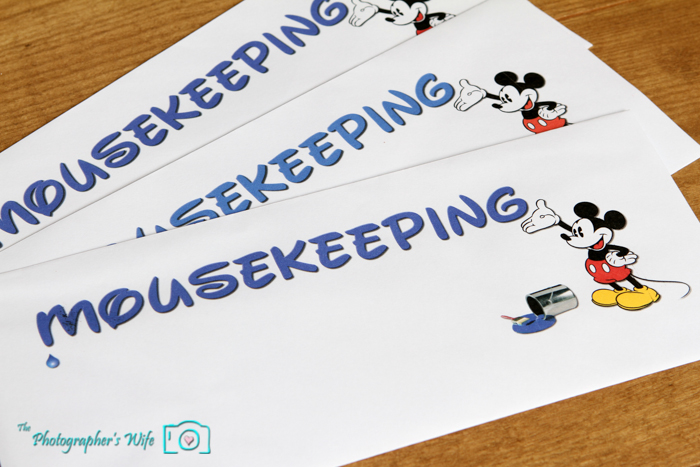
We used to just put stickers on the envelopes, but the last few trips, we made these printed envelopes. They are extremely easy to make using your home printer. You can use Microsoft Word to select the type of envelope you have and then print the image directly onto the envelope.

Mousekeeping envelopes-3

Maybe will give Trent the task of creating our envelopes in the future with stickers, markers and whatever else he wants to use. Until then, we’ll take the easy way out and make these!

Mousekeeping envelopes

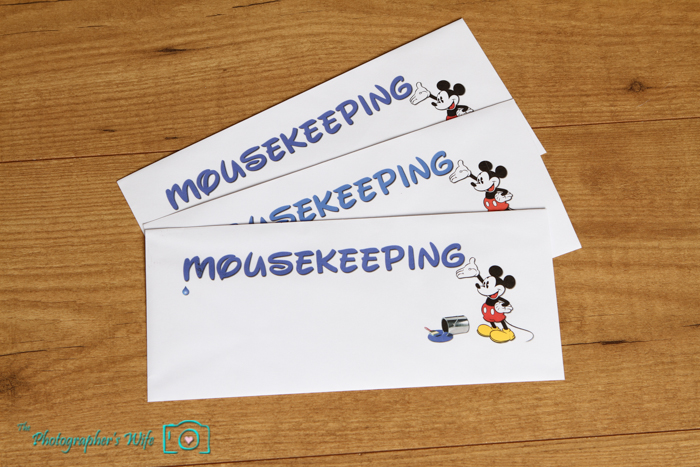
Want to make your own Mousekeeping envelopes? Brett made this design for us and I want to offer it to you to use too! Just click the link below and then right-click on the image and select Save As to save it to your computer.


CLICK HERE FOR THE MOUSEKEEPING IMAGE TO PRINT ON YOUR ENVELOPES!


If you do download it, please leave a comment below or a Facebook post letting me know how your envelopes turned out! Enjoy!***********

In other news, we have been nominated as a Top Photography Blog over at Circle of Moms! We would be so grateful if you could pretty please take a moment to vote for us…it’s super quick and easy! Just click the circle below and then click the pink heart. That’s it! You can vote once every 24 hours, too. So be prepared for reminders until the contest is over…Thanks in advance!!

Circle of Moms Top 25 Photographer Moms - 2013 - Vote for me!
 

xoxo
Lynn

Subscribe by email | Like us on Facebook | Follow us on Pinterest | Subscribe on YouTube


Pinterest Challenge: Mickey Fabric Corkboards DIY

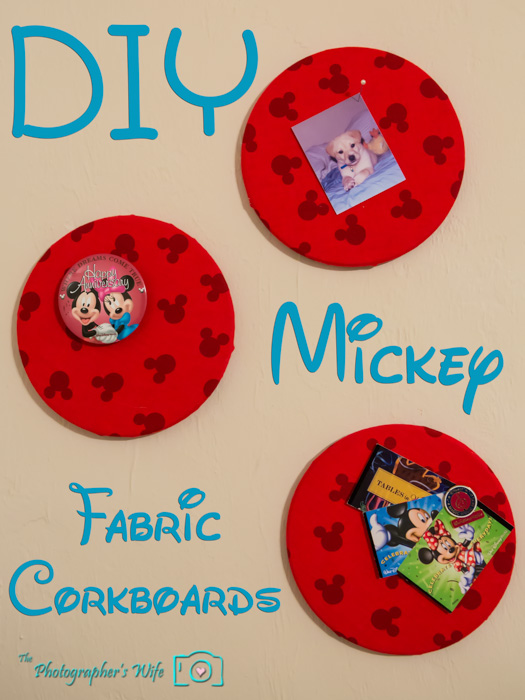
Mickey Corkboards-10


I’ve had a pin with this idea pinned for a few weeks now (original pin is at the bottom of this post), knowing that I would be at IKEA during our WDW trip and could pick up a set of cheap corkboards. Sure, I probably could have gotten corkboards elsewhere, but IKEA cork boards are worth the wait, right?


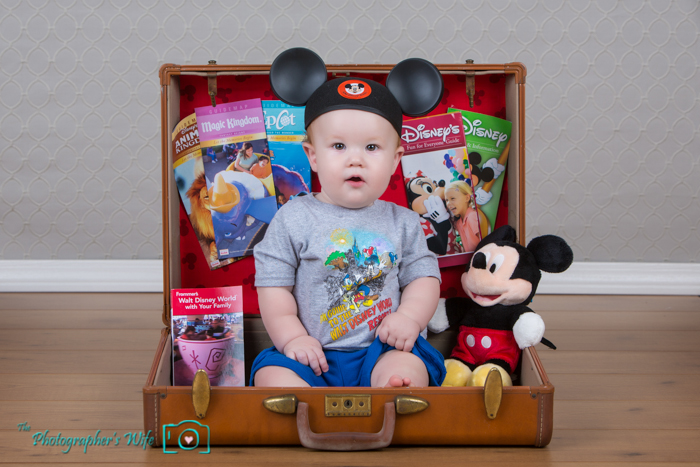
I liked this idea because it looked like an inexpensive and unique way to display little photos or special items. Once I had my corkboards, I was super excited to find that Brett had extra leftover Mickey fabric from revamping an old suitcase for this photo.


Walt Disney World Trent-1


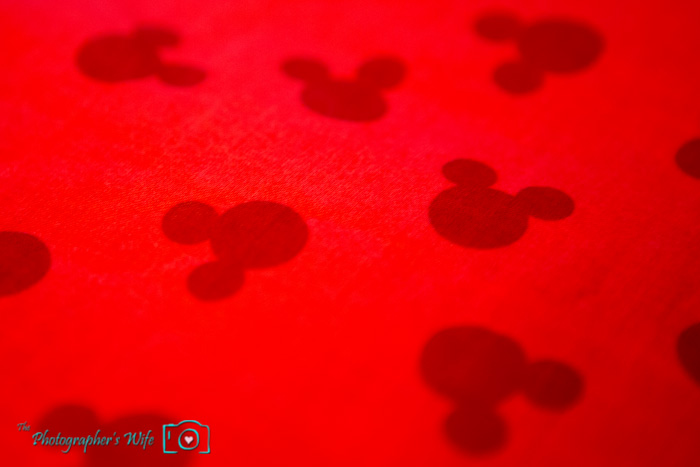
Since I’ve been in such a Disney mood forever lately, I figured that this fabric would be perfect.


Mickey Corkboards-3


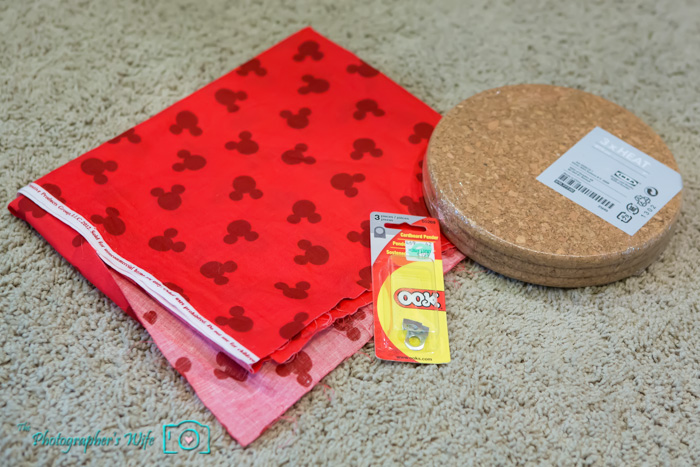
Here are all my materials for this project:


3 Corkboards
Enough fabric to cover corkboards
Small hooks
Hot glue gun/Glue (not pictured)


Mickey Corkboards


Ok, it’s time to get crafty up in here.


Heat up the hot glue gun.


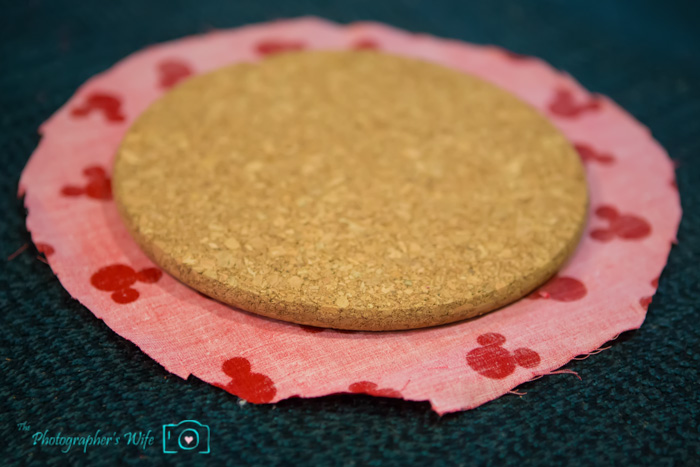
Lay the corkboard onto the underside of the fabric. Cut circles in the fabric about an inch wider than the edge of the corkboard. By cutting the fabric in a circle, that makes it easier to glue down in the next step and reduces the amount of fabric to be glued down, making it easier to lay flat when hung on the wall.


Mickey Corkboards-4


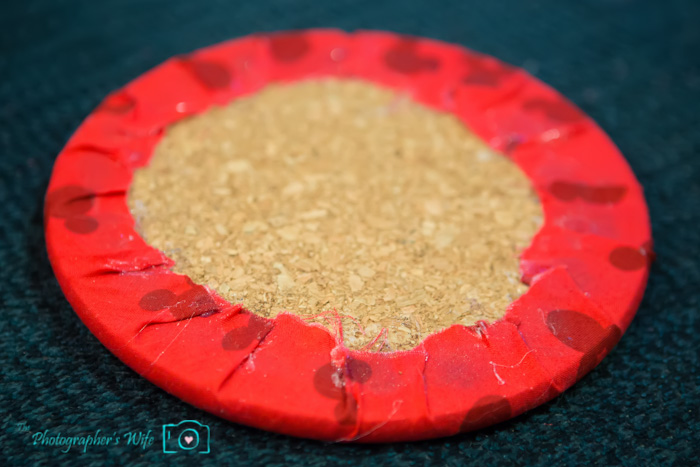
Fold sections of the fabric to the underside of the corkboard and glue down. Hold down a few seconds until dry, then glue another small section on top of the prior section…going around until all the fabric is glued to the underside of the corkboard. Try to make sure the fabric is as flat as possible.


Mickey Corkboards-5


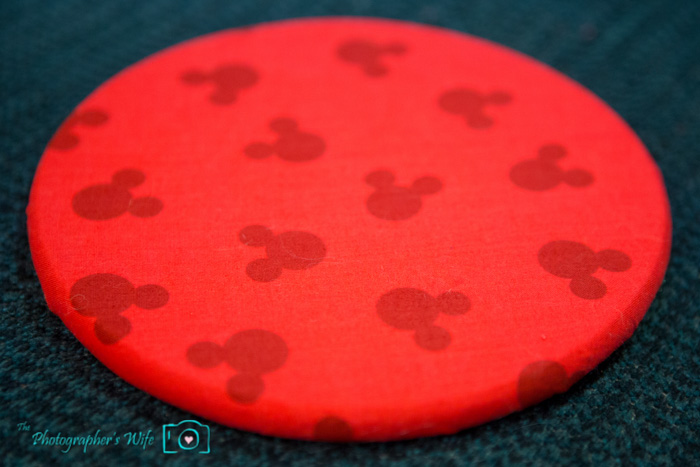
Done with the fabric!


Mickey Corkboards-6


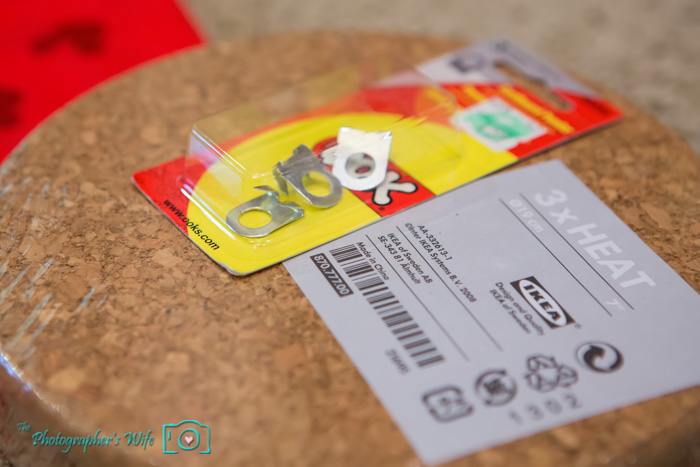
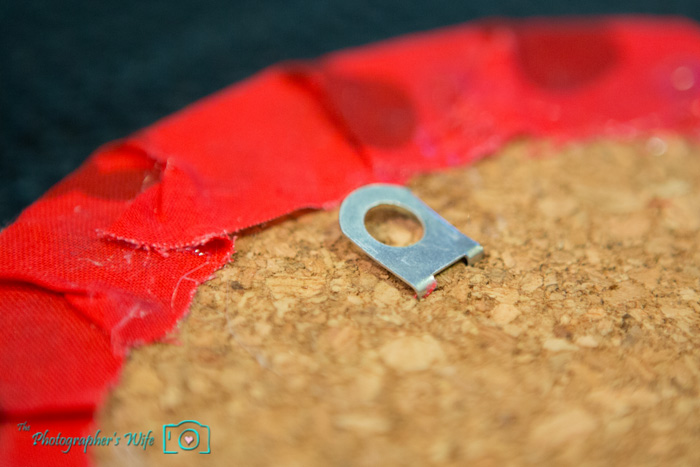
Next, attach a hook to the back of the corkboard. We used these small hooks that insert right into cork from Hobby Lobby for $1.00.


Mickey Corkboards-2


Mickey Corkboards-7


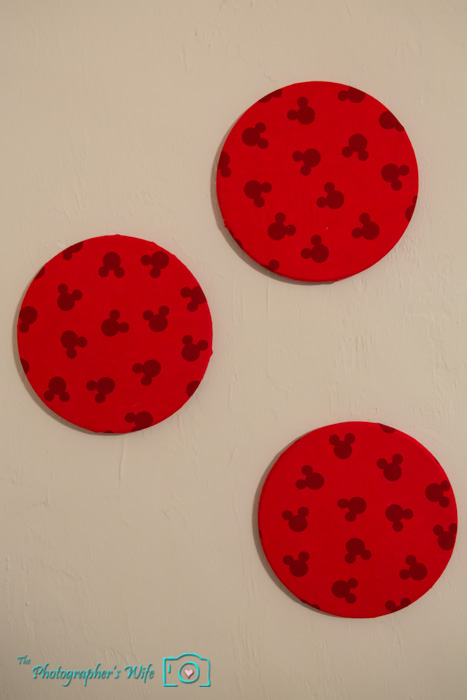
Pound some nails into the wall and hang those babies!


Mickey Corkboards-8


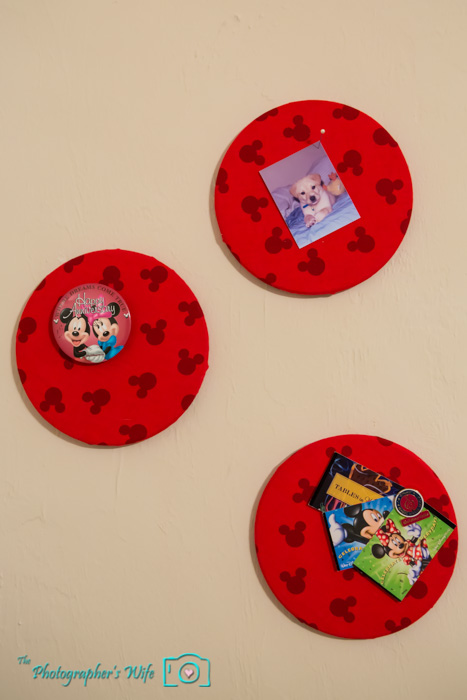
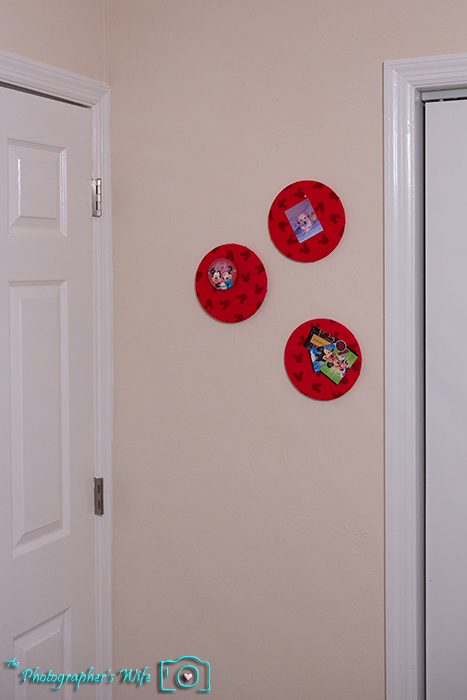
Then, add some fun stuff!


Mickey Corkboards-9


Mickey Corkboards-11


Here is the original pin. Yup, the link leads to a site in Spanish, so I pretty much just used the photo for the idea and made up the rest.


Pinterest Project


This project is being submitted to the Pinterest Challenge, co-hosted by the lovely ladies below…if you have time, go check out their sites to see what they made for the Challenge, as well as all the projects linked up by others! Happy crafting!


Sherry from Young House Love
Katie from Bower Power
Emily from Sparkle meets Pop
Renee from Red Bird Blue


Pinterest Challenge - Spring


P&G Conserve-It-All Program & The Everyday Effect

With Earth Day coming up soon on April 22nd, P&G has partnered with SheSpeaks bloggers for the Conserve-It-All program to help spread the word about the Everyday Effect. What is the Everyday Effect?

P&G everyday

About P&G Everyday Effect

Many people think their everyday actions are ordinary, and that the things they do every day can’t make a difference to help the environment. P&G believes the most effective changes don’t necessarily start with grand acts and can start much closer to home, by changing the way we think about things like waste.

Seemingly ordinary actions - like washing your laundry in lower temperatures, doing the dishes with concentrated products or changing a diaper that uses thinner materials – can be a surprising help to the world we share… allowing us all to reduce waste.


Basically, we might not always be able to take BIG actions when it comes to helping the environment, but we can do small thing everyday that will add up over time to make a big effect. P&G challenges us to take a family approach and teach our kids the importance of everyday changes so that they too can help reduce waste and help the environment.

Trent may be a little too young to understand how our changes effect the environment, but that doesn’t mean he can’t participate. In fact, he’s the reason I came up with this little project!

You see, I drink coffee and LOVE my French Vanilla Creamer. Most days, I only have 1 cup of coffee, but I go through a 32 oz bottle of creamer each week (Momma likes her creamer!). Even though I already recycle these, I was determined to think of a good way to reuse them, perhaps making them into some sort of toy for Trent.

I decided to make 1 large empty creamer bottle into a rattle/shake toy using colorful bead necklaces.
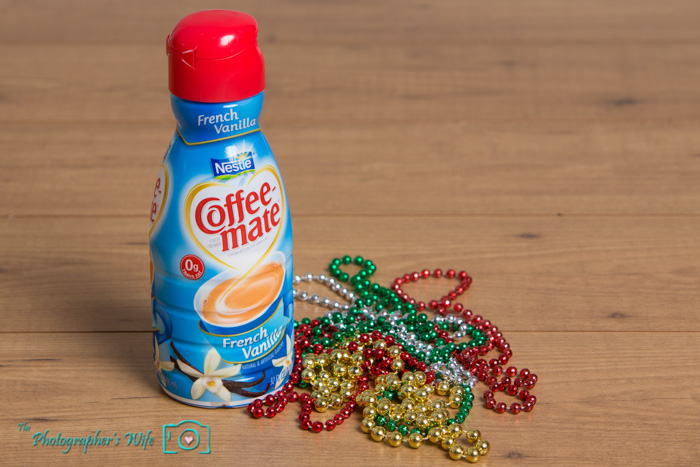
Recycle-1

First, I removed the label and cleaned out the bottle really well using hot water and soap. Then I opened up the bottle and simply put in several colorful bead necklaces we had from the parade last weekend. Then, I closed the bottle and that’s it. If you worry that your little one will open the container, you could super glue the lid shut.
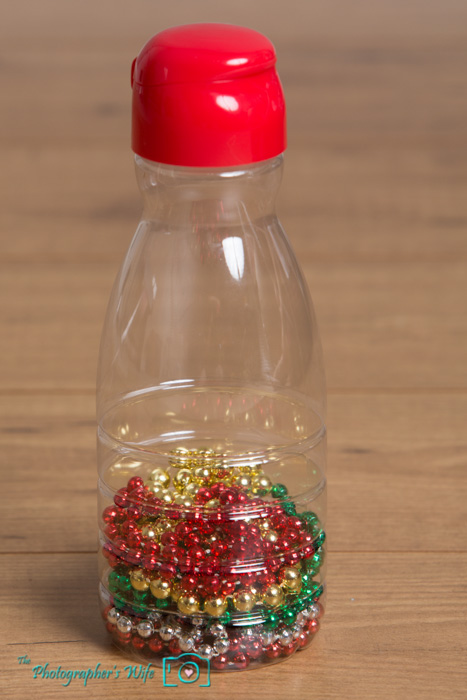
Recycle-2


You could also use marbles, craft pebbles, beads, buttons…anything that will make noise when being shaken. Not bad for a quick, free toy. It’s fun and colorful and make lots of noise when he shakes it!
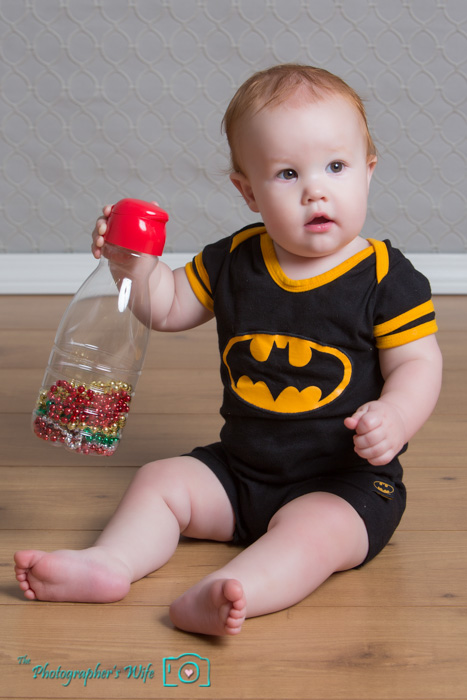
Recycle-3

I am happy that I was able to reuse one of the many containers I go through for something fun for Trent and now I want to try to find more ways to reuse items I would have normally recycled or trashed without giving it a second thought.

Have you made toys out of other non-toy items? I know boxes are a major hit with kids too!

Learn more about P&G:

Website: http://www.pgeveryday.com
Facebook page: https://www.facebook.com/proctergamble
Twitter: https://twitter.com/ProcterGamble


If you enjoyed this post, please leave a comment below, share it or…

Subscribe by email | Like us on Facebook | Follow us on Pinterest | Subscribe on YouTube


This is a sponsored post for SheSpeaks/P&G. All opinions are my own and 100% honest.

 

Easter Egg Wreath

With Easter being a little early this year, I busted out some of the Easter decorations (actually, I only have 3 items…kinda sad, but I’m working on it!). I feel like I’m completely skipping St. Patrick’s Day.

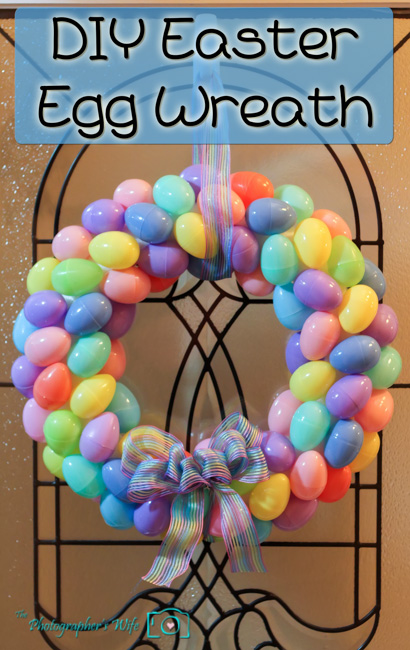
I also wanted to share how I made my favorite Easter item last year…an Easter Egg Wreath!

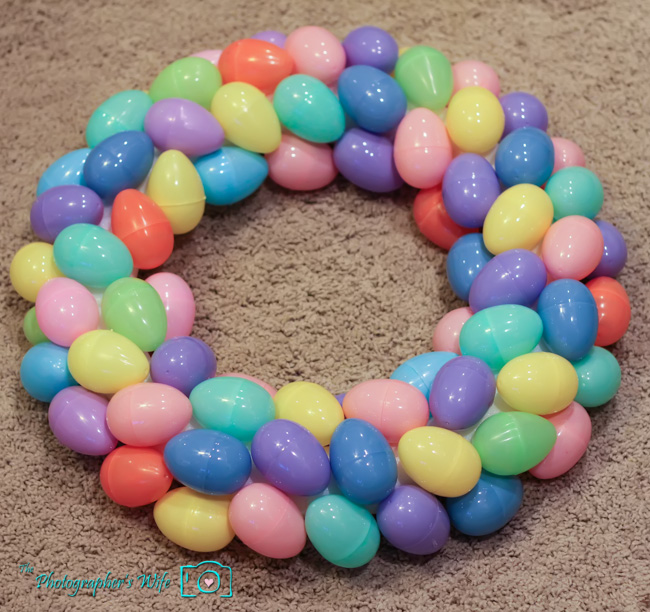
Easter wreath 5

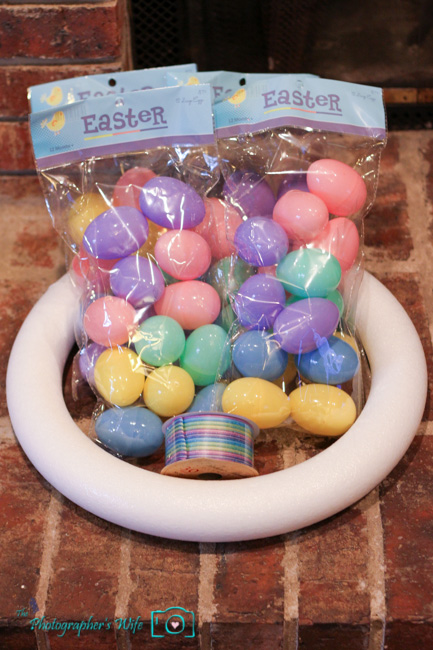
I ventured to Hobby Lobby with my 40% off coupon in hand and picked up the required items:

Styrofoam ring

Bags of pastel Easter eggs

Wired ribbon

Approximate total spent: $12

Easter wreath supplies

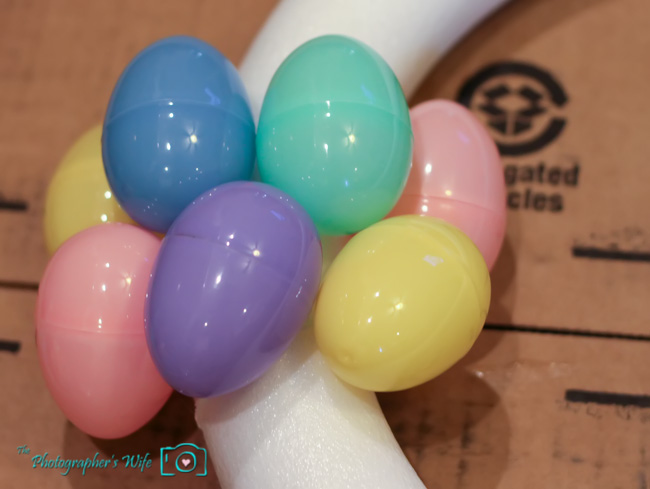
With glue gun in hand, I just started to glue each egg on individually. I made sure they were closed all of the way and then put a small line of glue down the center of the egg, making sure to cover both sides of the egg to better ensure they don’t come apart.

Easter wreath 2

I just glued them on however way would create the least amount of white space being shown from the ring underneath. You could wrap some colored ribbon around the ring prior to gluing the eggs on if you want to see a color underneath as opposed to white.

Easter wreath 1

Of course, I ran out of eggs midway through the wreath, so the project had to be postponed until after another trip to Hobby Lobby.

Easter wreath 3

But just my luck, Hobby Lobby did not have any of these Easter eggs left on the shelf when I went a few days before Easter. So I went to Target and found a bag of eggs which ended up not being the correct size or color (super FAIL).

Luckily, Brett made a quick trip to Micheal’s and was able to find some that were very similar. I just removed a few of the original ones and inserted some of the new ones to make it look more even.

Complete!

Easter wreath 4

I cut the ribbon to the length I wanted the wreath to hang on the door and wrapped it around the top of the wreath. I did a quick internet search on “how to make a bow”, and it turns out it is pretty easy. There are lots of different bow tutorials out there, but I basically just made several loops from largest to smallest, tied some wire around the center to hold them all together and then scattered and fluffed them up. This works well with wired ribbon, which helps it stay in the shape you put it.

Viola!

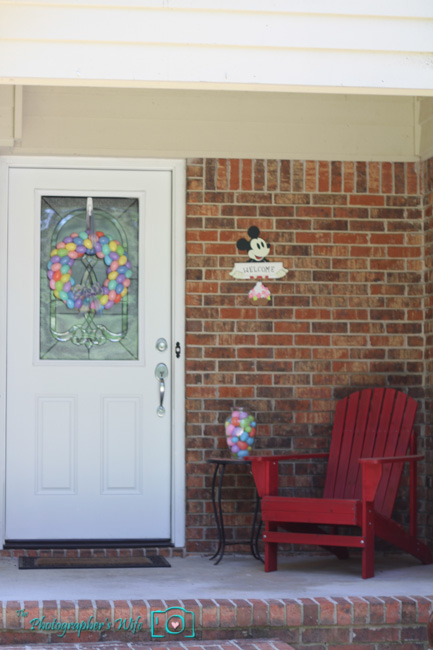
Easter front porch


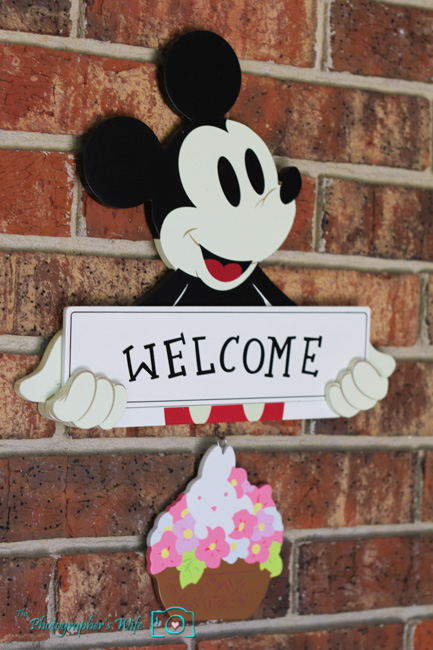
Of course, we added a touch of Disney.

Mickey Easter


Easy (and Cheap!) Wall Christmas Card Holder

We took down our Christmas decorations today. :( We usually wait until after the New Year, but we aren’t having a party this year and figured it would be best since New Year’s Day is on a Tuesday and trash pickup is tomorrow (even though as soon as we put the cut up tree on the side of the road, someone came by and scooped it up!). Honestly, it was pretty nice to clean up and get back to normal. Christmas was fantastic, but putting everything away sort of signals the start of something fresh and that the countdown to warmer weather is on!
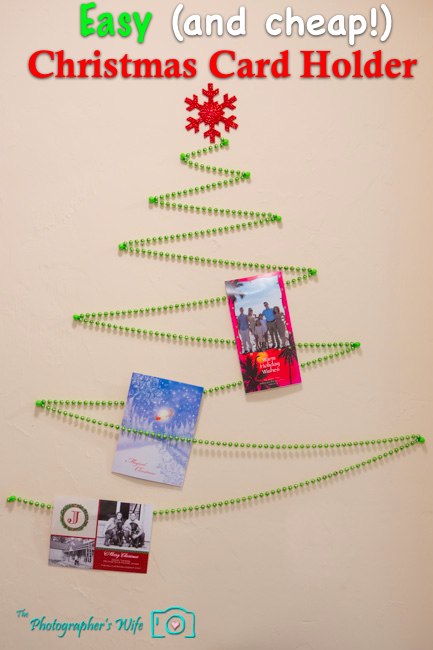
But since it’s still December, I wanted to try to squeeze in one more Christmas themed post!

Every year at Christmas, the Christmas cards start piling in, and while I love getting each and every one of them, I always felt bad that I never had an official place to display them. They would just sit on the counter or get piled up in one spot.

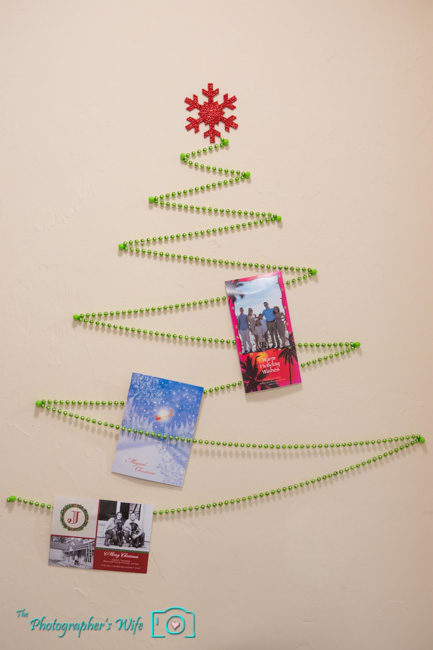
This year, we decided to finally do something about it and crafted a Christmas card holder for our wall!


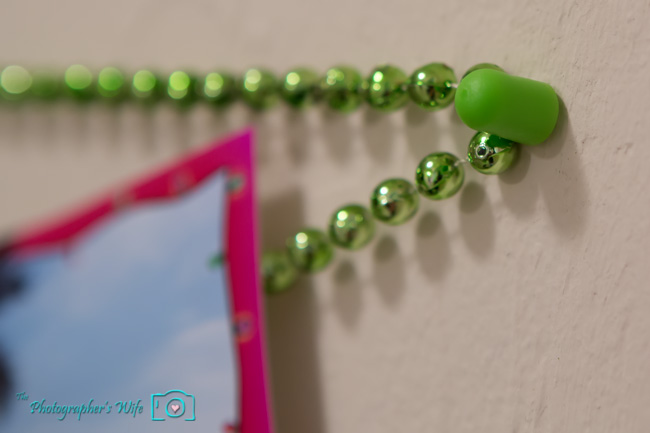
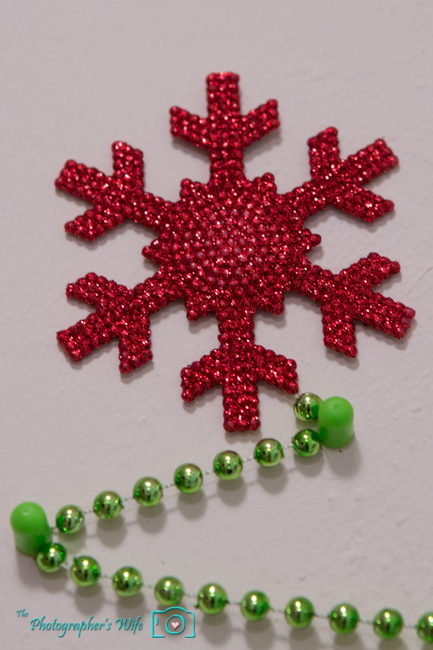
All it took was a strand of green beaded garland, some green tacks and a glittery snowflake ornament, Less than $5. BAM!

Use the tacks to hold up the garland. You may need to remove the corner beads to make the tack fit, depending on the type of tack you have. We found these green tacks to closely resemble the green beads on the garland.


Use the snowflake as the tree topper and use Frog Tape or double sided tape to stick it to the wall.


Use Frog Tape to stick the portrait style cards or photo cards to the garland/wall. The landscape style greeting cards can just be folded over top the garland.


And there you have it, just a few dollars and a few minutes for a nice Christmas decoration and place to display all the Christmas cards your friends and family painstakingly create and send you. By the time Christmas rolled around, our card tree was full and I was so glad that we did this!


The Photographer’s Wife fans, be sure to:

Subscribe by email | Like us on Facebook | Follow us on Pinterest | Follow us on Twitter


Do you enjoy reading The Photographer’s Wife? I hope you do! If so, please consider clicking each of the banners below to vote for me. All you have to do is click…nothing to sign up for…and you can click once every 24 hours! Thank you!

Top Mommy Blogs - Mom Blog Directory