Crafts

Disney Vacation Countdown DIY {Craft}

If you’re like us, the anticipation of your next vacation is half the fun…planning each fun activity you’ll do, dreaming about the delicious food, and counting down the days until you reach zero and you’re there!

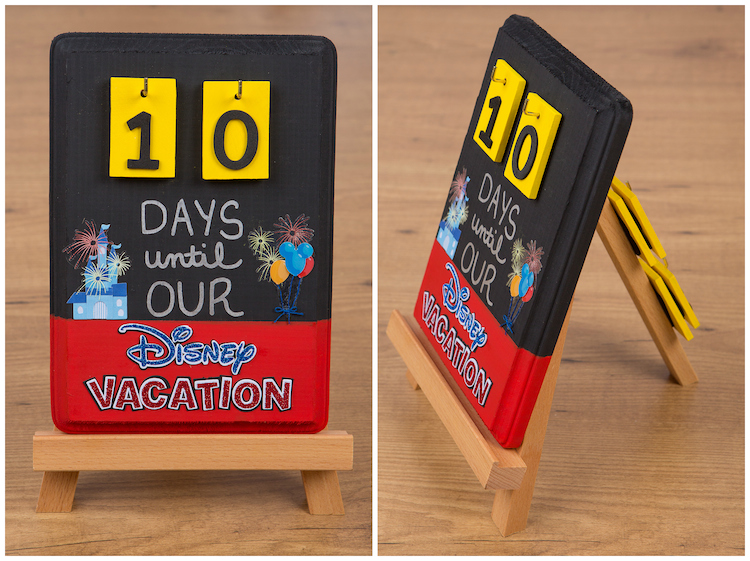
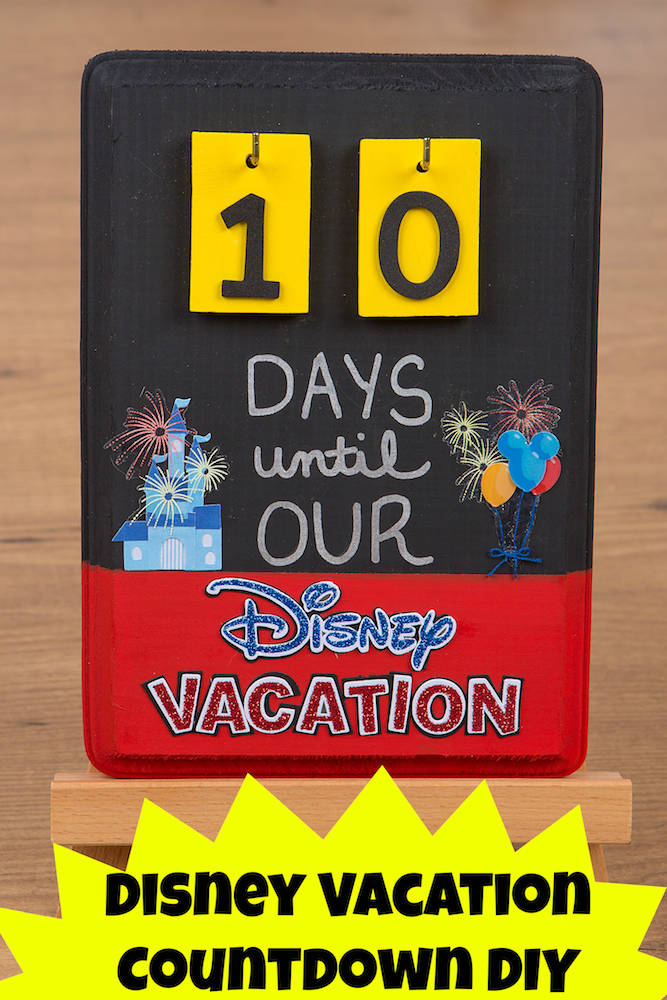
Here’s a fun craft you can make to help you count down to your next Disney vacation - or any vacation with a few tweaks! What I love about this project is that you can be creative and make it your own by using different colors, stickers, etc.

Disney Countdown Collage

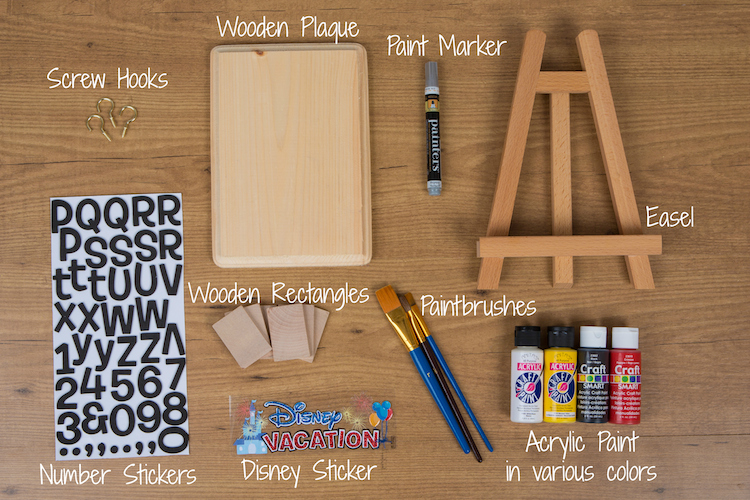
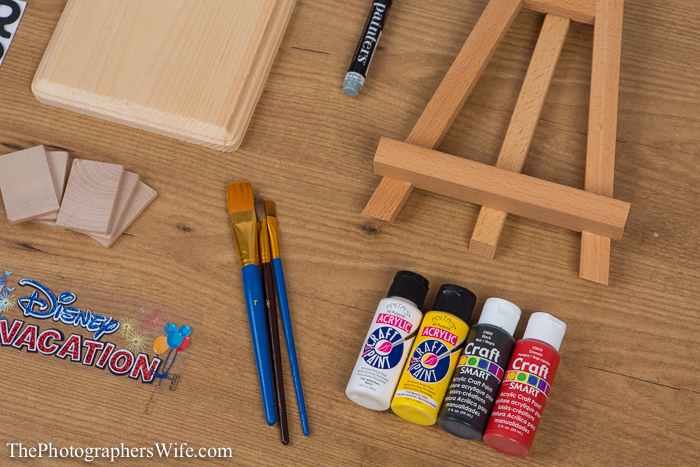
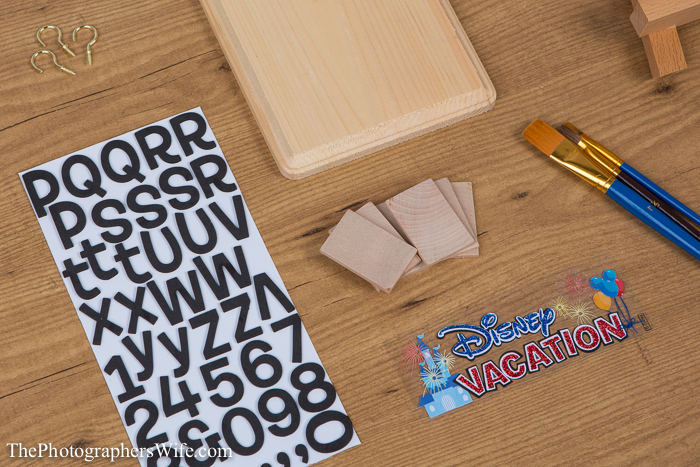
Here’s what you’ll need (all found at an arts/crafts store):

Disney Vacation Countdown 1

Disney Trip Countdown-2 Disney Trip Countdown-3

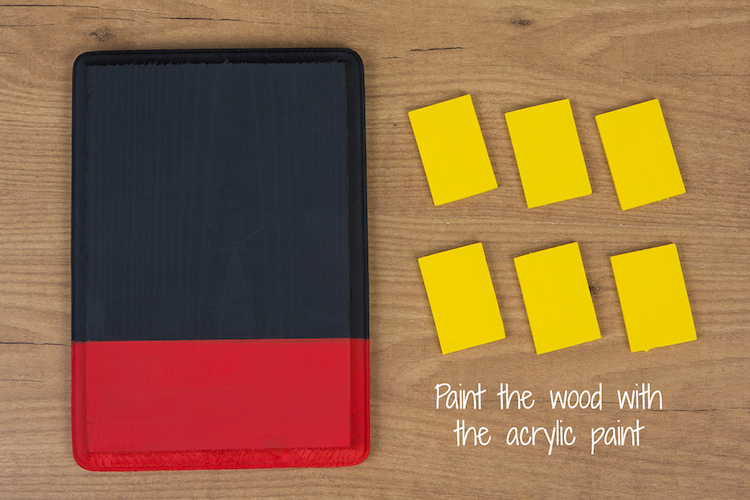
The first step in this project is to paint the wood: the plaque and the small wooden rectangles. You could also paint the easel, but we chose not to. You can choose any color paint for all the pieces, but I chose a Mickey theme. The plaque is painted black on top (his head/ears) and red on the bottom (his shorts) and the small rectangles are yellow (his shoes). Use painter’s tape to make the line straight on the plaque. Let all items dry well before going to the next step.

Disney Vacation Countdown 2

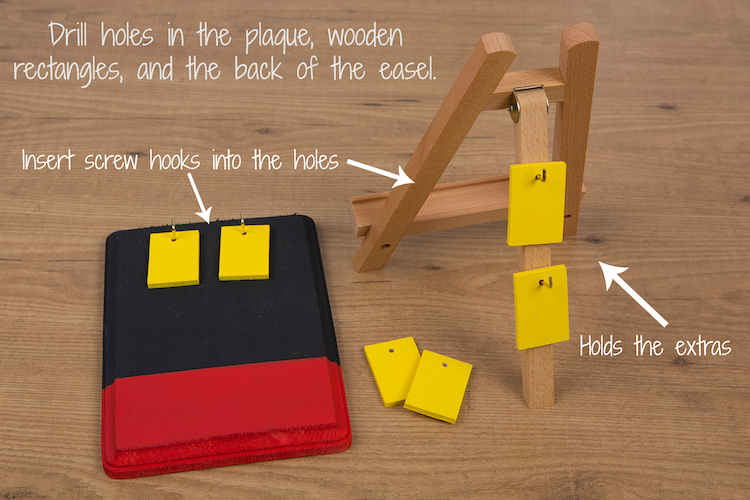
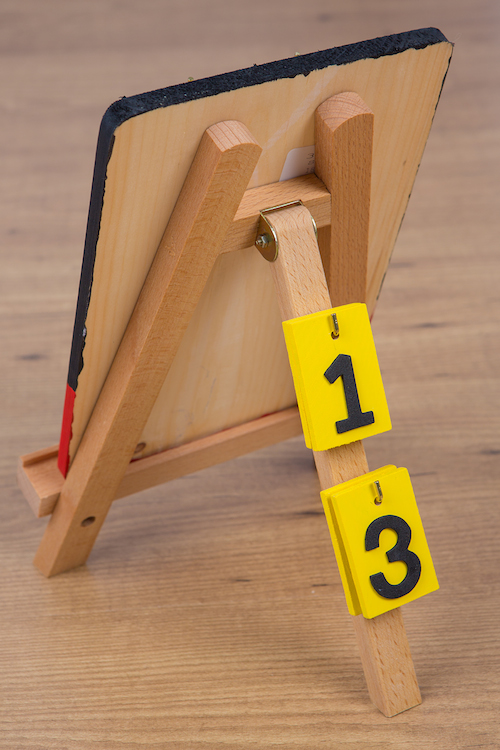
Next, drill two holes towards the top of the plaque, two holes in the back of the easel, and one hole towards the top of each small wooden rectangle. Then, insert the screw hooks into each hole on the plaque and easel. The ones on the plaque will be used to display how many days left in your countdown, and the ones on the back of the easel will be to hold the extra numbers.

Disney Vacation Countdown 3

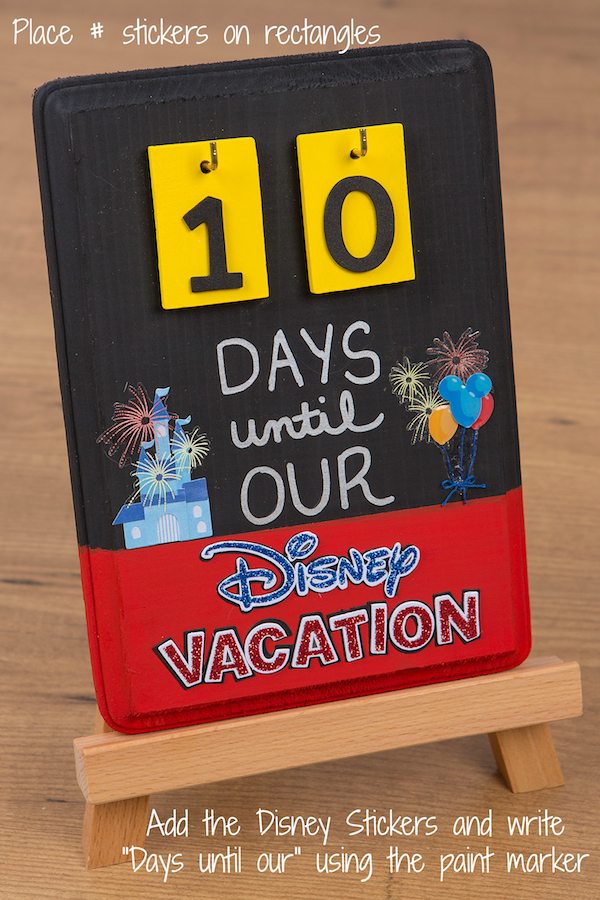
Next, place the number stickers on the wooden rectangles. We used 6 rectangles front and back. You’ll need (2) #1, (2) #2, and 1 of every other number. This will allow you to count down from 90 by tens, and then each day from 32 to 0. You can also choose to make more rectangles and use more numbers if you want to count down from a higher number. Lastly, place the Disney sticker on the plaque and write “Days until our” with the paint marker.

Disney Vacation Countdown 4

Disney Vacation Countdown 5

Now, you’re ready to count down to your next Disney vacation, no matter what time of the year you go!

If you loved this fun DIY, please consider sharing by pinning this photo to Pinterest or sharing on Facebook! Thanks for all your support!

Disney Vacation Countdown

This post was featured in last month’s issue of WDW Magazine. The new issue was just released and you can find a delicious Disney recipe from me, plenty of Brett’s amazing photos and many more great Disney articles. To learn more about WDW Magazine, visit their page here.

Blog Carnival

DIY Felt Christmas Tree

Have you ever tried to get a toddler to leave a Christmas tree full of ornaments alone? Yeah, not an easy task.

We put our Christmas tree up the weekend after Thanksgiving. While decorating it, Trent wanted to help, so we showed him how to hang the ornaments (not the expensive ones!). He was able to do some and then for a few days after, he kept going over to the tree and pulling them off so he could hand them to us to hang. He thought he was helping, we wanted to put the tree in a bubble.

Luckily, after a few days, he stopped trying to “help” and now leaves the tree alone. But we didn’t want to take away the fun of decorating a tree, so we made him his very own tree that he can decorate over and over again without mommy and daddy screaming “No, Trent!”

Felt Christmas Tree DIY

This was an easy project and it cost us less than $10! I took a trip to Hobby Lobby for supplies (with my 40% off coupon in hand). I got one square yard of green felt. I got it from the fabric section where an employee had to cut it for me. There were bags of it in the felt section, but I liked being able to see what I was getting. With my 40% off coupon, the fabric came in at just under $4.

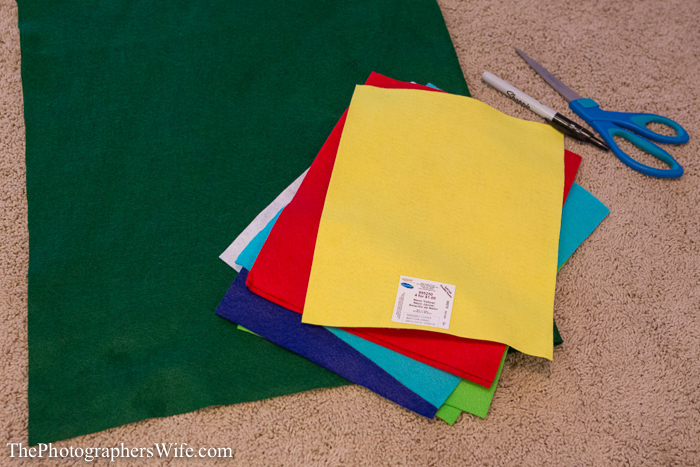
I also picked up several sheets of felt in various colors at 4 for $1. I made sure to get at least 1 yellow sheet for the star tree topper and then a dinosaur pattern just because I thought it was cute. The rest were just different primary-type colors.

Felt Christmas Tree-1

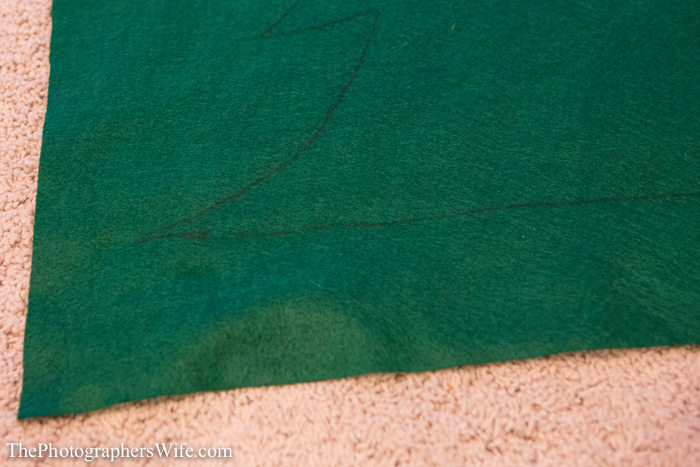
Brett cut the tree. He used a Sharpie to outline the tree on one side. It’s ok if you mess up the lines, because this side won’t show.

Felt Christmas Tree-2

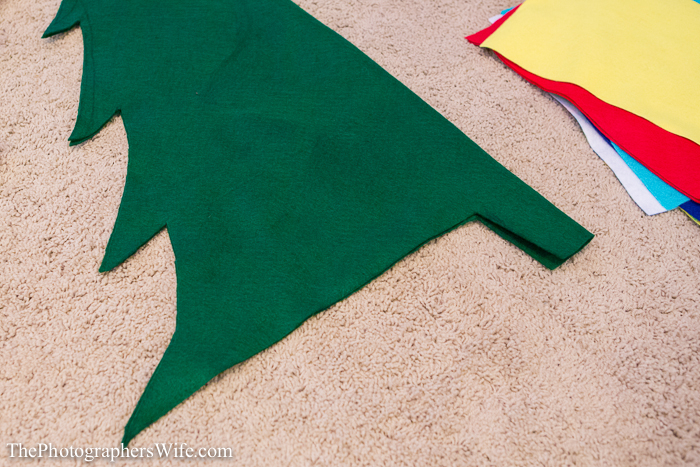
Instead of drawing the entire tree and risk being asymmetrical, he drew one side and then folded it in half and cut along the lines he drew.

Felt Christmas Tree-3

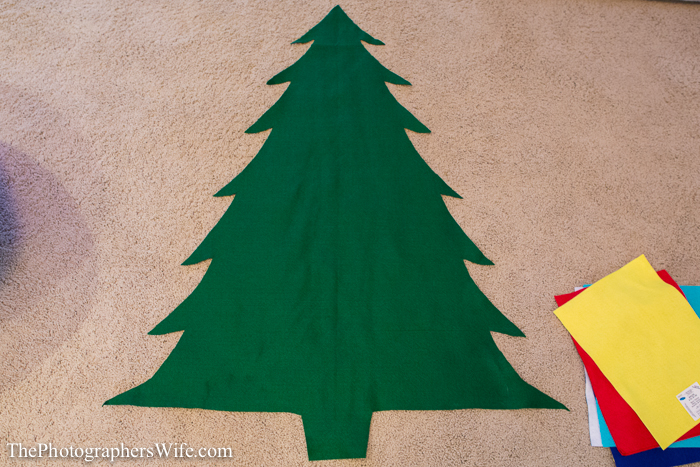
Oh Christmas Tree, Oh Christmas Tree!

See, once you flip it over, you don’t see any of the lines drawn on the other side.

Felt Christmas Tree-4

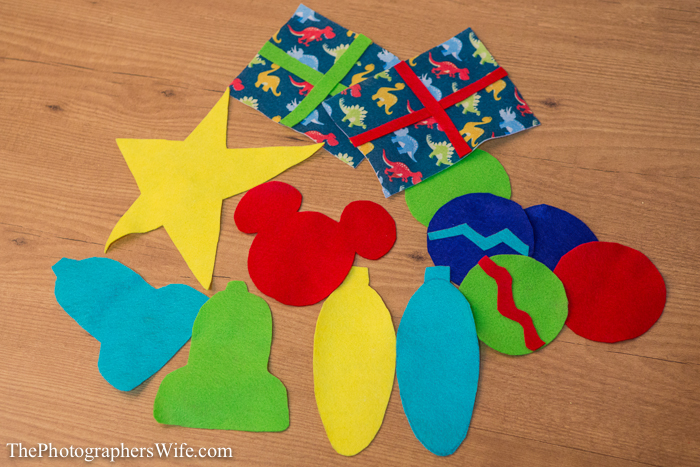
I created the star, ornaments and gifts. I just cut various shapes (including a Mickey head!) in different colors. The star looks a little funky, but it works and I was not doing it over again seeing it took me so long the first time. I used fabric glue for the ornaments and gifts that had extra decorations on them.

Felt Christmas Tree-5

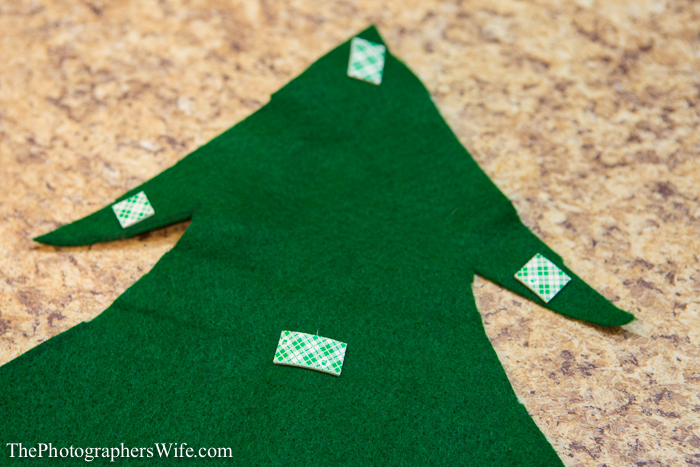
To stick the tree on the wall, we just used little pieces of 3M double-sided sticky foam placed along the edges.

Felt Christmas Tree-6

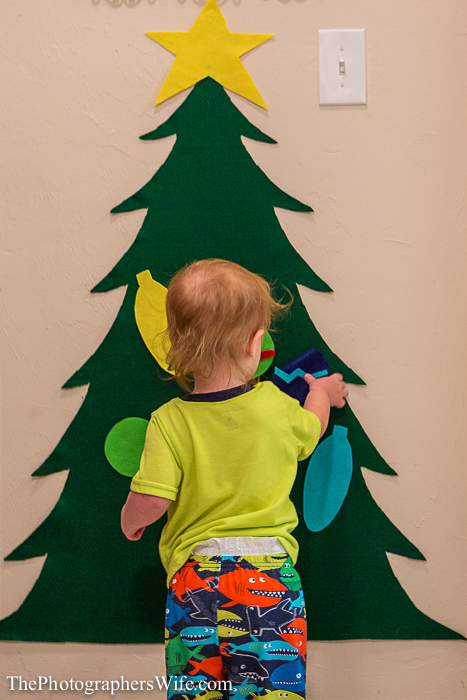
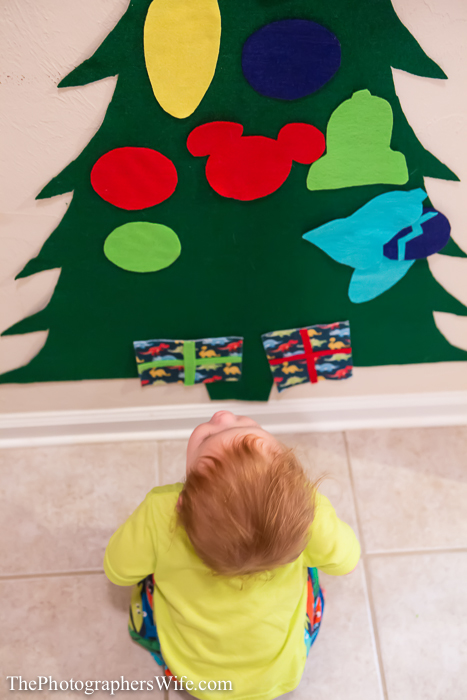
Brett wanted to use these mini rare earth magnets for the ornaments to stick to the tree, but I wanted to take the easy route and just trust that felt sticks to itself. It does, but you have to push it on flat, so sometimes it doesn’t stick as well, especially for a toddler that just wants to push the pieces up any way he can.

But he doesn’t seem to mind….he loves it!

Felt Christmas Tree-7

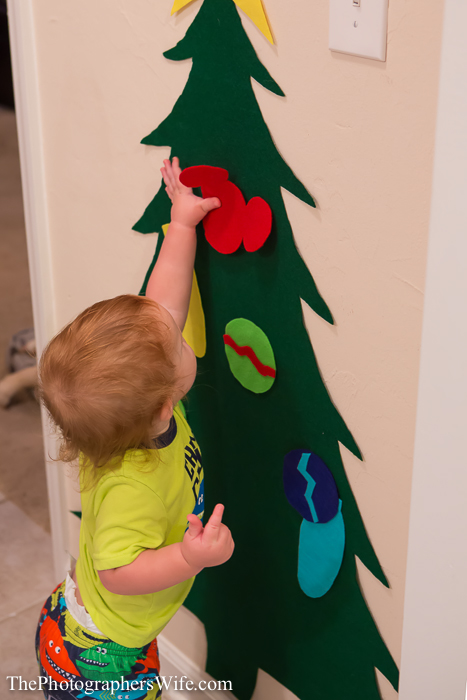
He even points to the Mickey head and laughs.

Felt Christmas Tree-8

He has a tendency to want to stack all the ornaments on top of each other, but whatever makes him happy. He definitely has fun with it.

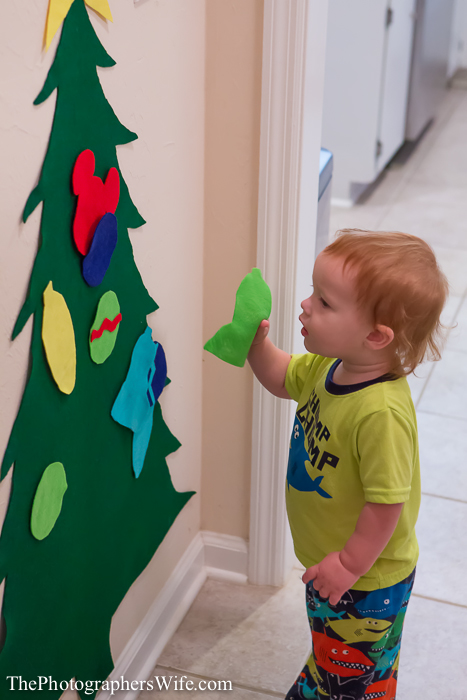
“Where should I put this ornament? Decisions…decisions.”

Felt Christmas Tree-9

Admiring his work.

Felt Christmas Tree-10

Brett captured a short video of Trent putting on an ornament. Tell me: do you think he likes it?

{Pardon the mess, we just got back from Disney and Trent insisted on unpacking his toys onto the floor!}

Never miss a post, photo or video…follow us!

Painting with a Twist Party {Video}

Last Friday, I attending my lovely sister-in-law’s birthday party at Painting with a Twist - Tallahassee!

I’m sure you’ve seen some version of this type of place in your hometown…

Painting + wine (or other drink for people like me that don’t like wine) + food goodies + friends/family = fun.

I’ve attended a party here before, but this was the first time it was held in the private room. She got to choose which painting we all did and we had our own instructor for just us friends and family. You don’t have to be a painting pro to leave there with a masterpiece. It’s always amazing to see how everyone’s paintings show their individuality…they are of the same painting, but look so different…in a good way!

I figured it would be fun to make a video of my entire painting from start to finish for you to see how it all comes together. Our party was about 2 hours long, with some breaks for gabbing and eating, so this had to be sped up quite a bit…enjoy!


By the way, this wasn’t a paid or sponsored post. I paid for my own admission, just thought it would be fun to share. :) Have you been to a painting party or session before?


Never miss a post, photo or video…follow us!

Anakin Skywalker, Padme Amidala & Yoda Star Wars Family Halloween Costumes

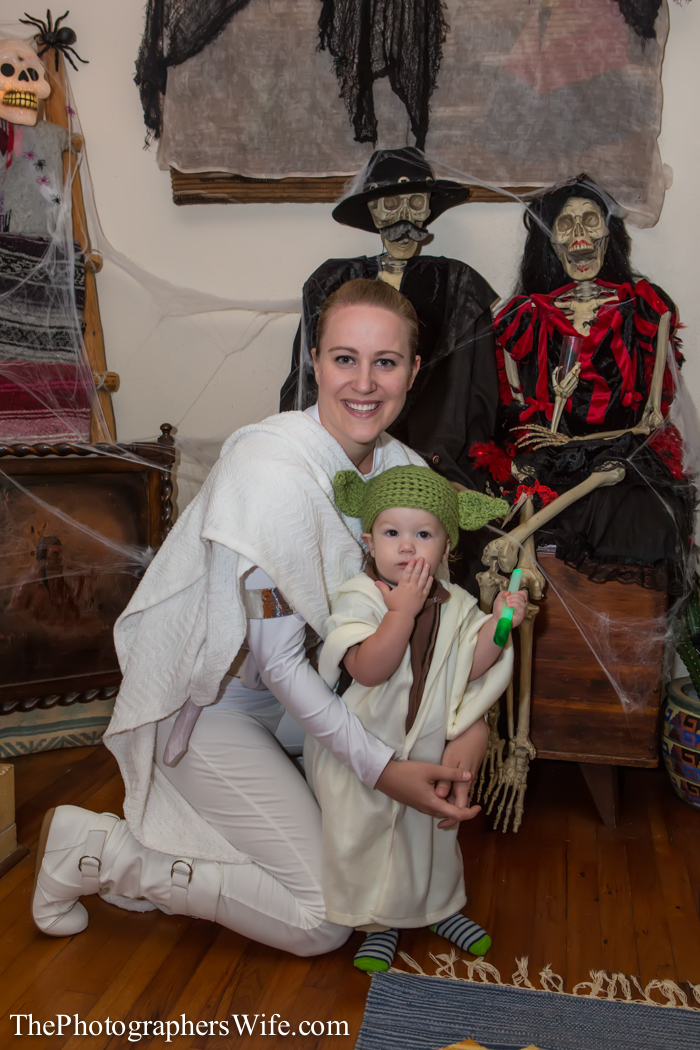
As promised, here is a little rundown of our Halloween costumes this year. Brett was Anakin Skywalker, I was Padme Amidala, and Trent was Yoda. We wanted something in the Disney family, since we were going to be attending Mickey’s Not So Scary Halloween Party in Walt Disney World. Since Disney just purchased the rights to Star Wars, we decided to be a Star Wars family. We had a mixture of pre-made costume and hand made items. Here we are as a family.
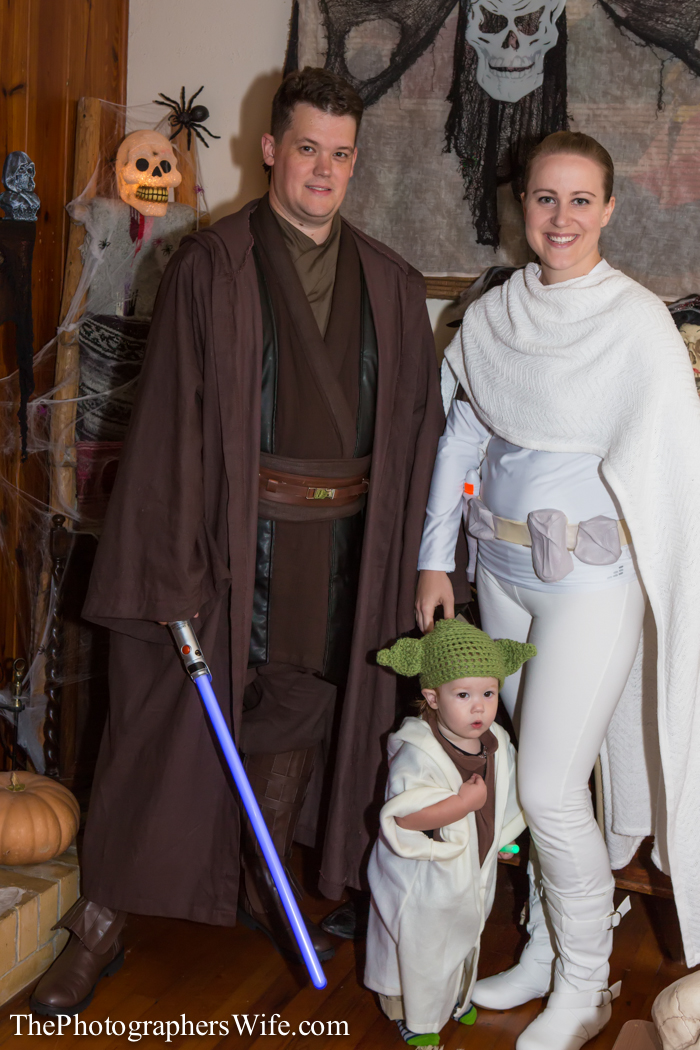
Halloween Party-1


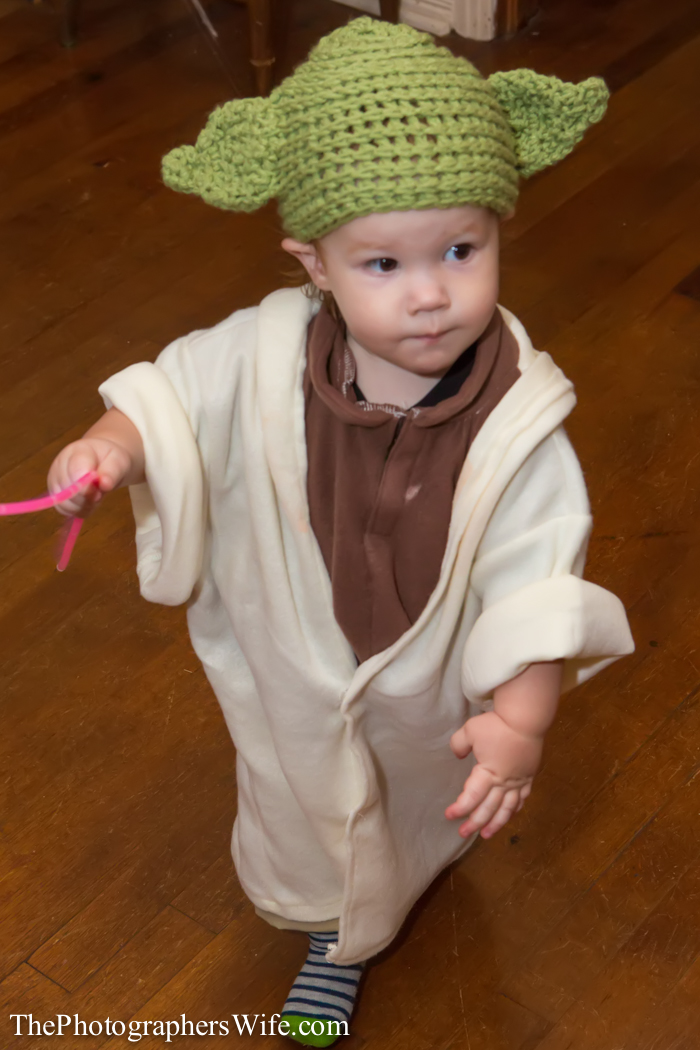
Yoda

Our little man was Yoda, who is little - how convenient!
Halloween Party-29

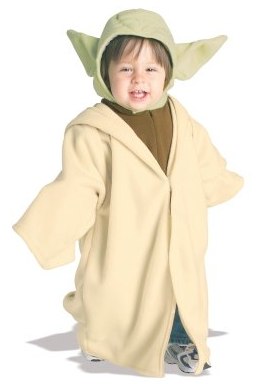
We bought this costume from BuyCostumes.com (also available on Amazon), which included the robe and a hat.
Star Wars Yoda Fleece Infant _ Toddler Costume | 18889 | 2013

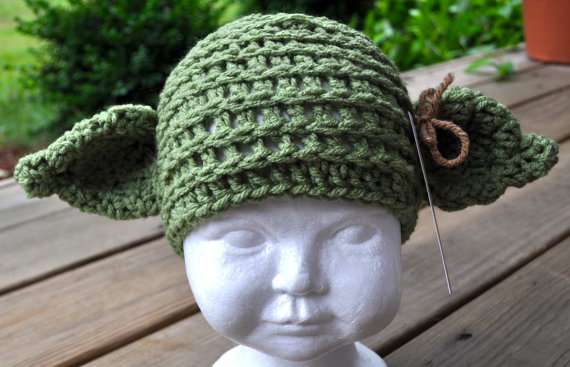
However, the reviews on the hat were not good, saying it was too small and didn’t fit the age group for which the costume was designed for, but we took a chance anyway. It definitely did not fit. So I panicked, since we were just a couple weeks away from the Halloween Party, but then Brett found this super cute crocheted Yoda hat on Etsy. I can’t get over how adorable it is.
Crocheted Yoda Hat Beanie

Trent actually likes wearing it (except for the night of the Halloween Party at WDW - go figure). This hat totally made the costume and probably got the most attention out of anything.

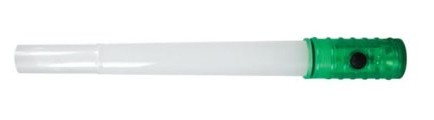
And for added fun, we got him a small battery-operated glow stick to be his lightsaber from Amazon.
Amazon.com_ GLOWSTICK GRN FLASHLITE (PPWGLOWSTICKG)_ Sports & Outdoors

He just wore brown/khaki shorts/pants underneath and green socks.
Halloween Party-3


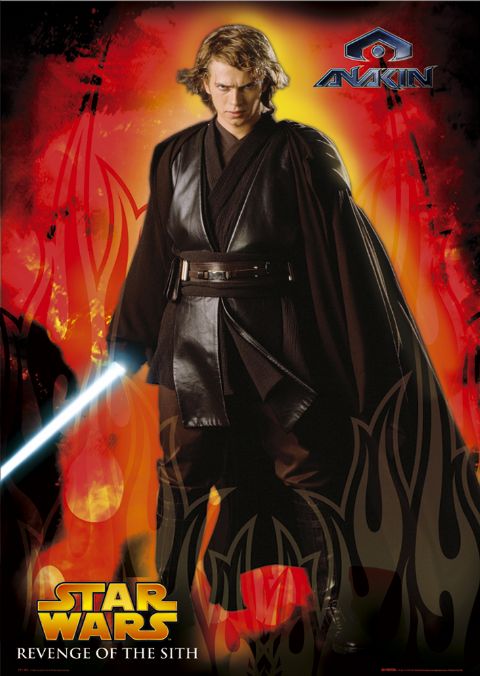
Anakin Skywalker Costume - From Episode III: Revenge of the Sith

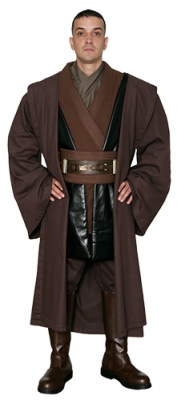
Brett was the first person to have his costume completely ready. He got lucky and found a great costume with all of the pieces already together, except for the boots and lightsaber. His main focus was finding a quality robe. Most pre-made Anakin or Jedi costumes come with a pretty lame robe, so he was happy to find this one. Yes, it’s a little pricey, but he can wear it again and again (he claims he’ll wear it to Star Wars weekends at Hollywood Studios - which we’ve only been to once, so I’d like to see that happen - but also says the robe and the boots can be used for other costumes too).

Here is Anakin from the movie:
Episode-III-Anakin-L

Here is Brett’s costume:

Anakin Star Wars Costume

Available here: JediRobeAmerica.com

It comes with several pieces and looks really authentic. The only adjustment he had to make was putting velcro squares on his shoulders to help keep the shoulder tabards in place.

If you are looking for just the robe, you can find them separately (and ironically enough, I just found this one on Amazon - it’s from the same costume!).

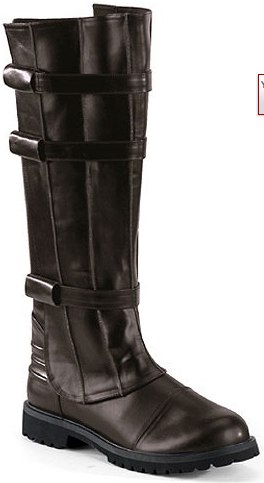
His boots were from: HalloweenCostumes.com. Amazon had them too, but they were much more expensive. These can also be worn with his pirate costume and other costumes too, I’m sure.
Adult Anakin Boots

Lastly, the all important lightsaber.

Anakin Star Wars Lightsaber

This one is available here on Amazon and even though I would have preferred him to just use a cheap lightsaber, this one was really impressive and realistic (as realistic as a “laser sword” can look I guess).

Padme Amidala - From Episode II: Attack of the Clones (The Arena Fight Scene)

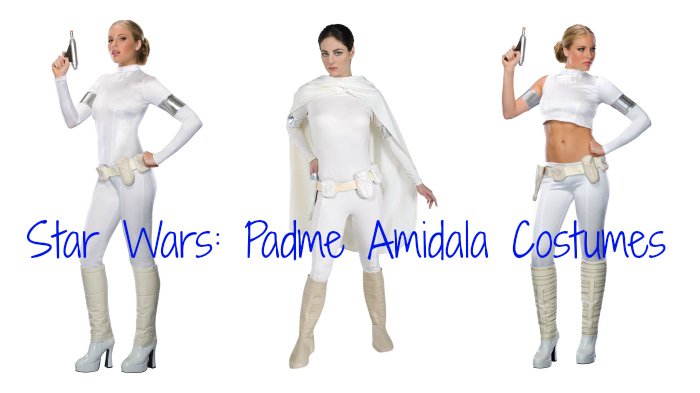
Seeing as I was going to be wearing this costume to Disney World, and am not in as good shape as I would like, I opted NOT to go with the sexy version of this costume lol.

Here is Padme in the movie:

senator-padme-amidala-white-battle-costume-gallery

Here is a couple versions of the available costumes.
Padme Amidala Costumes

I read lots of reviews and lots of people kept saying how see-through the costumes were (or off-color). So, Brett convinced me that should make it myself…at least by finding the separate pieces and making anything I couldn’t find already made. OMG was this stressful. Some items I found easily, others I was literally shopping for 2 days before we left for WDW. Honestly, I tend to take the easy route with costumes or let Brett make them for me, even though I secretly wish I would learn to sew and make my own awesome costumes, but until then…

Here is the breakdown of my costume.

Top: This shirt in white from Academy Sports
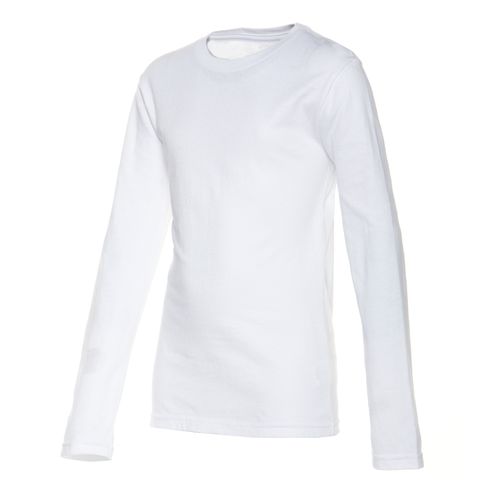
Padme white Top

Bottoms: White stretchy pants from Goodwill. I seriously searched EVERYWHERE for a pair of stretchy white pants that weren’t expensive. I found them at Goodwill 2 days before our trip. It’s ridiculous how difficult it is to find anything white after Labor Day, let alone have it not be entirely see-through.

Boots: This was actually the first part of my costume I found, from here on ebay. They were very comfortable and my feet didn’t hurt even after walking around Magic Kingdom for 6 hours.
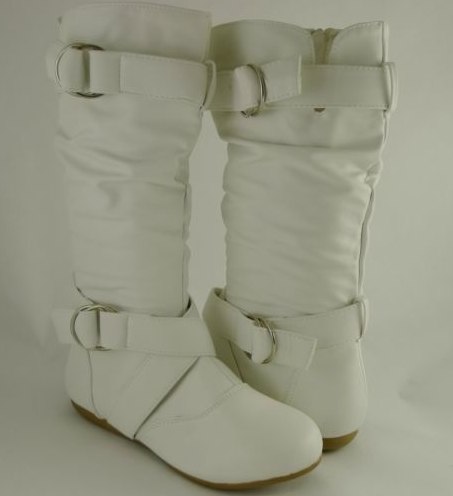
Padme Boots

Holster/Gun: I could not find the holster in an adult size, so I got this child’s Padme holster that came with a gun blaster and just attached a long strip of velcro to the back to extend it to the size I needed. It worked perfectly and was probably cheaper than the adult version, anyway!
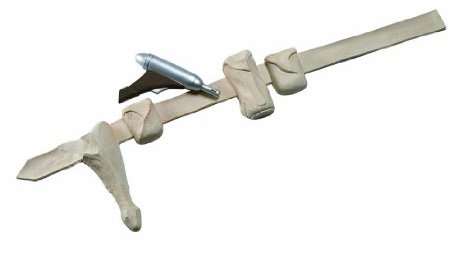
Padme Holster belt

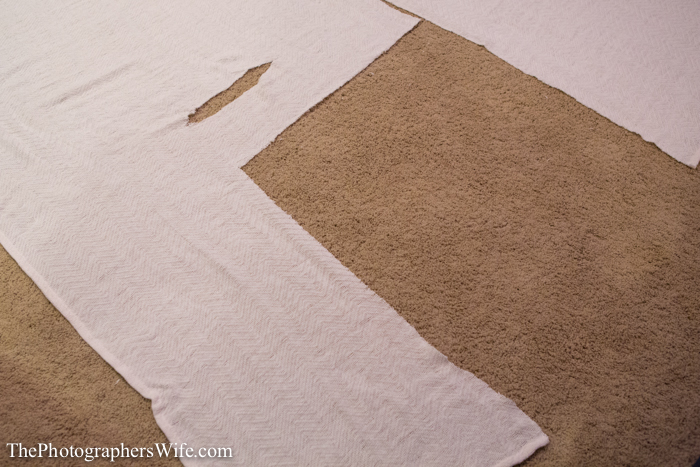
Cape: I luckily stumbled upon searched for everywhere and found a white blanket at TJ Maxx large enough to cut to the size I needed. Brett made the cape for me.
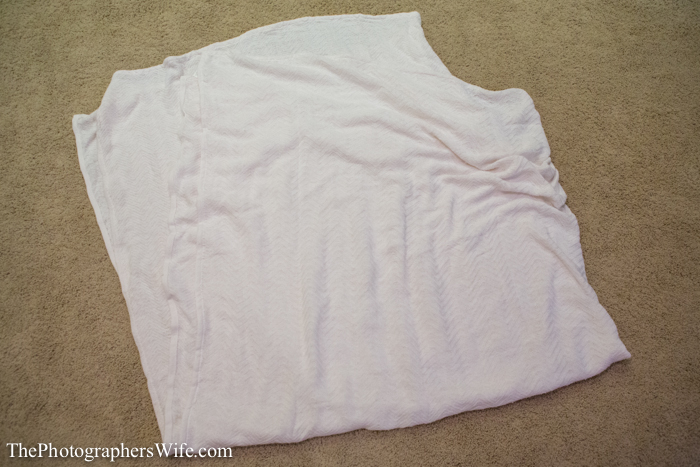
Padme-1

He cut the blanket in half (it was a large blanket), then cut out a rectangle where the top of the cape would be, along with a hole right underneath to put my head through.
Padme-2

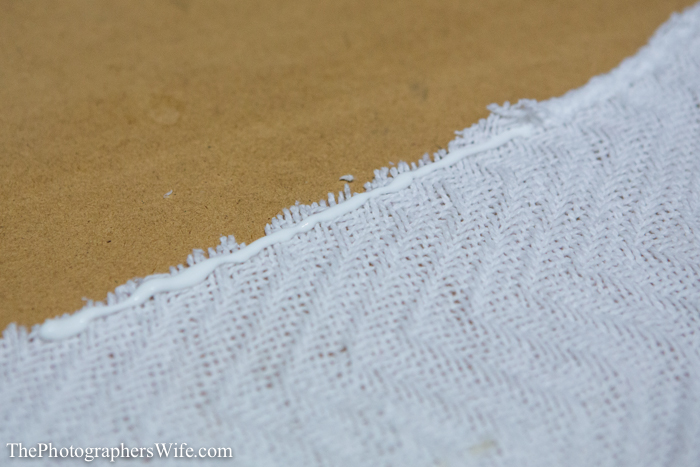
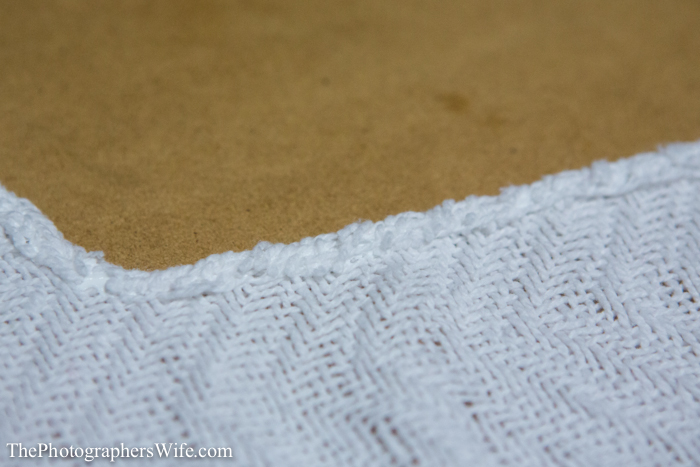
Then, to make the ends look nice where the blanket was cut, he placed a line of liquid stitch permanent adhesive and folded over the edge and let it dry.
Padme-3

Padme-4

The robe was made so I could put my head through the hole that was cut out, then sling the long piece over to my other shoulder, where we placed a piece of velcro to hold it in place.

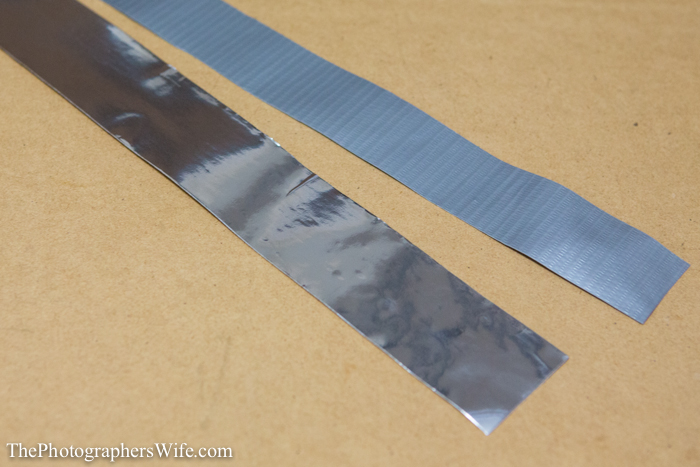
Arm cuffs: Brett doubled a strip of duct tape and then covered it with aluminum tape for each arm cuff, then placed velcro strips on the end of each one to hold it together.
Padme-5

That pretty much wraps up our costumes this year. Is it too early to start thinking about next year’s costumes?
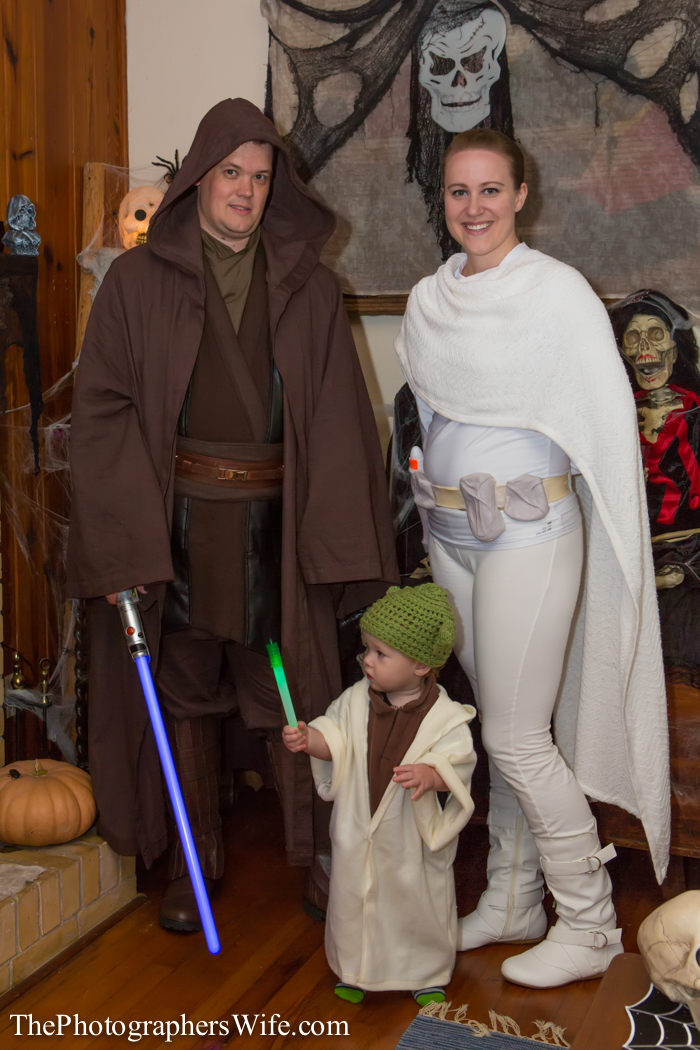
Halloween Party-2

Never miss a post, photo or video…follow us!

Easy Pom Pom Learning Toy Craft for Toddlers

Sometimes, it’s the simplest ideas and toys that can help a child learn motor skills and keep them entertained for hours. This toy is the perfect example that you don’t need to buy an expensive toy to achieve the above goals. We made this toy with items we already had at the house, so it was free for us, but if you were to have to purchase them, it would only be a couple of dollars.

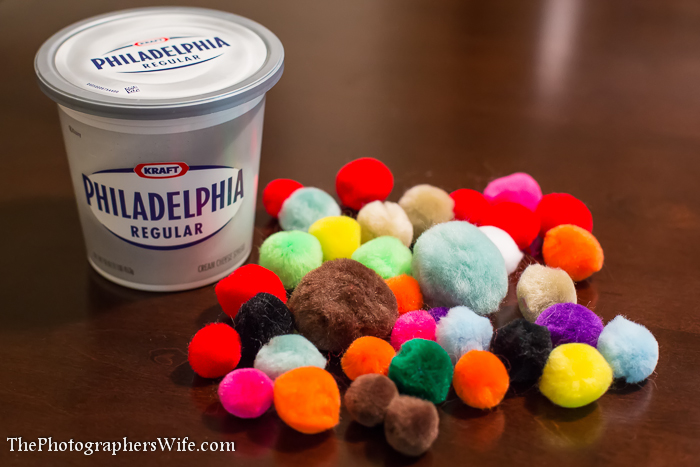
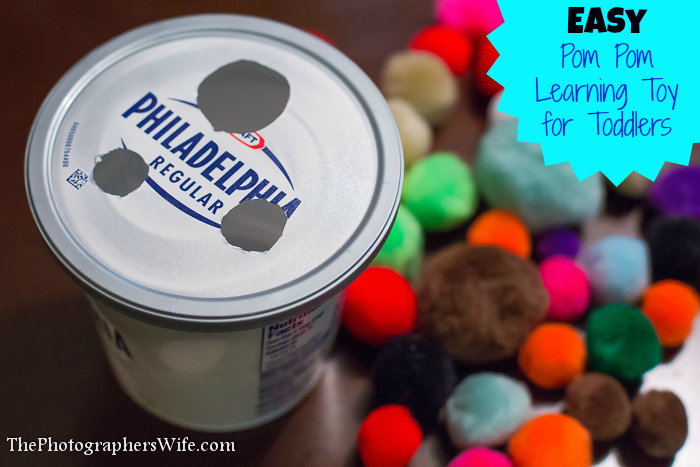
We used an empty cream cheese container (cleaned out, of course) and a bunch of pom pom balls in various sizes. You can use any type of plasti container with a lid…butter, cream cheese, sour cream, yogurt, etc. You can find the pom poms at your local craft store and probably at most mass retailers like Target and Walmart. Or here is perhaps the largest bag of pom pom balls I have ever seen and it’s still under $10.

PomPom Toddler Toy-1

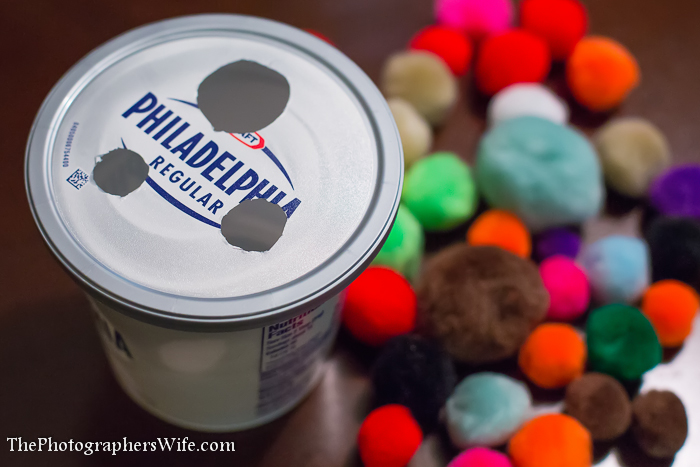
After the plastic container has been cleaned, cut a few holes of various sizes in the lid. We used a razor blade, but you could also use a knife.

PomPom Toddler Toy-2

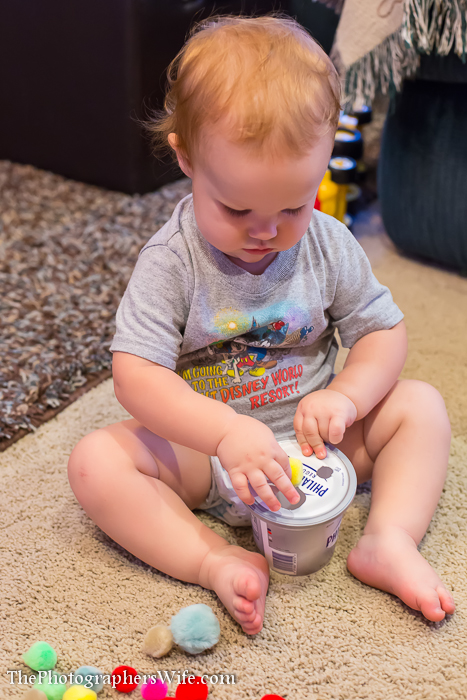
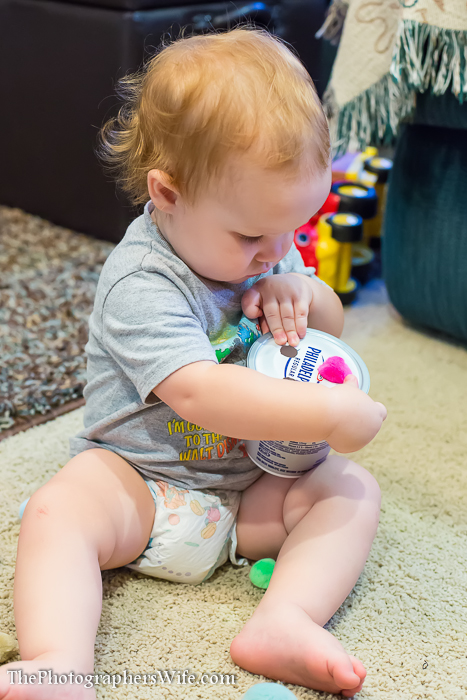
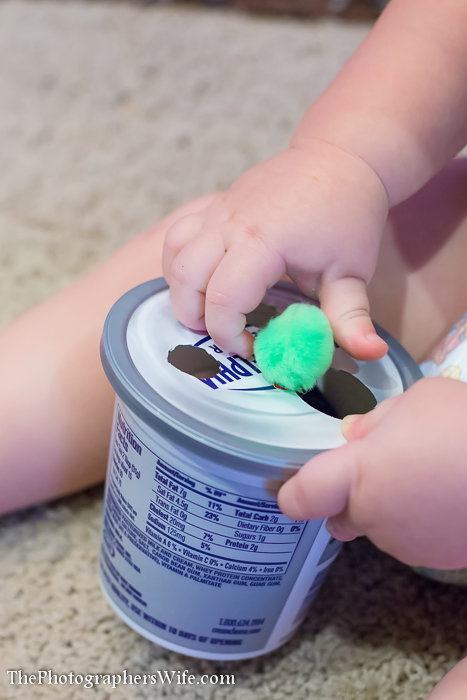
And that’s it! Told you it was easy. We handed Trent the container and set a bunch of pom pom balls near him and showed him what to do and he was off. He picked up on it right away and before we knew it, he had put all the balls into the container and was opening it to dump them back out again!

PomPom Toddler Toy-3

This helps him learn what size pom poms fit into each hole (although I think he outsmarted us and puts them all through the largest hole…).

PomPom Toddler Toy-4

As you can see, pants are not required to fully enjoy this toy.

PomPom Toddler Toy-5

No joke, this toy has entertained him for hours since we made it about 2 weeks ago. He even had a friend come over last week that was interested in this toy more than most of the other toys.

PomPom Toddler Toy-2

Making toys like this makes me want to think of/find other simple, educational type toys to make…preferably with stuff we already have laying around the house. Have any ideas that you’ve done or seen? I’d love to hear about them in the comments or on our Facebook page!


xoxo
Lynn

Like us on Facebook | Follow on Pinterest | Subscribe on YouTube | Follow on Instagram