Crafts

Monster Party Utensil Holders

Have you gotten enough monsters yet? Of course not!

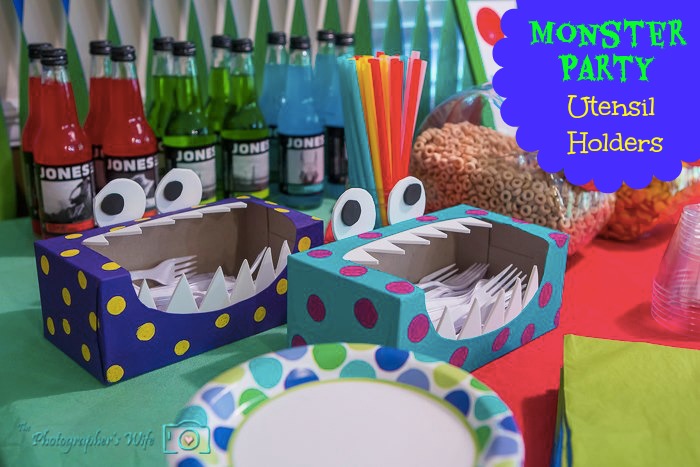
The remaining monster craft project from Trent’s monster 1st birthday party that I’m sharing are these monster utensil holders made out of tissue boxes.

Monster Party Utensil Holders

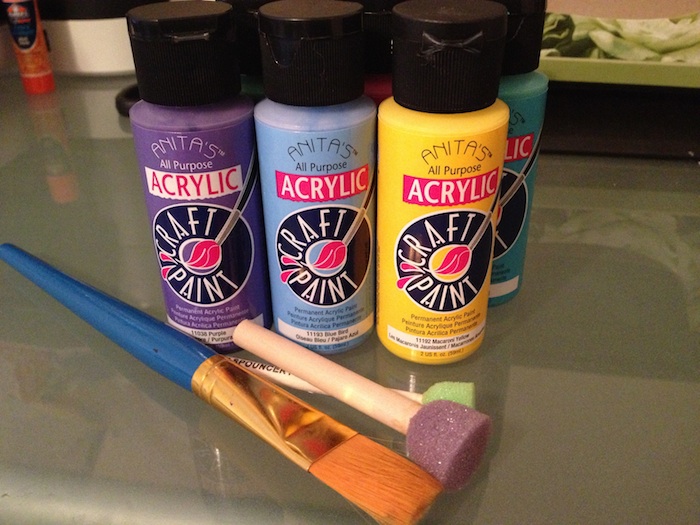
Stuff we used:

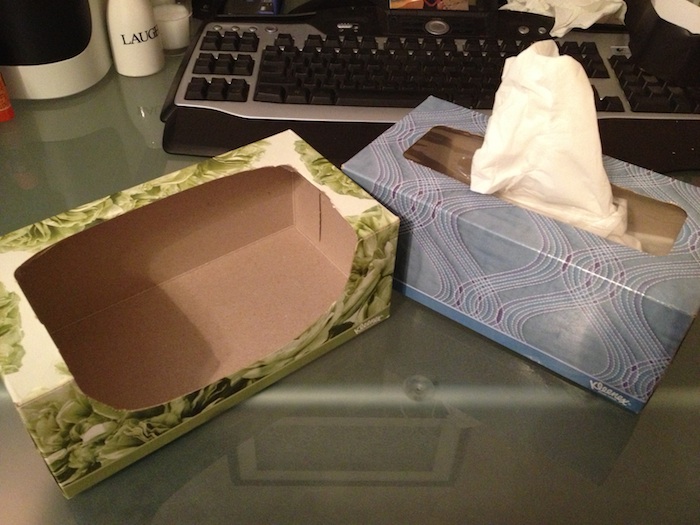
2 long tissue boxes
Acrylic paint
Small paint or foam brush
Small dot paint sponge
Foam sheets in black and white
Hot glue gun and glue

{Warning! iPhone photos ahead!}

Monster boxes 2

Luckily, we were in need of tissues since we were sick before his party (Dear lady in the elevator at Disney World: thank you for sneezing AFTER the elevator door closed AFTER I held the door open so you could enterɉ۪preciate it)

So we purchased 2 long tissue boxes, removed the plastic and cut the mouth by extending the opening that was already there.

Monster boxes 3

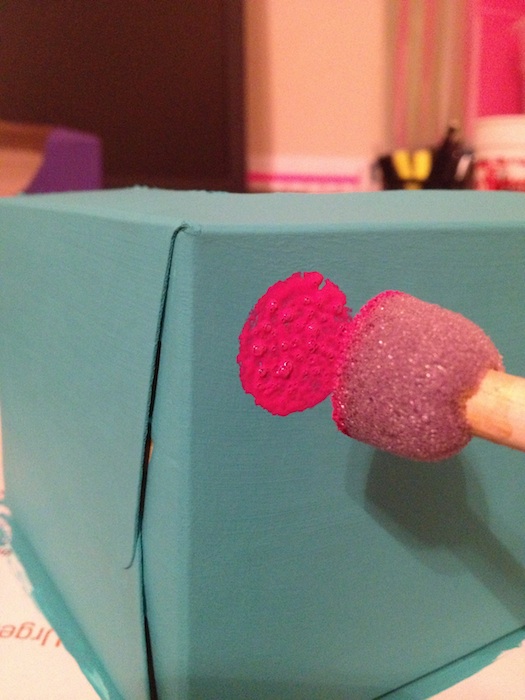
Then, I painted the entire boxes with acrylic paint (except the bottom) - I picked bright colors, not all monsters are dark and scary ;)

It took 2-3 coats to cover the flower decoration on the box. Then, I took a small dot sponge, and painted dots of a different color paint all around the box.

Monster Boxes 1

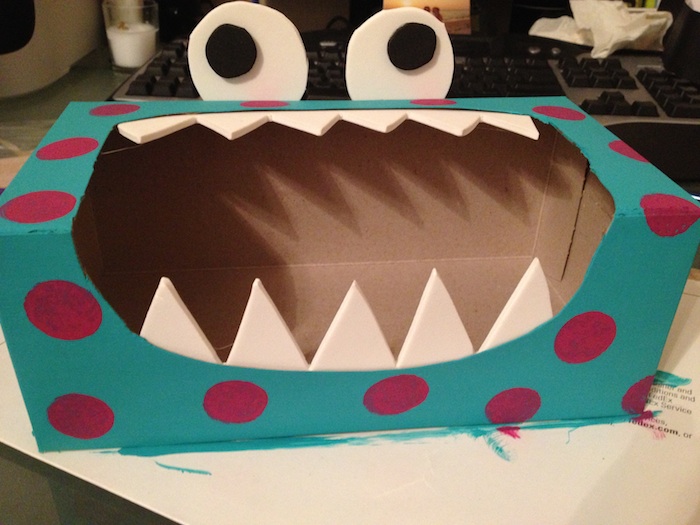
Then, I cut out teeth from the white foam board, and hot glued them to the inside of the mouth. Chomp, chomp yo.

Monster boxes 4

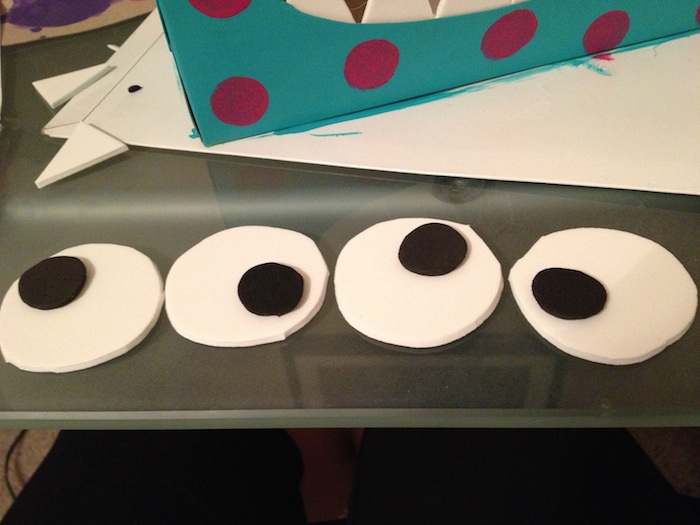
For the eyes, I cut out 4 large circles from the white foam sheet, and 4 small circles from the black foam sheet. I glued the black circles onto the white circles. I put them in all different directions to make for a more kooky crazy monster.

Monster boxes 5

Then, I glued the eyes onto the back of the tissue boxes.

Monster boxes 7

We filled them with utensils and were ready to party!

A Monster First Birthday Party - The Photographer_s Wife-1

You can see the full Monster 1st Birthday Party post, with lots of photos, a shopping list and other DIY projects HERE!


xoxo
Lynn

Subscribe by email | Like us on Facebook | Follow us on Pinterest | Subscribe on YouTube


Monster Party Favor Bags

You can see the full Monster 1st Birthday Party post, with lots of photos, a shopping list and other DIY projects HERE!


Even though our little guy was just turning 1 and all his friends were around that age too, we still put quite a bit of thought into the goody bags. We were really taking our monster theme very serious!

Trents First Bday-12

Stuff we used:

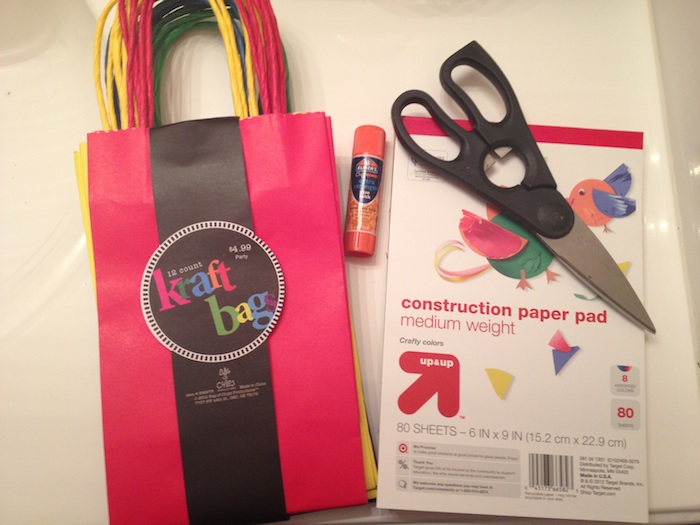
Colorful paper bags with handles
Booklet of construction paper (I had this leftover from Valentine’s Day)
Scissors
Glue stick

Monster favor bags 3

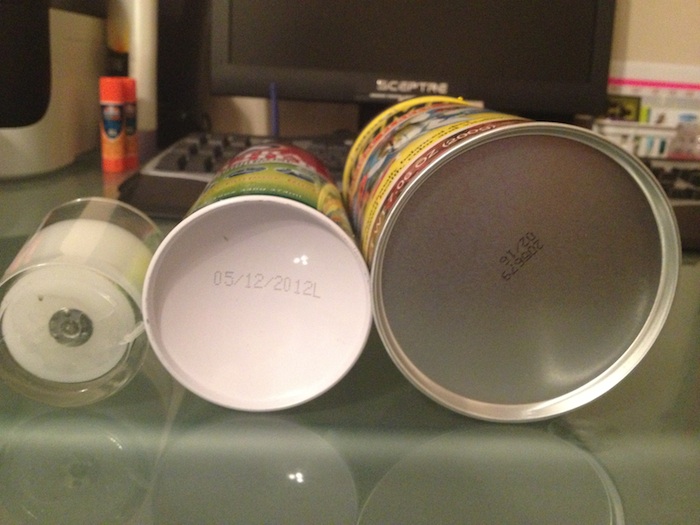
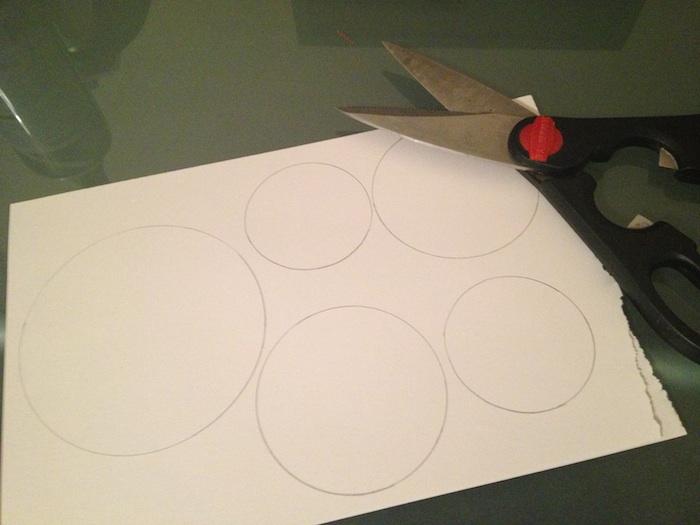
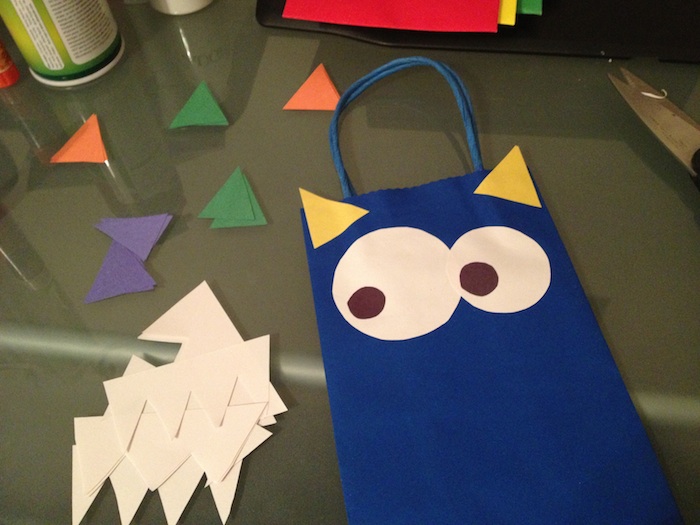
Cut out eyes from the white sheets of construction paper. I used random objects from around the house to draw my circles.

Monster favor bags 4

Monster favor bags 5

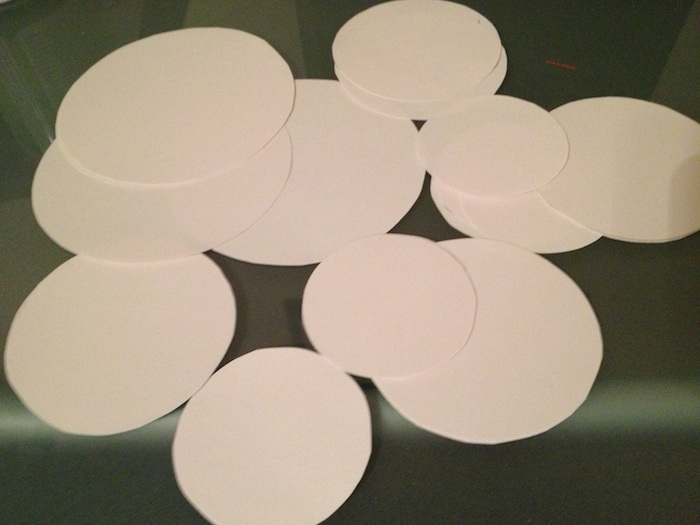
I cut a few large circles to make a few cyclops monsters, and then 2 other sizes to make kooky-eyed monsters.

Monster favor bags 6

Cut out small circles from the black construction paper as the pupils of the eyes. Cut out teeth from the white construction paper. Cut out horns from the colored paper. Glue the small black circles onto the large white circles - I glued them on in all different directions to make them kooky-eyed monsters!

{You can tell I got super into it because I forgot to take photos of each of those steps…oops!}

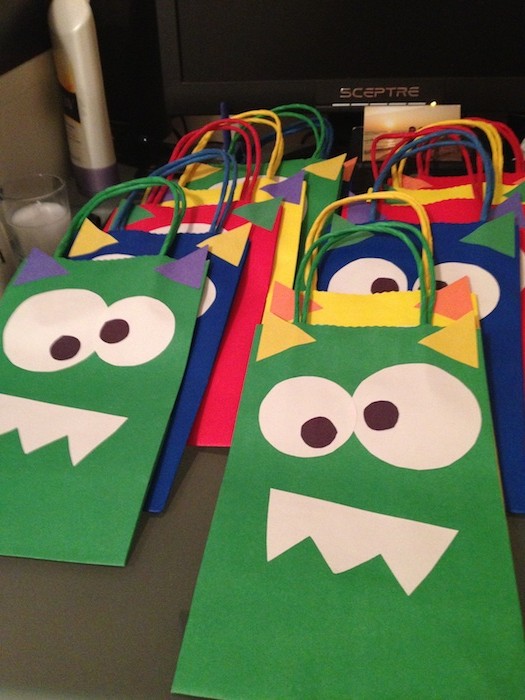
Glue the eyes and teeth onto the main part of the bags and the horns onto the top corners of the bags.

Monster favor bags 2

Monster favor bags 1

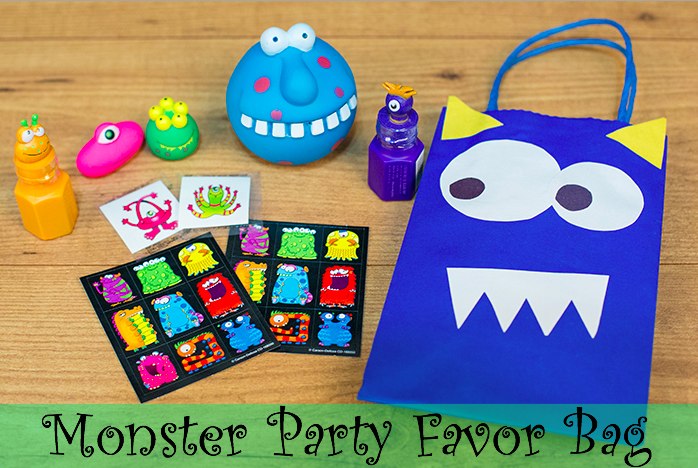
Open them up and they are ready to be filled with goodies! Here’s what we filled ours with, a bunch of monster fun!

Monster favor bag-1

Here’s a list of what we put in our monster favor bags:

Colorful bags – Hobby Lobby (or similar here)
Monster squirt balls
Monster tattoos
Monster stickers
Monster bubbles
Monster finger puppets
You can see the full Monster 1st Birthday Party post, with lots of photos, a shopping list and other DIY projects HERE!
xoxo
Lynn

Subscribe by email | Like us on Facebook | Follow us on Pinterest | Subscribe on YouTube

Monster Party Bean Bag Toss

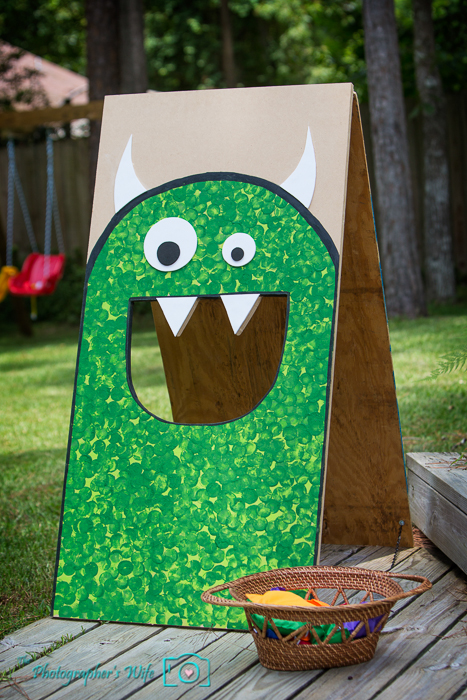
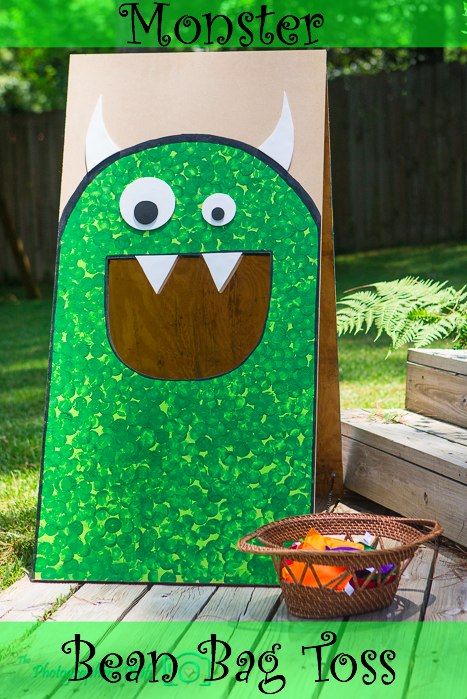
Knowing that Trent’s 1st birthday monster party was going to mostly be outside, we wanted to include a lawn game for kids (and adults too!) to play with when they weren’t in the pool. So we created a Monster bean bag toss!

Monster bean bag toss-11

Stuff we used:
2 large sheets of wood
Green paint
Dot sponge
White and black foam sheets
2 door hinges and required screws
2 small chains and 4 screw and washer sets
Bean bags


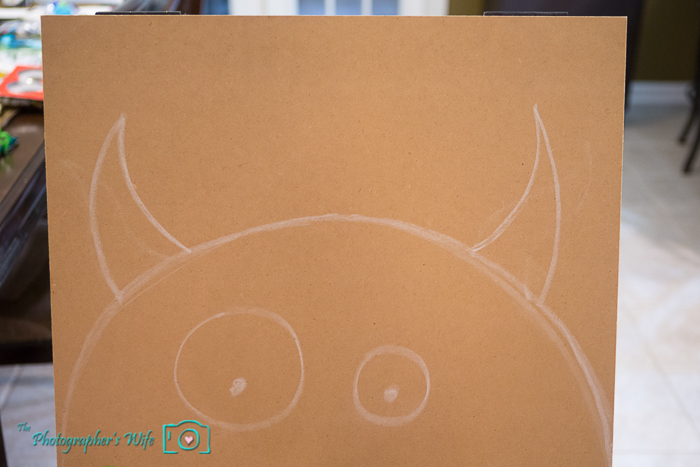
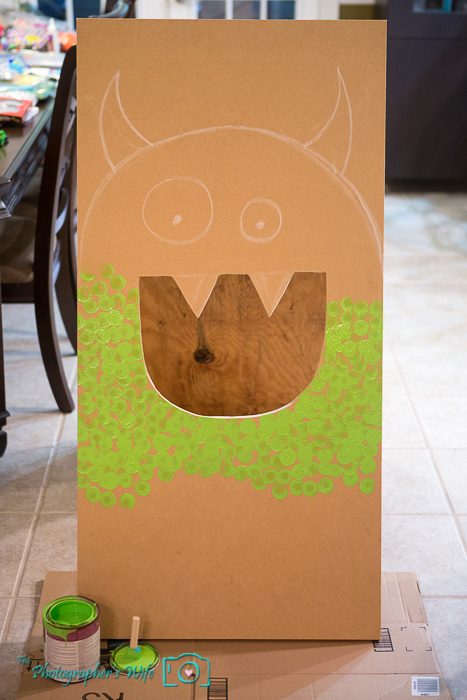
First, we drew an outline of the monster we wanted to make.

Monster bean bag toss-2

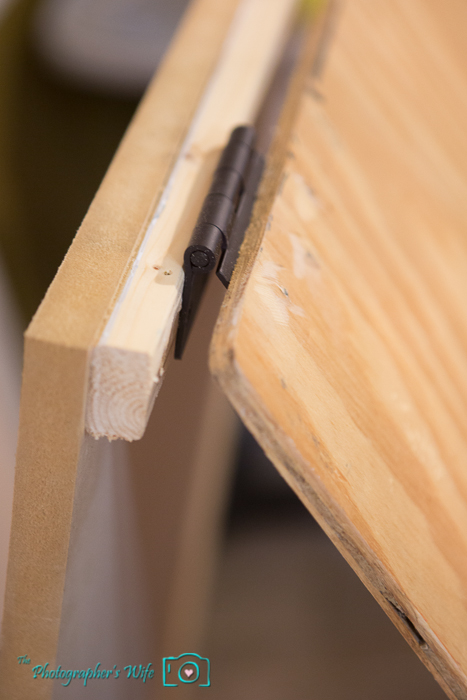
Then we screwed on the door hinges to the top inside of the piece of wood with the monster on it to the top of the other sheet of wood…this makes a V with the 2 sheets of wood.

Monster bean bag toss-3

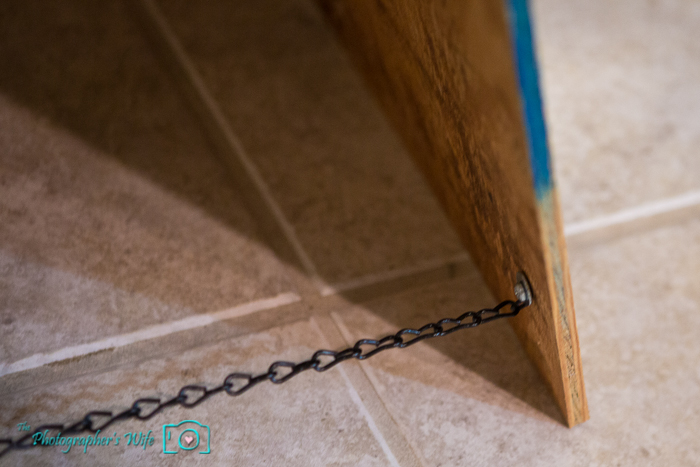
Screw the chains onto the bottom of the sheets, connecting the sheets together. The door hinges and chains allow the sheets to fold flat and to extend out and stand in the grass independently.

Monster bean bag toss-4

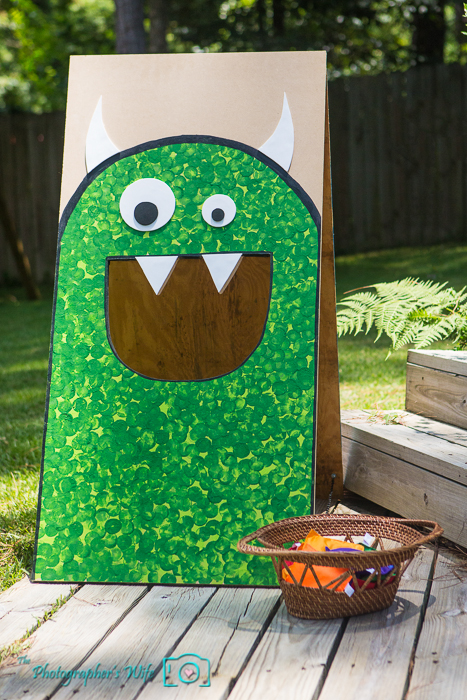
We cut out the mouth using a jigsaw. This will be where the bean bags get thrown into, so keep that in mind when deciding how big (easy) or small (difficult) to make the mouth opening. Sorry, we forgot to take a photo immediately after this step, but you’ll be able to see the opening in the rest of the photos.

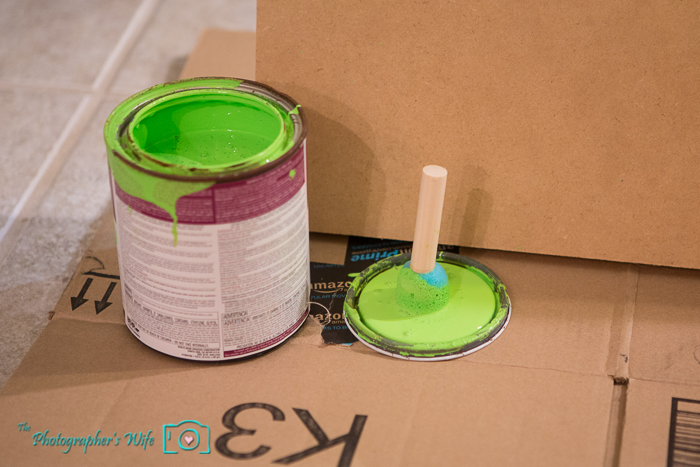
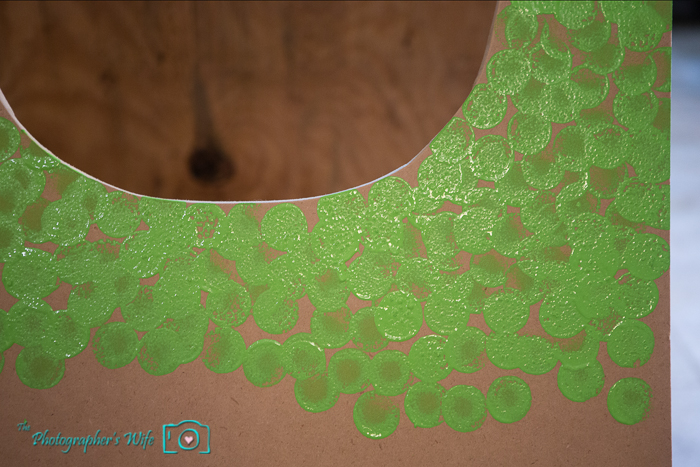
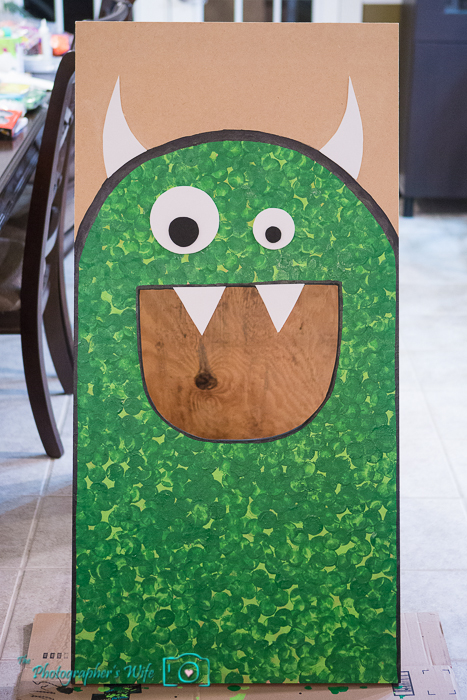
We used some leftover green paint from painting a side table in Trent’s nursery and a dot sponge to paint the monster.

Monster bean bag toss-6

Monster bean bag toss-5

We covered the entire monster except for the eyes and horns.

Monster bean bag toss-1

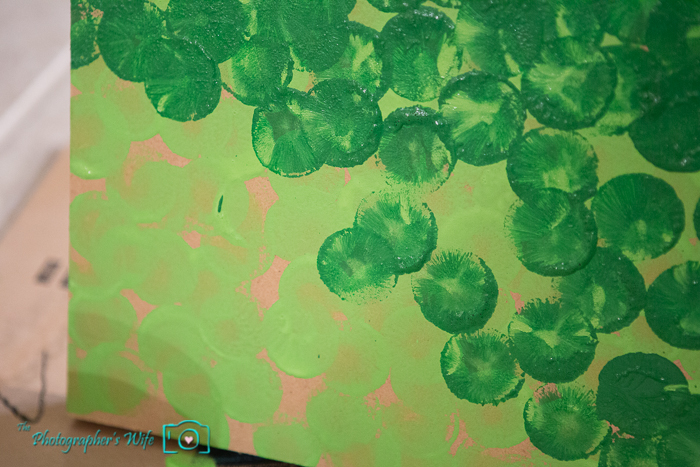
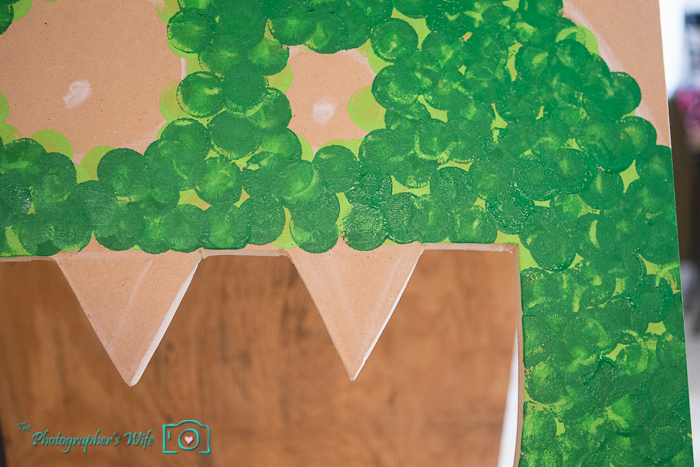
Then, to give the monster a little more dimension, we used a darker green acrylic paint to paint more dots over the lighter green. This step is totally optional as long as you cover the monster enough with however many colors you use.

Monster bean bag toss-7

Monster bean bag toss-8

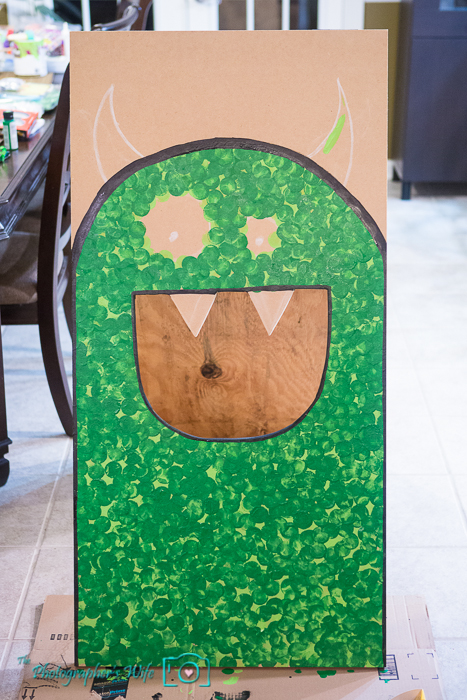
We outlined the monster with black paint and also painted the edges of the wood inside the mouth with black.

Monster bean bag toss-9

We cut out horns, eyes and teeth from the foam sheets.

Monster bean bag toss-10

Add a basket with the bean bags, place outside and have fun!

Monster bean bag toss-11


You can see the full Monster 1st Birthday Party post, with lots of photos, a shopping list and other DIY projects HERE!


xoxo
Lynn

Subscribe by email | Like us on Facebook | Follow us on Pinterest | Subscribe on YouTube


Monster Party Photo Booth DIY Tutorial

This was THE main project for Trent’s 1st birthday monster party…aside from the cake and other yumminess, of course ;)

Monster Photo Booth Tutorial

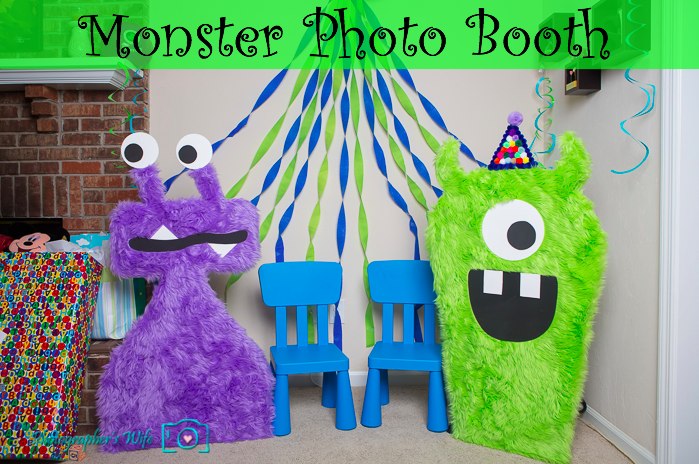
Brett made these monsters to use as a photo booth that Trent, his friends and even the adults could pose by. It was a HIT! The kids liked them because they were fluffy and fun and the adults took the opportunity to be silly. Here’s how we did it!

Stuff we used:
2 large, thick pieces of wood
2 pieces of fabric large enough to cover the wood (we used Fabric.com)
Foam sheets in white and black
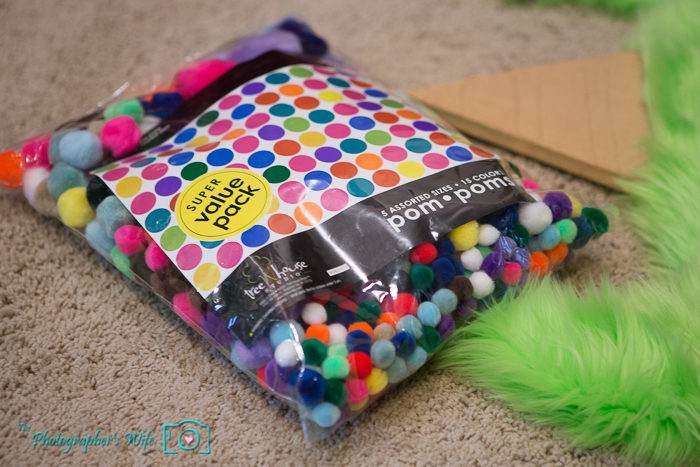
Bag of pom-poms
Hot glue
1 2×4 piece of wood
4 L brackets and required screws


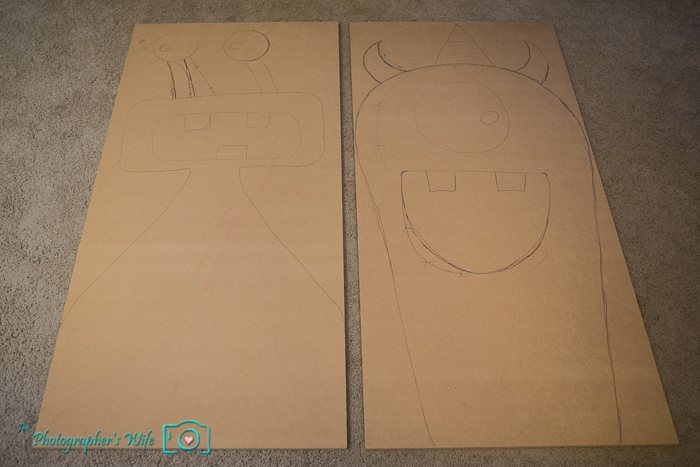
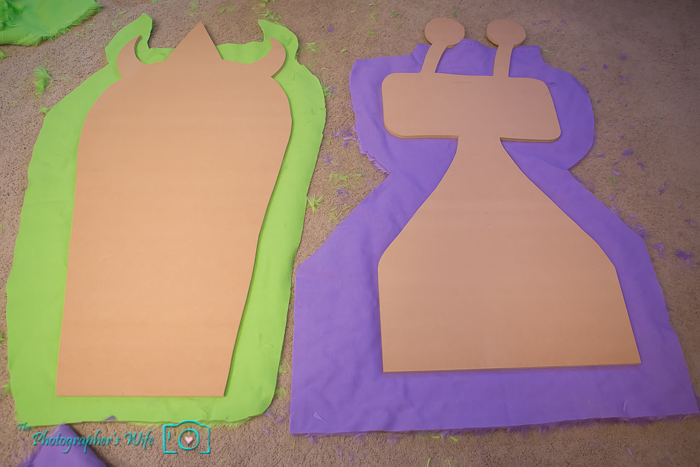
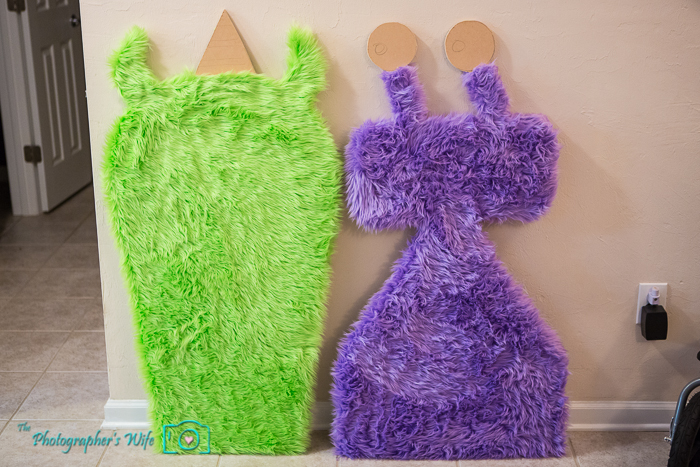
We purchased 2 thick, large pieces of wood, layed them on the floor and started drawing what we wanted the monsters to look like.

Monster photo booth-3

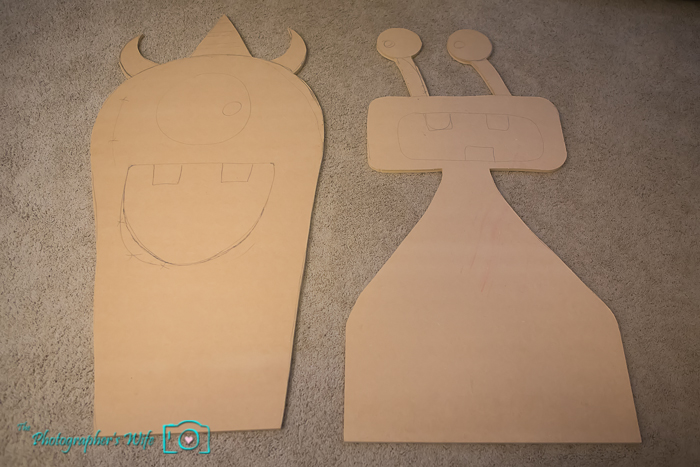
We used a jigsaw to cut the outer shape of the monsters.

Monster photo booth-4

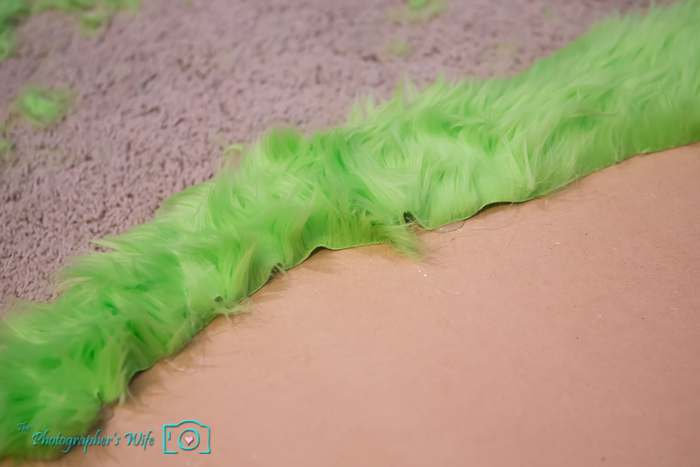
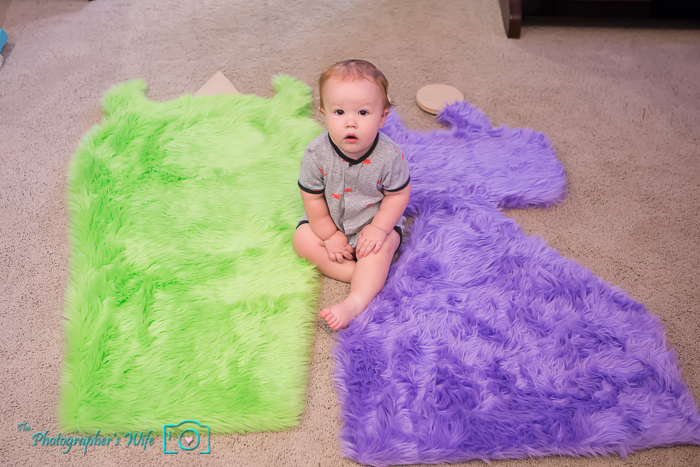
Next, we layed the fabric down with the fluffy side down, then placed the monsters face down on the fabric and cut the fabric around the edges of the wood, leaving about an additional 3-4 inches. This additional fabric will be wrapped around the wood and secured to the back of the monster.

Monster photo booth-5

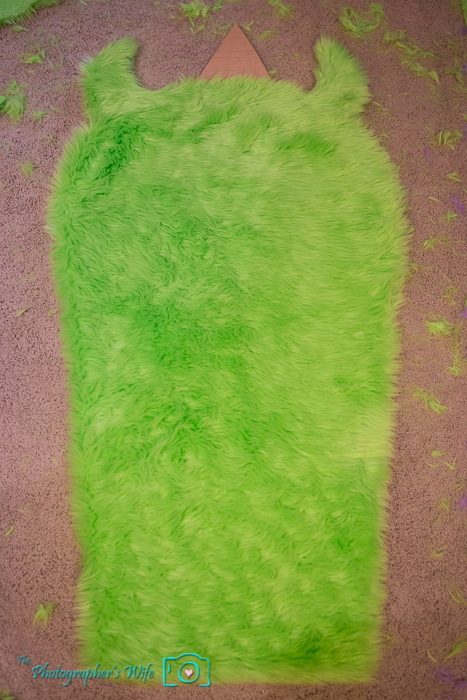
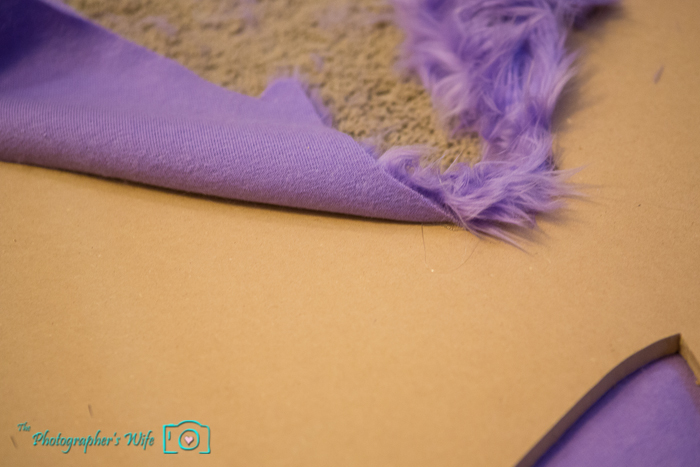
We wrapped the fabric around the edges of the wood and hot glued the fabric to the back of the monster. Work your way around the monster and do one small section at a time to minimize creases and wrinkles.

Monster photo booth-6

Big fluffy monster…ready for facial features! (You will need to vacuum afterward!)

Monster photo booth-7

We then did the same thing to the other monster.

Monster photo booth-8

So FLUFFY!

Monster photo booth-9

“But Dad, it’s MY party and I want to help!!”

Monster photo booth-11

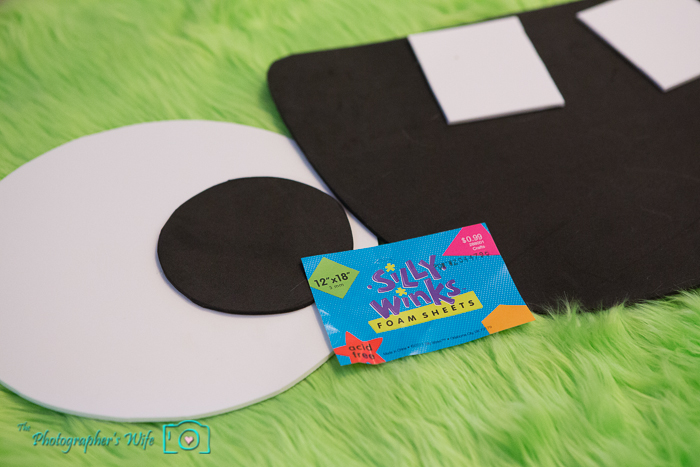
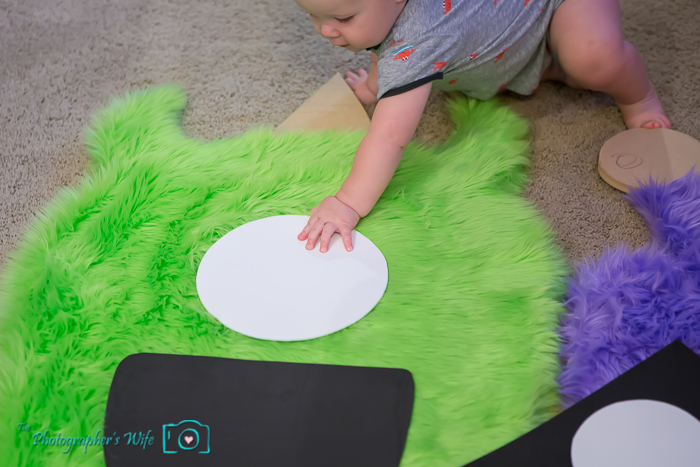
We used foam sheets for the eyes and mouths. These were so easy to cut and we just hot glued them to the fabric.

Monster photo booth-12

“No, Dad, the eye goes HERE!”

Monster photo booth-10

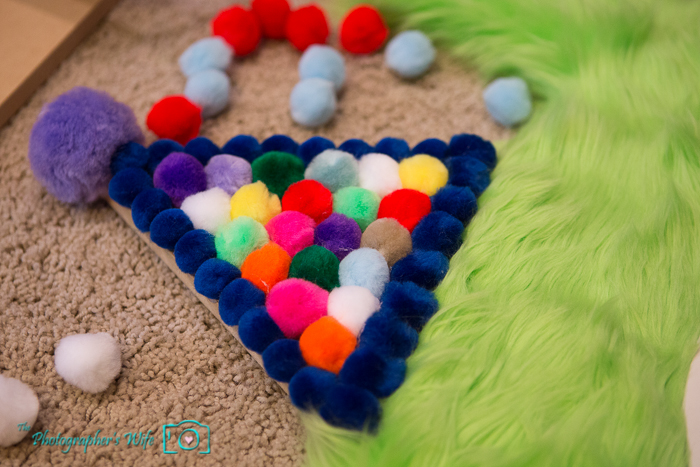
We made one of the monsters wear a party hat, so we used a variety bag of pom-poms to decorate a festive party hat.

Monster photo booth-13

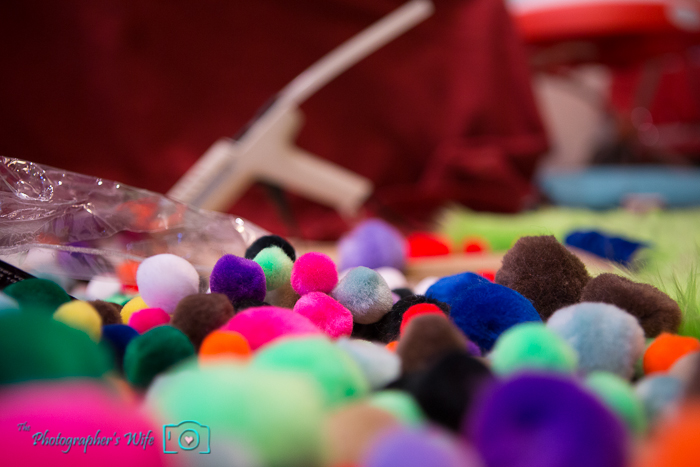
Pom-poms everywhere…not fun with a 1 year old in the house.

Monster photo booth-14

We hot glued the pom-poms to the wood to make a party hat.

Monster photo booth-15

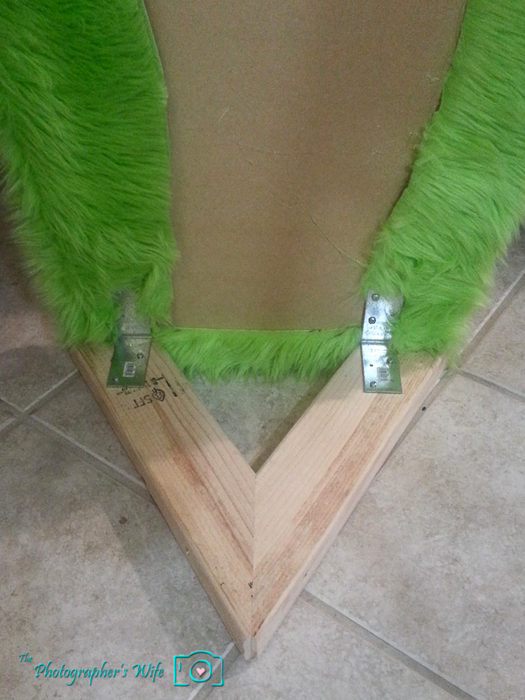
To make the monsters able to stand on their own, we cut the 2×4 into 4 angled pieces and attached 2 angled pieces to each monster with L brackets and screws.

Monster photo booth-1

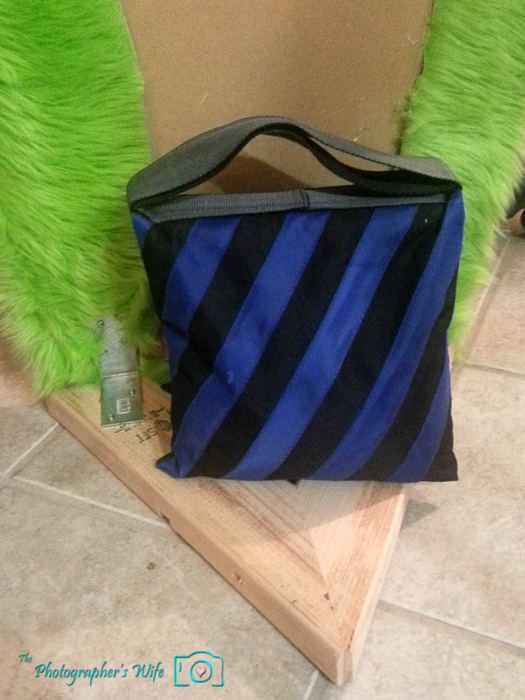
To be a extra safe (we had several wee ones at the party…including our own little guy!), we placed sandbags on top of the feet as extra weight to prevent the monsters from tipping over. We already had the sandbags, but you could use anything heavy.

Monster photo booth-2

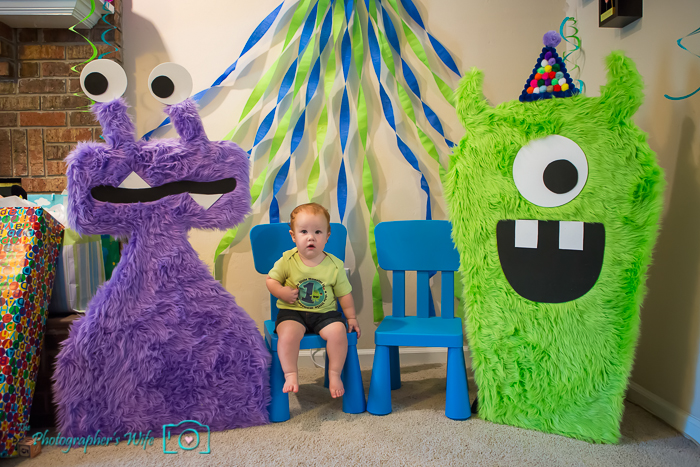
We added 2 IKEA children’s chairs and some wall decorations and we were ready to get our pose on!

Monster photo booth-16


You can see the full Monster 1st Birthday Party post, with lots of photos, a shopping list and other DIY projects HERE!


If you enjoyed this post, check out out other parties by visiting our parties page!


xoxo
Lynn

Subscribe by email | Like us on Facebook | Follow us on Pinterest | Subscribe on YouTube


A Monster First Birthday Party

Just like we start thinking of Halloween costumes months in advance, we started thinking about Trent’s first birthday party months in advance. But shockingly enough, we made the decision on a theme much quicker than both of us expected. Even more shocking was that it wasn’t a Disney theme. Take THAT assuming family members!

Brett actually came up with the idea for a Monster Party because of how many cute ideas he saw on Pinterest and thought of on his own. Although Trent loves Mickey Mouse Clubhouse, we kinda thought it would be best NOT to go with what everyone expected us to do and instead pick something different and then from now on, Trent can pick his own party theme. I can’t wait to see what he chooses.

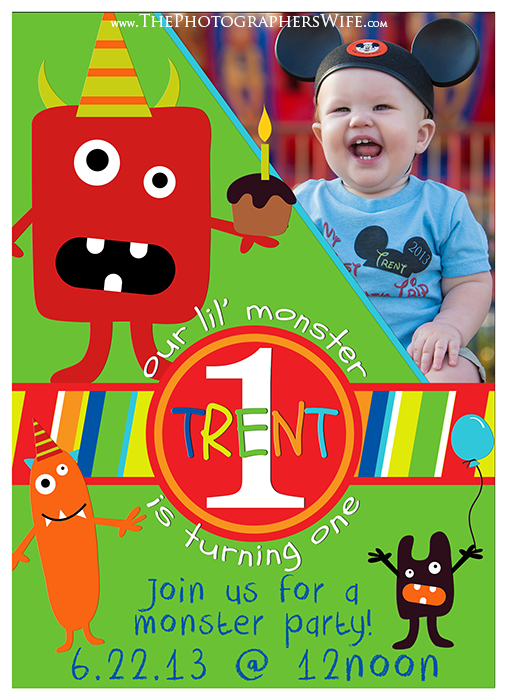
We definitely had plenty of ideas for this theme! Starting with the invitation. Brett purchased a pack of monster clip art on Etsy (from here), then made the invitation in Photoshop. We ordered them from the company that partners with Brett’s Zenfolio photography website, mPix, since they offered a great price and we could print front and back and it came with envelopes. Sold.

We were so excited to mail these out and we hope everyone loved getting them.
trent invite front x700Trent Bday Invite back x700

Leading up to the party, we had several craft projects that I will share with you guys over the next few weeks. We had a decent mix of store bought items and stuff we made ourselves. Brett definitely had the bulk of DIY projects, but he was so excited to do each and every one of them and I usually had baby-wrangling duty while he did party prep.

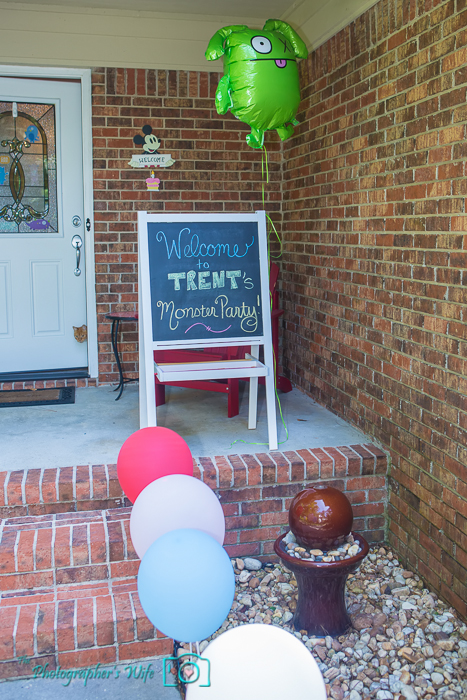
Welcome! {watch out for the photobombing kitteh!}
Trents First Bday-47

We used our IKEA easel to both welcome guests on the chalkboard side and thank them for coming on the dry erase side! We lined the walkway with balloons on sticks (found here) and a big balloon from Party City on the chalkboard. As a funny side note, that balloon was $10…and this was the second one we purchased…the first one blew away in the Costco parking lot while Brett ran and jumped after it. I was inside picking up something we forgot, so I missed it, but we were both sad and immediately drove back to Party City to buy another one. Most places put a weight on the bottom of the balloon, but apparently Party City does not, nor did they ask us if we wanted one. I was a little disappointed in the service, and having to spend $20 for a balloon didn’t help my feelings towards them, nor did the fact that the 2nd balloon started to deflate before the party even started the very next day, much faster than a Mylar balloon should. BUT, we had our balloon and the party must go on.

Also, to save time the morning of the party, we purchased a bag of balloons and a small helium tank and blew the balloons up ourselves at home instead of going to the grocery store. Good thing too, because we would NOT have had time to run out to the store that morning. Getting a small helium tank was the ultimate time saver that I highly recommend.

The big project for Brett leading up the party was making these giant monsters!
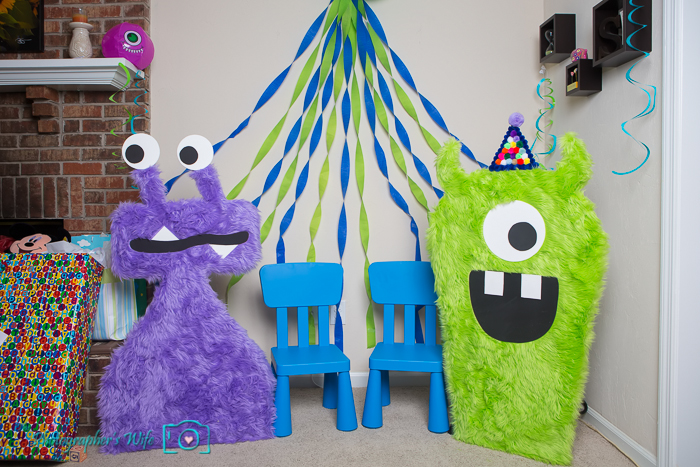
Trents First Bday-24

We set them up as a photo opportunity and they were a BIG HIT! Even the adults were posing with them for photos! (Here’s a tutorial on how we made them)

Here’s the (little) man of the hour posing for us…
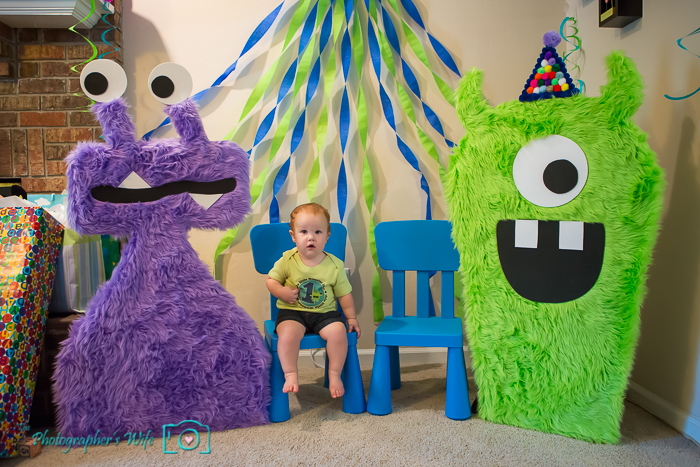
Trents First Bday-22

…and with friends! The kids were fascinated by them, too…they were fluffy!
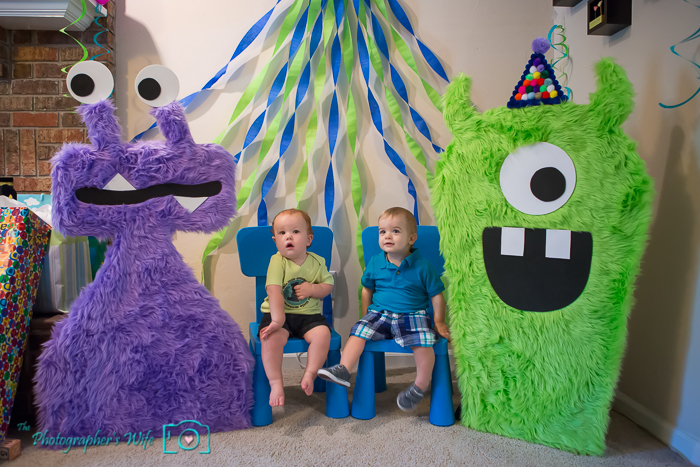
Trents First Bday-23

On a side table, we had some birthday cards Trent had gotten in the mail prior to the party, along with an Adopt A Monster station, where little guests could pick out a small monster to “adopt” and take home with them! (Monsters here)
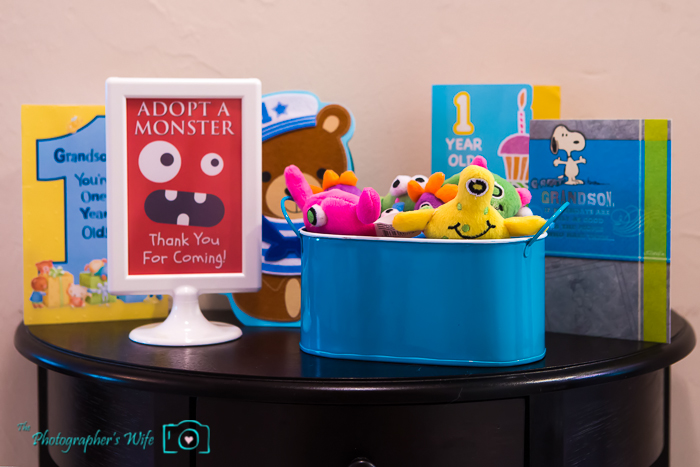
Trents First Bday-10

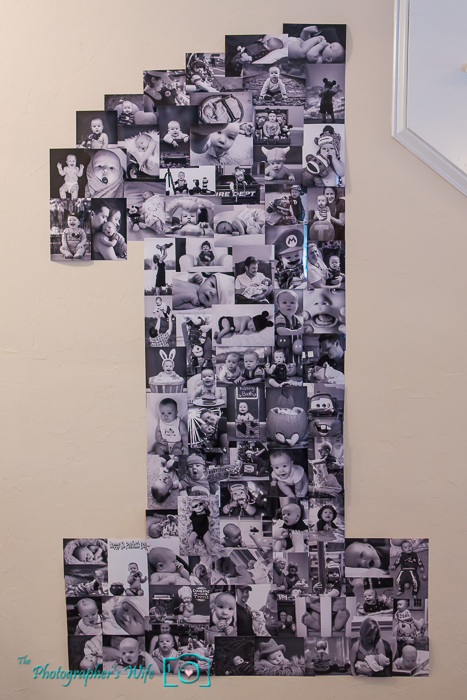
My semi-DIY project was this wall photo collage of a big 1 using 100 photos from Trent’s first year!
Trents First Bday-11

We had a coupon for 100 free 4×6 photos from Costco, so other than the cost of double-sided tape, this decoration was free! Even without a coupon, the photos would have been $13…not bad and everyone enjoyed looking at all the photos and trying to find one with them in it (which we tried to include at least one photo of Trent with each person at the party).

Another DIY project from me were these monster favor/goody bags!

Trents First Bday-12

Inside the favor bags were various monster toys! {contents listed at the end of this post - Tutorial found here!}
Monster favor bag-1

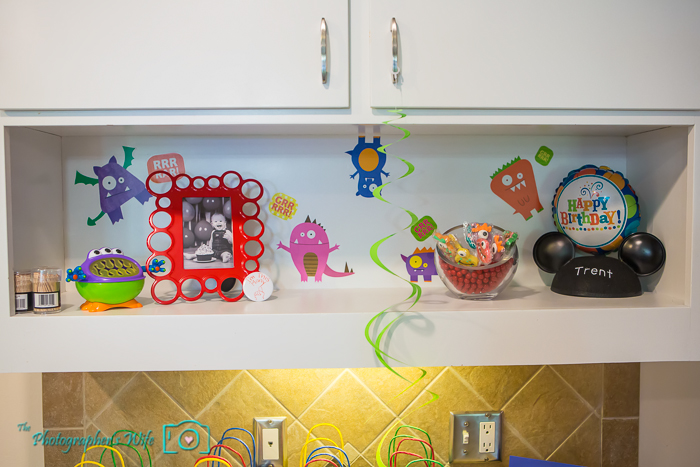
We had an empty area above the favor bag station, so we stuck some monster clings (found here) along with a photo from Trent’s cake smash photo session, monster lollipops (found here), his Mickey ears and his monster snack cup.
Trents First Bday-13

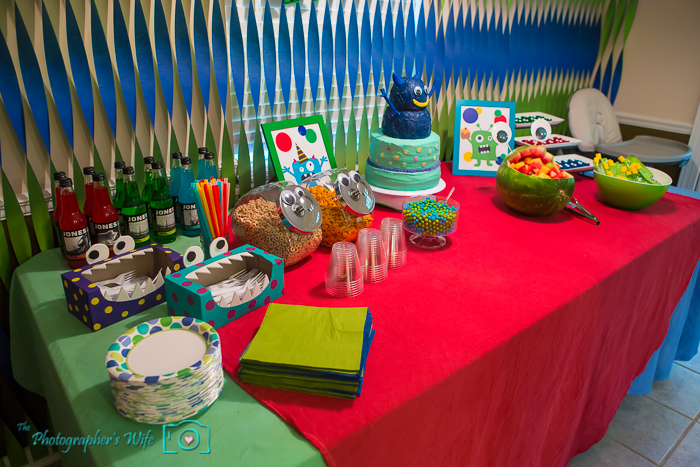
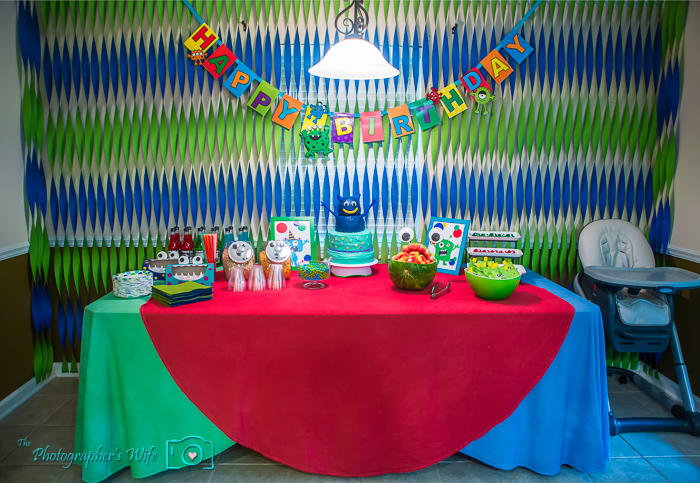
We set up our dining room table as the themed cake/desserts/child snack table.
Trents First Bday-14

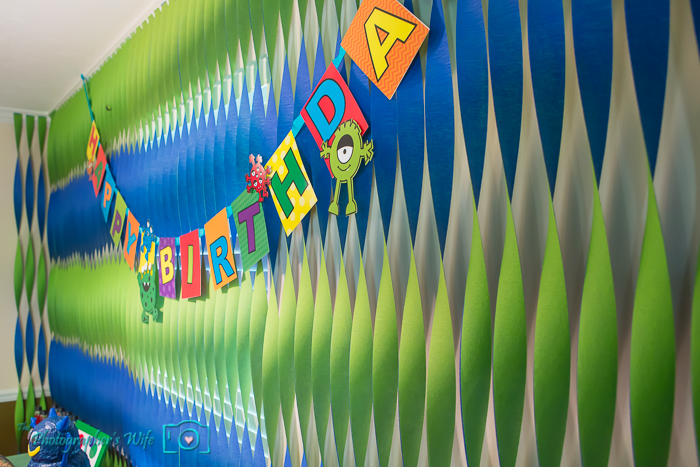
Brett took green and blue streamers and twisted them, then taped them to the wall, along with a monster Happy Birthday banner (from Hobby Lobby).
Trents First Bday-4

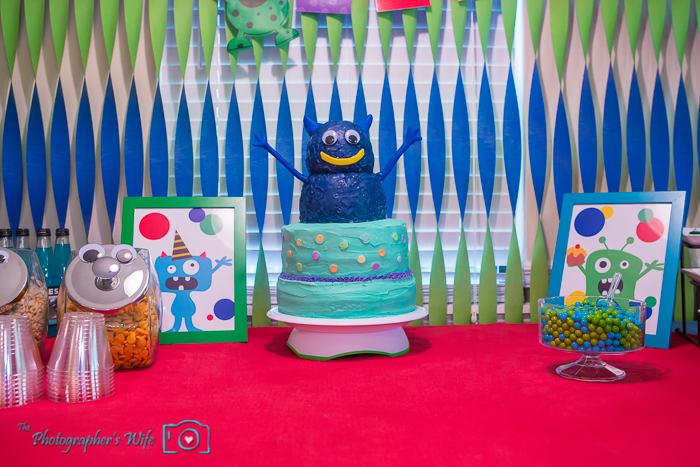
Brett made the cake himself (he made all the food lol).
Trents First Bday-6

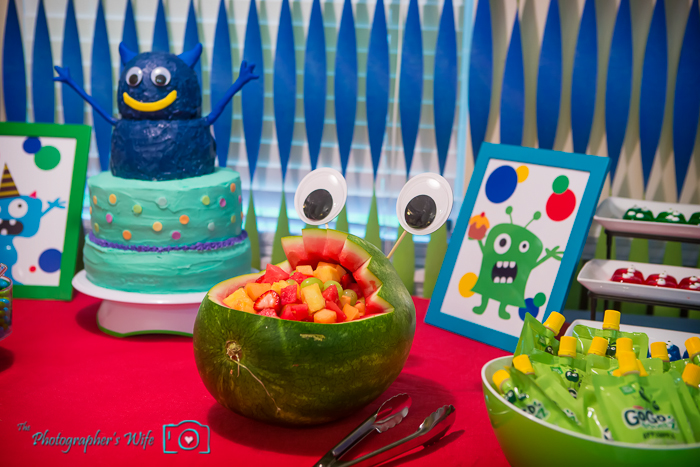
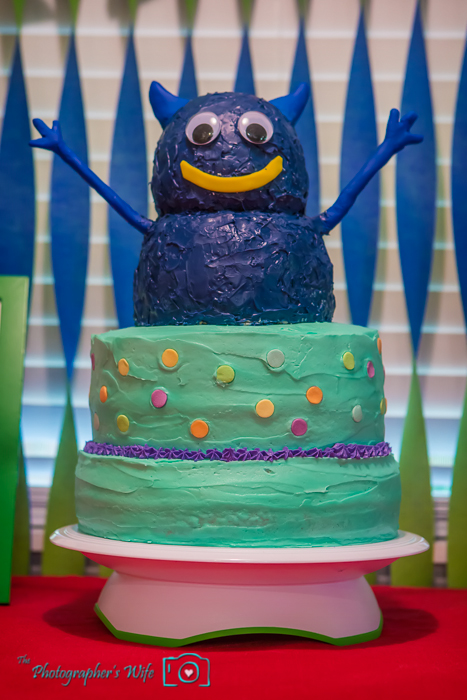
A monster cake! To make the monster, he made and molded rice krispies, then used blue-colored candy melts to cover the body. The arms are sticks covered in blue fondant, the ears and mouth are made of fondant and the eyes are plastic googly eyes.
Trents First Bday-5

Other various items on the table:

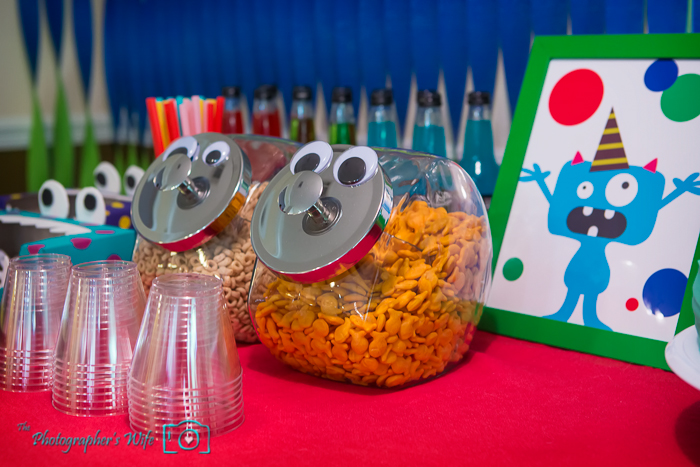
2 glass containers (from the Container Store) with googly eyes filled with cheddar goldfish and cheerios (for the little ones!). We also had several colorful IKEA frames with monsters scattered throughout the various tables.
Trents First Bday-7

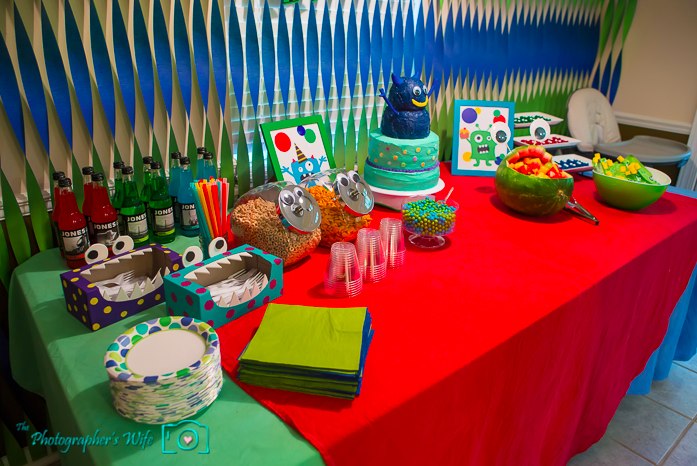
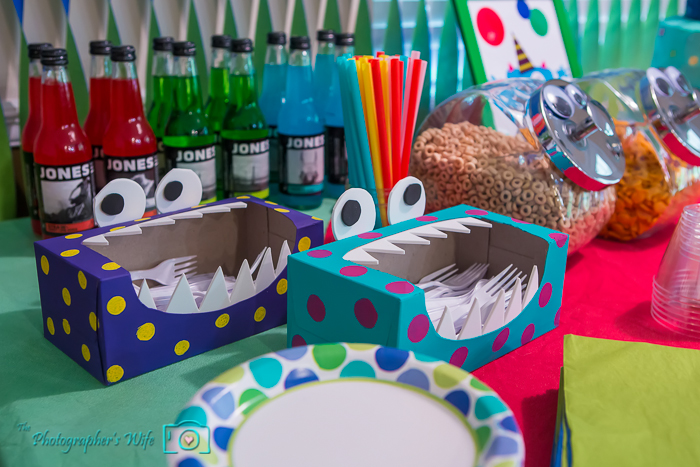
I made monster utensil holders out of tissue boxes (tutorial here!). We also had multi-colored Jones soda bottles and straws.
Trents First Bday-8

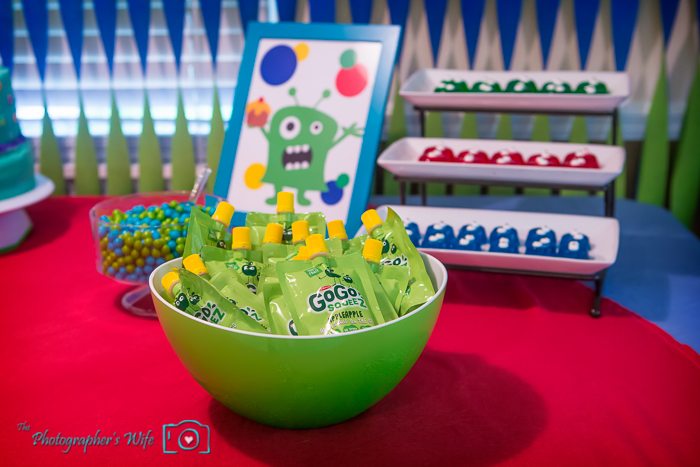
Green and blue chocolate candies and GoGo Squeez applesauces!
Trents First Bday-1

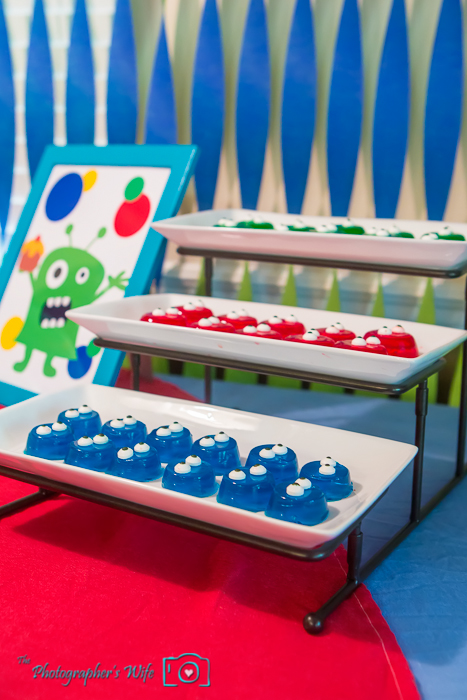
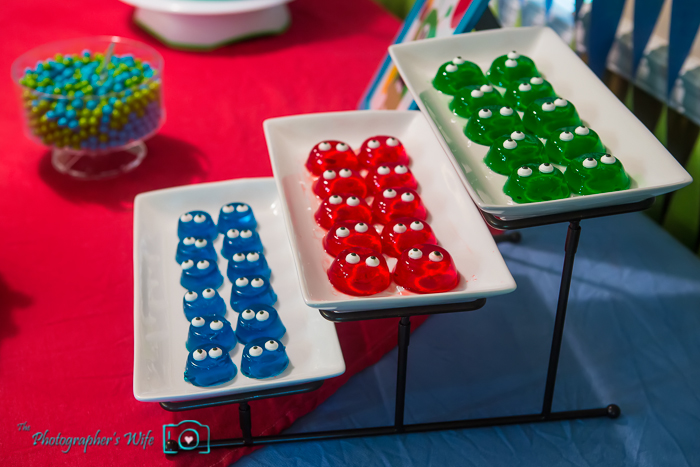
Jello molds using mini muffin silicone pans (found here) with candy eyes on top (found here). These were gobbled up super fast!
Trents First Bday-2

Trents First Bday-3

Watermelon monster…aaaaggghh!

Trents First Bday-15

Fun!

Trents First Bday-16

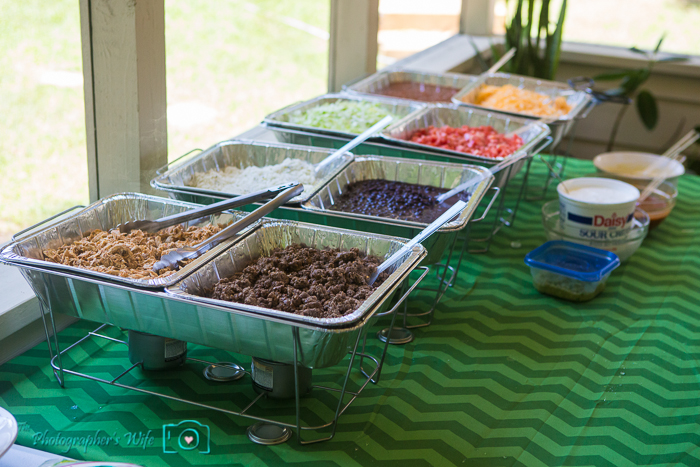
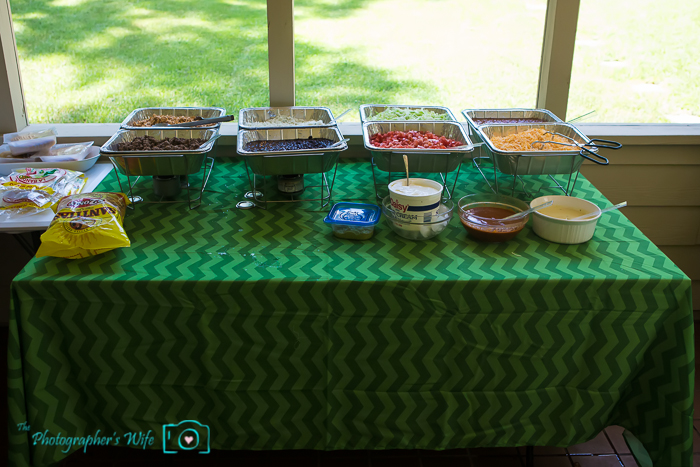
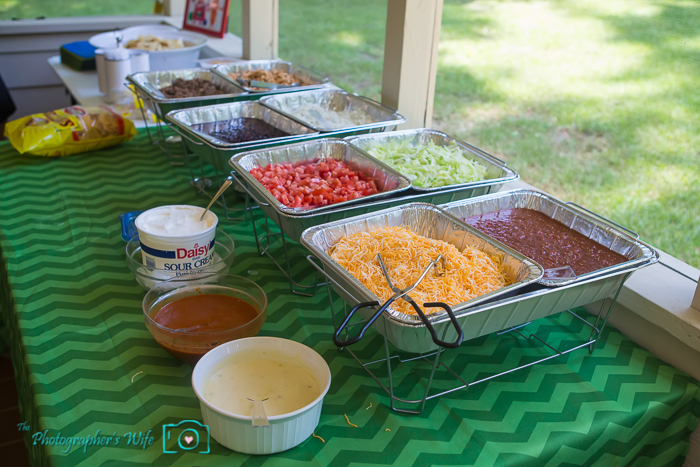
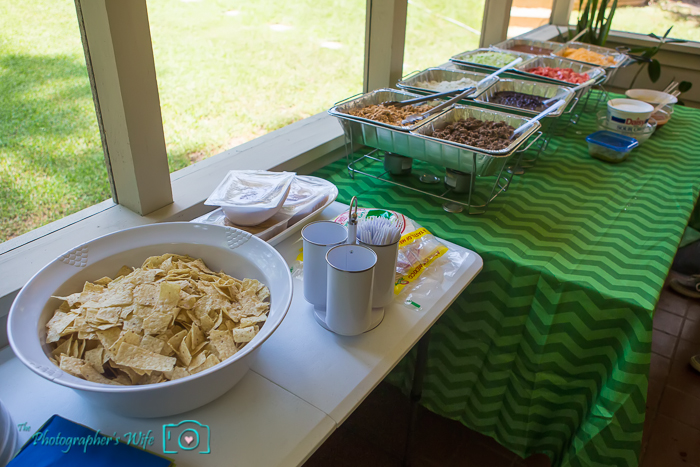
For the main meal, we served a Mexican tortilla/taco bar!
Trents First Bday-17

Items included: Beef, chicken, black beans, lime cilantro rice, lettuce, tomato, salsa, queso, shredded cheese, enchilada sauce, sour cream, chips, hard shells and soft tortillas. The only thing missing were the margaritas, but we decided to keep this a BYOB event. Mostly everything came from Costco and some items from Publix.
Trents First Bday-18

Trents First Bday-19

Trents First Bday-20

In the backyard, we had a monster bean bag toss…that Brett made! (tutorial here!)
Trents First Bday-21

Trents First Bday-27

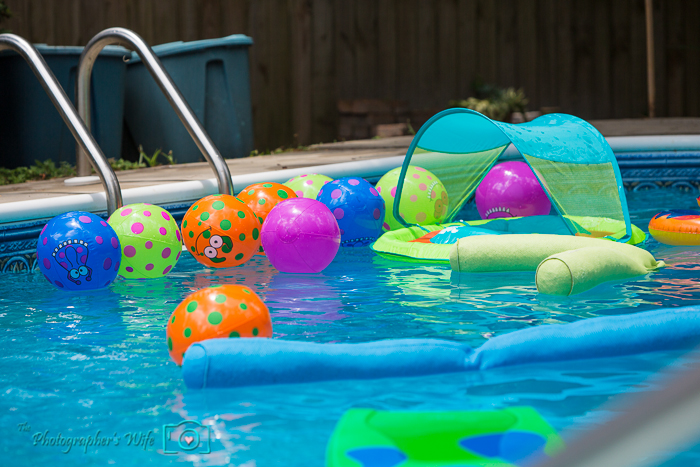
In the pool, we had several mini monster beach balls (found here) and other various pool toys.
Trents First Bday-29

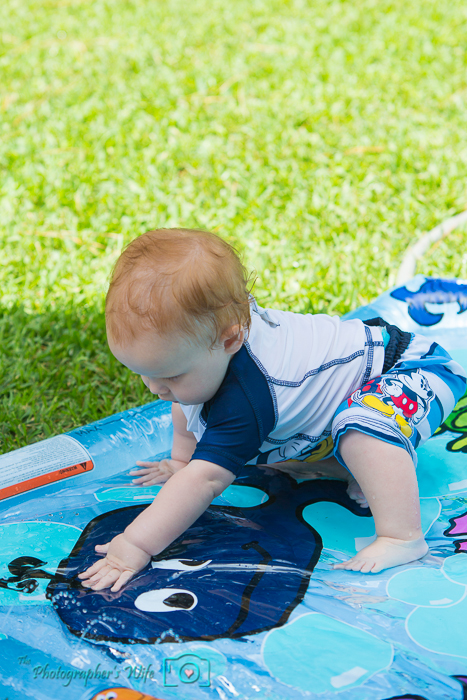
We had the splash pad set up on the lawn and it was enjoyed by the younger kids - which was also great for the parents that didn’t want to get in the pool!
Trents First Bday-25

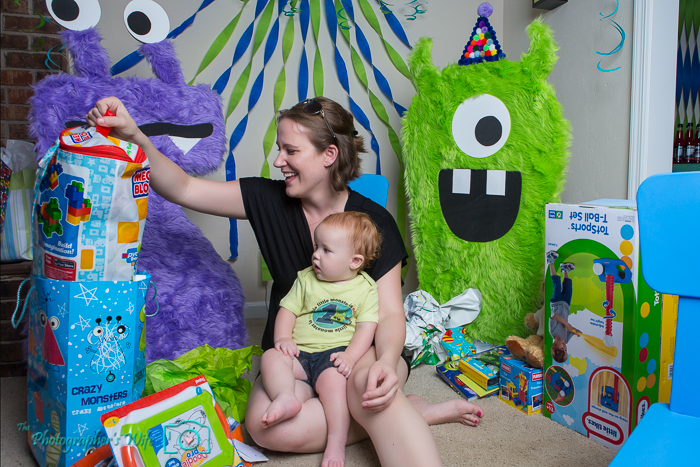
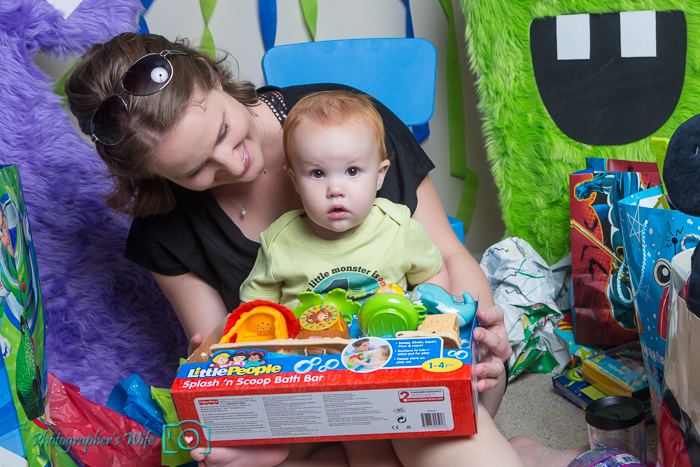
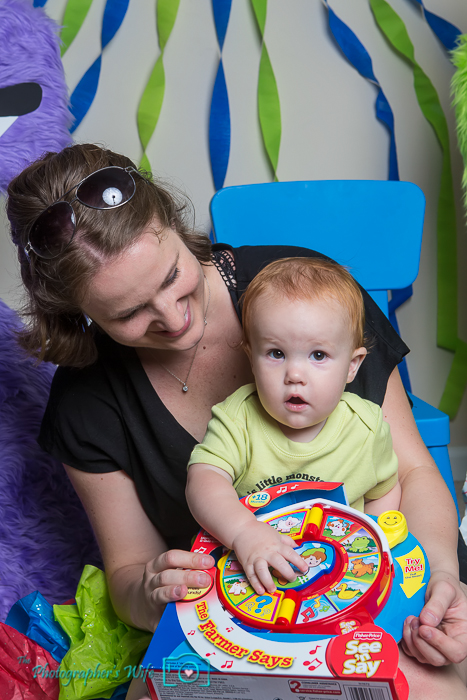
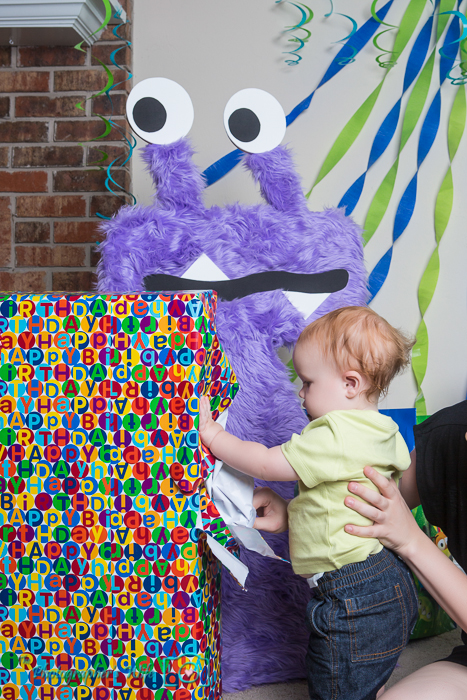
We opened gifts in front of the monsters. By this time, since Trent had skipped his nap that morning, he was in a zombie-like state and ready to pass out. But we pushed on and opened gifts as quickly as we could.
Trents First Bday-40

He looks absolutely thrilled doesn’t he?
Trents First Bday-42

Trents First Bday-36

Trents First Bday-39

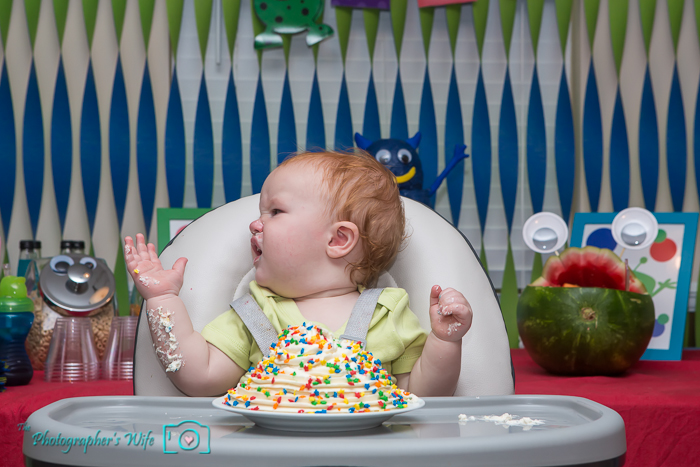
Even though we were pushing our time luck and we figured he wouldn’t be too into it and would rather be sleeping, we still had to sing Happy Birthday, so we shifted everyone to the dining room and gave it a go.

{not thrilled - he may or may not be sleeping with his eyes open}
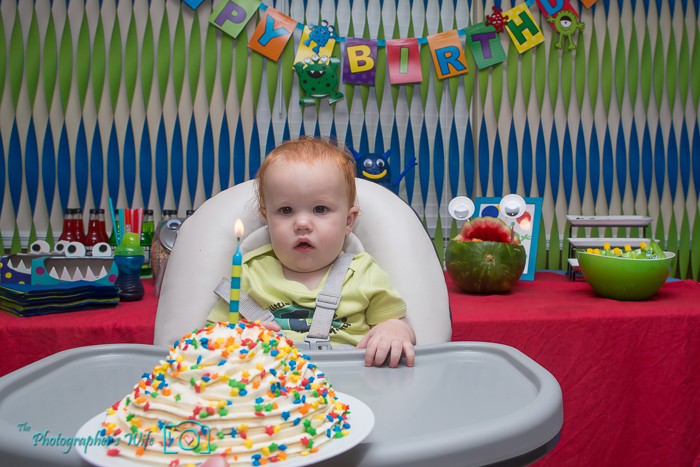
Trents First Bday-43

{“Eww, it’s on me!!”}

Trents First Bday-44

{“What am I supposed to do with this?”}
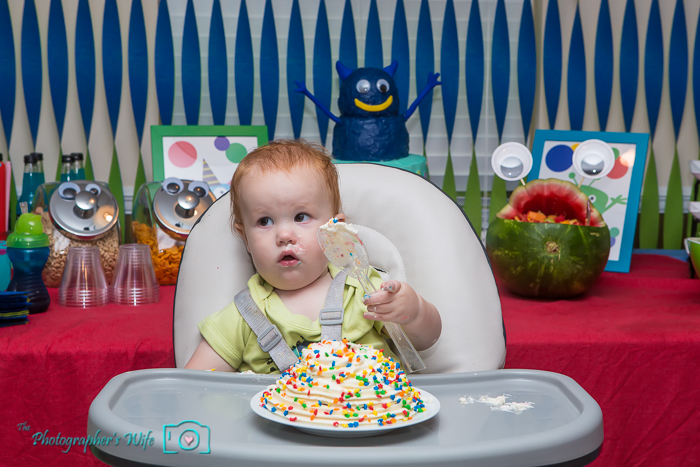
Trents First Bday-45

{“Ok, MAYBE I will try it as long as you hold me, mom”}
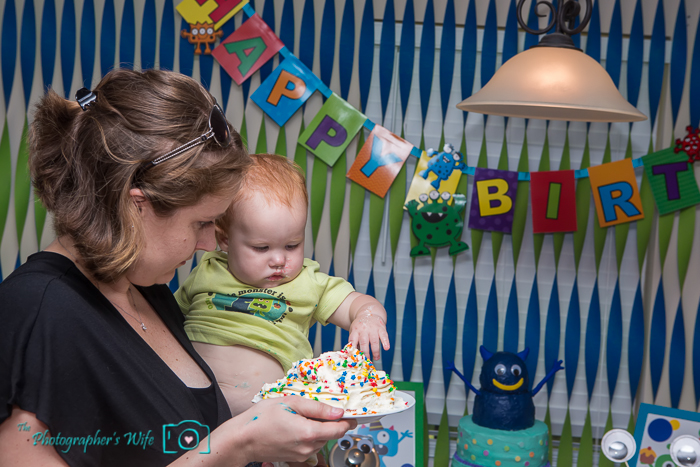
Trents First Bday-46

Well, it’s a good thing we did a cake smash session on his actual birthday or this would have been a pretty disappointing cake smash. After this, I didn’t even clean him up (there wasn’t much to clean up anyway!), walked him up to his crib, where he immediately fell asleep and slept for over 2 hours! We should have a birthday party every day if it makes him sleep that well!

After his nap, he was ready to play with all his toys!
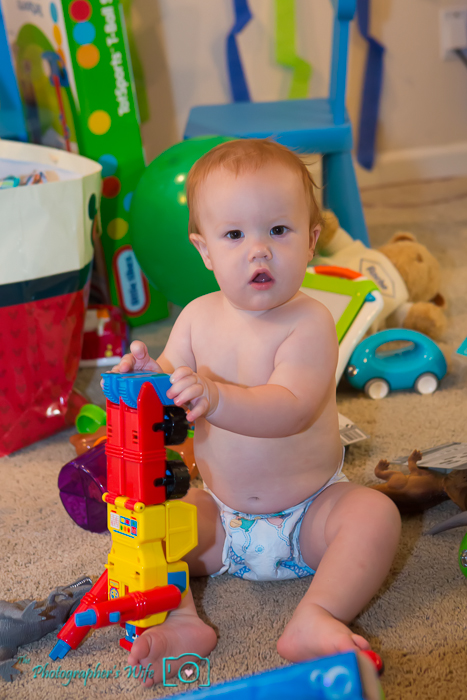
Trents First Bday-48

It was a fun-filled, but very hectic day. I’m glad we were able to celebrate with family and friends…including little friends, too!


Want to throw a monster party? Here is a list of items we used and where we purchased them (I’ll come back and update this post with links to the tutorials as I post them):

Invitations:
Monster clip art (can also be used to print and put in frames!) - Etsy
“This little monster is 1″ shirt - CafePress
“I’m this many” mini button - CafePress
Giant monsters (tutorial here!):
Fabric - Fabric.com
Adopt a Monster:
Little plush monsters - Amazon
Monster goody/favor bags (tutorial on how to make the bags):
Colorful bags - Hobby Lobby (or similar here)
Monster squirt balls
Monster tattoos
Monster stickers
Monster bubbles
Monster finger puppets
Monster bean bag toss (tutorial here):
Bean bags - Amazon
Monster clings - Amazon
Monster lollipops - Amazon
Monster googly eyes
Giant (used on the watermelon monster) - Amazon
Small - edible (used on the jello molds) - Amazon or Hobby Lobby
Assortment (as various decorations) - Amazon
Monster Beach balls - Amazon or Oriental Trading
Monster utensil holders (tutorial here)
Monster cake:
Cake stand - Amazon (it spins!)
Candy melts - Amazon or Hobby Lobby or wherever you get your baking goodies


If you enjoyed this post, please help us share the fun by pinning the following collage to Pinterest or sharing this post on Facebook! Thank you for reading and sharing!

monster party

xoxo
Lynn

Subscribe by email | Like us on Facebook | Follow us on Pinterest | Subscribe on YouTube