 The Photographer's Wife Parenting, Disney, Travel, Reviews & Other Randomness
I am definitely a lip balm person. I prefer it over lipstick, although I totally understand the need for more color on certain occasions. But for every day, I like a nice moisturizing, lightly colored lip balm.
Confession time: I had this amazing idea to make my own lip balm. Well, not only to make it, but to create lots of different flavors to sell them on Etsy and my own website. I had over 20 flavors planned out that revolved around a theme very near and dear to me. I made my logo, set up my website and Facebook page and ordered EVERYTHING I would need. Then I changed my mind. Womp, womp
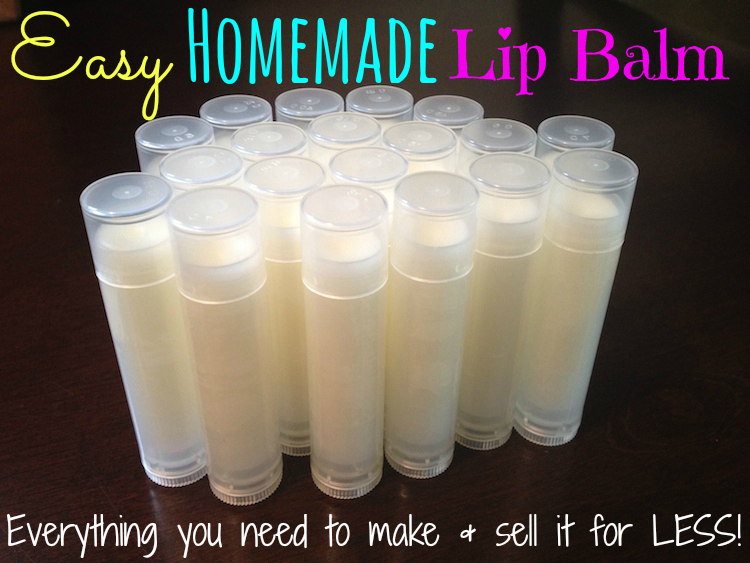
Anyway, since I bought everything I would need, I did make a few batches just to see what it entailed…and it was SO EASY!!! And SO MUCH CHEAPER than brands in the store.
I would highly suggest it if you are a lip balm/lip gloss/chapstick addict of any sort. You can make so many tubes out of a single batch and can customize the flavor and color as your heart desires. Why be limited to only what you can find in the store? And if you decide to sell your creations, even better, as Etsy is a great place to sell homemade items and lip balms have proven to be quite popular.
Well, that’s enough talking, here’s how to do it!
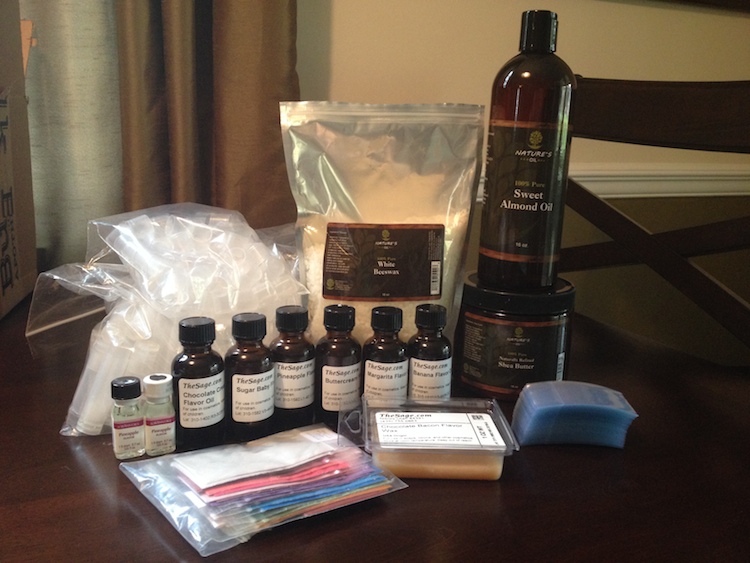
What you’ll need:
There are hundreds of lip balm recipes out there. Maybe even thousands. They all center around the need for a wax (typically beeswax), a butter, and an oil, then you can use essential oils or flavor oils for smell, and mica for colors.
Main Recipe
I decided on a basic recipe (fills about 15-20 lip balm tubes):
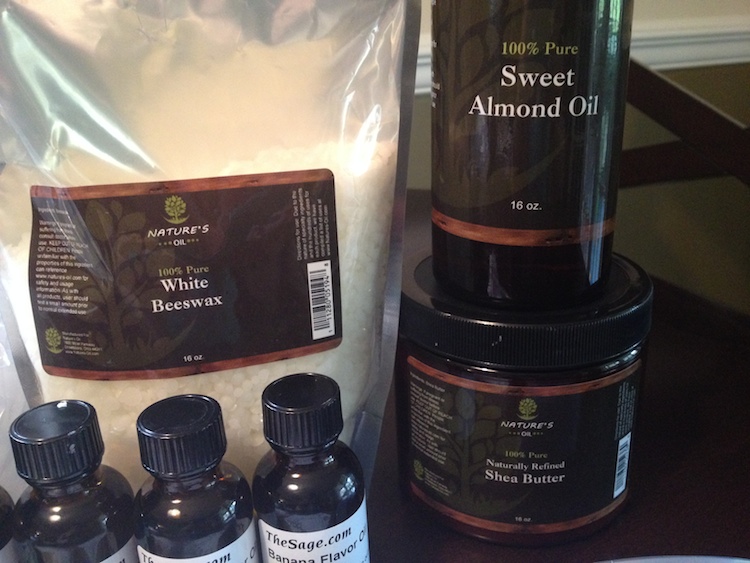
1 part White Beeswax (1 tbsp) 2 parts Shea Butter (2 tbsp) 2 parts Sweet Almond Oil (2 tbsp) Flavor Oil (as desired)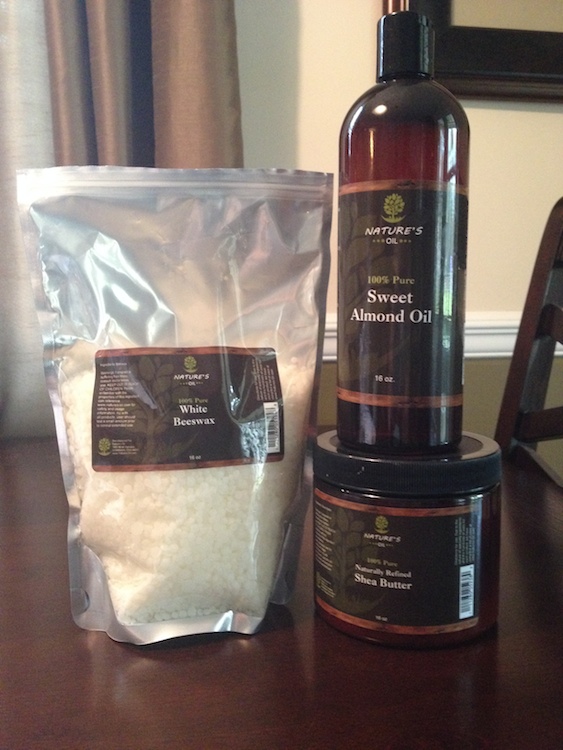
I got the first three items at Bulk Apothecary, but you can also find them on Amazon and other websites.
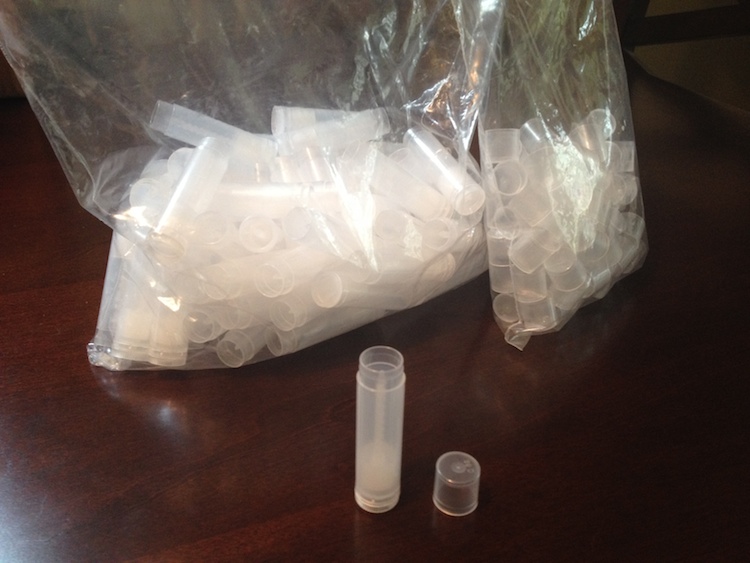
I also bought the lip balm tubes from Bulk Apothecary. They sell the caps with the tubes, so make sure if you are shopping elsewhere that the caps are included. It sounds silly, but a lot of places make you buy the caps separately. Some places sell colored caps, which are fun too.
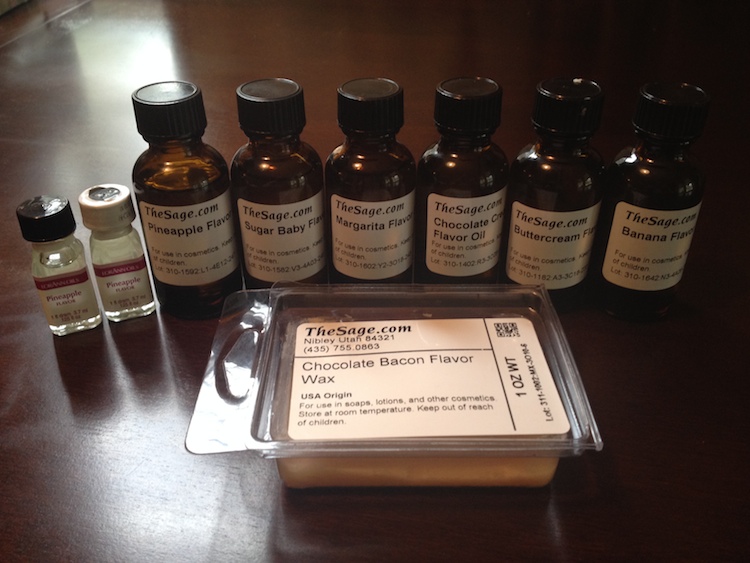
For the scent, you’ll want to get flavor OILS, not flavor fragrances. After reading lots of websites and blog posts, the flavor oils are meant specifically for cosmetic use and are safe to put on your lips. I did come across some people who used flavor fragrances, but they weren’t selling their lip balm. When you sell lip balm, it’s best to follow the guidelines on cosmetics so you don’t run into any legal issues.
I found a great deal at TheSage.com for 7 fragrances for a little less than $30 and free shipping. These bottles go a long way and it’s a great way to sample a few scents.
So that is all you need for the actual recipe.
Some other items I used or bought:
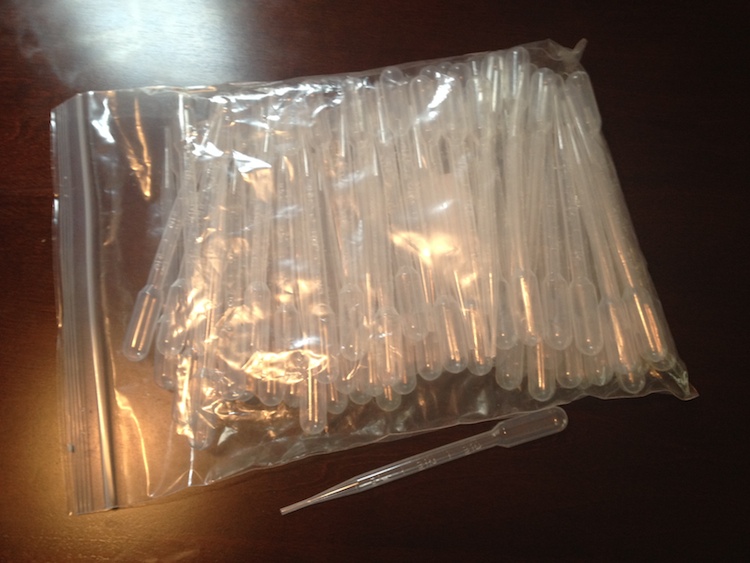
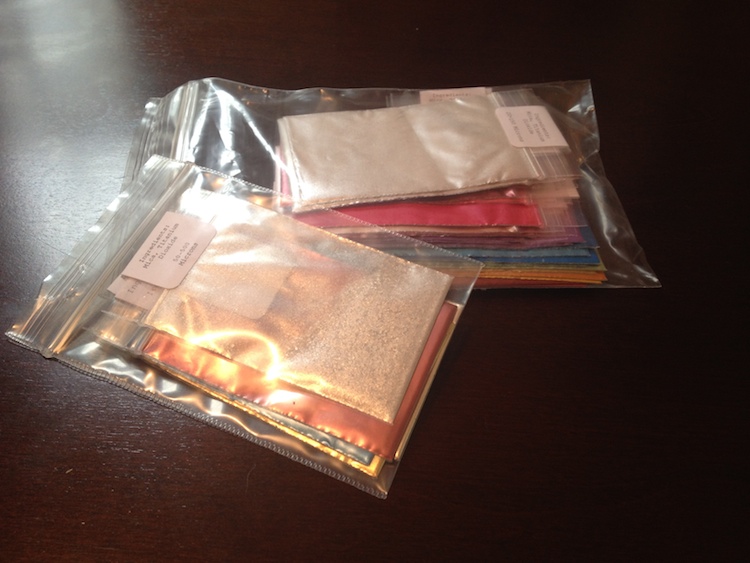
Glass measuring cup Measuring Spoons Small whisks Small Pipettes Mica colors (lots to choose from on eBay)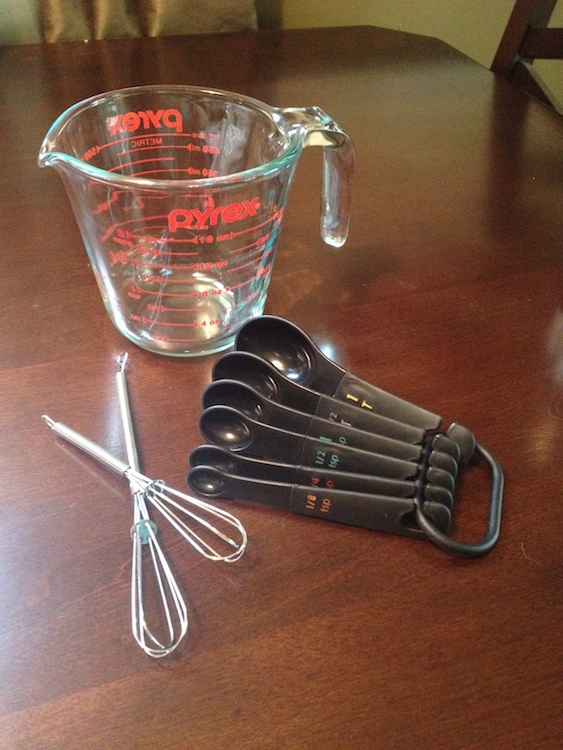
So here’s what you do:
First, lay out all your supplies. The lip balm dries/hardens quickly after being melted, so you’ll want to make sure you have everything within an arm’s reach.
Lay out the lip balm tubes without the caps on, ready to have the melted lip balm poured in. You can also buy a tray to help with this.
In the measuring cup, combine the beeswax, shea butter and sweet almond oil. Place the cup in the microwave and heat until melted.
Take out the measuring cup and pour the desired amount of flavor oil into the melted mixture using a pipette. Most recipes recommend 2-4% Flavor oil in your recipe, but you can modify that depending on how much or how little scent you want. You can also add a Sweetener Oil to increase the sweetness of your lip balm, resulting in a better “taste”. You
A good tip is to put some metal butter knives in the freezer a little before starting your recipe, then you can dip the tip of the knife into the melted mixture to test it along the way without having to pour it into a container. The cold metal will instantly harden the lip balm so you can test it properly. Add a little more of whatever ingredient until you are satisfied. If the mixture starts to cool and harden, just pop it back in the microwave for a few seconds.
Once you are finished creating the lip balm, pour the mixture into your lip balm tubes. You can either use a pipette, pour it directly from the measuring cup into the tubes, or use a lip balm tray. Let dry before putting the cap on.
I found it easiest to clean out the measuring cup, spoons, etc. right away before any of the remaining lip balm mixture hardened inside.
Once the lip balm has hardened in each tube, put the cap on and voila! your very own homemade lip balm.
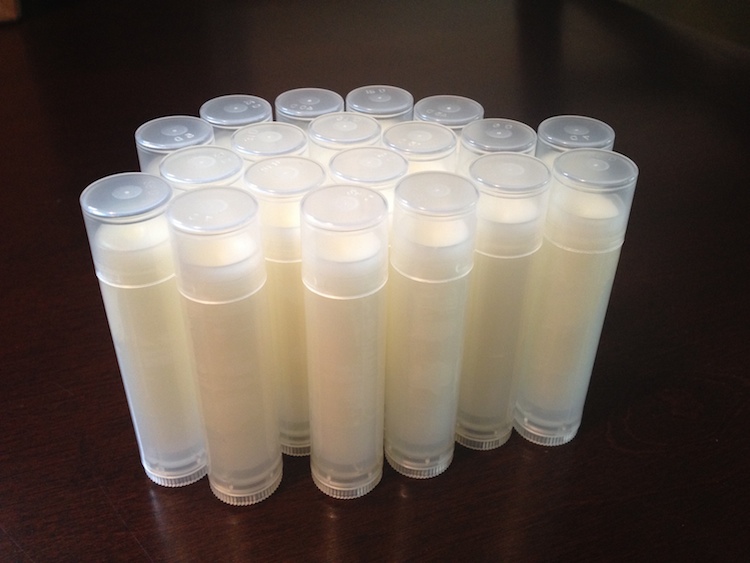
If these are for your own personal use, you can just leave them as is and you’re done, but if you are selling them, keep reading…
Labels
If you are going to sell your lip balm, you can either make your own labels or order them custom made. I was going to use these full sheet labels from Avery, create logos on PicMonkey to print at home, then cut them using a paper cutter. That was the most cost effective way to do it. But there are plenty of companies that will print your labels and you can even get someone on Fiverr to design them for you. There’s plenty of options out there, which you can find with a quick search of “lip balm labels” on Google, just make sure you measure your lip balm tubes to make sure you are ordering the correct size.
As I mentioned earlier, there are guidelines for lip balm labeling. The FDA doesn’t play around with things like this and you want to make sure you follow guidelines when selling to prevent any legal issues. Se read more about these specific guidelines in a language you may or may not be able to understand, you can go to the FDA website.
Protection
To finish up, with the cap on the lip balm, use a shrink wrap heat gun to adhere perforated shrink wrap to the lip balm tube. This ensures your customer knows the product hasn’t been tampered with and the perforation allows the cap to come off but still has shrink wrap protecting your label. I found a good deal on shrink wraps on eBay and this heat gun.
Shipping
You’ll want to try really hard not to overcharge the customer on shipping. If they paid $2 to ship one tiny lip balm and the package gets to them and they see you only paid $.50, they are going to feel like they got ripped off.
Because of this and because the shipping portion of the transaction adds no benefit to the actual product, I tried to find a good envelope to fit 1-5 or so lip balms, while protecting them (you don’t want the product showing up broken and have to refund or replace) without spending a bunch of money. I opted for white bubble mailers and found a great deal on eBay making them cost about 6 cents each. Similar envelopes were being sold for almost $2 at the store! You can also find great deals at Uline.com.
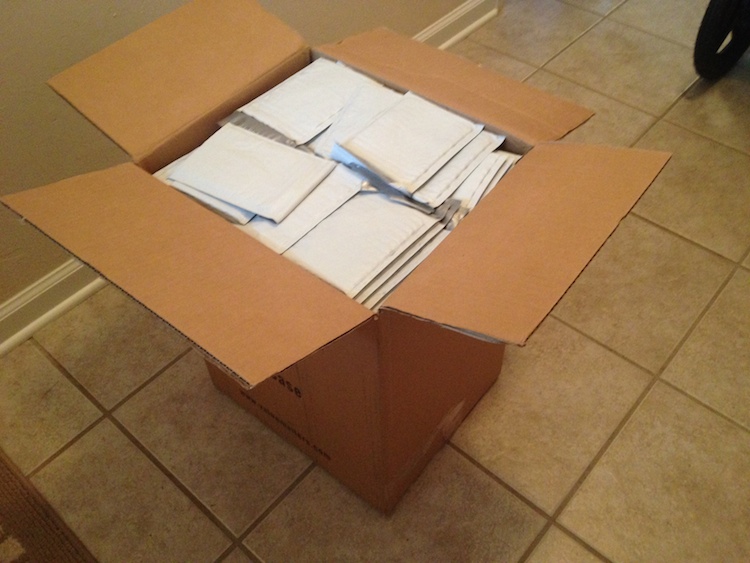
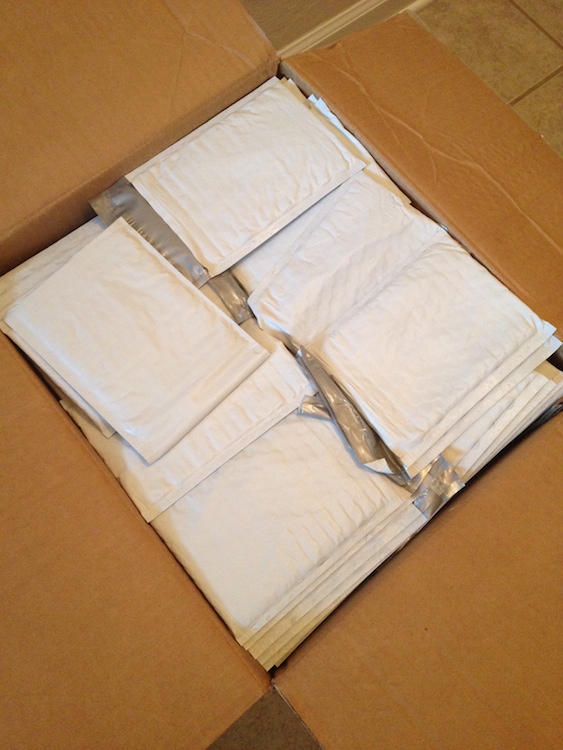
Of course, many Etsy sellers go above and beyond with their packaging, as they feel it makes them stand out in a sea of other sellers. They add pretty business cards, hang tags, fancy return labels….it’s all up to you!
As an accountant by trade, naturally I wanted to keep costs as low as possible, but I also wanted to make a good product that people would love. Here are some ways you can save money:
Buy in bulk - the more you purchase at a time, the less it costs per item and you save by not paying shipping multiple times.
Don’t let the up-front costs deter you - if you have absolutely no tools or ingredients, of course it will cost you a bit up front, but most of the costlier items will last a long time and your sales will hopefully pay for them in no time.
Search for promo codes or cash back deals - I use eBates and will search for a company website on there any time I am about to buy something online. It’s so easy (and free!): just type in the company name and if they are offering a cash back deal, just click “Shop Now” and you will be brought directly to the site. Other coupon/promo sites like RetailMeNot are also worth a check.
Offer deals on multiple purchases - Save on shipping, time and materials by getting people to purchase multiple items. The envelopes I had could fit at least 5 lip balms in them, so if someone was enticed to buy 5 lip balms at a small discount, you would save even more by only using one envelope, reduced shipping (as opposed to shipping 5 individual lip balms) and spending less time on sale processing.
I know this article is quite lengthy, but trust me, the process was easy…I just wanted to make sure to share all my little tidbits of knowledge with you. If you have any questions, please leave a comment - others might have the same question!
This is quite fascinating. I have always wanted to make oils, balms, soaps but never got around to making them. I a mcurious. When do you add the colors? People generally stop DIY tutorials with the making, but you have also explained how to sell them, suggesting different options. you are really great for freely sharing so much info. I wish your venture lots of success.
Hi and thank you for your nice comment! You would add the colors along with/after the flavor oils, which is right after the main ingredients have been melted. IT could take some trial and error until you reach your desired color…but that’s half the fun!
Love pure natural products! That product is animal cruelty free. This is also pure natural products and that built your fairness. By using these natural products make attractive and lovely.
You rock! This is the best article I’ve read about making and selling lip balms. Very informative and really makes me want to get moving on my ideas. Keep up the great work.
Thank you - I’m glad you found it helpful! When I was learning, I searched so many sites!
Great article: where do you get your perforated shrink wrap for the caps?
Ebay!