I joined influenster recently and quickly received my first box of items to experience and spread the word.


Out of all the contents in the box, there was one item I was iffy about trying…the imPRESS Press-on Manicure by Broadway Nails.
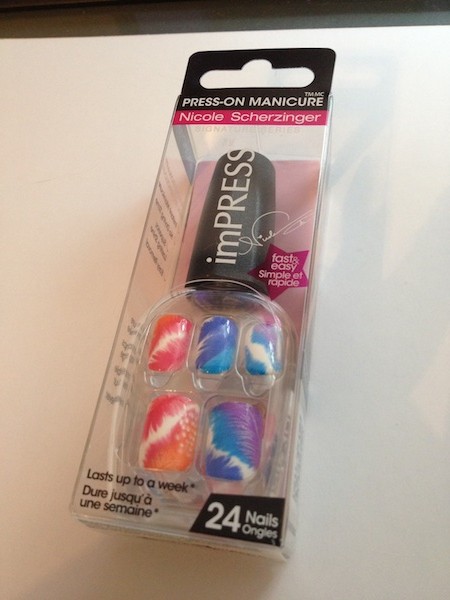
On one hand (no pun intended), my nails are a wreck. I’ve said it before and even shared an awful photo of them. I’m a biter…not just of the nails, but the cuticles too. It’s so embarrassing. I thought maybe these would be good to help my nails look better.
On the other hand (ok maybe I am intentionally punning around), this design was loud. I don’t ever wear color on my nails because it would draw attention to how terrible they look, so these were quite bold and different than what I’m used to. I also never hear too much about press-on nails. Are they good? Are they worth it? Can you tell they are fake? Do they last?
I decided to step outside of my comfort zone and go for it. I figured I would just paint over them with a more subtle nail polish color once they were on. Since they are supposed to last for up to a week, my hope was that that would be long enough to leave my nails alone to give them a head start on growing a little and looking better without me gnawing on them and then maybe I wouldn’t want to ruin the progress once the press-on nails were off.
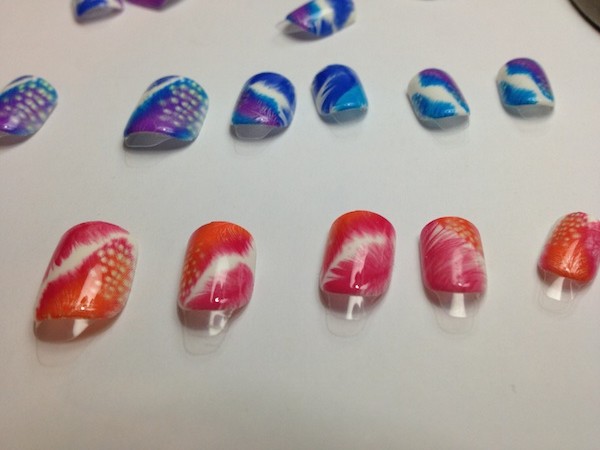
The first step was to lay out all the nails…
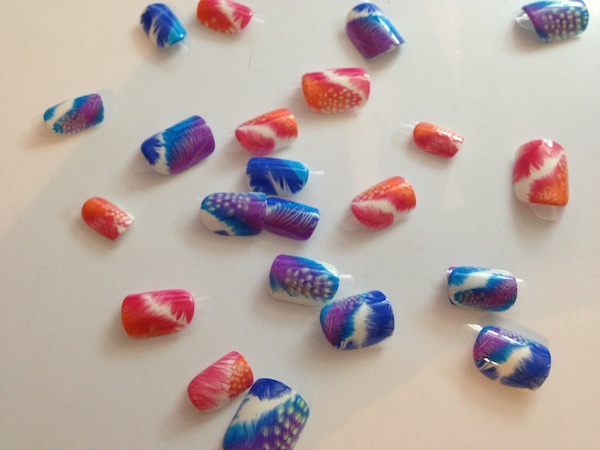
…then match up the sizes to your nails and lay the ones you will use out in order.
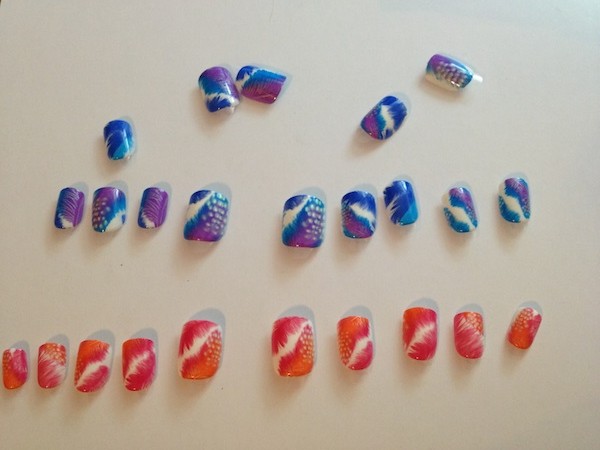
Up until this point, I wasn’t sure which color I would pick, so I went through all of them to see what I was working with. I didn’t quite understand their thought process when creating what would be included in the package. It comes with 24 nails with 2 different color schemes. I got exactly 10 pink nails, so there was no flexibility when it came to sizes and no replacements if one fell off or broke. The rest (14) were purple/blue, but the sizes were different. I couldn’t find any to fit my pinkies and some of them just didn’t line up right, so I couldn’t use those.
Pink it is!
Next, I used the included prep pad to clean my nails. This is to remove any excess dirt and oil. I didn’t already have polish on, but if I did I would have removed it first with polish remover. I also already filed my nails , but they include a mini file to smooth out your nail area and to tidy up your nails once they are on.
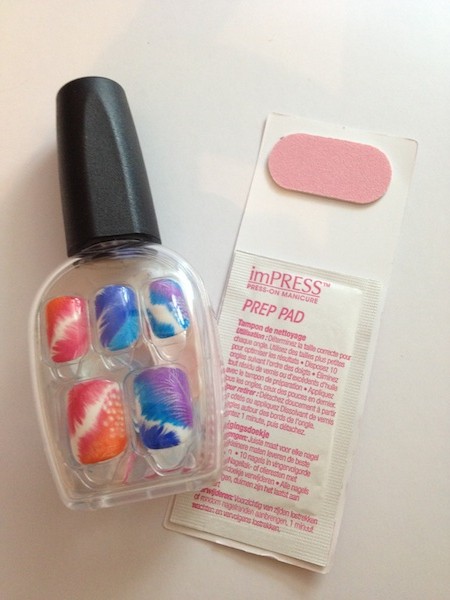
Each nail has a pull tab to remove to uncover the adhesive that’s already. That was the nice thing about these, no extra pieces or glue to fumble with. But it was difficult to remove the tab on a few of the nails, I even warped one of them trying to pull it off.
Once the tab is removed, just line up the nail how you will want it, place it on your nail and press down firmly. I wanted these babies to stick good, so I pressed down HARD.
I recommend you save the last 2 nails for the 2 fingers you use to peel the tabs back, or else it might mess up your nails and be extremely difficult to pull the tabs. There was no drying time and I even gave Trent a bath immediately after putting them on.
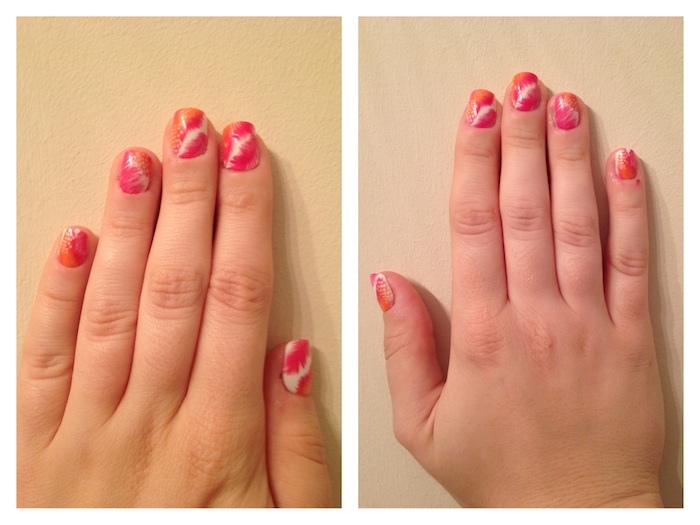
As for the color, I never painted over them because once they were on, they didn’t look so loud and bold. In fact, a few people noticed and said they liked them and that they were “Summery”.
Some other random thoughts:
I don’t know how people with long nails do it. I know I still needed to get used to them, but dang I had the hardest time zipping up my jeans and opening my soda. You don’t even want me to tell you how many things I misspelled on my phone and computer.
It made me think about my nails 24/7…I was consciously thinking about them so I wouldn’t ruin them and I kept looking at them, longing that my natural nails would grow nice and that I could be one of those people that takes polish photos to share on Pinterest. Honestly, I’ve shied away from doing certain product review videos because I didn’t want my nails in the video. I hope this helps because I have started doing more videos and want to do even more.
I really like how these press-on nails give you the look of nice long nails without damaging your natural nails like acrylics. They were the perfect length for me, too. I did a search to see some of the other colors available and they do have some great options. I would have liked to try the French manicure or a single color, but hey, I’m willing to step outside the box.
Plus, they match my Mason jar/tumbler!
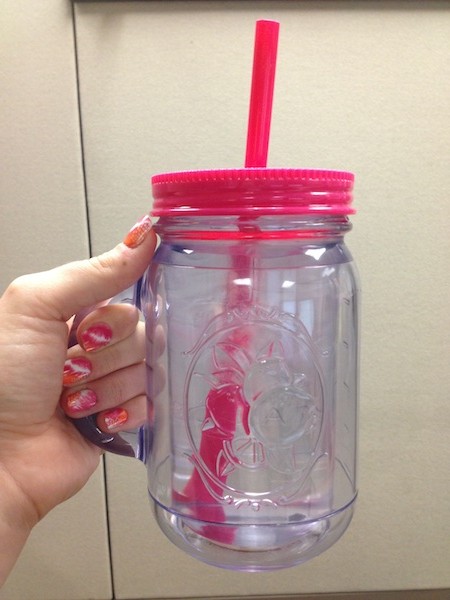
I would recommend these if you have an event you want nice nails for, but not for long-term use. Mine lasted 2 days…but only 2 had actually fallen off after I banged them on something and the rest I took off so it didn’t look weird. I was also pretty rough on them. I had to wrangle a baby, banged them when I pumped gas, reorganized a closet and boxes and even picked up toys…multiple times.
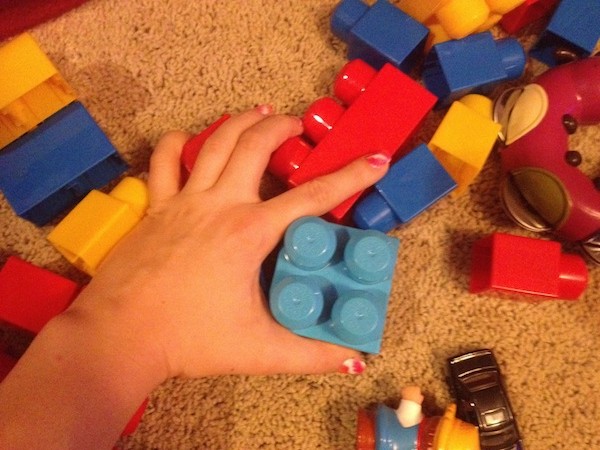
I think they would have lasted longer if I was a little more careful. I would have liked to try the French manicure or some of the other colors. They have several colors/designs to choose from, so you can be adventurous without a long-term commitment!
At $5.99-7.99, they are a little more than what I would expect to pay for something that only lasts up to a week, but it’s much cheaper than going to the salon.
Visit their website to find a retailer near you (and get a $1 off coupon!)
Connect with Broadway Nails
Facebook
Twitter
YouTube
Pinterest
xoxo
Lynn
Subscribe by email | Like us on Facebook | Follow us on Pinterest | Subscribe on YouTube
 The Photographer's Wife Working Mom, Family, Disney, Travel, Reviews

 }
}

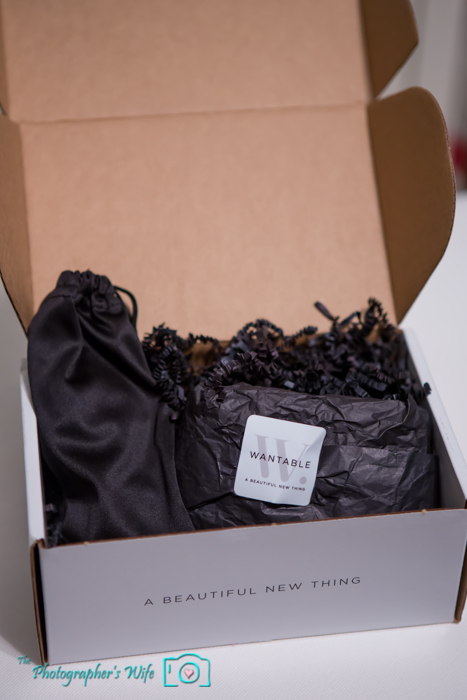
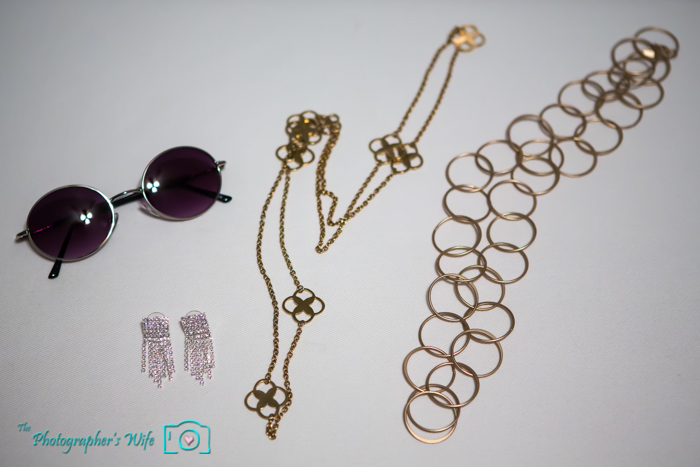
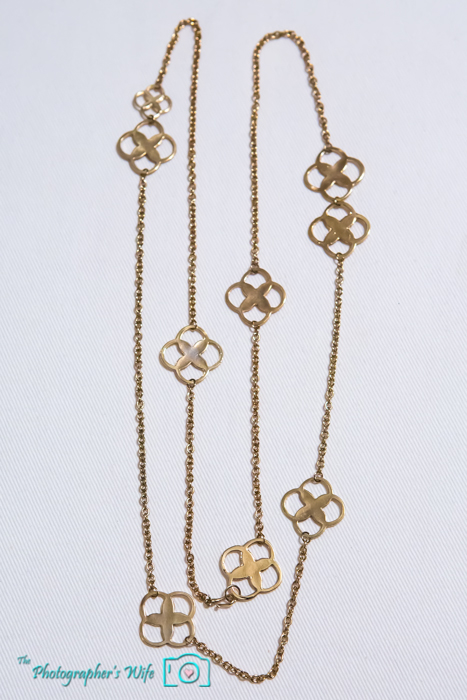
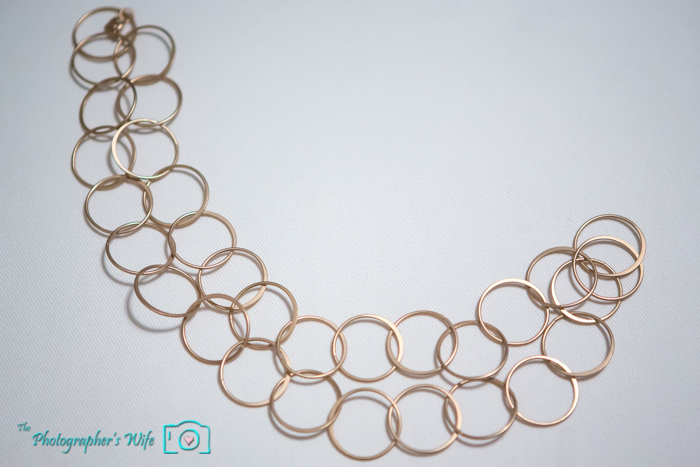
 It’s super easy to get started. When you first go to their website, you select whether you want a full size premium makeup box or a limited edition and personalized jewelry box.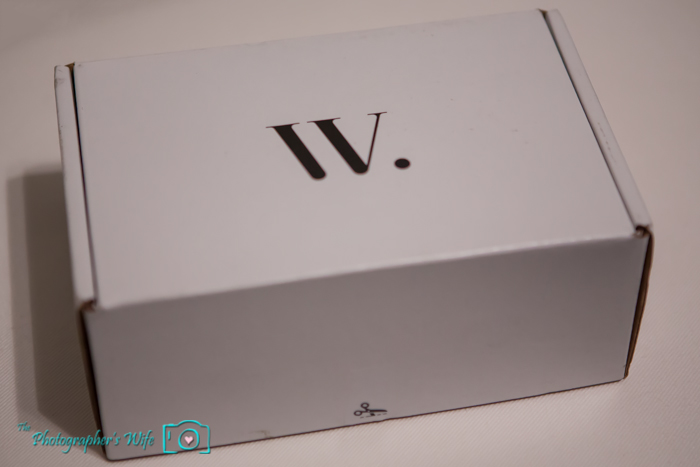



 Connect with Wantable: