Tag Archives: Food

Raglan Road Ger’s Bread and Butter Pudding

Raglan Road is an Irish restaurant in Downtown Disney in Walt Disney World in Florida. Their most popular dessert is Ger’s Bread & Butter Pudding. This recipe was featured in the February issue of WDW Magazine, since Raglan Road was the featured restaurant in that issue.

Bread & Butter Pudding Recipe


Ger’s Bread & Butter Pudding from Raglan Road

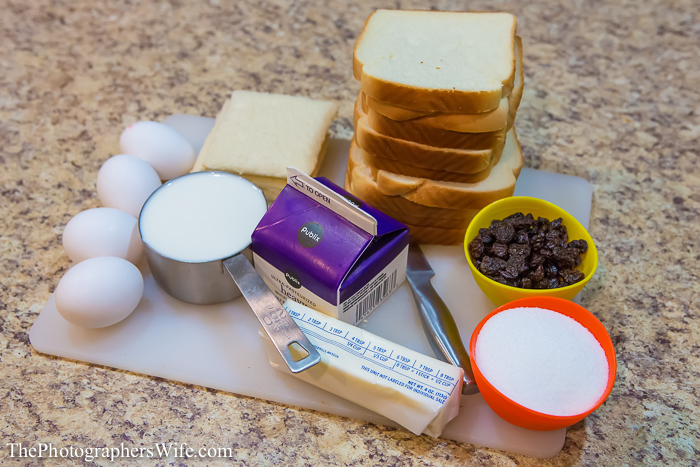
Ingredients (serves 8):

12 slices white bread
1/2 cup salted butter, softened
1/2 cup raisins
1 cup heavy cream
1 cup whole milk
4 egg yolks
1/2 cup sugar

Buttered Bread Pudding-1

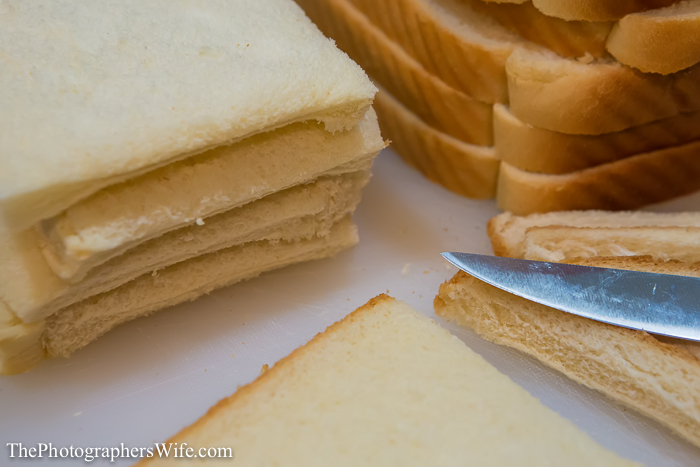
First, grease a 2-quart ovenproof dish. Then, cut the crust off of all the slices of bread.

Buttered Bread Pudding-2

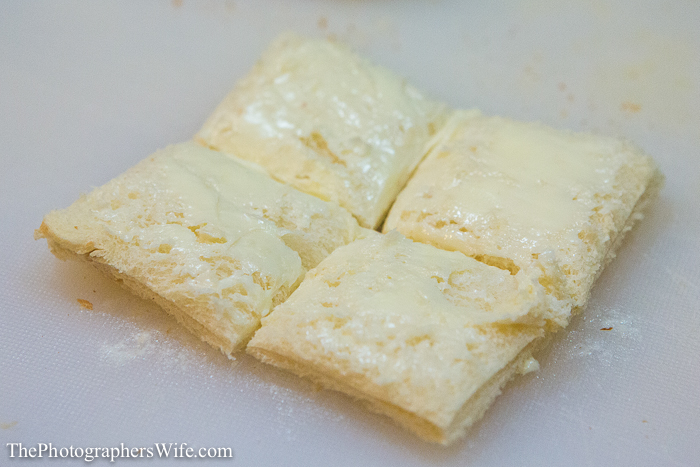
Spread the butter over both sides of each piece of bread and then cut each piece into 4 smaller pieces.

Buttered Bread Pudding-3

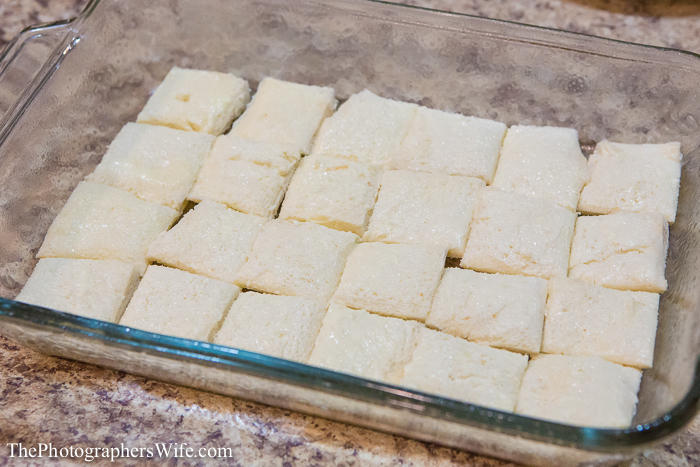
Arrange 1/3 of the bread pieces in the bottom of the dish.

Buttered Bread Pudding-4

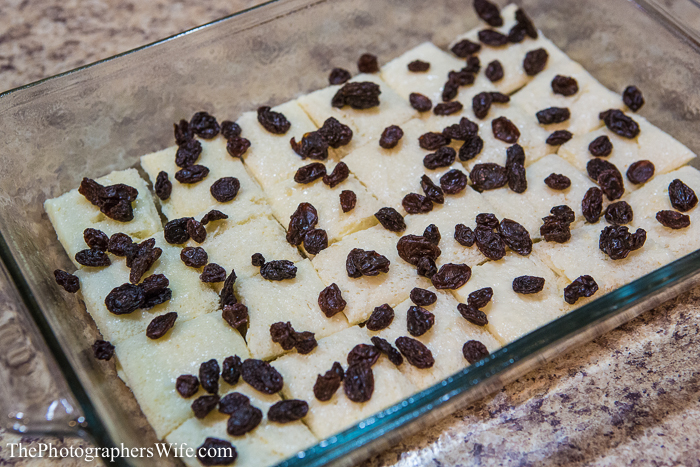
Sprinkle the raisins on top.

Buttered Bread Pudding-5

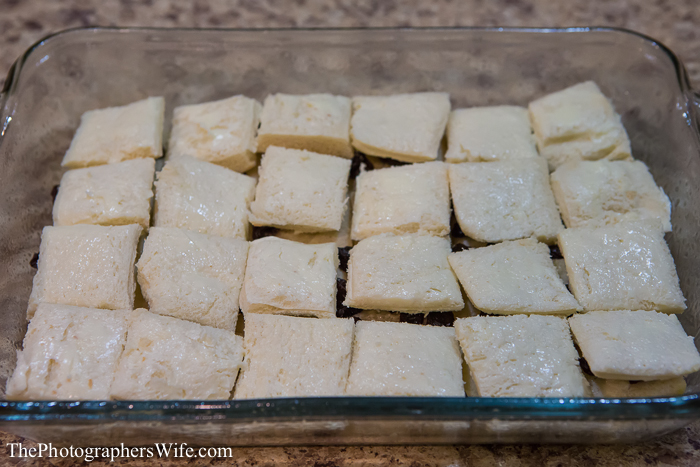
Lay out another layer of buttered bread on top of the raisins. Set aside.

Buttered Bread Pudding-6

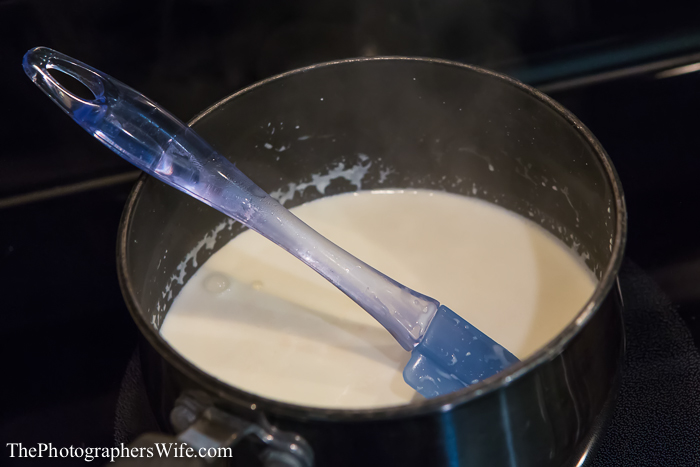
To make the custard, heat cream and milk in a medium saucepan over medium heat until it almost comes to a boil. Remove from heat.

Buttered Bread Pudding-8

Fill another medium saucepan halfway with water and place over high heat. Bring to a boil.

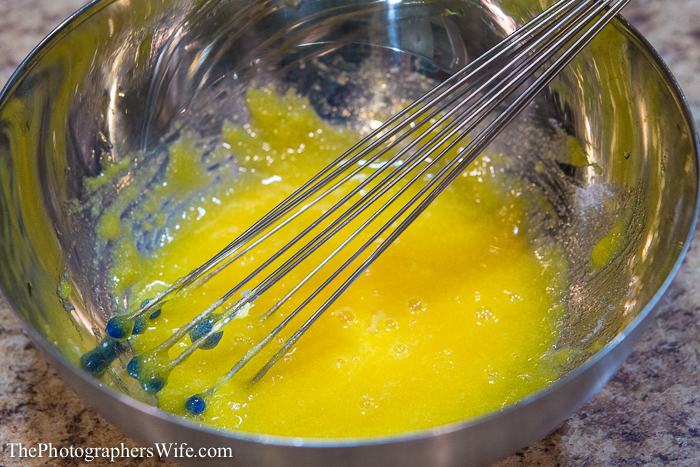
Meanwhile, separate eggs and combine yolks with sugar in a large heatproof bowl.

Buttered Bread Pudding-7

Once water in saucepan is boiling, turn heat down to medium and place heatproof bowl over the simmering water.

Buttered Bread Pudding-9

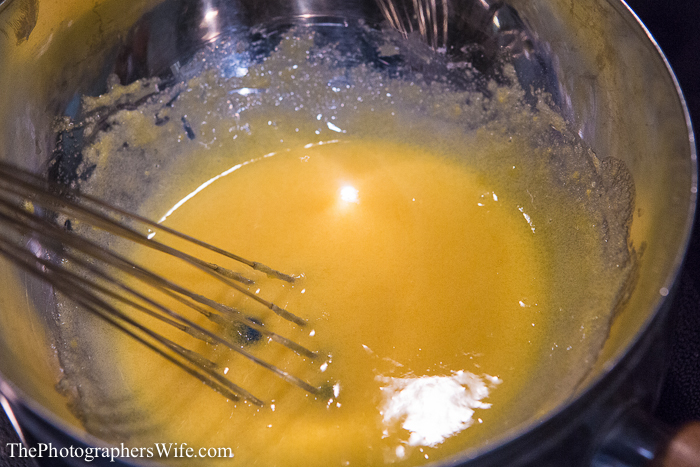
Whisk egg yolk mixture until whisk leaves a clear path behind it.

Buttered Bread Pudding-10

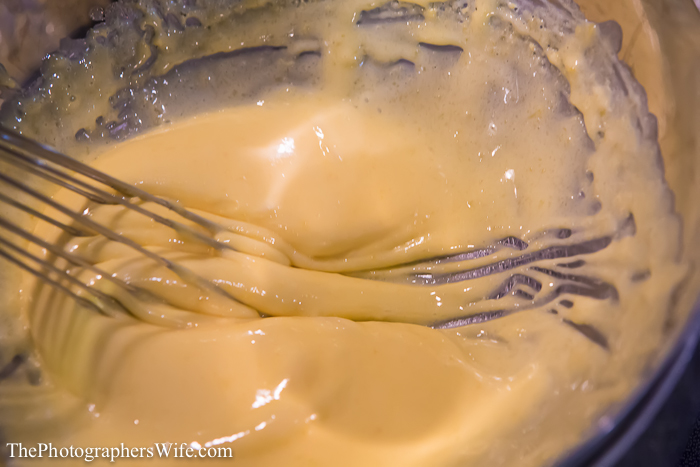
Then remove from heat and add cream mixture. Beat until well combined.

Pour two thirds of the custard over the layered bread and leave to stand for 30 minutes or until bread has soaked up all the custard.

Buttered Bread Pudding-11

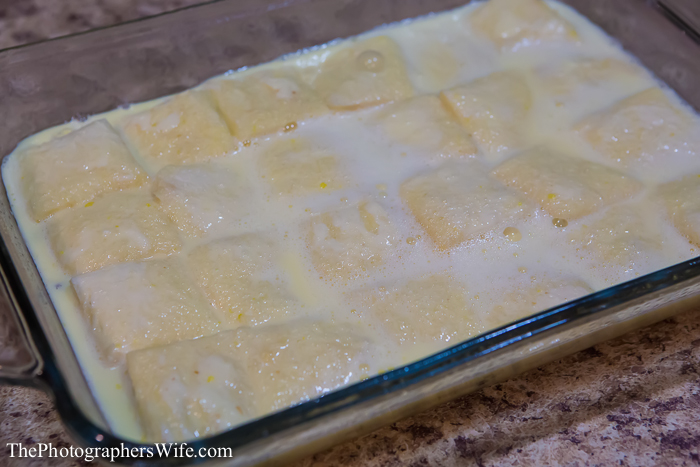
Preheat oven to 350 degrees. Pour remaining custard over the soaked bread and arrange the remaining bread pieces on top. Press down gently with a spatula so that the top layer of bread absorbs some of the custard.

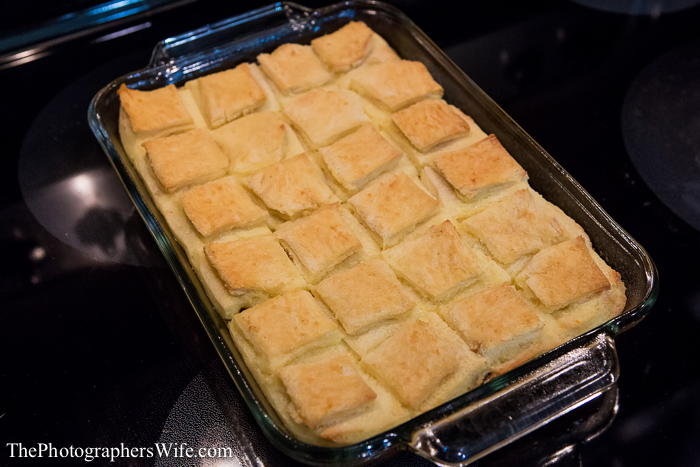
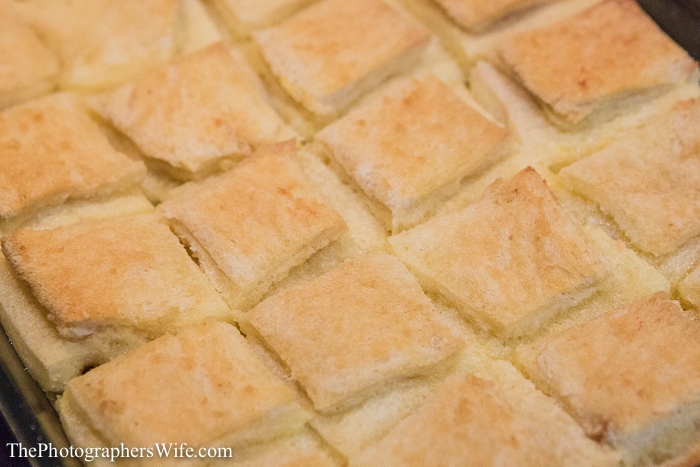
Bake for 30 minutes or until the custard is set and the top is golden brown.

Buttered Bread Pudding-15 Buttered Bread Pudding-16

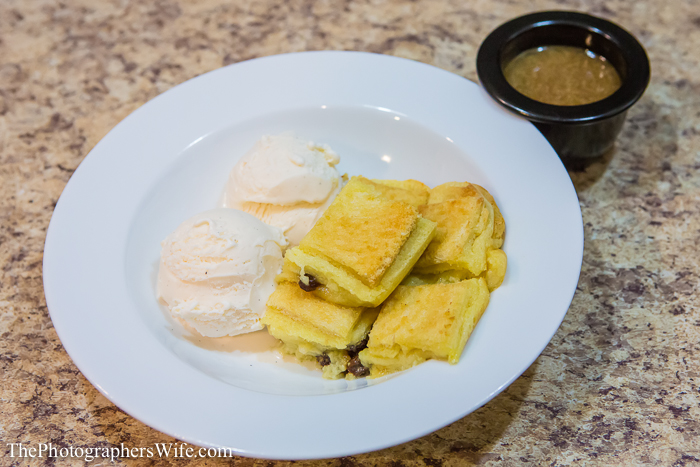
Cut up and serve immediately…

Buttered Bread Pudding-17

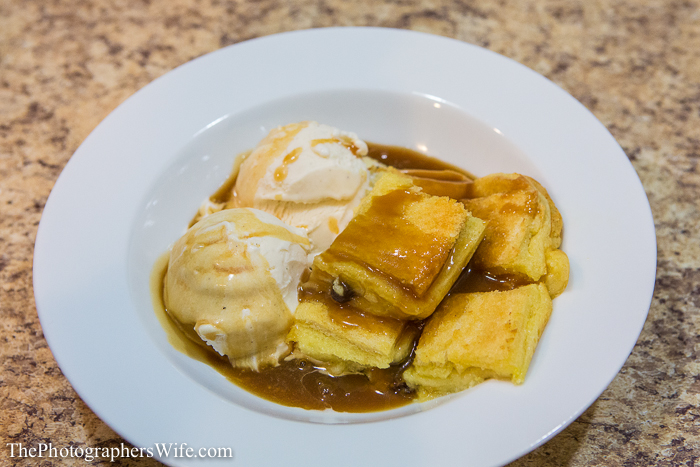
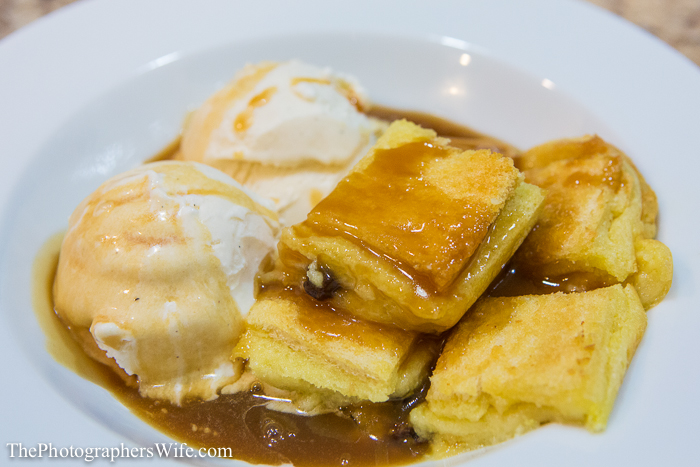
…preferably with caramel sauce and ice cream ;)

Buttered Bread Pudding-18 Buttered Bread Pudding-19


This recipe was derived from the recipe book: Chef Mickey Treasures from the Vault & Delicious New Favorites

Chef Mickey


…and was also featured in the February Issue of WDW Magazine (learn more here).

To see more Disney posts, check out our Disney page here!


Be Our Guest Lunch Review & FastPass+ Process

Be Our Guest is a restaurant that opened in 2012 with New Fantasyland in the Magic Kingdom in Walt Disney World in Florida. It has French-inspired cuisine…lunch is fast casual and dinner is table service.

It is one of the main new additions to the park as part of the New Fantasyland expansion. The theming is absolutely breathtaking.

Be Our Guest-15

Since dinner is table service, advanced dining reservations can be made on the WDW website…but lunch is a different story. At lunch, you order and pay at the cashier’s stand and then take your number into the dining room and your food is brought out to you when it’s ready. Due to it’s incredible popularity, the line outside to get in is often extraordinarily long…so long that we had never eaten there because we don’t do lines that long. So long that cast members bring out a stand with water and cups for you to “enjoy” while you wait.

Be Our Guest-12

Brett has wanted photos from the inside since it opened, but you can only go in if you have a reservation and because we haven’t wanted to stand in line or eat dinner there (Brett is beyond picky and nothing stood out to him on the menu) he has gone without any photos of the inside, just lovely photos of the outside.

Be Our Guest-13

Well, one day, I noticed a blog post from another Disney blog I follow that said she got a Fastpass for lunch! What the WHAT?!

She said there was a special link for Be Our Guest Fastpass reservations and it did not count towards your regular ride/attraction Fastpass+ selections for that day. So I tested the link and whad’ya know…there were times available for when we would be there in January. So I scooped up a time slot for us and then had to make the hard decision of whether we wanted to pre-order. You have 2 options when making your selection:

FastPass+ Direct To Table

You select your time, select your entire meal and pay for it, then when you arrive at the restaurant, you check in and go find a seat and wait for your food to be brought to you. You skip the line outside and the cashier part.

FastPass+ Expedited Arrival

You select your time and that’s it. When you arrive at the restaurant, you check in and get to bypass the line outside, but still have to stand in line to order and pay from the cashier.
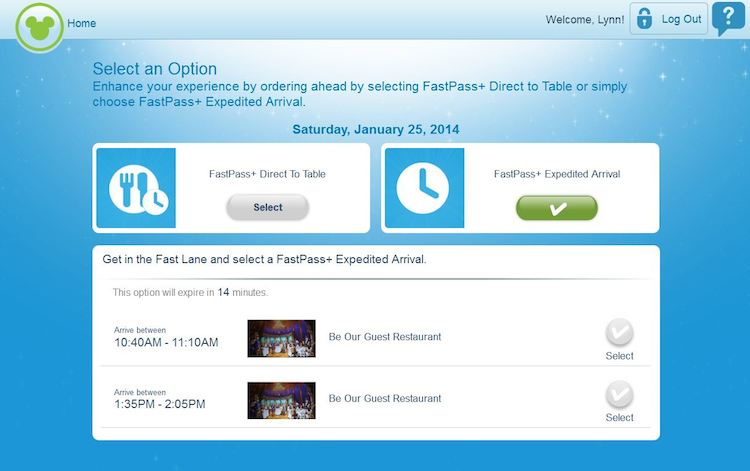
Be Our Guest Fastpass

I really liked the idea of ordering and paying ahead of time, but we NEVER know how hungry we’ll be at any point in the day, nor do we know if Trent will eat. I almost did the pre-ordering, but decided against it.
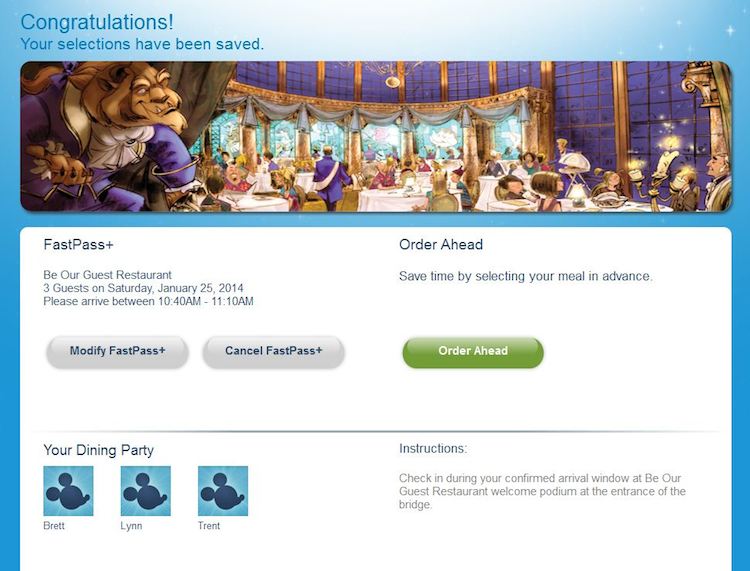
Be Our Guest Fastpass 2

When we arrived at Be Our Guest, we were somewhat disappointed that the line wasn’t as long as we’re used to. I mean, isn’t that part of the fun of having a Fastpass? To be able to laugh on the inside at the people waiting in line as you rush past them? Hehe.

Be Our Guest-14

We checked in at the counter to the left of the line, where they simply asked us my name and then said to go right in. We had Magic Bands on, so they didn’t need to give us a “Rose tracker” as they use our signal from the Magic Bands to find us. Pretty neat and scary at the same time, huh?

Once you get inside, there is still a short line before reaching the cashiers. There are several digital menus along the way so that “hopefully” you’ll know what you want by the time you reach the cashier.
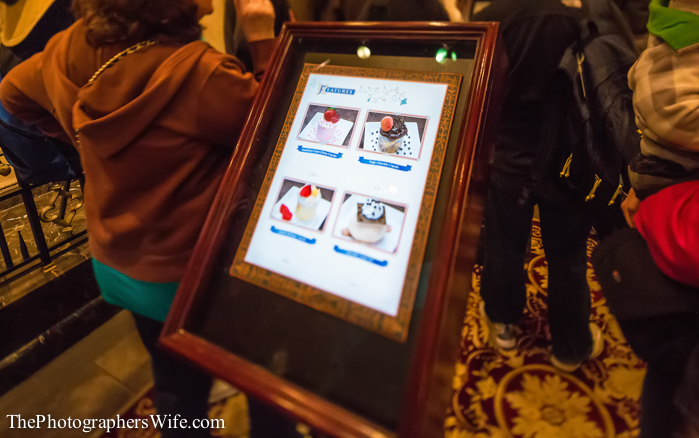
Be Our Guest-1

At the end of the line, a cast member directs you to the next available cashier station.
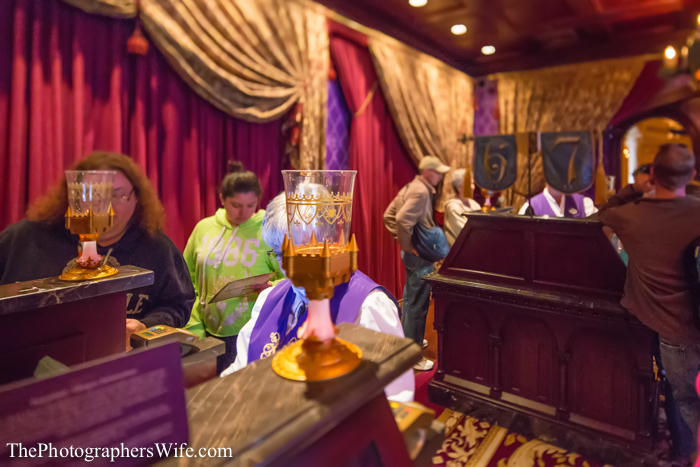
Be Our Guest-2

Even though standing in line for the cashier added another 10 or so minutes to the waiting, I was happy I hadn’t ordered because I wasn’t that hungry and knew Trent wouldn’t eat very much, so we sort of split our meals. Brett even ordered an impromptu dessert.

Once we ordered, We walked through 2 of the dining rooms to take in the magnificent decor. I mean, this place is done to the nines. Everything is so beautiful. We settled on the middle room, while Brett went and took photos of everything.

The “Rose” room is popular among guests.

Be Our Guest-16

Be Our Guest-10

Be Our Guest-11

Be Our Guest-5

Here is another room.

Be Our Guest-6

But we ultimately decided on the main room, it was the largest of the three, well lit and had tables available that were convenient just in case we had a toddler meltdown for some reason or another (we have to plan for these things now).
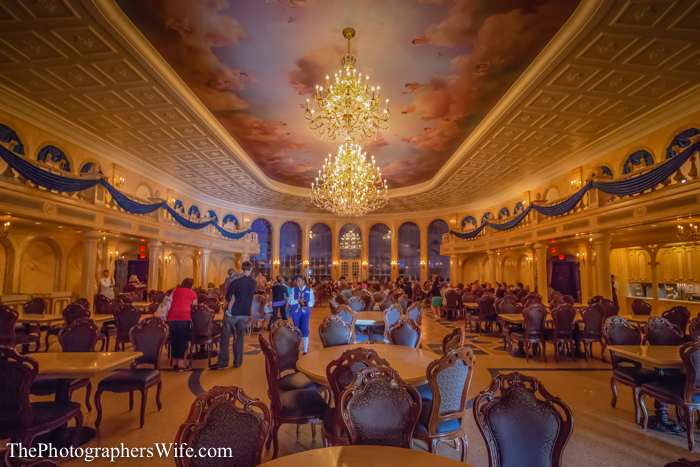

Be Our Guest-3 Be Our Guest-4

Our food was wheeled out to us by a cast member. Brett got the turkey sandwich with pommes frites (fries). It was really disappointing because when he ordered, the sandwich comes with turkey, cheese, lettuce, tomato and onion. But Brett doesn’t eat onions, so he asked for no onions, but the cashier cast member said it’s basically all or nothing and if he didn’t want onions, the entire cheese/lettuce/tomato/onion would be left off. They wouldn’t even put it on the side. So he had turkey on bread…for $14.
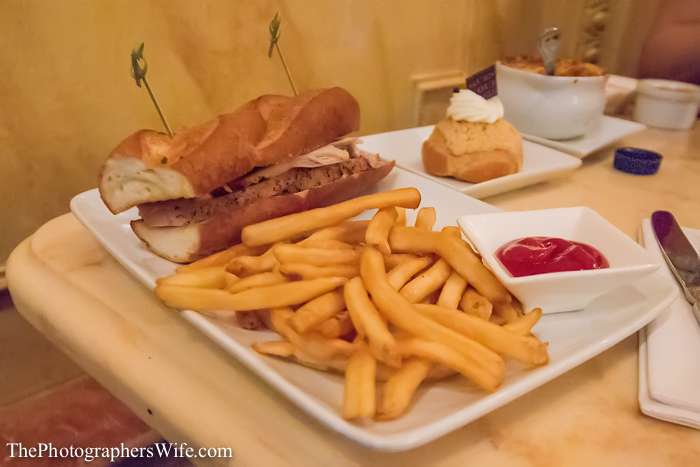
Be Our Guest-7

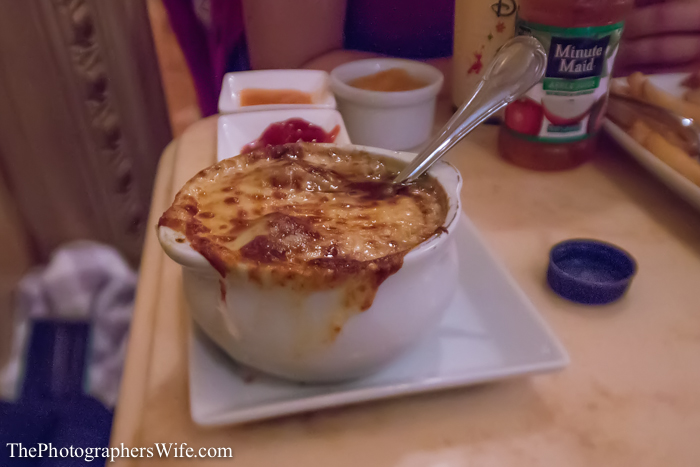
I had the French onion soup and it was delicious. It was better than the much-raved-about Belle’s Onion Soup in the Royal Palace restaurant on the Disney Dream. Yup, I said it.
Be Our Guest-9

On another note, isn’t it funny how much Brett hates onions and then I go and order onion soup. No wonder he never kisses me :( haha j/k!

We got the Mickey Turkey Meatloaf and fries for Trent. After cutting up the meatloaf, I tested a piece and it was cold. Yuck! So we called a cast member over and she offered to take the meatloaf and “warm it up” - making us move the fries off the plate so she could take it. She brought it back and said “That should be ok” and put her hand a half an inch above the meatloaf to show she was feeling the warmth. I tested another piece and it was barely warm. There are so many things wrong with what she did. First, you don’t make the customer scoop their fries off of the plate to another plate so you can go place the meat under a heat lamp for a minute. You offer to bring another meatloaf. For a $10 kids’ meal, trust me you would not have lost any money on bringing us another one. I wasn’t trying to get a free meal, but Trent is picky enough that we were already taking a chance on him even eating the meatloaf in the first place, but COLD meatloaf? Forget about it, he wouldn’t touch it. Then, you definitely don’t put your entire hand over the food like that. I know she didn’t actually touch it, but by her doing that, it makes me wonder if she moved it around with her hands to test it while she had it in the back and we couldn’t see. She wasn’t a chef…she was the floor supervisor, so I don’t necessarily trust that she washed her hands before doing any of that. I was just surprised at the terrible customer service coming from a new, popular and expensive restaurant at Walt Disney World. It definitely took us off guard and was very unfortunate.

Well, after all that…Trent didn’t eat any of the meatloaf. Go figure. I helped him finish his fries and then Brett and I split the dessert because Trent didn’t want any. What a weird kid.

Be Our Guest-8

Overall, Brett was glad he got to take photos of Be Our Guest, but we probably won’t be going back anytime soon. Between the inability to customize anything on the menu, the questionable service, and the above-average (for WDW) prices make this a less than desirable lunch option for us. We’d rather take advantage of the toppings bar at Cosmic Rays or the delicious seafood options at Columbia Harbour House instead.

Be Our Guest Review


Your Thoughts…

Have you been to Be Our Guest? Lunch or dinner? How do you like it compared to other places in WDW? Tell us in the comments!

 

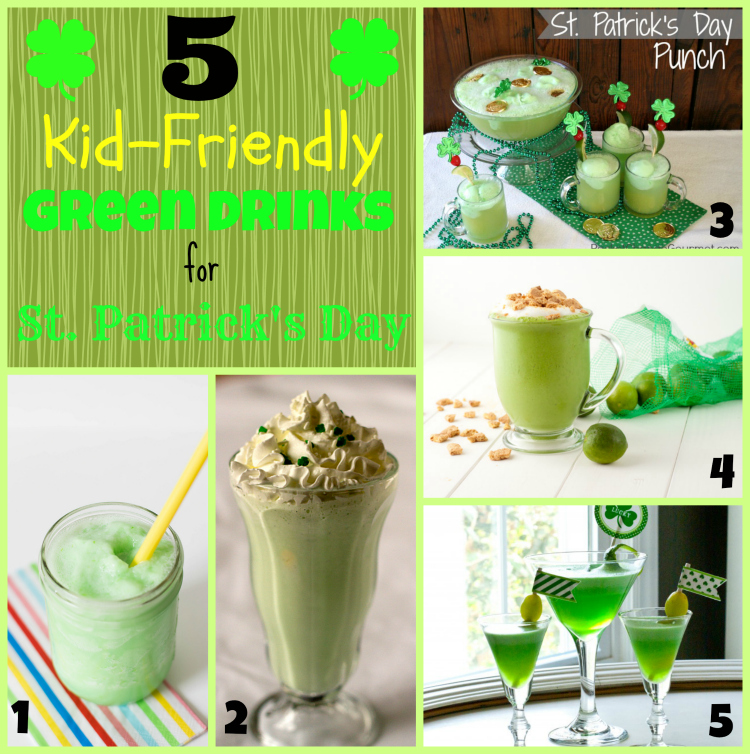
5 Kid-Friendly Green Drinks for St. Patrick’s Day

I felt kinda sad we didn’t do anything special for Trent on Valentine’s Day this year. Last year, I at least gave him a red stuffed animal and some cookies, but I just kept putting off thinking of anything special because “he wouldn’t know either way.” What a terrible thought! Just because he wouldn’t know it’s a holiday, doesn’t mean you can’t get creative and find a special way to enjoy it.

For St. Patrick’s Day, I thought it would be fun to make a green drink we can all enjoy…so it would have to be non-alcoholic for a toddler and pregnant woman! haha

After a little searching, I found several ideas, but I haven’t decided yet. Here are the 5 I’ve narrowed it down to - I wanted to share them with you to give you some ideas if you need them too!

Kid-Friendly St Patricks Day Drinks

1. Green Mean Machine from Small Fry Blog

This was the first one that caught my eye (I also follow them on Feedly). It’s simple with lime sherbet and lemon-lime soda.


2. Homemade Shamrock Shake from Brown Eyed Baker

I’ve never had the one from McDonald’s, but I hear it’s quite popular!


3. St. Patrick’s Day Punch from Pocket Change Gourmet

This one is a little variation from #1, with this one being more of a punch drink than a smoothie/shake.


4. Key Lime Pie Green Smoothie from Healthful Pursuit

This one has more ingredients than the other drinks on the list, but I know Brett likes Key Lime Pie, so he might like this.


5. Kid-Friendly St. Patrick-tinis from Anders Ruff

These are made with Jello, but honestly, they just look so pretty to consume!


And because I can never resist the opportunity to share a photo…here’s one from last St. Patrick’s Day!

Trent 9 months-1

Chocolate Covered Bacon {Hormel}

As per usual, we celebrated Valentine’s Day at home this year. A nice restaurant is the last place we’d want to be…they are all soooo crowded on V Day. Plus, Brett always cooks something delish, so it’s nice just relaxing at home together as a family.

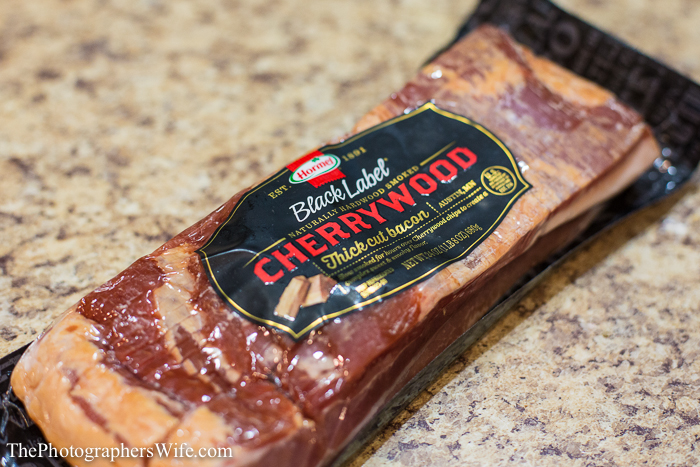
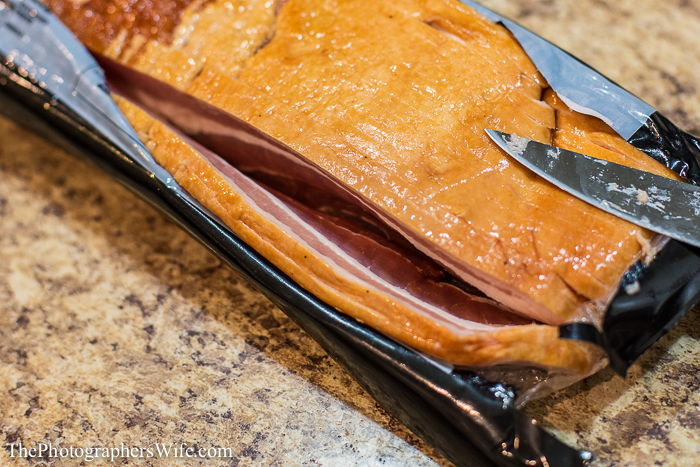
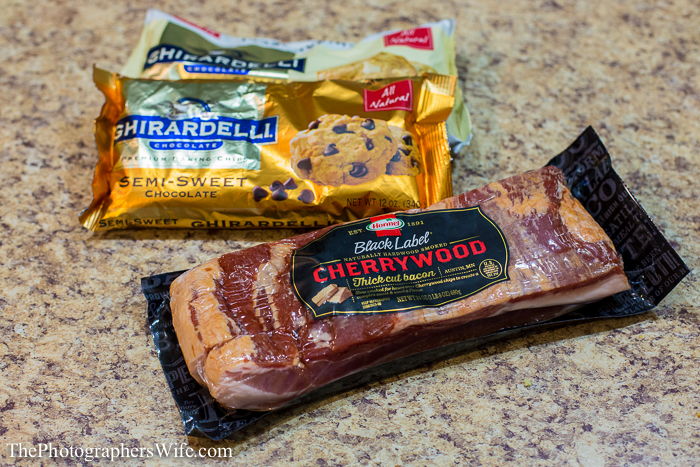
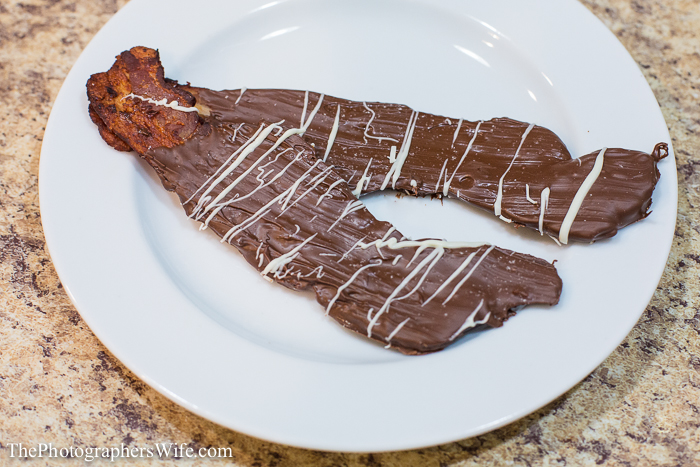
For dessert, he decided to make something new using the Hormel bacon I received in my monthly package of goodies as part of the Hormel Family Blogger program…Chocolate Covered Bacon!

Hormel Chocolate Bacon-2

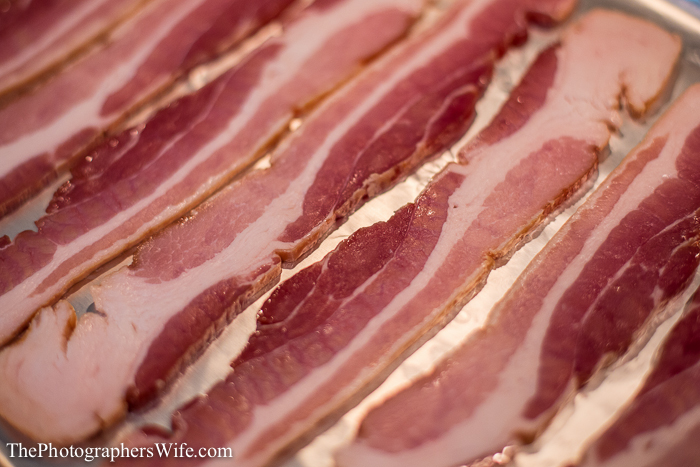
Just look at this…it’s the Hormel Black Label Cherrywood Thick Cut Bacon and we couldn’t wait to dig in.

Hormel Chocolate Bacon-3

Ok…on with the recipe!


Chocolate Covered Bacon

Ingredients:

Bacon

1 Package of Semi-Sweet Chocolate morsels

1 Package of White Chocolate morsels (this is just for decoration)

Hormel Chocolate Bacon-1

Preheat the oven to 400 degrees. Lay a sheet of aluminum foil down on a baking pan, then place the strips of bacon on that. Using the oven to cook the bacon is a good way to cook a bunch of it at one time without much effort and without all the grease. There is still some grease, but not as much as if you were cooking it in a frying pan.

Hormel Chocolate Bacon-4

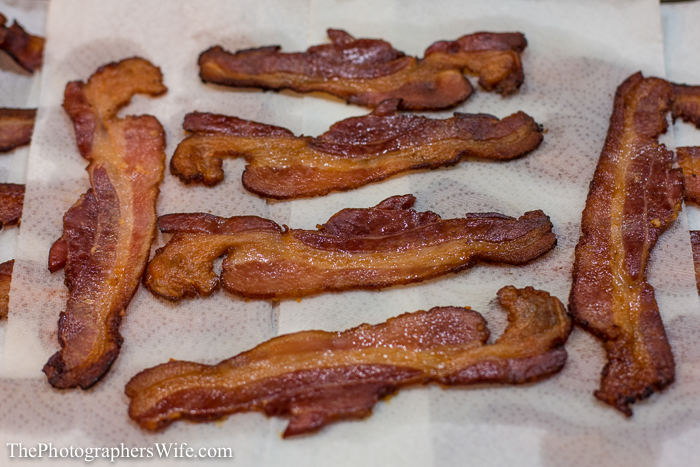
Cook the bacon for 20-30 minutes depending on thickness. Place the bacon on some sheets of paper towels to cool and soak up the extra grease.

Hormel Chocolate Bacon-5

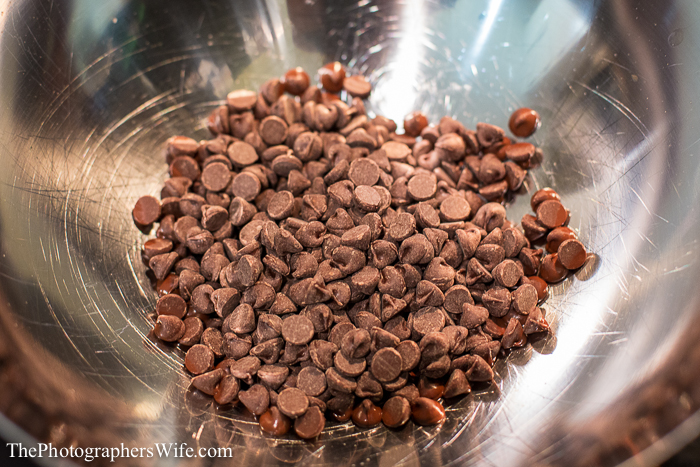
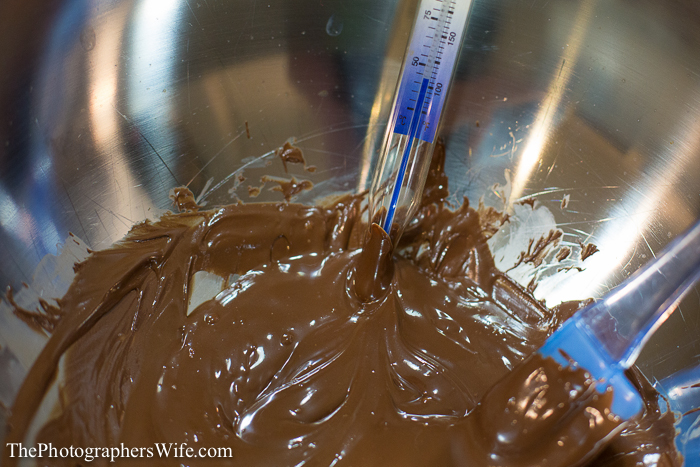
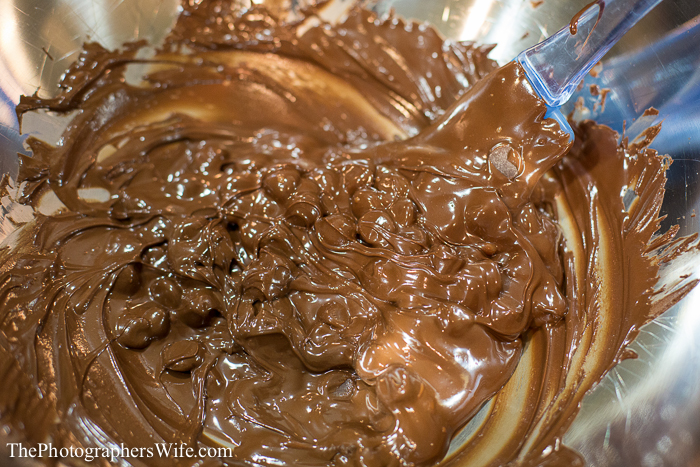
While the bacon is cooling, it’s time to melt the chocolate. Apparently, tempering chocolate is a science, so instead of me acting like the expert, I’ll include the link that Brett suggested is a good reference on how to do it.

http://candy.about.com/od/candybasics/ht/temperchoc.htm

Ok, so now that you’re a chocolate-tempering expert, here are some photos of that process.

Hormel Chocolate Bacon-6 Hormel Chocolate Bacon-7 Hormel Chocolate Bacon-8

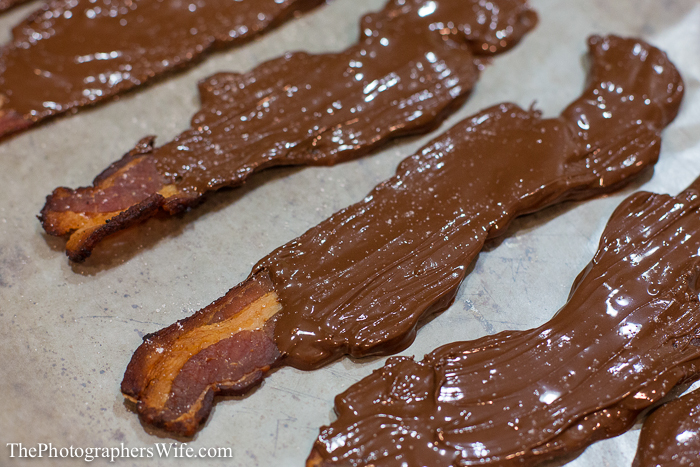
Place the bacon on a sheet of wax paper and then coat each piece in melted chocolate. He left a little piece uncovered at the bottom so we could hold them easily without getting chocolate all over our fingers (although that’s not necessarily a bad thing). He sprinkled a little sea salt over each pice…completely option though.

Hormel Chocolate Bacon-9

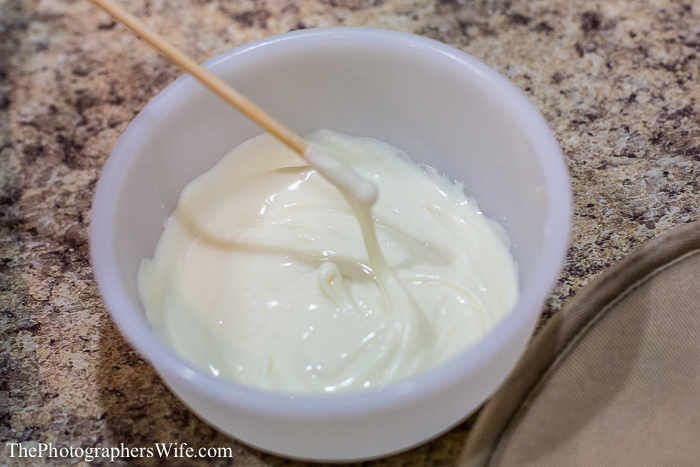
Repeat the melting process for the white chocolate. Take a skewer and dip it in the white chocolate and then decorate the bacon with it.
Hormel Chocolate Bacon-10

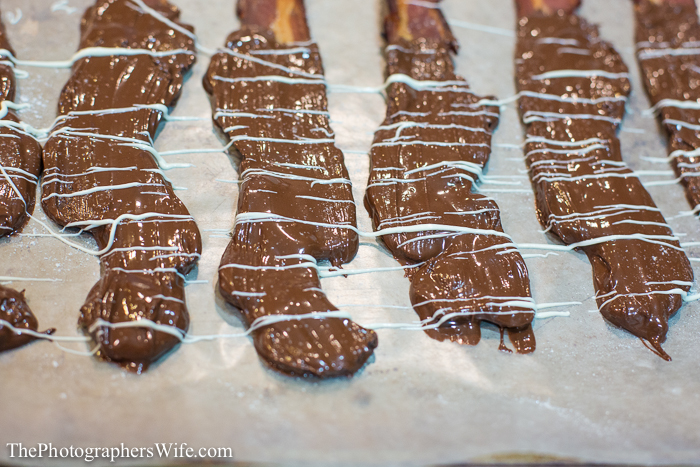
He just moved the skewer back and forth to make little lines all over the bacon pieces. This is completely optional, but it made them look even more purty.

Hormel Chocolate Bacon-11

Place the bacon in the fridge to cool. Once the chocolate has hardened, they’re ready to be enjoyed!

Hormel Chocolate Bacon-12

Chocolate Covered Bacon


This post was part of my involvement in the Hormel Extended Family Blogger Program. All opinions are my own and honest. Thanks for reading!


Strawberry Pretzel & Cream Cheese Dessert

When my mother-in-law first brought this dish to a family gathering, we all looked at her like she was nuts. After all, she likes trying new recipes and sharing them with all of us, but this one just sounded strange and we just weren’t quite sure what to expect. Especially because some people call it a “Strawberry Pretzel Salad” and I don’t want “salad” for dessert.

Wow – was she laughing at us afterward…it was delicious! She has even been asked to make it several times since then. It’s just a perfectly yummy mix of salty and sweet…and you can even claim the fruit servings to make yourself feel better.

I recently had a potluck gathering at work (aren’t those the best?) and wanted to bring something different than what they were used to, so I brought this. They loved it – I was even shocked to hear that some people knew what it was and had had it before.

Of course, anyone that’s been reading this blog for a while knows that I didn’t make it, Brett did, and he also whipped up some homemade whipped cream to give it that extra oomph. So here is what he did and how you can make it too!


Strawberry Pretzel & Cream Cheese Dessert

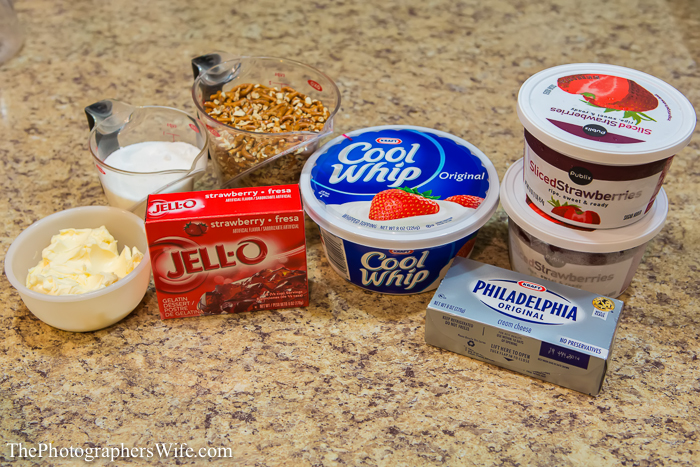
Here are the ingredients:

2 cups crushed pretzels

3/4 cup butter, melted

3 tablespoons white sugar

1 (8 ounce) package cream cheese, softened

1 cup white sugar

1 (8 ounce) container frozen whipped topping, thawed

2 (3 ounce) packages strawberry flavored Jell-O®

2 cups boiling water

2 (10 ounce) packages frozen strawberries

Strawberry Pretzel Salad-1

Preheat oven to 400 degrees F (200 degrees C).

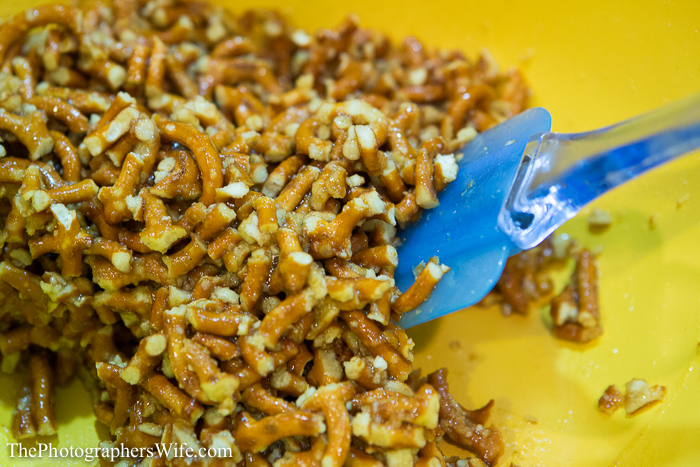
Stir together crushed pretzels, melted butter and 3 tablespoons sugar; mix well.

Strawberry Pretzel Salad-2

Press mixture into the bottom of a 9×13 inch baking dish.
Bake 8 to 10 minutes, until set. Set aside to cool.

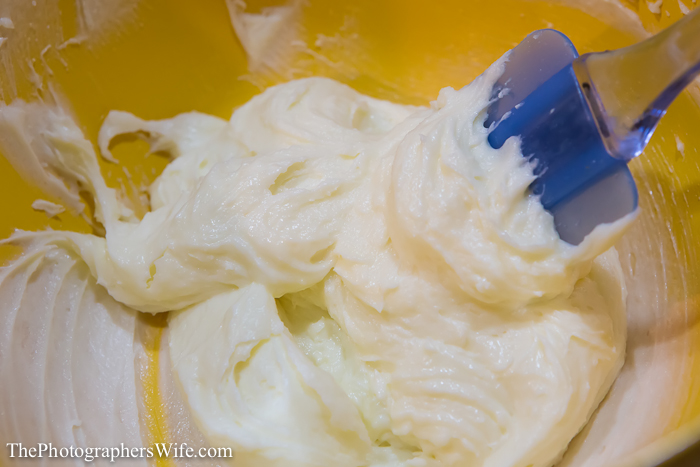
In a large mixing bowl, mix together cream cheese and 1 cup sugar. Fold in whipped topping.

Strawberry Pretzel Salad-4

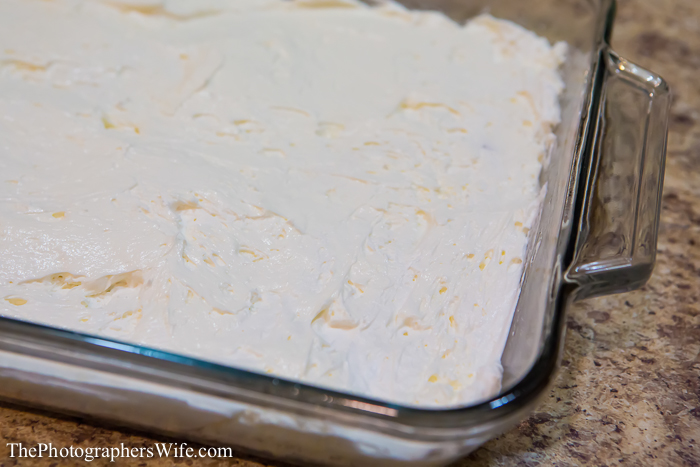
Spread mixture onto cooled crust.

Strawberry Pretzel Salad-6

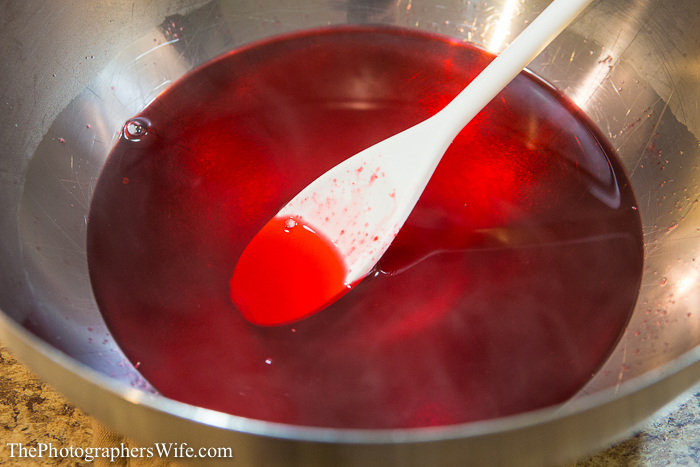
Dissolve gelatin in boiling water.

Strawberry Pretzel Salad-8

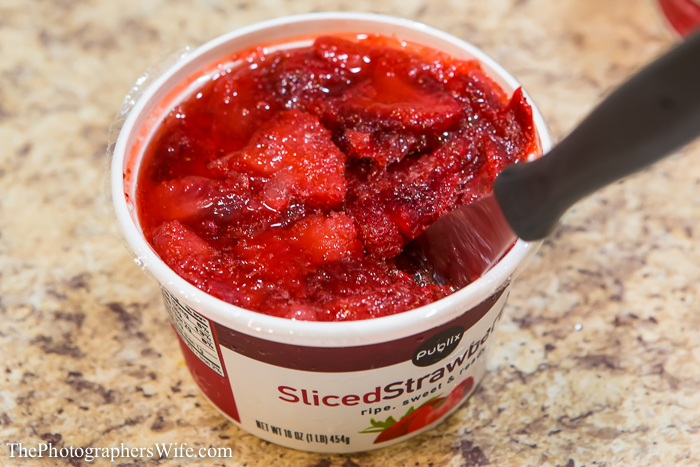
Stir in still frozen strawberries and allow to set briefly.
Strawberry Pretzel Salad-7

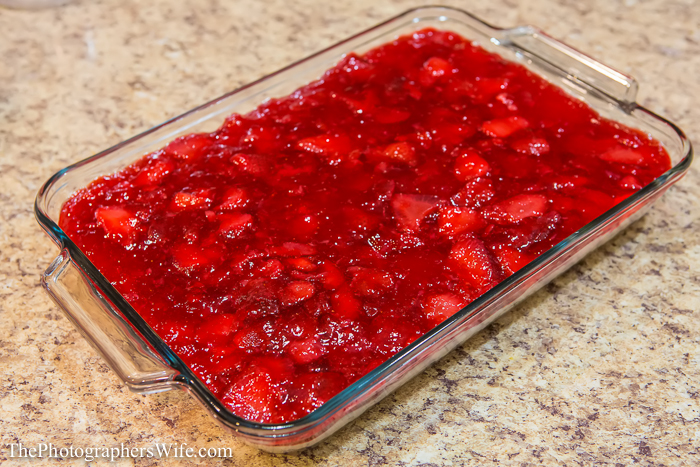
When mixture is about the consistency of egg whites, pour and spread over cream cheese layer. Refrigerate until set.

Strawberry Pretzel Salad-10

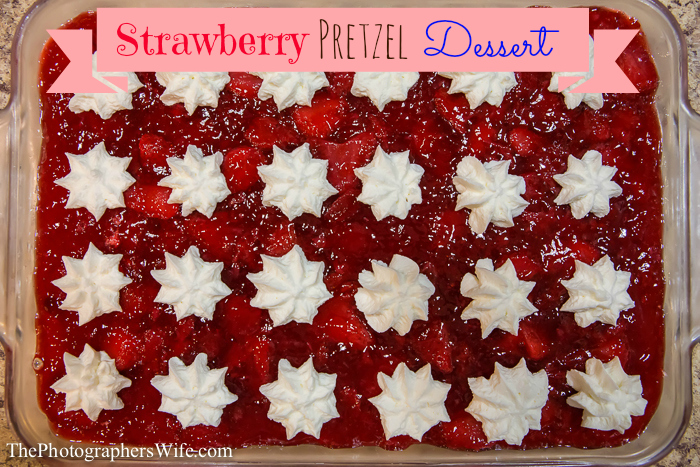
At this point, Brett also made whipped cream, poured it into a piping bag with a cake decorating tip at the end and decorated the top of the dessert. You could also buy a can of whip cream and spray it on top.

We served it alongside additional whipped cream, because you can never have too much whipped cream.

Strawberry Pretzel Salad