Tag Archives: Food

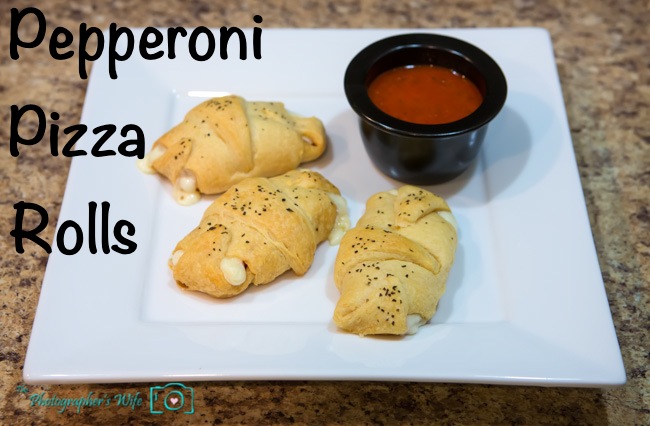
Pepperoni Pizza Rolls

I feel slightly silly posting about such an easy recipe, but that’s probably the best part about it…it’s so quick and simple! And tasty!

Pepperoni Pizza Rolls

Ingredients:

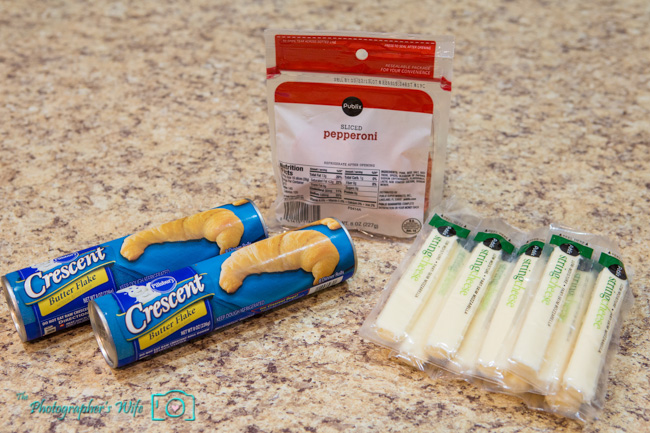
2 tubes Pillsbury Crescent Rolls

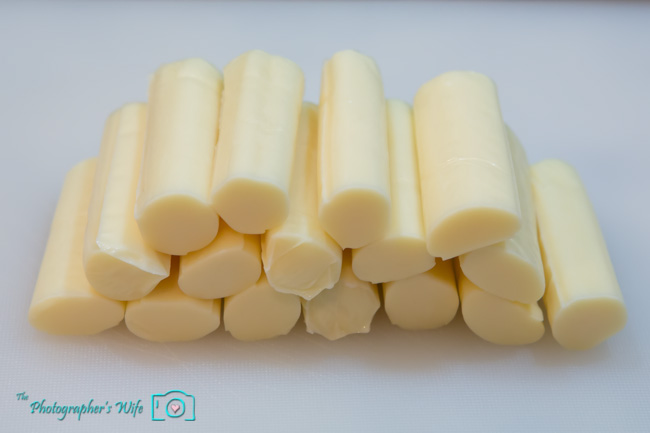
8 String Cheese sticks

Sliced Pepperoni (about 48 slices)

Preheat oven to 375 degrees

Cut the string cheese sticks in half

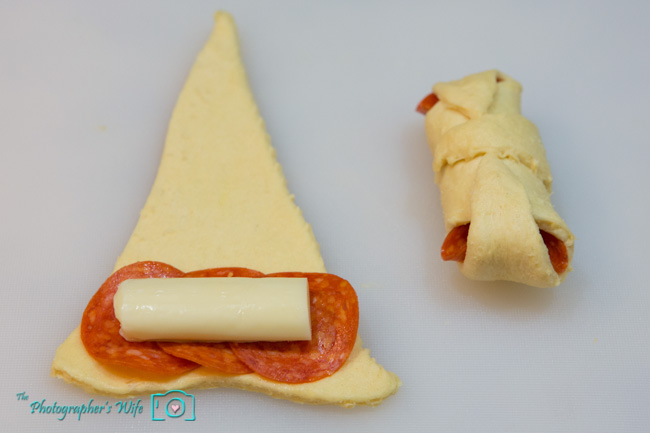
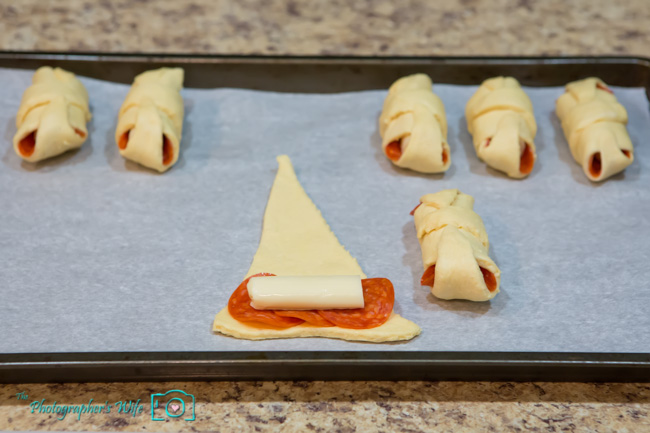
Carefully unroll crescent rolls and separate into triangles

Places 3 pepperoni slices and a half string cheese stick into each triangle

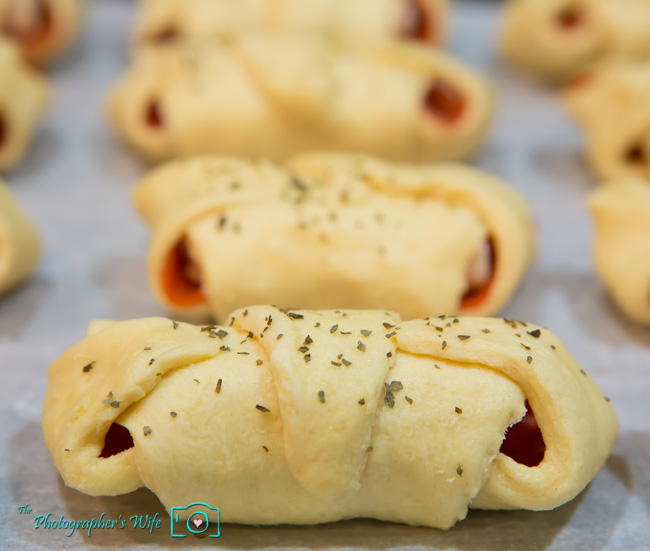
Roll up the crescent rolls and fold the two corners up to hold in the cheese (we don’t waste cheese over here!)

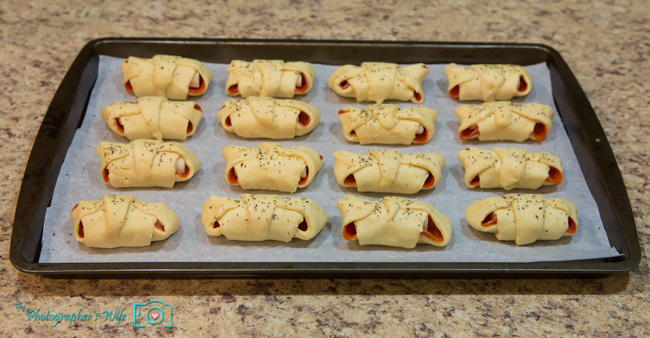
Place on a cookie sheet lined with parchment paper

Sprinkle with basil or Italian seasoning (if desired)

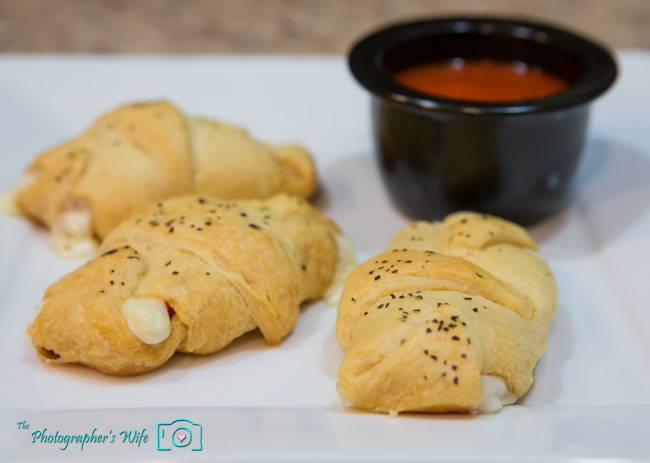
Bake for 12-15 minutes until golden brown

Serve with you favorite pizza sauce and enjoy!


The Photographer’s Wife fans, be sure to:

Subscribe by email | Like us on Facebook | Follow us on Pinterest | Follow us on Twitter


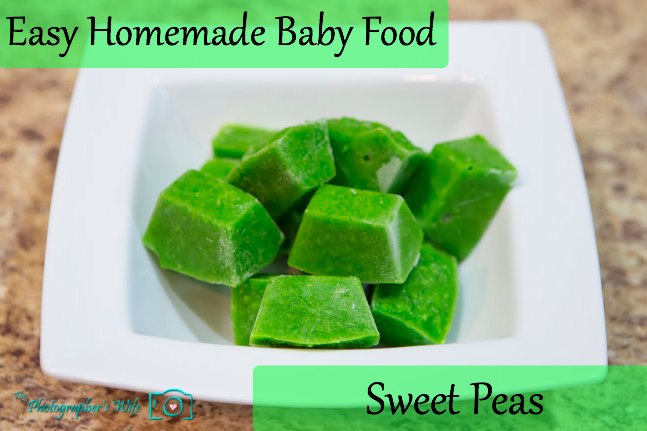
Easy Homemade Baby Food: Sweet Peas

It’s time for Cooking with Trent!


Trent has been a fan of sweet potatoes ever since the first time he had them. The next baby food we made was sweet peas and, well, let’s just say it’s taking a little longer for him to get used to them, so we just try every few days. We already have a picky little eater on our hands!


Source http://wholesomebabyfood.momtastic.com


How to make homemade sweet peas baby food:


Ingredients:

Peas (fresh or frozen) 2 cups (10 oz.)


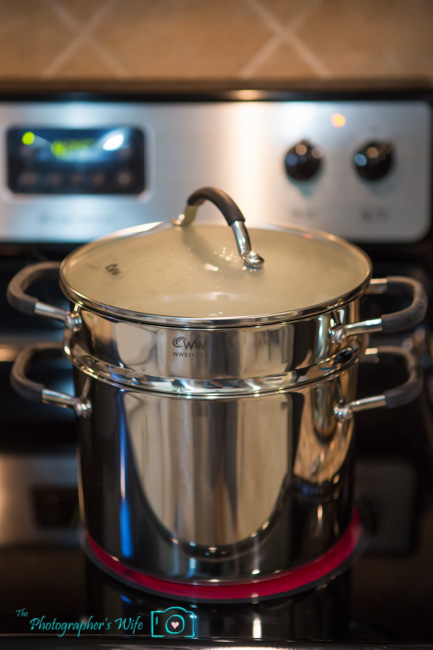
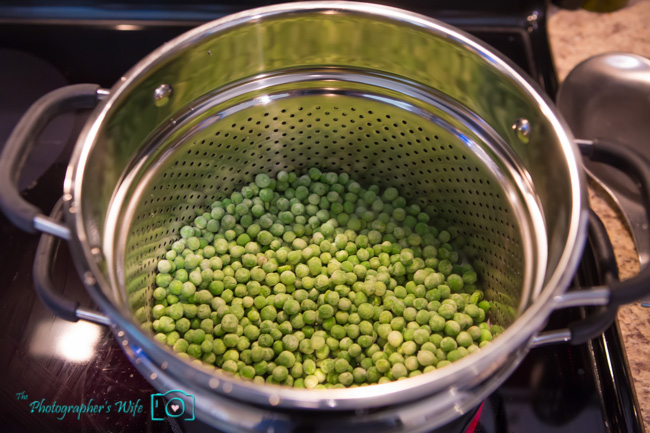
Bring 1 inch of water to a boil in a pot. We used a pot with a steamer basket similar to this one.


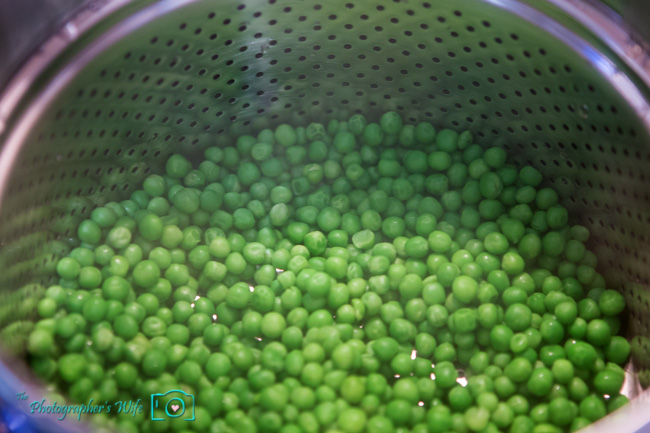
Put peas in a steamer basket, set in pot, cover tightly, and steam until bright green and tender enough to mash easily with a fork (5-7 minutes for fresh or hard frozen peas or 3 minutes for thawed frozen).


Remove basket from pot.

Rinse peas under running cold water to stop the peas from cooking further.

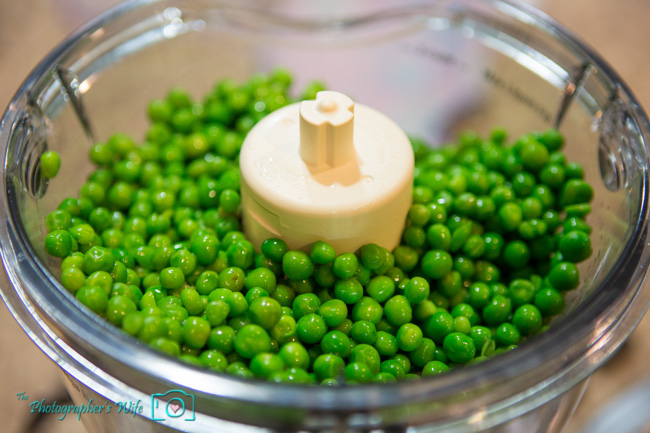
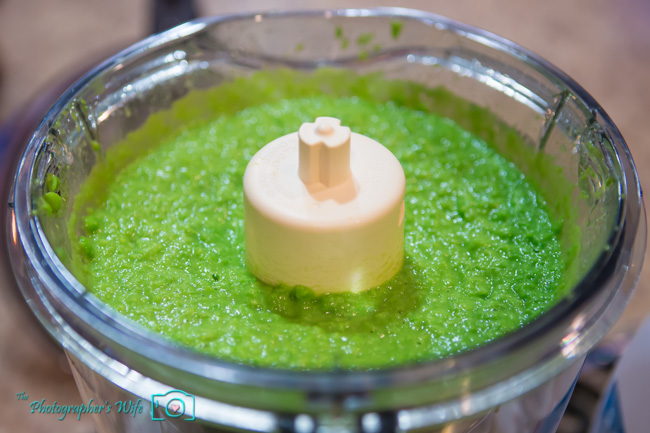
Puree peas in a food processor until smooth. Add baby water, breast milk, formula or the leftover water from cooking the peas to thin the pea puree to a consistency that your baby can handle.


The next steps are exactly the same as the process for sweet potatoes.

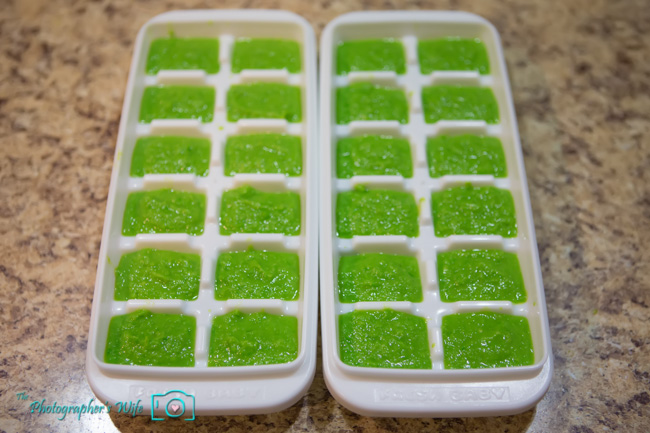
Next, we did 3 things. 1) We left out a small serving to give him once we were finished. 2) We put some in the refrigerator for the next 2-3 days (it is recommended to not use any food in the fridge after 3 days). 3) We divided the rest up into these Fresh Baby Freezer Trays and put them in the freezer.


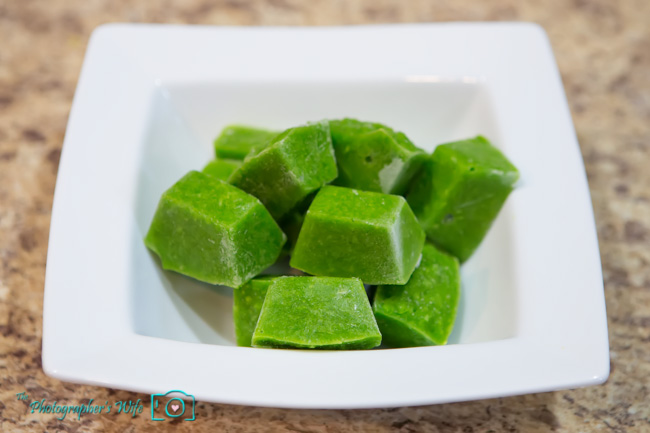
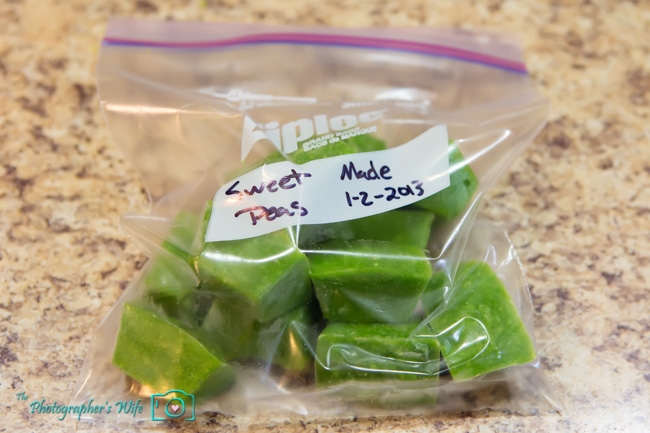
Once the cubes were frozen, we transferred them into a Freezer Ziploc bag and labeled it with the food item and the date it was prepared. Baby food can stay in the freezer up to 3 months! By labeling the bag, you can make multiple bags and know which one to use first.


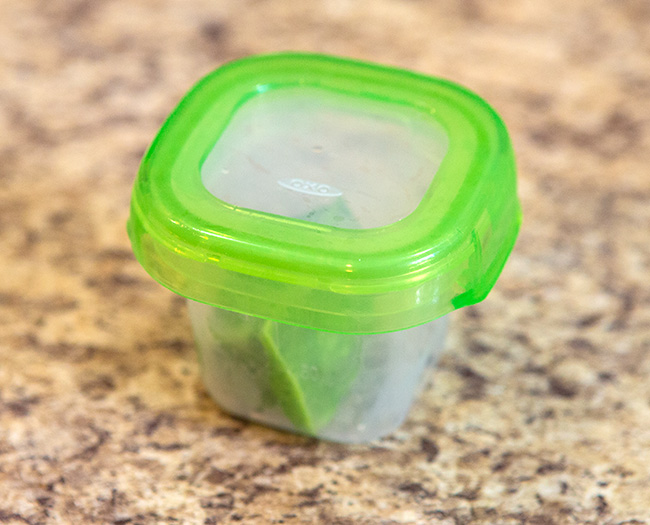
Each night, we just take out how much we want to feed him the next day or two and place each cube into a small container in the fridge to defrost.


After the food is thawed, you can either 1) remove a container from the fridge and let it sit out for 30 minutes prior to meal time to reach room temperature or 2) warm it up using a small saucepan. Trent likes warm baby food, so we actually use our Nuby bottle warmer to warm his food up. It is not recommended to use a microwave since it can cause hot spots that will burn baby’s mouth and can cause loss of nutrients.

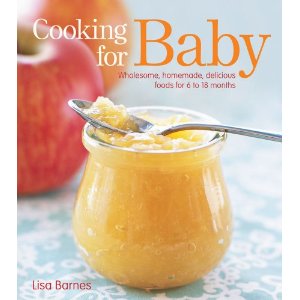
We got this recipe from the following book.

Cooking for Baby


The Photographer’s Wife fans, be sure to:

Subscribe by email | Like us on Facebook | Follow us on Pinterest | Follow us on Twitter


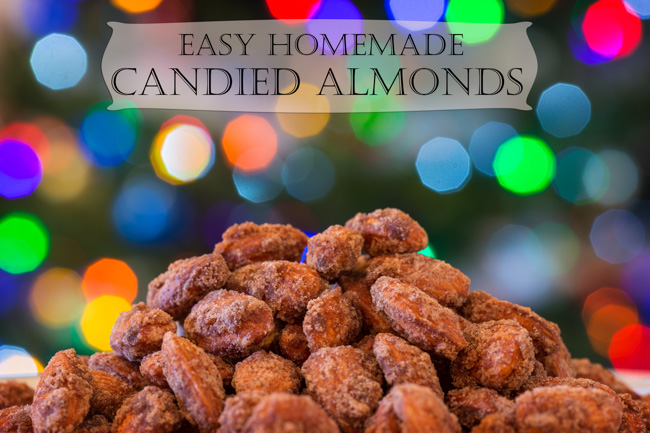
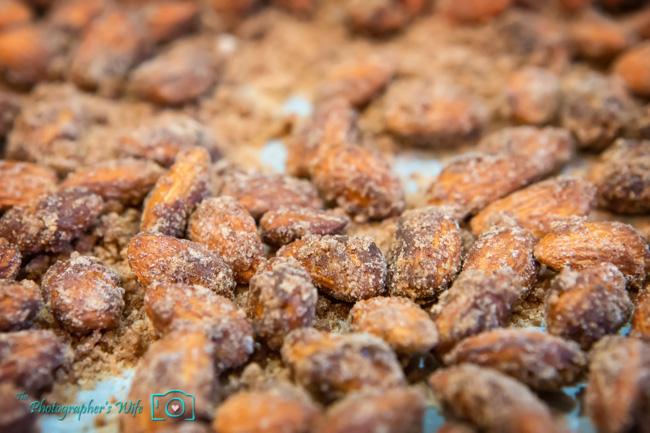
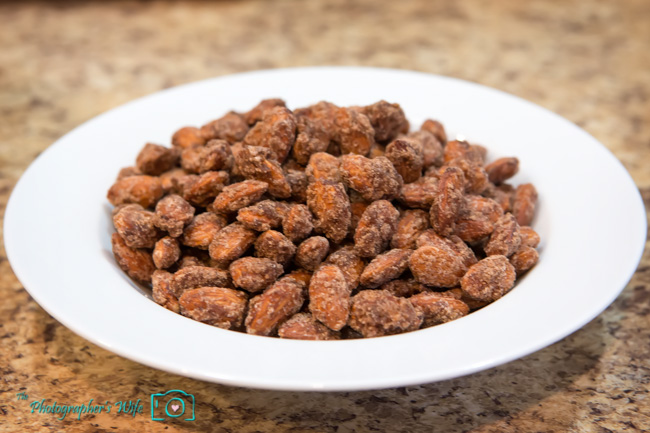
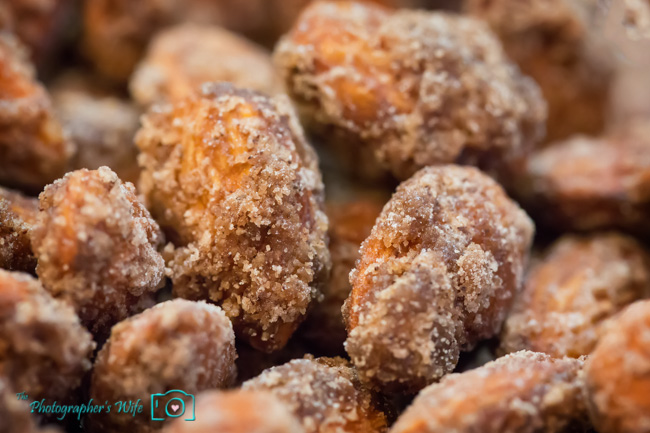
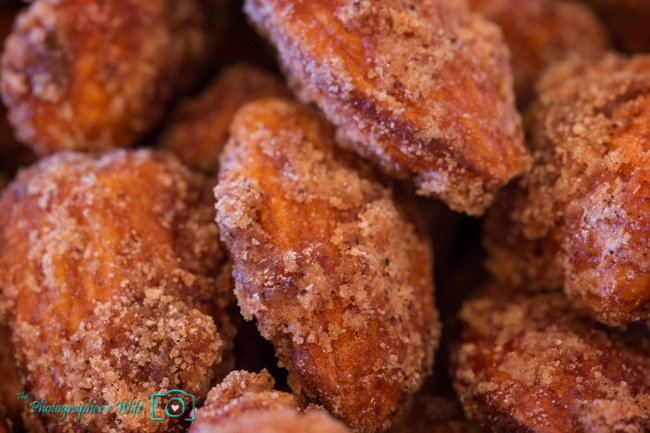
Easy Homemade Candied Almonds

Every time I’m at Disney World, or any theme park or fair for that matter, the aroma of warm candied almonds calls my name. They smell so darn yummy, but it’s difficult to justify the usually high price tag for an obscenely small bag that you typically get…especially when I have to share them with Brett (what’s that about? Get your own snack! haha)

Luckily, Brett suggested we give some candied almonds as Christmas gifts to a few people this year (along with an “adult” gift that I’ll post about soon) and that he would make them!


I was excited because I’m the official taste-tester. Yes, it’s official. I have a badge.


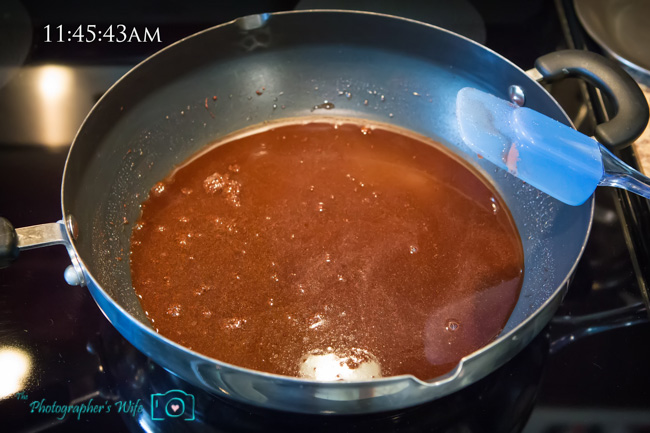
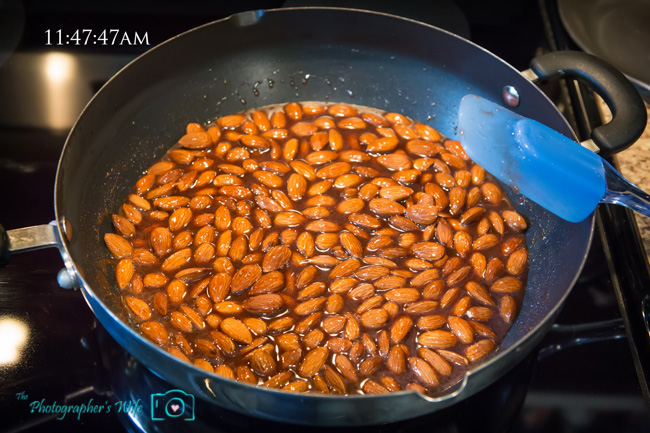
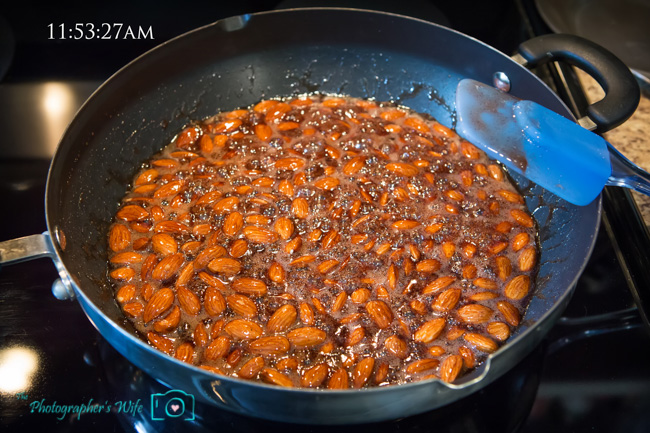
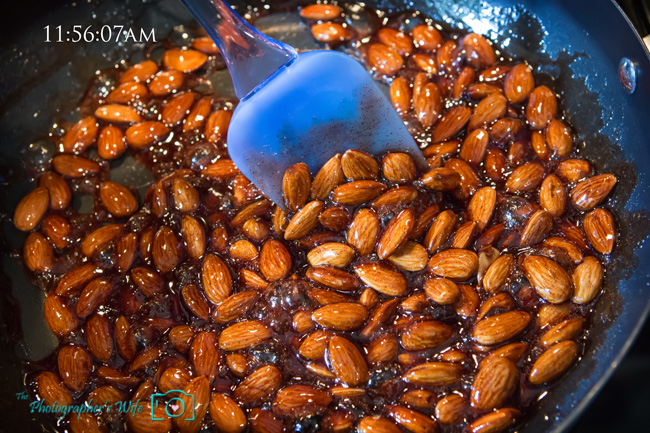
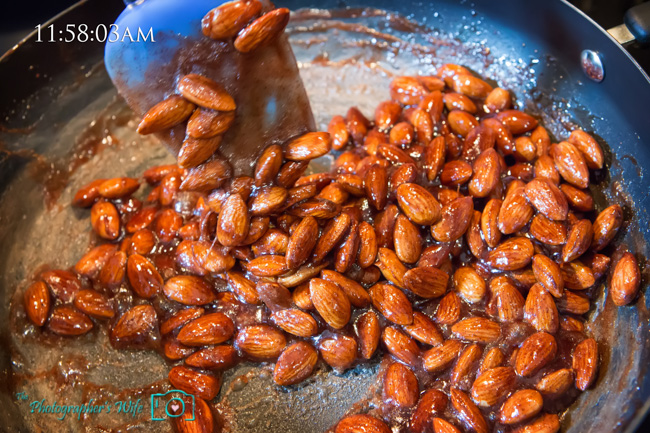
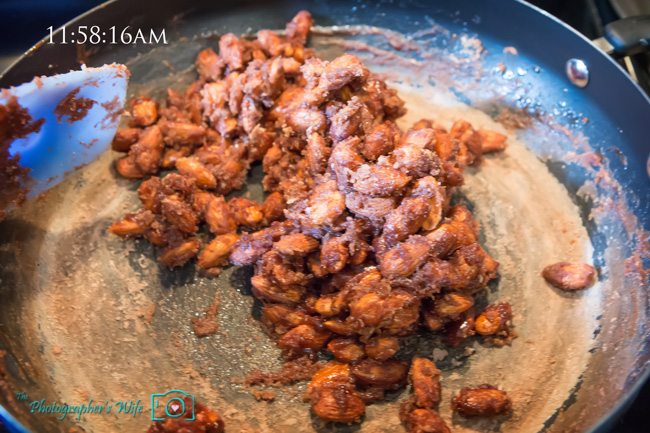
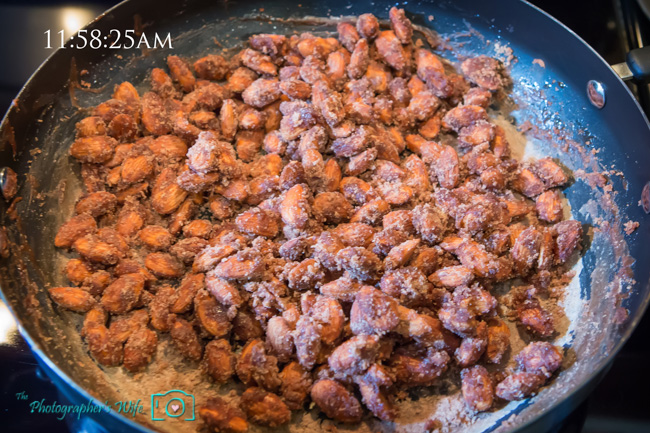
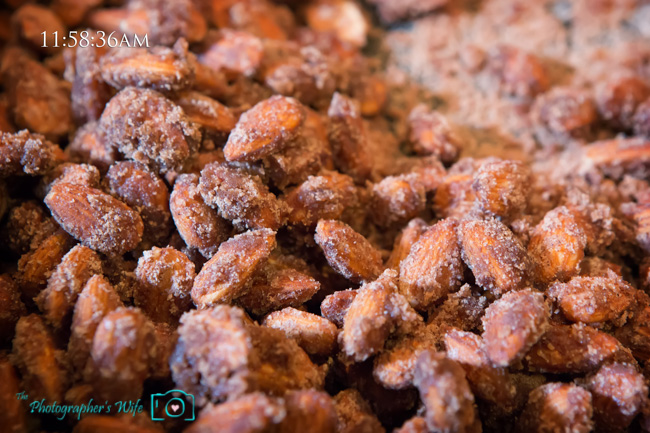
I was surprised at how easy these were to make (for him - they were even easier for me since I didn’t have to do anything!) and with such a small list of ingredients. We put the times of each photo in the upper left corner so you could see just how fast the entire process took.


Easy Homemade Candied Almonds

Ingredients:
2 cups whole raw almonds
1/2 cup water
1 cup white sugar
1 tbsp vanilla
1 tbsp ground cinnamon


1. Place a piece of parchment paper on a cookie sheet to place the almonds on after cooking (you will not have time to do this later).


2. Combine everything but the almonds in a large saucepan or frying pan and heat over med-high heat until it starts to boil.


3. Add almonds and reduce heat to medium.


4. Constantly scrape and stir from this point on (I used a silicone spoon for no sticking).


5. Continue to stir and scrape while the mixture thickens.


6. Once the water evaporates, the crystallization will happen really fast, about 30-45 seconds (check the camera times on the photos).


7. Continue to stir and flip until dry (it only takes a few seconds). If mixture is still sticky, it’s not done.


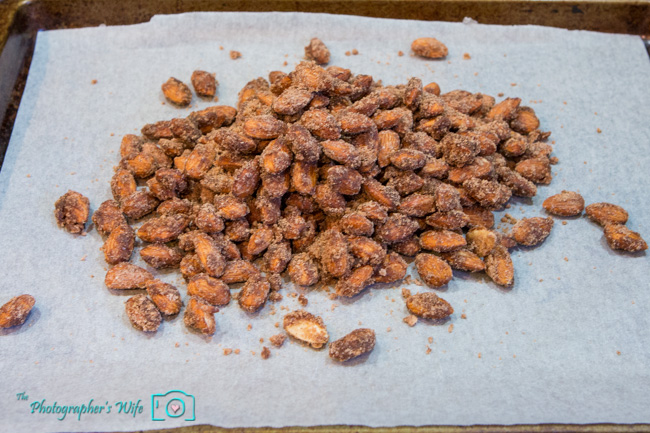
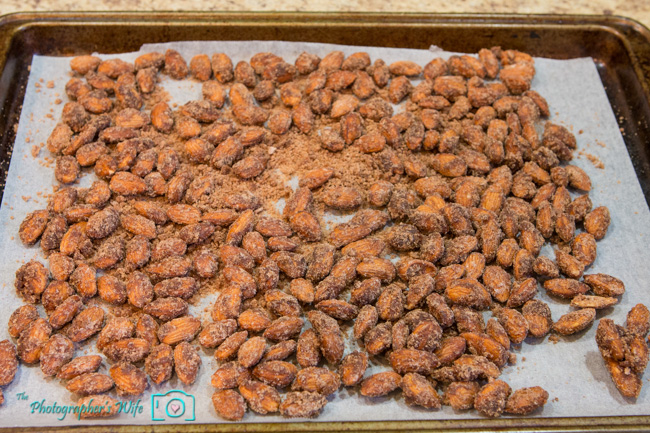
8. Pour onto parchment paper and spread out to cool.


Since these were for Christmas gifts, it was difficult to resist scooping them up and eating them while they were cooling on on the counter. I may have had a couple…or 3…or 4. But who’s counting?


Once they cooled, we put them into small baggies and tied a nice bow and tag around them. You could also put them in little tins.

Luckily for me, Brett bought a big bag from Costco and there’s a lot left so I see some more of these in my near future! Yum!


The Photographer’s Wife fans, be sure to:

Subscribe to our posts | Like us on Facebook | Follow us on Twitter


Do you enjoy reading The Photographer’s Wife? I hope you do! If so, please consider clicking each of the banners below to vote for me as a Top Mommy Blog and Top Baby Blog! All you have to do is click…nothing to sign up for…and you can click once every 24 hours!

Thank you!

Top Mommy Blogs - Mom Blog Directory

Unreal Unjunked Candy Review


Brett and I got the opportunity to try out a new brand of candy called Unreal.

The Unreal premise is this:

Our candies contain no artificial flavors, preservatives or hormones; no GMO’s (genetically modified organisms); no hydrogenated oils; and no corn syrup. Instead, we use real sugar, natural oils, and real milk. Also, you don’t need to travel to a fancy health food store or pay a premium to buy our candy, it’s only available where junk food is available. Our candies are 100% corn-free. No corn syrup, no corn oil, no corn in anything we make!

Is UNREAL™ a “healthy” candy?

We don’t consider candy to be “healthy” for you. It’s a delicious treat that we love. What we’ve done is give people a better choice, so that when they go looking for candy, they have the option to avoid the junk.


I was definitely a little hesitant, not to try it, but to accept the reasoning behind it. I’ve always had the mindset that if you are going to “be bad” you might as well have the real thing and enjoy the heck out of it. I can certainly understand wanting to enjoy something without any ingredients that are considered bad in order to maintain a healthy lifestyle. However, you will often find me sticking a spoon straight into the peanut butter jar and eating it in front of the pantry…I’ll even sprinkle some chocolate chips on top if I have them.

Excuse me for a second while I go throw my scale away.

Ok, I’m back. Time to try something a little healthier.


We decided to try 3 varieties:

Chocolate Peanut Butter Cups
Candy Coated Chocolates with Peanuts
Chocolate Caramel Peanut Nougat Bar


Chocolate Peanut Butter Cups
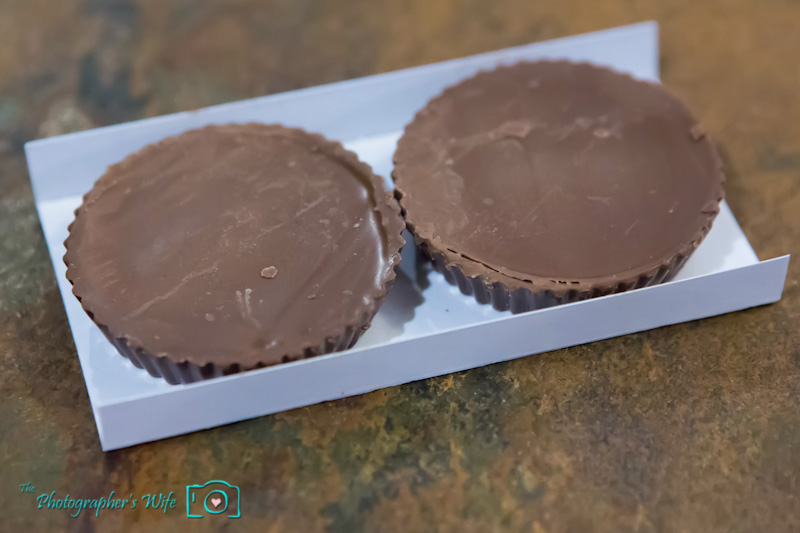
These are similar to Reese’s peanut butter cups.

These were probably my favorite. Although I could definitely tell a difference between these and my usual favorite, Reese’s peanut butter cups, I still enjoyed them very much. You don’t get much better than peanut butter and chocolate merged together in yummy goodness.


Candy Coated Chocolate with Peanuts
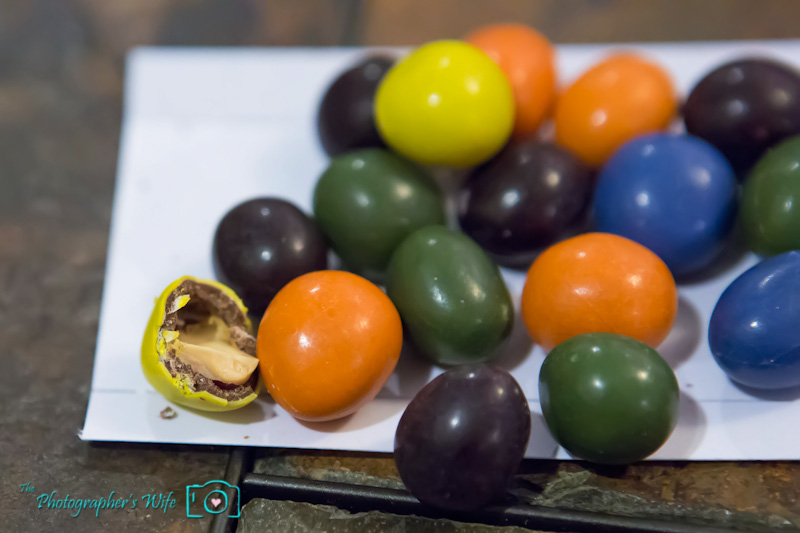
 

These are similar to Peanut M&Ms.
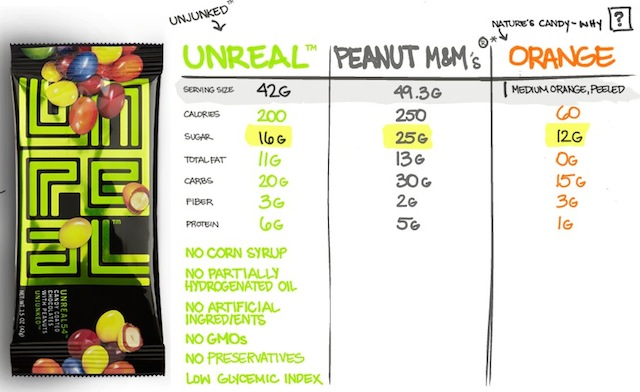


These were my second favorite. The only difference I could notice was that the peanut tasted a little more roasted than a typical M&M peanut.


Chocolate Caramel Peanut Nougat Bar
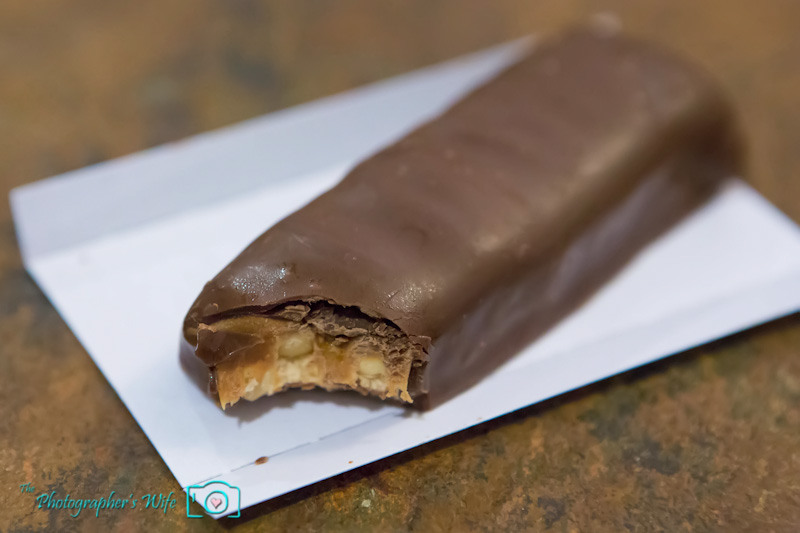
 

This is similar to a Snickers bar.


This was my least favorite, mostly because it tasted furthest away from the real thing. It still tasted good, but I would have opted for the other two varieties over this one.

Obviously, I am a chocolate and peanut butter-aholic, so I didn’t really expect to have a negative opinion on these treats. If I were standing in the store wanting to purchase something chocolatey, I would still opt for the Reese’s, Snickers or M&Ms. However, these would be good options for those that don’t want to consume “junk” ingredients.

I got my Unreal candy at CVS. To find out where to get your Unreal candy, or to find out more about Unreal candy, go to http://getunreal.com/.


Disclaimer: I received this product for free as part of BzzAgent campaign in return for my honest, hype-free opinion. All opinions are my own and I was not compensated in any other way.


Do you enjoy reading The Photographer’s Wife? I hope you do! If so, please consider clicking each of the banners below to vote for me as a Top Mommy Blog and Top Baby Blog! All you have to do is click…nothing to sign up for…and you can click once every 24 hours!

Thank you!

 

Top Mommy Blogs - Mom Blog Directory


Tuna Burgers

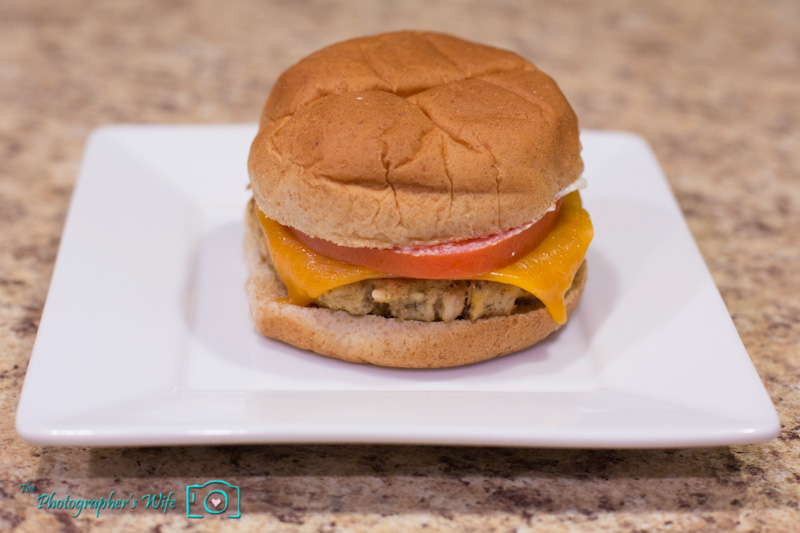
Here is a super easy recipe for tuna burgers. Add a side like fries or veggies and you have a quick and delicious meal!

Serves 4


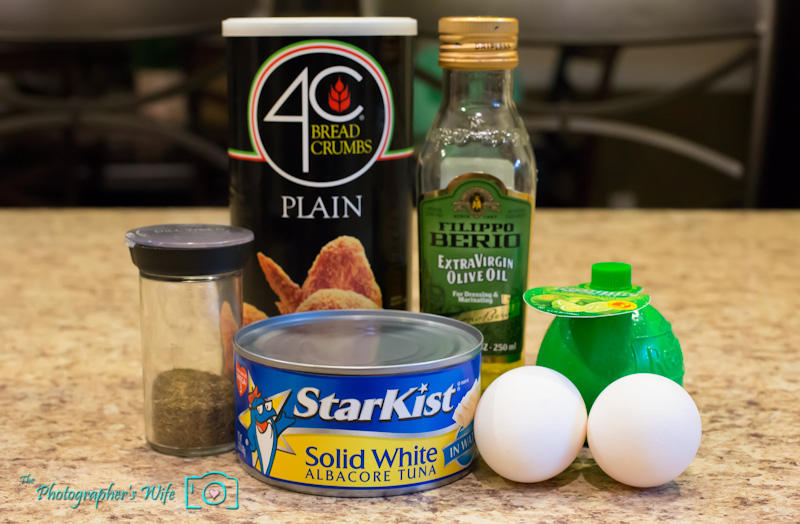
- 1 large can of tuna or 2 regular cans of tuna (in water)*
- 2 large eggs
- 2 tablespoons lime (or lemon) juice
- 1 heaping teaspoon dill
- plain breadcrumbs
- olive oil (for browning)

*Note - I have found that the higher the quality of tuna, the better the burger. Our favorite so far has been when we used 2 cans of the “Prime Filet” tuna.

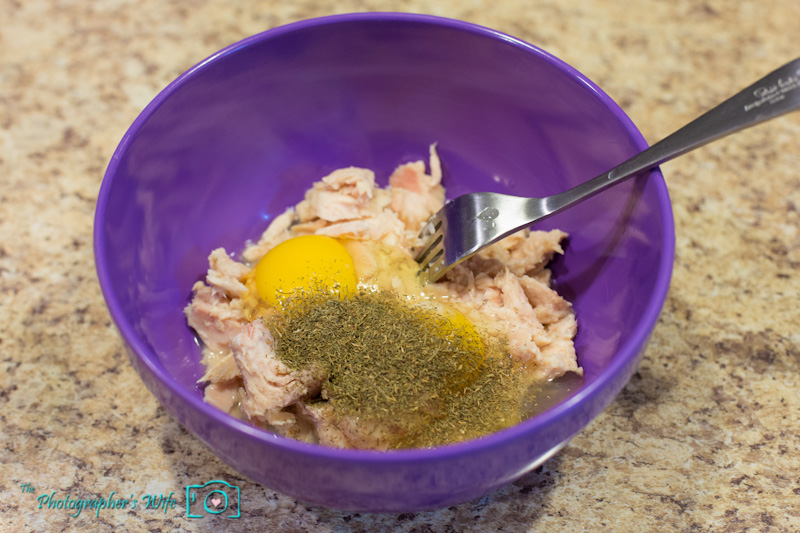
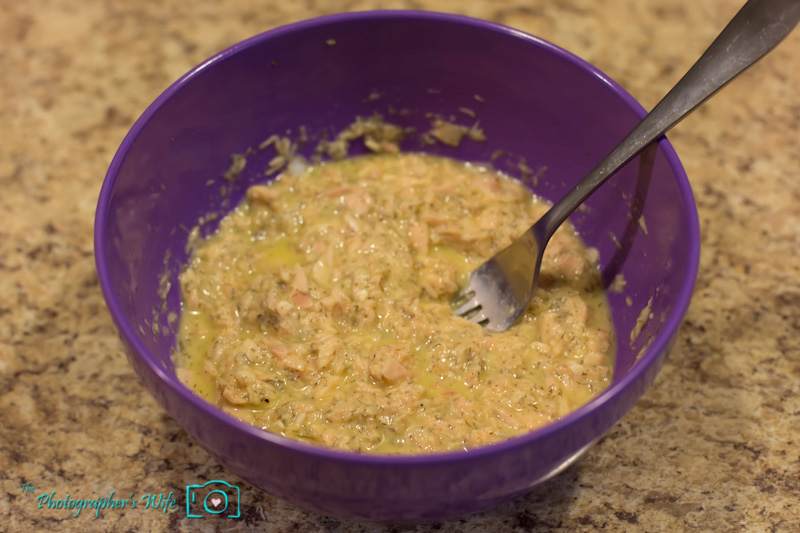
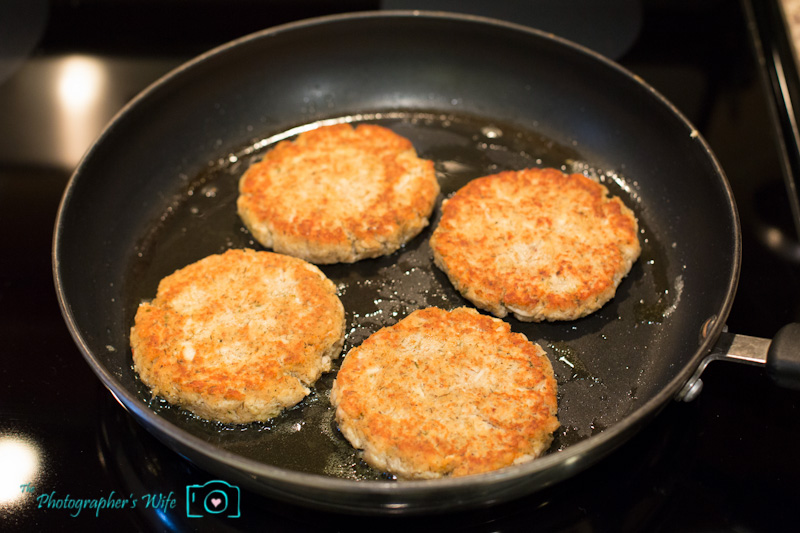
1) Combine the first 4 ingredients in a mixing bowl


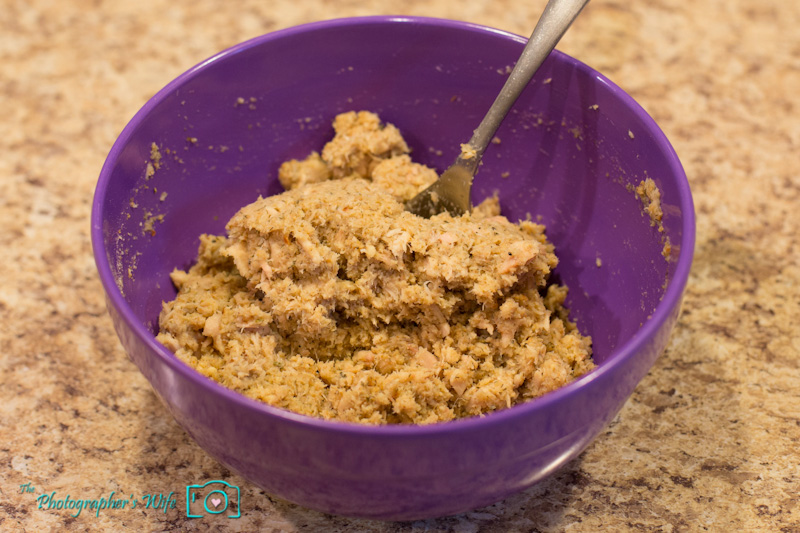
2) Add and mix in breadcrumbs until mixture becomes dry


3) Divide into 4 equal parts

4) Flatten patties to about 3/4 inch thick (like a standard hamburger patty)


5) Heat olive oil in frying pan over medium heat


6) Transfer patties to frying pan and brown until crisp on both sides


7) Add your favorite burger toppings and enjoy!