School may be out, but learning doesn’t have to be. With summer in full swing, most kids have lost sight of schoolwork and are enjoying their days off outside of the classroom. For the perfect way to beat the heat and indulge in some screen time, introduce your kids to something new with Netflix - whether it’s a documentary about dinosaurs or the moon, you can keep your little ones’ brains active all summer long!
Even though Trent doesn’t have a summer break and we continue learning all year, we still like that Netflix offers shows that promote learning that are still fun and he enjoys. Some of our favorite shows for him come from PBS and are available on Netflix!
Here are some other ideas for your little ones to keep up the learning during the summer!
1. The Great Mouse Detective
2. Busytown Mysteries
3. LeapFrog: Math Adventures to the Moon
4. Turtle: The Incredible Journey
5. The Magic School Bus
Let’s not forget about the older kids, here’s some ideas for them too!
1. Lewis & Clark: The Journey Out West
2. Walking with Dinosaurs
3. Secret Yellowstone
4. The Blue Planet
5. When We Left Earth: The NASA Missions
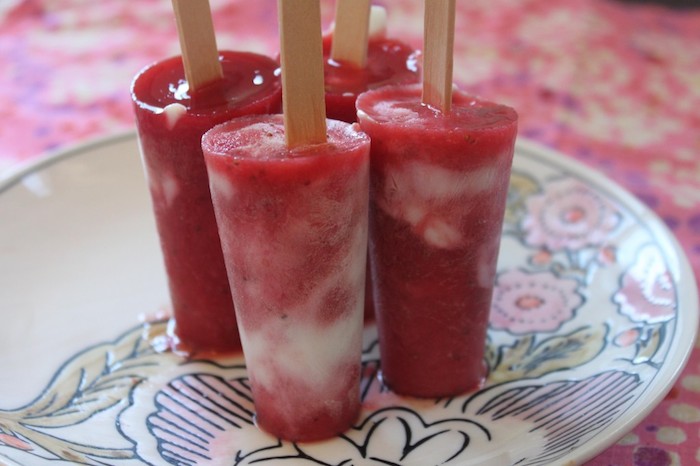
Another fun way to continue the learning fun during the summer are with crafts and recipes that you and your little one can make together. For a cool & tasty treat, try making these Strawberry-Yogurt Swirl Popsicles together!
Don’t those look so refreshing and delicious?!
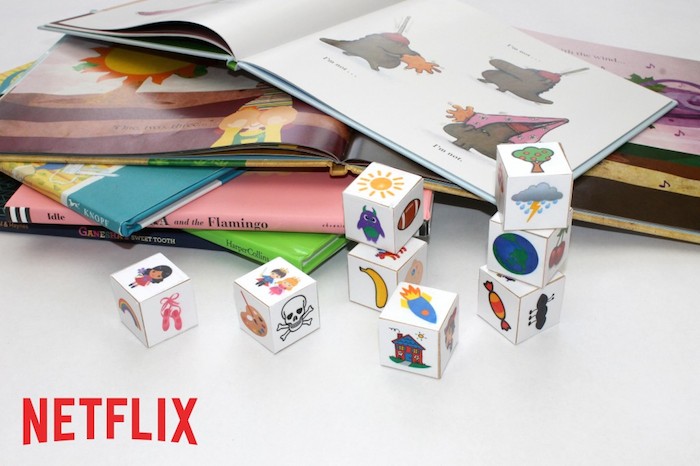
You can enjoy those while creating these Story Starter Cubes and coming up with fun stories together! Your kids will have fun coming up with their own imaginative stories just like the shows and movies they see!
This post was written by me as part of my membership in the Netflix Stream Team. All opinions are my own and honest. Thanks for reading!
Not like you need me to tell you, but it’s hot here in Florida during the summer. Then, multiply that by 10 for being pregnant in Florida during the summer and it’s no surprise that I drink a lot of water. Our entire family does. Brett likes to use those flavor pouches in his water and I like to water down Trent’s juice so that he gets flavor without all the sugar (in between the cups of water and milk that he drinks).
We’ve joked before how nice it would be to have a water dispenser unit in the house, that way we know we are getting clean, delicious water without using the hard water that is prominent in the tap water here in Florida. But those are only used in office buildings for lawyers and doctors, right?
Wrong!
In fact, why shouldn’t a family get to enjoy and benefit from clean, purified water without using a bunch of plastic bottles that are bad for the environment?
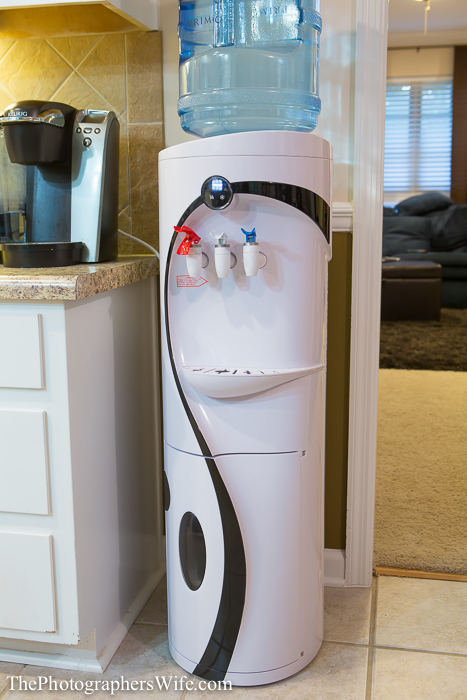
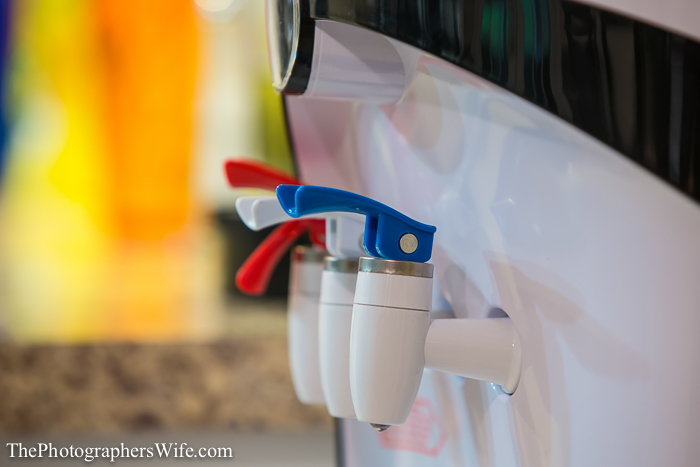
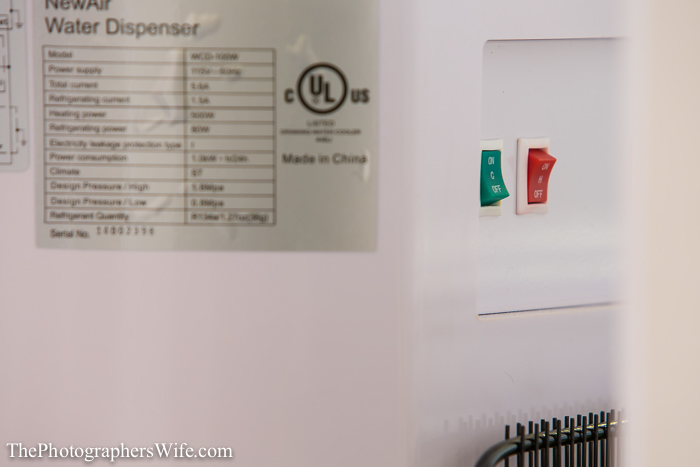
We have had the NewAir WCD-100W Water Dispenser in our home for almost a month and we have benefited so much from it.
Designed to work with 2-gallon, 3-gallon or 5-gallon bottles of drinking water, you are sure to never run short again, when it comes to water. This unit does not require a long installation process, simply place the unit on a flat surface away from direct sunlight and plug it in. This is an ideal solution for instant hot beverages in the morning and cold drinks in the afternoon.
I was glad that we had the perfect little convenient spot for it in between the dining room and kitchen.
One concern I had when first getting this was “How expensive are the bottles of water?â€
So Brett headed out to the stores to see where he could get them from. Sure, we could sign up for a service, and that is definitely something convenient we will look into (I’m a big fan of being lazy and having things delivered to my door!), but right away, we wanted to know our options. Lo and behold, the large bottles of drinking water are available at many retailers, including Home Depot, Lowe’s, and Walmart. We chose to get a 5-gallon jug, which costs $12 up front, but $6 is a deposit, which you just keep translating that into your next purchase…essentially making each 5-gallon jug just $6. That’s a pretty decent price for all of that water and much easier than buying and going through a bunch of bottles. I bet we can find it even cheaper if we searched more.
Setup
Setup was simple. Out of the box, it is recommended that you set the unit upright for 30 minutes, just in case of any unsettling by being shipped on its side. Insert the jug of water on top, plug the unit in and then run the valves according to the instructions to flush out any potential dust in the unit. After just a small wait before the hot and cold temperatures are reached, you are ready to enjoy!
Also note, I’ve seen some videos out there of people putting their water jugs in the unit and making a big mess. This is because they took off the cap that comes on new jugs. Proper installation will leave no water spills…promise!
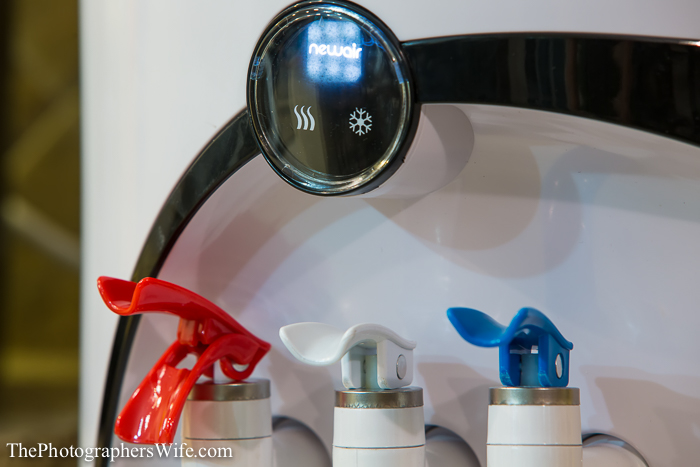
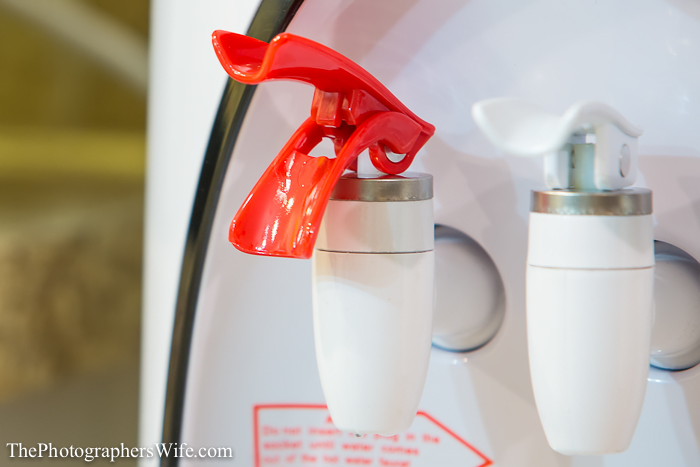
Speaking of temperatures, this unit has 3 temperature options: normal, cold and hot. Which led me to my second concern…â€We have a toddler. Will he burn himself with the hot water?â€
The hot water valve has an extra level of safeguarding compared to the normal and cold valves. You have to squeeze the two levers together and then press down at the same time, which while isn’t difficult for an older child or adult, most would say is a little tough for a younger toddler to do on purpose. You can’t just accidentally pour hot water; it is a deliberate movement that I, as a parent, definitely appreciate.
I also wondered if my toddler, in one of his curious discoveries, would have fun pouring water all over the place by pressing down the other valves. However, so far other than putting some toys in the drip tray while Brett was setting it up, he hasn’t touched the unit. He watches us get our water and that’s it.
In the month we’ve been using it, we are are now on our third 5 gallon jug. We have used the cold water constantly and it tastes delicious. I feel like we drink even more water than before because it tastes good and I don’t want to waste it once I pour it into my cup. Even Trent drinks more water!
The hot water has so many uses. I use it to make oatmeal, hot cocoa, and tea. Instead of using the microwave, I just pour some hot water into my oatmeal and let it sit for a moment, stir in my other ingredients and then enjoy. I can bet that we will be using much more of the hot water function in the Fall and Winter (mmm hot apple cider).
Some other things I like about the NewAir Water Dispenser:
-Drip tray: to catch spills
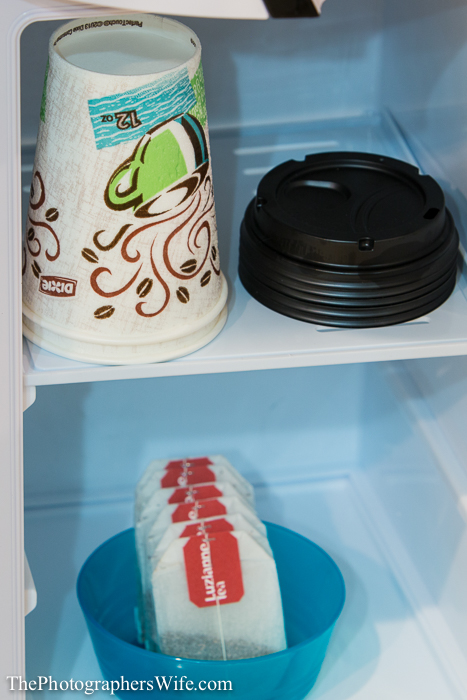
-Small compartment at the bottom: can be used to store a number of things, such as cups, stirrers, oatmeal, cocoa, tea, sugar, etc.
-Hands-free pour: I like that I don’t have to hold down the cold or normal valve when dispensing the water into a cup. I can place my cup underneath the valve on the drip tray, push down on the valve, let my cup fill up and then pull up on the valve when done.
-Sophisticated design: It looks nice in our home!
The best part is that we are getting good quality water without negatively impacting the environment (or our wallets). The NewAir WCD-100 is a great investment for any home or office and as a mom, it’s definitely a good way to get your entire family to drink more water!
Here’s a short video I made showcasing the NewAir WCD-100W:
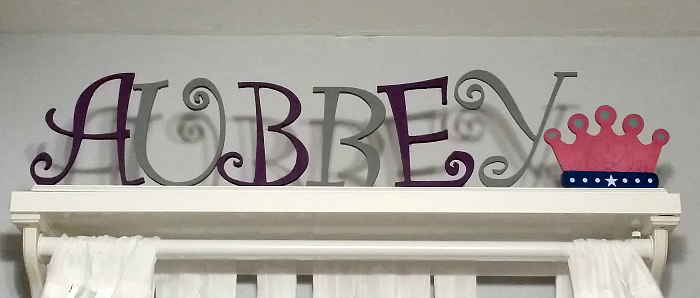
I’ve been waiting to finish a craft for the nursery in order to make our little girl’s name announcement. Our nursery is finished for the most part, but we are waiting for the baby shower for the last few things to put in there and then we will share some photos, of course! But, I did finish her name over the crib, and since I’m about 36 weeks along, it’s about time I share her name with you…
And along with that fun announcement, I also want to share our maternity photos we took while in Disney in May (Trip report will be starting next week!!). We kind of almost forgot about doing them, but were lucky enough to snag an early reservation at Crystal Palace in the Magic Kingdom in order for us to enter the park early and get some empty park photos in front of the castle.
This session was much different than the ones we took when I was pregnant with Trent. This time, we had a crazy toddler running around and it was super humid already….at 8am!! We quickly took what we could and then ran for the wonderful air-conditioning in the Crystal Palace. I am glad we got some photos, since I’ve been really bad about taking progress photos this time around!
Brett wasn’t really expecting to get into any of the photos, but a security guard cast member kept insisting she take a photo of all of us. At first, we thought she was just being nice like most cast members, but then we had wondered if she was trying to determine whether Brett was actually part of the family, or if I was paying him to take my professional photos…which isn’t technically allowed. So…here is our one family maternity photo with a bunch of people in the background and Brett wearing a backwards baseball hat. Oh, and Trent looking the other way. I guess I’ll take what I can get.
This next photo wasn’t meant to be artistic or anything, we just said to hell with it and let Trent run while we took some more photos. Notice that he’s looking at us…he wants us to chase him. I think it captures the moment perfectly, crazy toddler running around and mommy ignoring him because she’s tired of running after him.
It’s Monday morning and you’re so tired, all you can throw together for breakfast is a bowl of cereal. While I myself am obsessed with cereal, maybe you want to try something a little different for yourself or your family. Here are two breakfast recipe ideas from Hormel: one that’s quick (perfect for weekdays) and one that’ll take a little longer (perfect for weekends). Enjoy!
Ham and Egg Heart Toast
Serving Size: 2
Total Time: Under 15 minutes
Preparation Time: Under 15 minutes
Preparation Method: Stove-Top
Level of Difficulty: Beginner
Ingredients
2 teaspoons butter, divided
6 slices HORMEL® NATURAL CHOICE® Honey Ham
2 large eggs
4 slices bread, toasted and buttered
In medium skillet, melt 1 teaspoon butter over medium heat. Add ham; cook 2 to
3 minutes or until ham is warmed. Remove from skillet. Cover; keep warm.
In same skillet, melt remaining 1 teaspoon butter over medium heat. Carefully
crack eggs into pan. Cook 3 minutes or until whites are set or cooked as desired.
Cut heart shapes from 2 slices toast. Place 3 ham slices on remaining 2 slices toast. Top with eggs. Cover with heart cut-out toast slices.
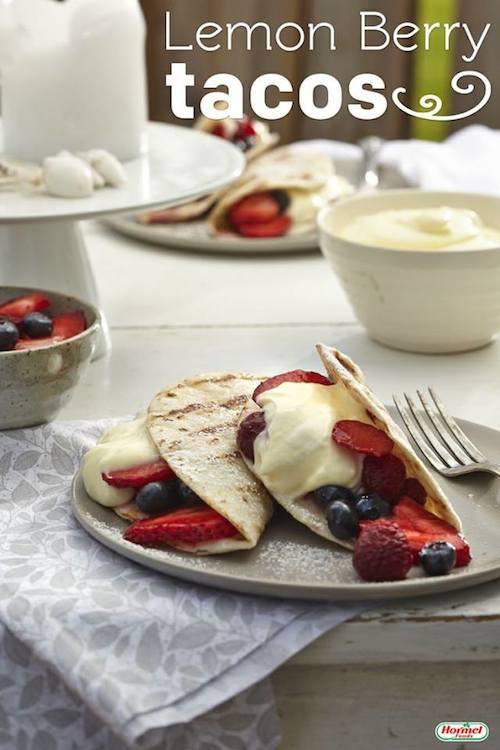
Lemon Berry Tacos
Serving Size: 8
Total Time: More than 1 hour
Preparation Time: 1 Hour
Preparation Method: Grill
Level of Difficulty: Intermediate
Ingredients
2 large eggs
1/4 cup lemon juice
1/3 cup plus 2 tablespoons granulated sugar, divided
1/3 cup butter, cut into cubes
1/2 cup whipping cream
8 CHI-CHI’S® Soft Taco Size Flour Tortillas
2 tablespoons butter, melted
2 cups mixed berries (such as raspberries, sliced strawberries and blueberries)
Powdered sugar
To make lemon curd cream, in medium bowl, whisk together eggs, lemon juice and 1/3 cup granulated sugar. Place bowl over saucepan of simmering water. Add cubed butter to bowl, a little at a time and stirring between additions, until incorporated. Stir 10 minutes or until thickened. Remove from heat. Transfer to cold bowl. Refrigerate 2 to 3 hours or until completely cold.
In small bowl, whip cream until stiff peaks form. Fold cream into curd mixture.
To make tacos, grease grill grate. Prepare grill for medium heat. Brush tortillas
with melted butter; sprinkle with remaining 2 tablespoons granulated sugar. Grill 2 minutes on each side or until grill marks appear. Carefully fold tortillas in half while still warm. Let stand until cool.
Fill tortillas with berries and lemon curd cream. Dust with powdered sugar.
Ever since I was diagnosed with gestational diabetes, I have been paying so much attention to the foods I eat. I look at ingredients in everything and have really been shocked with some of the things I was eating on a regular basis. And while I sometimes can’t resist some of my cravings (hey, I AM pregnant, after all!) it really has opened my eyes, not only to the things I consume, but also what Trent eats…especially when it comes to his snacks, since that’s all he seems to eat is snacks!
Did you know:
On average, Americans who snack do it twice a day.
42 percent of Americans feel they could commit to having one healthy snack every day.
42 percent of snackers are most likely to have an unhealthy snack between 2:00 pm and 5:00 pm.
41 percent of snackers are most likely to have an unhealthy snack on Saturdays.
43 percent of Americans have treated themselves to an unhealthy snack as a reward for an accomplishment.
23 percent have hidden their snacks from others so they wouldn’t have to share.
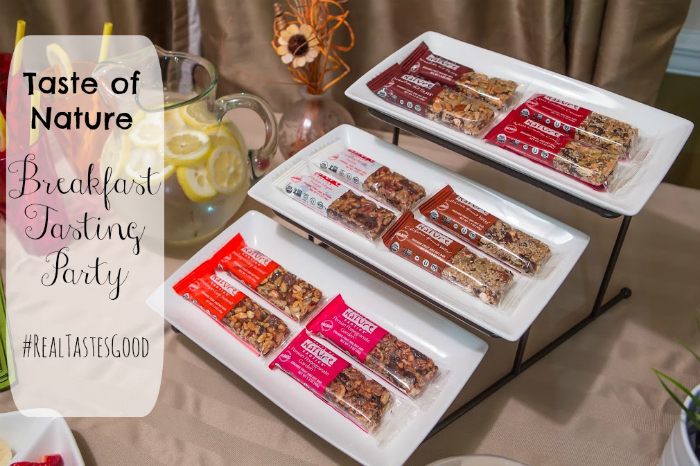
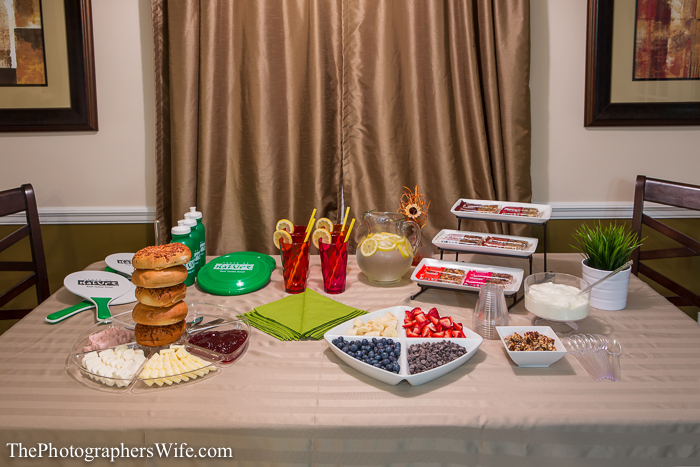
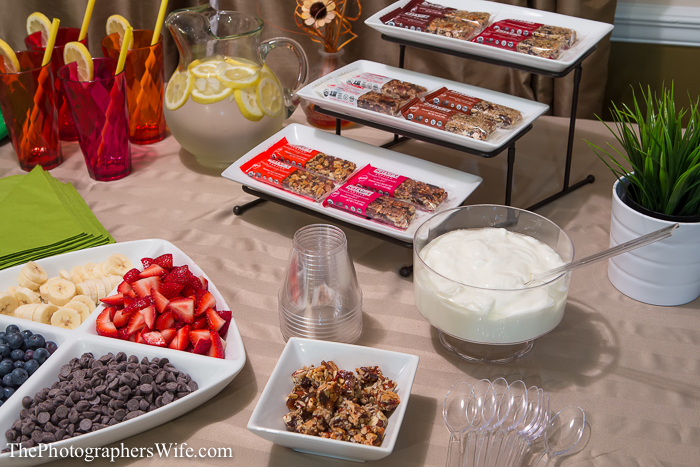
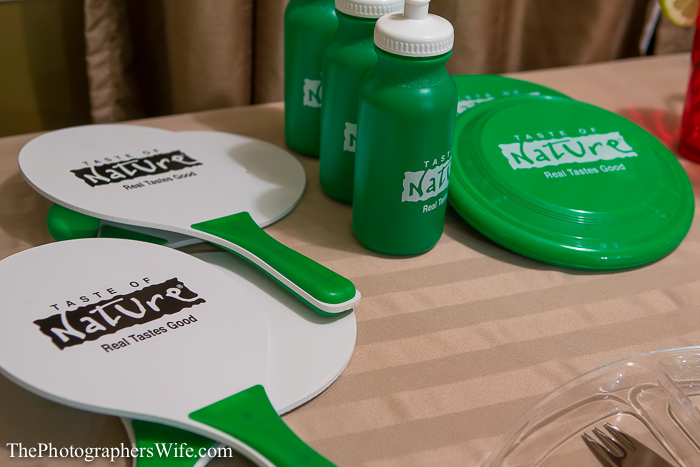
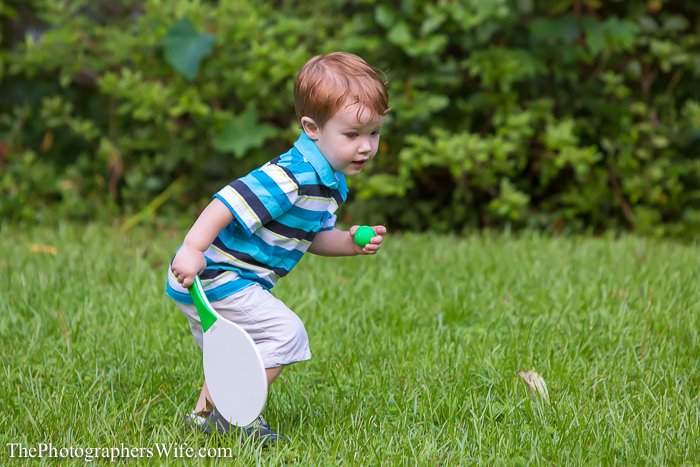
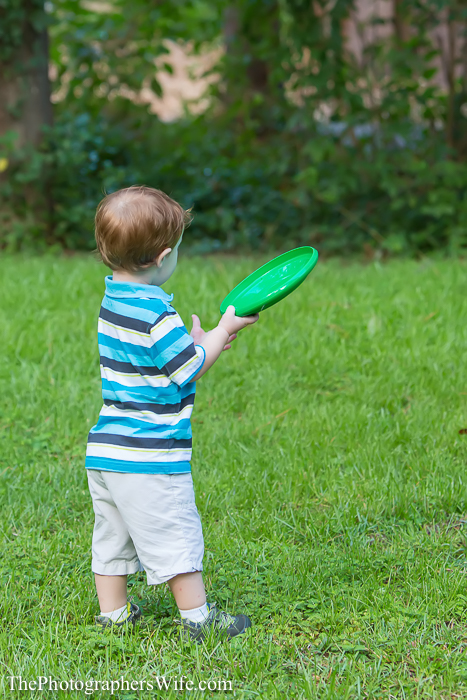
During the Summer, pool parties and gatherings with friends are a regular occurrence. The days are long & hot, but full of fun and energy. To fuel up for our fun-filled day outside, we started the day will a deliciously healthy breakfast tasting party, with Taste of Nature bars as the star of the show!
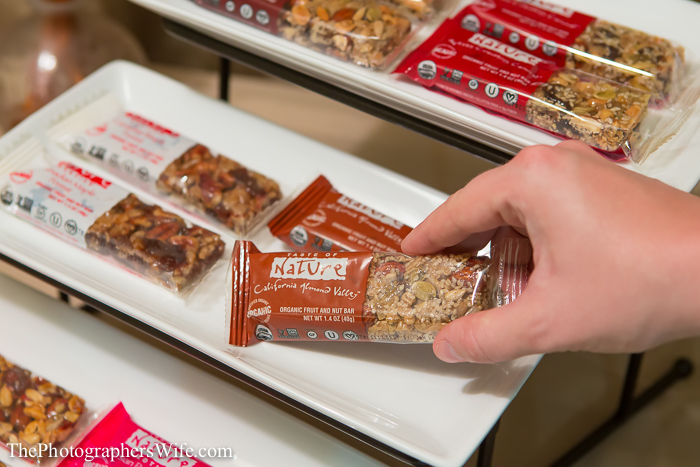
Taste of Nature believes Real Tastes Good, and creates delicious, certified organic, gluten-free certified, non-gmo project verified snack bars with real, nuts, fruits and grains that you can see (and under 200 calories, too). Nothing artificial, no fillers and no chemicals – what you see is what you get with these bars. For more information, visit tasteofnature.ca.
Benefits of Taste of Nature bars:
Certified Organic
Non-GMO
Certified Vegan
Certified Kosher
Gluten Free
Low glycemic index
No additives
No artificial flavours
No artificial sweeteners
No animal products
No dairy
No preservatives
No simple sugars
No Sulphur Dioxide
No cholesterol
No wheat
Low sodium
How amazing is that list of benefits?!
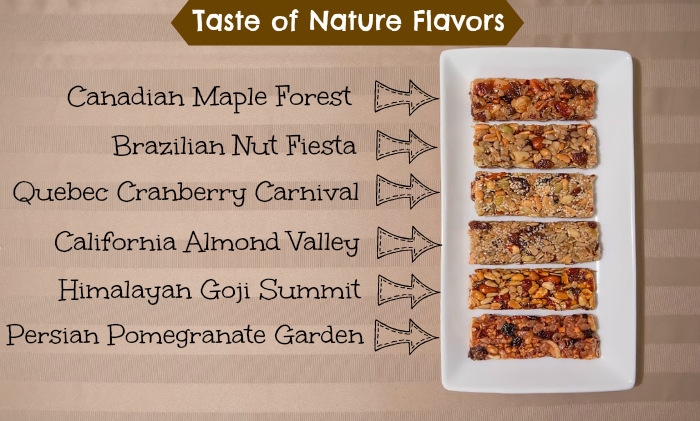
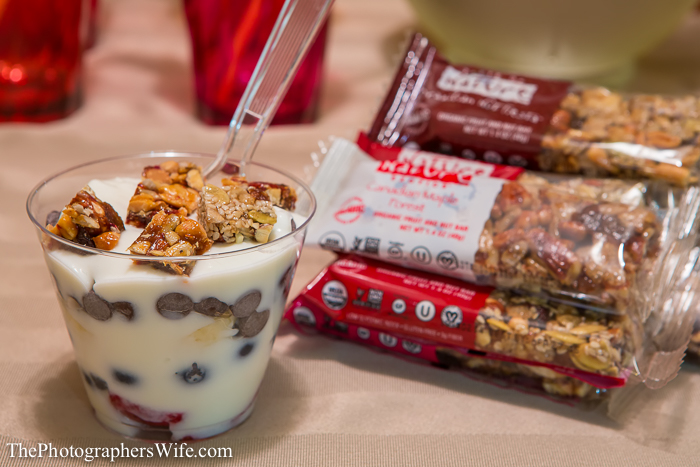
We had 5 flavors to try:
Canadian Maple Forest: pecans, apricots, brazil nuts, raisins, maple syrup
Persian Pomegranate Garden: cashews, walnuts, figs, cranberries, apples, pomegranate, raspberries
Just look at those bars! You can see what they are made of…the fruits, nuts and seeds are all prominent in every bar so you know exactly what you’re eating. Yum.
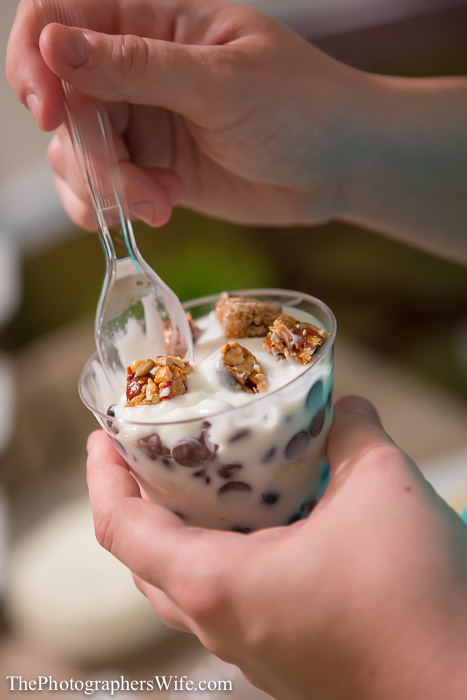
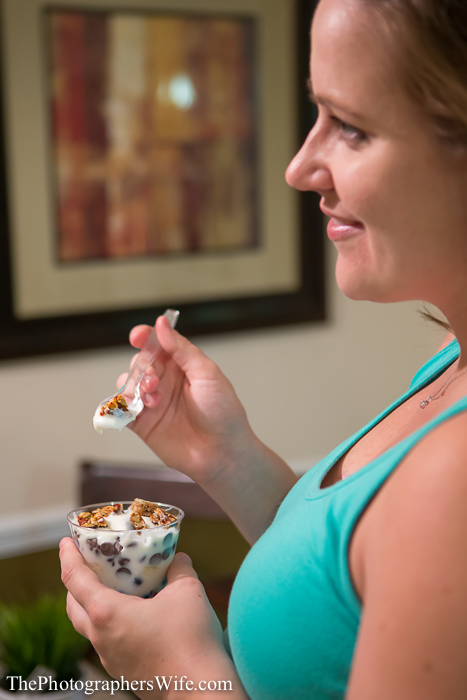
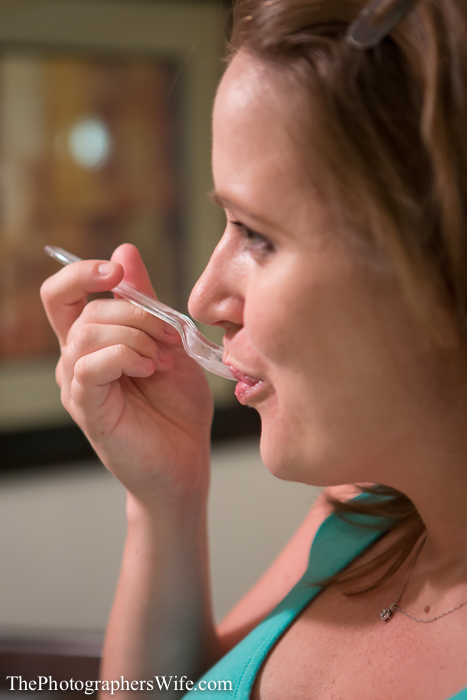
This was also my first time tasting Taste of Nature bars and not only did I think they were delicious, but so did everyone else! Everyone liked being able to try different varieties to see what they liked best. Guests were able to take an entire bar to enjoy, but I also set up a yogurt parfait bar!
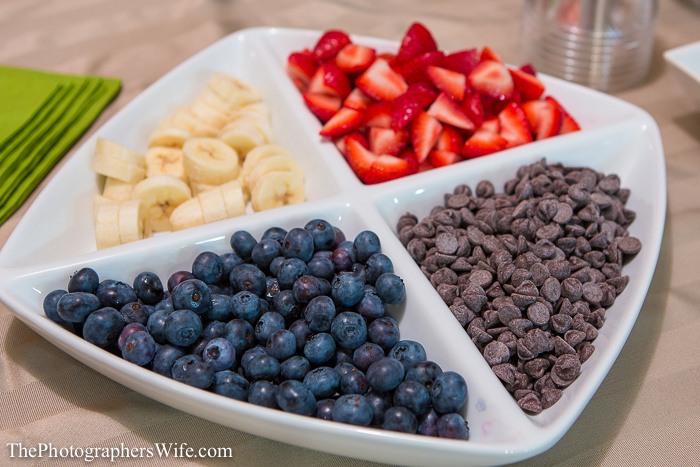
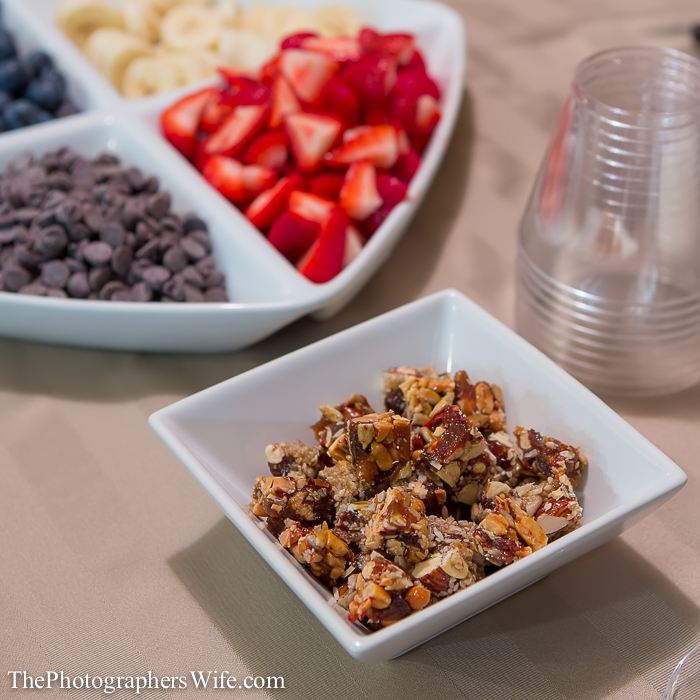
I chopped up the Taste of Nature bars into little bite-sized pieces as a yummy topping for the yogurt, blueberries, strawberries, bananas and chocolate chips.
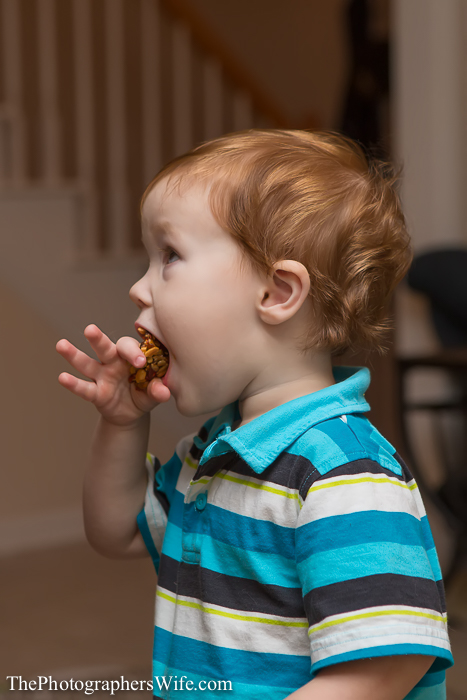
Even our picky little Trent found a favorite…we didn’t expect him to devour a Taste of Nature bar the way he did and as you can see he looked very hesitant at first…
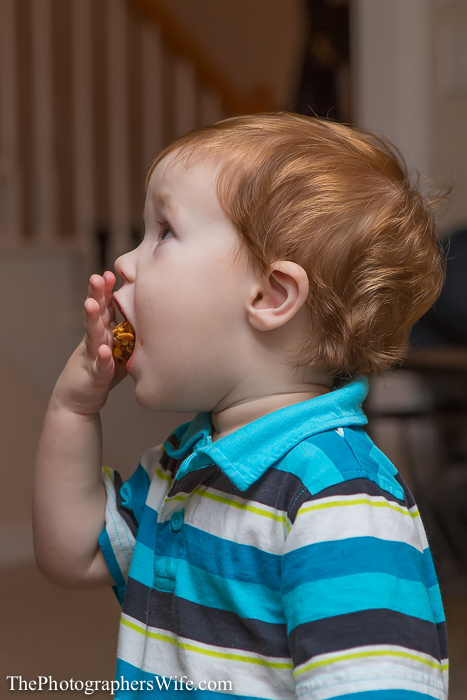
…but then he ran off and ate the entire thing! You know it’s tasty when Trent approves!
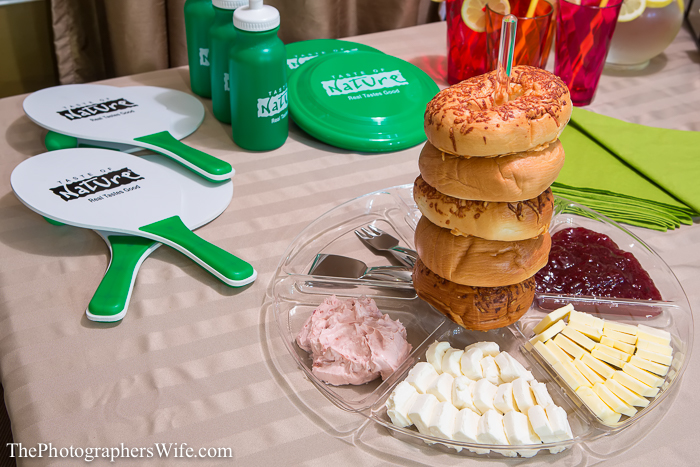
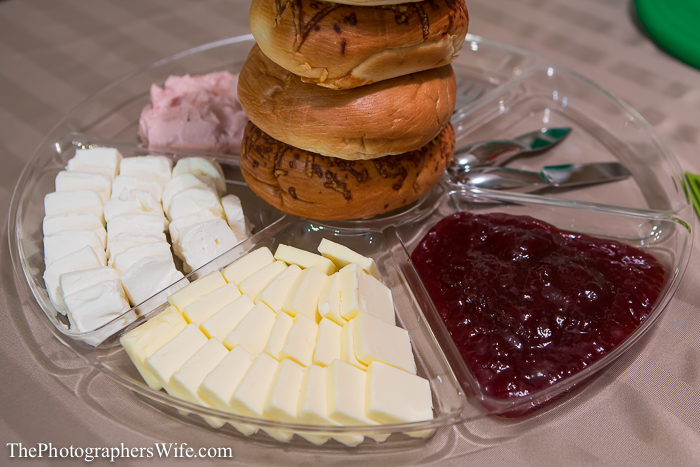
For those that needed a little extra for their breakfast, a bagel bar!
I was especially happy to invite a friend over that maintains a gluten-free diet. It felt good to have her be able to enjoy something and taste new options without worrying about gluten. She proclaimed the ones she tried were chewy, tasty and filling!
At just $1.99 a bar, they are an affordable, healthy & tasty snacking option!
I’m a slow-mover these days, so it was nice to sit and relax with friends to enjoy some tasty and healthy treats before playing outside all day!
Where to buy Taste of Nature: http://www.tasteofnature.ca/where-to-buy/
For those of you in Tallahassee, you can get Taste of Nature Bars at New Leaf Market Co-op!
 The Photographer's Wife Parenting, Disney, Travel, Reviews & Other Randomness
 Here are some other ideas for your little ones to keep up the learning during the summer!
 1. The Great Mouse Detective