Food

Baby & Toddler Snack: Pineapple Cream Cheese Finger Sandwiches

Remember this?

Cooking with Trent

I love that photo…and it makes me want cake ;)

Today, I’m sharing a quick snack idea for your toddler or baby that has started eating solid food…Pineapple Cream Cheese Finger Sandwiches. It’s a sweet and creamy snack that is really easy for them to chew on. Whether they are just learning how to pick up food and feed themselves or they are pros at it already, the sandwich pieces are easy for them to grab and eat.

And with 3 ingredients and no cooking involved….well, that’s my kind of recipe!


Pineapple Cream Cheese Finger Sandwiches
Pineapple Cream Cheese Sandwich-1

Ingredients:

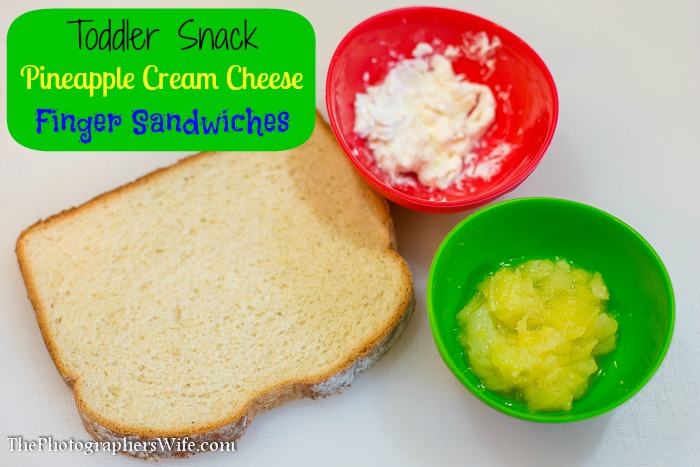
1 slice of bread (or 2 for a big snack!) - we chose a slice of oatmeal bread, it is a larger, thicker type of bread, but really soft and easy to chew

Equal parts:

Drained, crushed pineapple

Cream Cheese


I didn’t put amounts by the pineapple and cream cheese because those will vary based on if you make a full sandwich or half sandwich…and also if you want more or less mixture on your sandwich. We used about 1/4 cup of each to make enough mixture for a few sandwiches.

For a half sandwich, cut the one slice of bread in half.

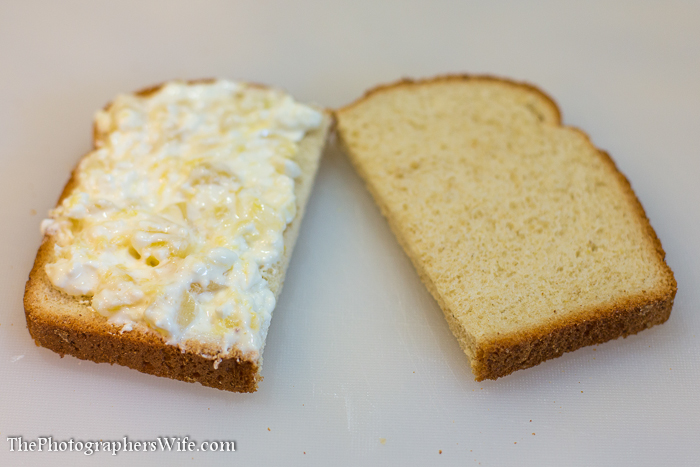
Mix together the pineapple and cream cheese, then spread it on the slice of bread.
Pineapple Cream Cheese Sandwich-2

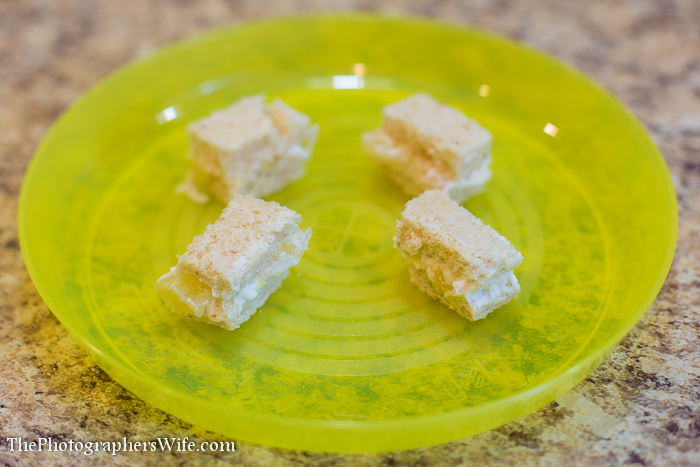
Place the other piece of bread on top and then cut it up into little bite-sized pieces.
Pineapple Cream Cheese Sandwich-3

Serve it to your little one to enjoy!

Pineapple Cream Cheese Sandwich-4

YUM!

Pineapple Cream Cheese Sandwich-5

Another great thing about this snack is that you can make several snacks from only buying 1 container each of the pineapple and cream cheese and only using what you need for each sandwich.

Pineapple Cream Cheese Sandwich-6


If you are looking for more baby and toddler meal and snack ideas, we have been using and recommend the following two books for ideas!

Cooking for Baby
Cooking for Baby


The Best Homemade Baby Food on the Planet


And if you have to get a little sneaky with a picky eater, we just started making recipes from this book that has lots of good ideas:

Deceptively Delicious

Amazon.com_ Deceptively Delicious eBook_ Jessica Seinfeld_ Kindle Store
xoxo
Lynn

Like us on Facebook | Follow on Pinterest | Subscribe on YouTube | Follow on Instagram
 

Herb and Garlic Tuna Wraps

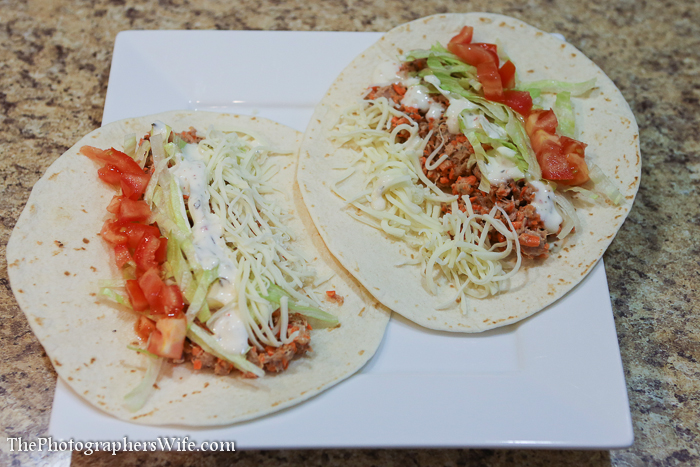
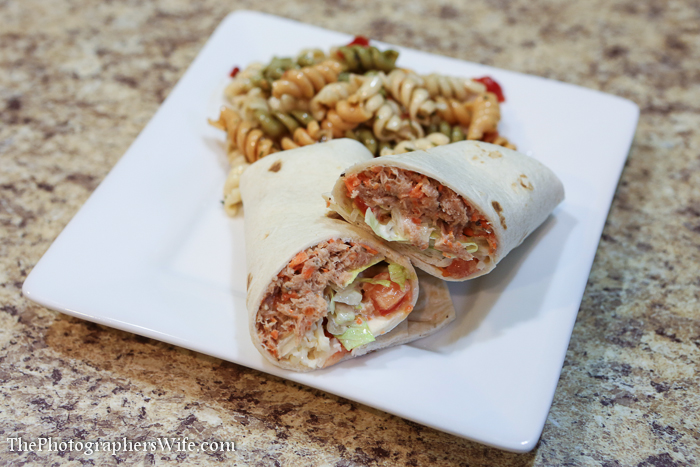
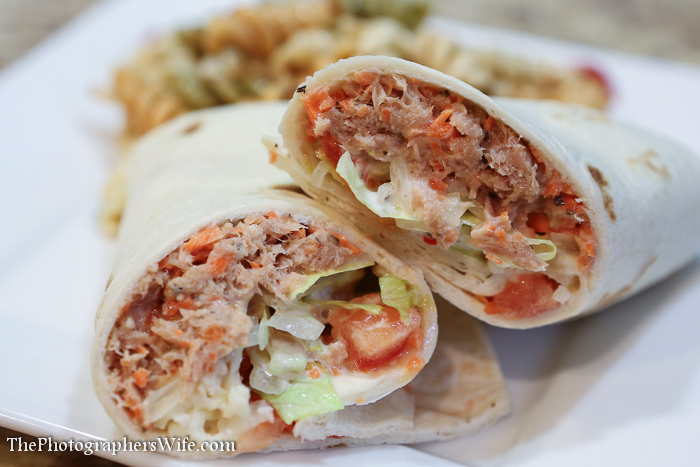
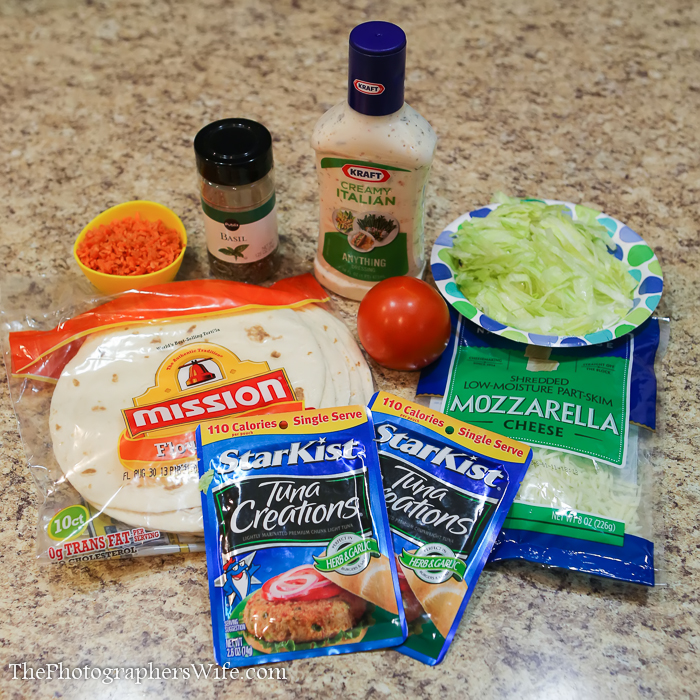
Here is a quick and easy meal idea using StarKist Tuna Creations. These herb and garlic tuna wraps were a great light dinner paired along with cold pasta salad…yum. With the tuna pouches, there’s no mess and you get just the right amount of extra flavor. These are a great alternative to a plain tuna sandwich. You could also pair these with fruit, chips or other side-item you would normally enjoy alongside a sandwich or wrap.

NUTRITIONAL INFORMATION: PER SERVING (1 sandwich): Calories: 550, Fat: 26g, Cholesterol: 60mg, Sodium: 1340mg, Carbs: 46g, Dietary Fiber: 4g, Sugar: 6g, Protein: 40g

Ingredients
2 Pouches (2.6oz) StarKist Tuna Creations®, Herb and Garlic
½ Cup diced tomato
½ Cup shredded carrots
3 Tablespoons creamy Italian dressing
1 Cup shredded lettuce
4 oz. Mozzarella shredded cheese
3 Basil leaves, sliced into strips
2 Flour tortillas

Herb and Garlic Tuna Wraps-1

Directions

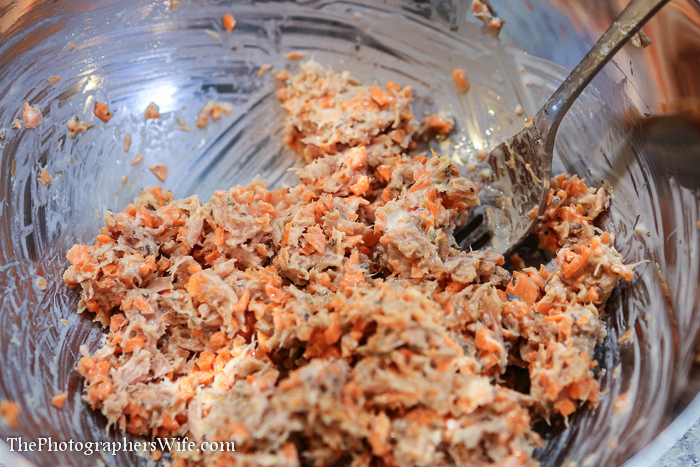
1. Mix together tuna, carrots, basil and 2 tbsp. Italian dressing.

Herb and Garlic Tuna Wraps-2

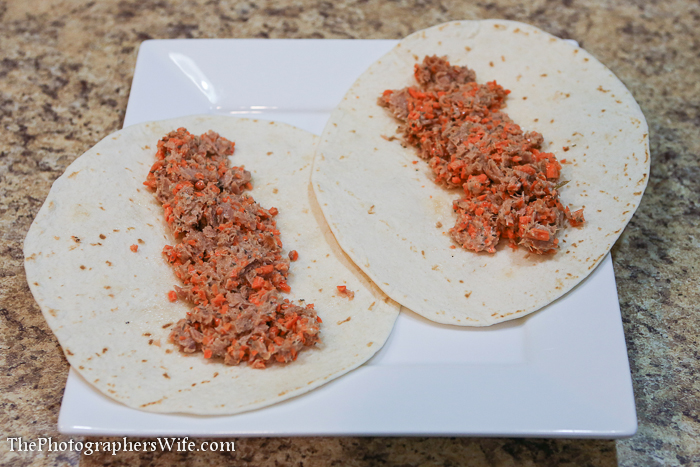
2. Place ½ the lettuce, tomatoes and tuna mixture, mozzarella cheese and ½ tbsp. Italian dressing in the center of each tortilla.

Herb and Garlic Tuna Wraps-3

Herb and Garlic Tuna Wraps-4

3. Fold the end of the tortilla over the ingredients and roll tightly.

4. Cut in half, diagonally and serve.

Herb and Garlic Tuna Wraps-5

5. Enjoy!

Herb and Garlic Tuna Wraps-6


Click here to check out our other food & recipe posts!


xoxo
Lynn

Like us on Facebook | Follow on Pinterest | Subscribe on YouTube | Follow on Instagram
New Hormel Rev Wraps Lunch Ideas

First things first, I want to happily announce that I was chosen to be a Hormel Extended Family Blogger!


What does being a Hormel Extended Family Blogger mean? For the next 6 months, I am basically their brand ambassador. A food ambassador. A taste-it-and-share-the-love-and-deliciousness blogger. I’ll be trying out some tasty Hormel foods and sharing at least one post a month with you all. I’m excited. Let’s do this.

This month, I received a large box of Hormel goodies in mail. Although actually, since Brett is home all day with Trent, HE received a big box in the mail. Yes, he gets the joy of receiving packages at home and opening them in a Christmas-morning fury. Sure, he looks at whose name is on the mailing label, and most times he gives me a quick shout out to see if I know anything about it. Forget raising Trent, I think his main goal with this stay-at-home dad thing was that he could open the mail before I get home. But I digress.

What I was most excited to try was their new line of REV wraps.

rev wraps

From Hormel:

Hormel® REV® wraps are the perfect snack to fuel an active lifestyle with 15 grams of protein or more in each wrap, providing real, sustaining energy.

Hormel REV wraps have many benefits to your everyday life, including:

Endurance: protein-rich to provide real sustaining energy
Nutrition: made with real meat and cheese, an excellent source of protein and a good source of calcium and fiber
Convenience: no preparation necessary, eaten hot or cold and designed to be hand-held and portable
Flavorful: classic deli combinations geared towards teens, as well as new, bold flavors for variety
  • Ham & Cheese
  • Pepperoni Pizza
  • Peppered Turkey
  • Meat Lovers Pizza
  • Italian Style Ham
  • Hot Pepper Ham
  • Italian Style
  • Spicy Italian Style

I received all 8 varieties and tried to come up with different ways of enjoying them during lunch at work. Coming up with ideas for lunches to eat at work 5 days a week can be exhausting. Sometimes I take the lazy way out and just make 1 thing that will last all week, like a pasta or salad. But eventually, I forget to make something and peanut butter and jelly it is. Like I’m in elementary school. Although as much as I love peanut butter, I guess it’s not really a bad thing, but I need more to feel full longer and not be tempted by the vending machines at work…which take credit cards now, by the way. Not having cash used to be my excuse. :-(

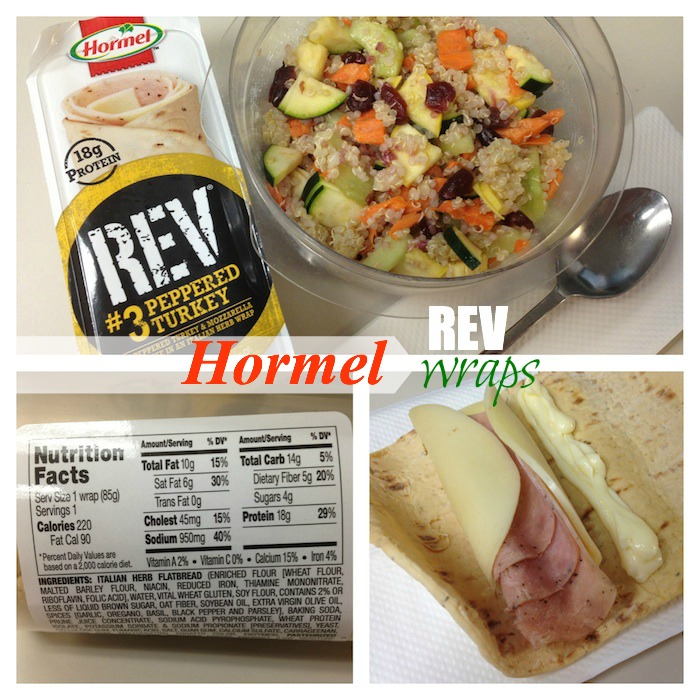
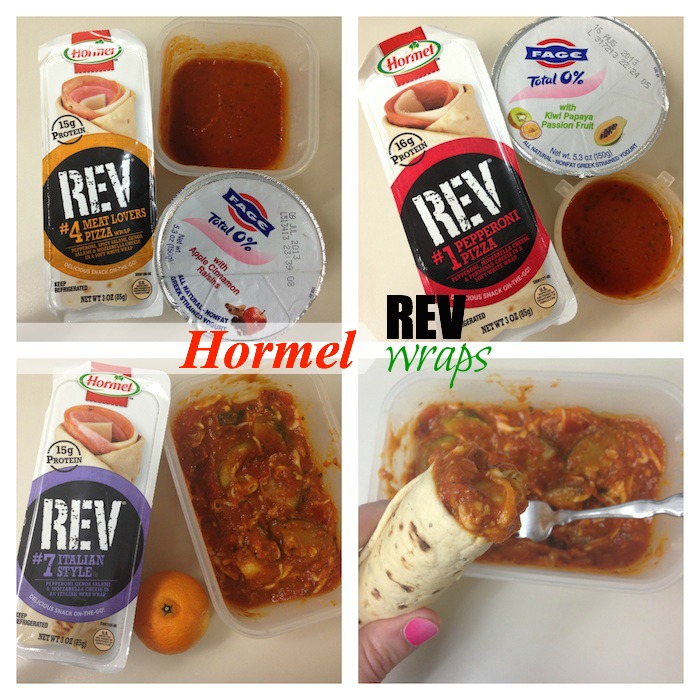
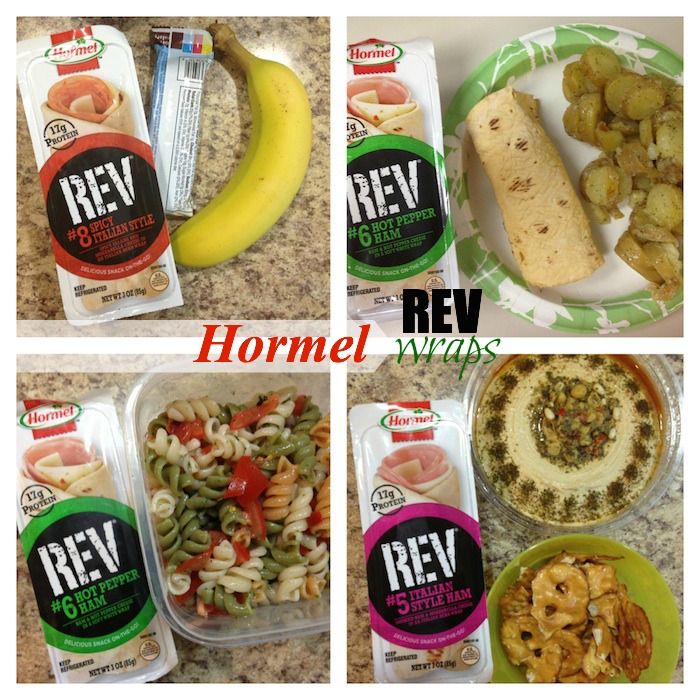
Here are the different lunches I came up with. Since they just come with the meat and cheese on them, I liked finding a side item that I could combine with the wrap. I also brought condiments too, like mayo or mustard. You could also cut up some pieces of tomato, lettuce, pickle…anything you typically enjoy on your wraps/sandwiches. I also enjoyed them after warming them up in the microwave for 10-15 seconds.

Hormel Rev Wraps 1

Hormel Rev Wraps 2

Hormel Rev Wraps 3

It was extremely simple just grabbing the REV wrap, 1 or 2 side items and then heading out the door for work. I was on time every single day…high fives all around.

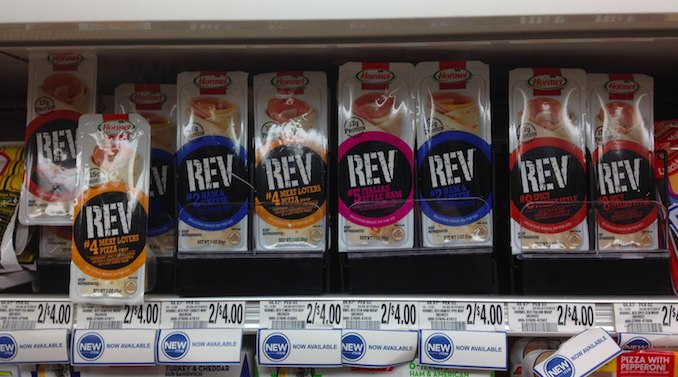
Here’s the display I noticed at my local grocery store…

Hormel Rev Wraps in stores

You can read more about Hormel REV wraps, including finding a store near you, by clicking here. Use this $1.00 off coupon to score a discount!

xoxo
Lynn

Like us on Facebook | Follow on Pinterest | Subscribe on YouTube | Follow on Instagram
 

I am currently a member of the Hormel Foods Extended Blogger Program and this post is part of my involvement with the group. I was given this product in exchange for a review. All opinions are my own and 100% honest.

Cinnamon Apple Chimichangas

Cooking with Trent

Hi friends! I hope you had a fun Cinco de Mayo. Brett had a 3 month old photo session and then we headed over to a relative’s house where we each enjoyed a margarita, chips/dip and enchiladas. Later that night, Brett made fried cinnamon apple chimichangas to enjoy while we watched the Amazing Race. They were dee-lish.

cinnamon apple chimichangas-14

We used this recipe.

Ingredients:

Filling

1 1/2 to 2 cups water
1/4 cup cornstarch
3/4 cups sugar
1/2 teaspoon cinnamon
1/4 teaspoon salt
1 tablespoon lemon juice
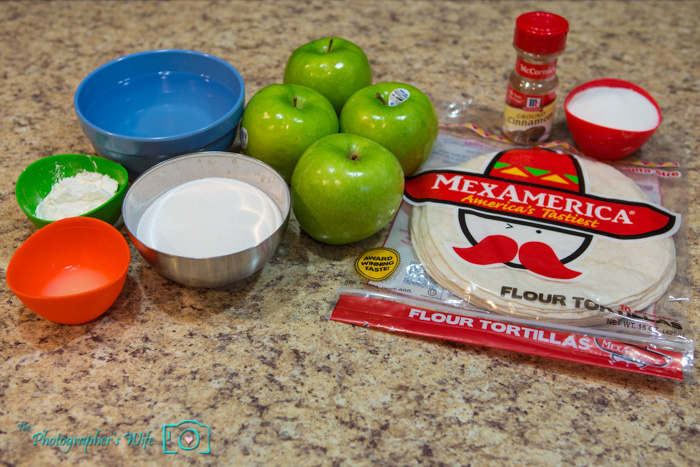
4 apples, cored and chopped bite-sized (we used Granny Smith)

Chimichanga

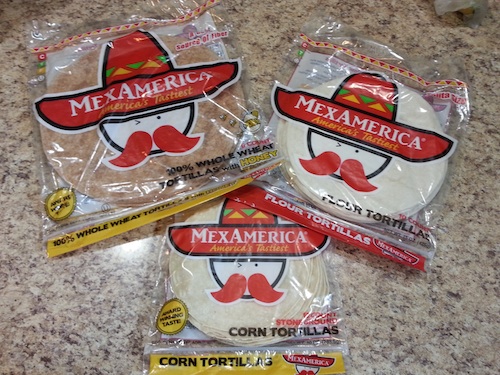
8-12 flour tortillas (We used 10 medium MexAmerica tortillas)
1/2 cup sugar
1 tablespoon cinnamon
Oil for frying

cinnamon apple chimichangas

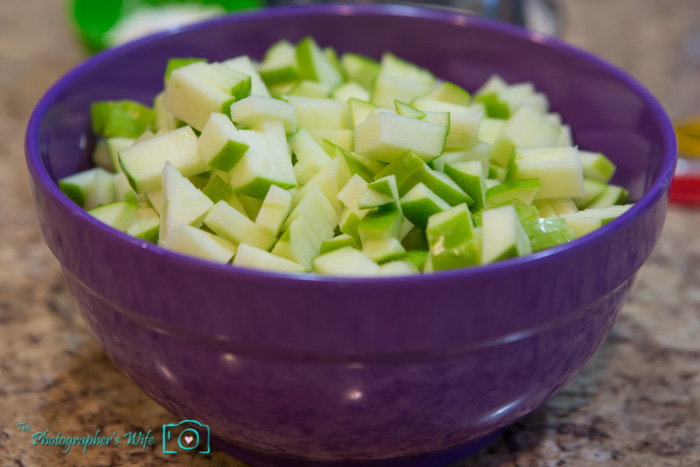
Cut up the apples into small bite-sized pieces.

cinnamon apple chimichangas-2

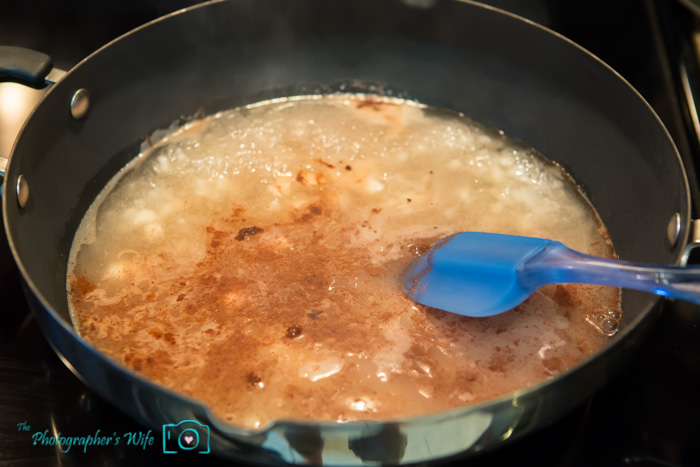
In a large skillet or saucepan, mix all the filling ingredients except the apples and bring to a boil.

cinnamon apple chimichangas-3

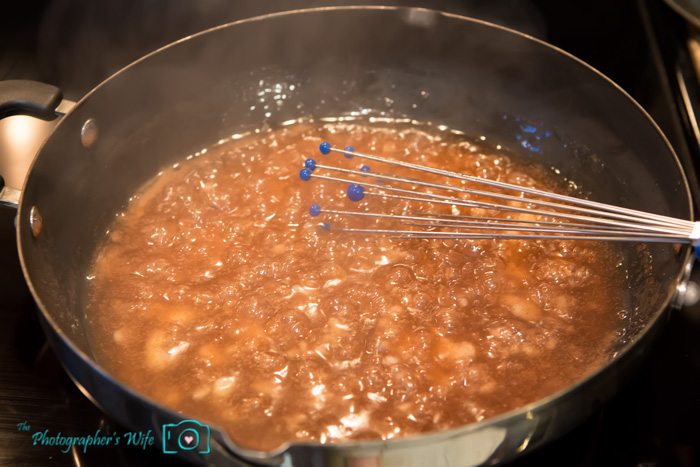
Cook for about 3 to 5 minutes until the mixture becomes really thick.

cinnamon apple chimichangas-4

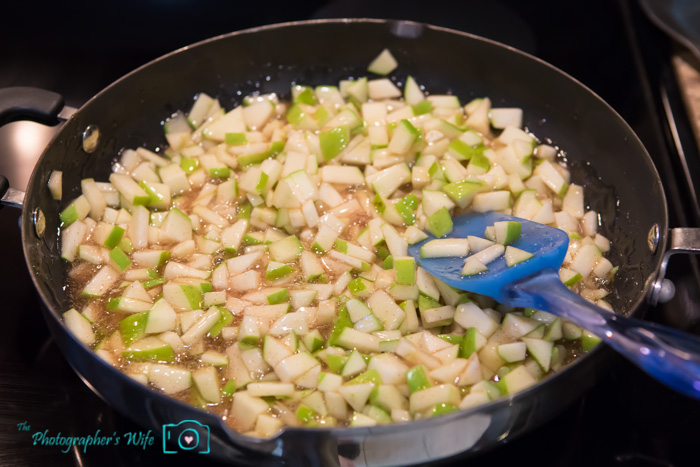
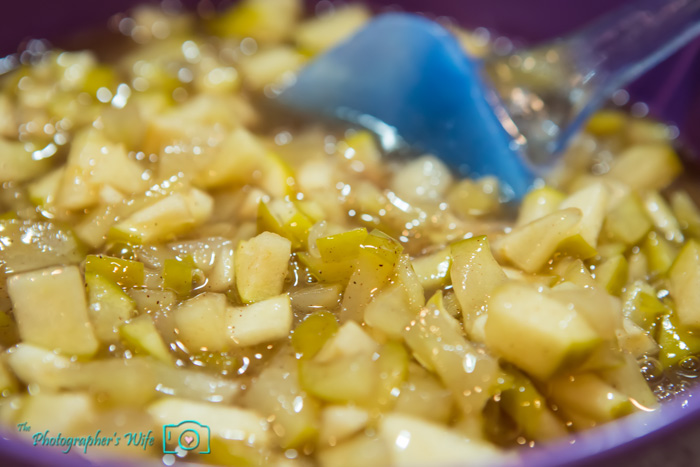
Add the chopped apples, cover, and reduce to a simmer, stirring occasionally until the apples are tender. This took about 30 minutes.

cinnamon apple chimichangas-5

Once the apples are tender, set the mixture aside until cool. We put it in the fridge to speed up the cooling.

cinnamon apple chimichangas-6

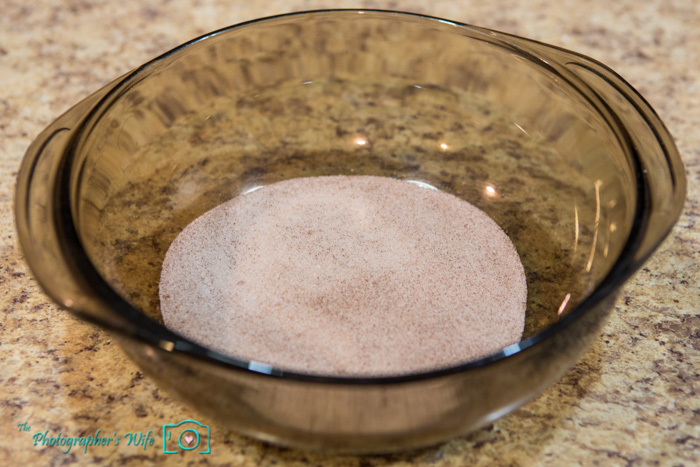
Mix together the remaining cinnamon and sugar in a bowl.

cinnamon apple chimichangas-7

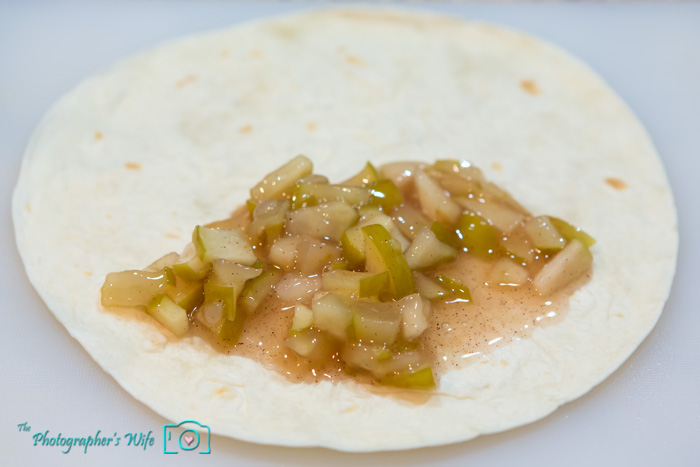
Scoop the apple filling into the flour tortillas. We used about 1/3 cup for each chimichanga.

cinnamon apple chimichangas-8

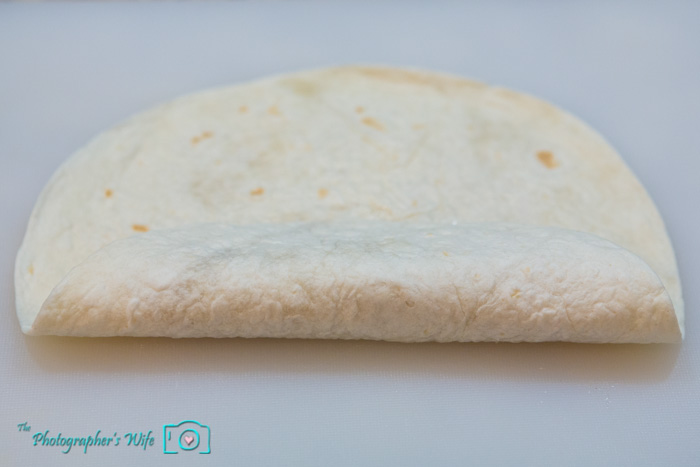
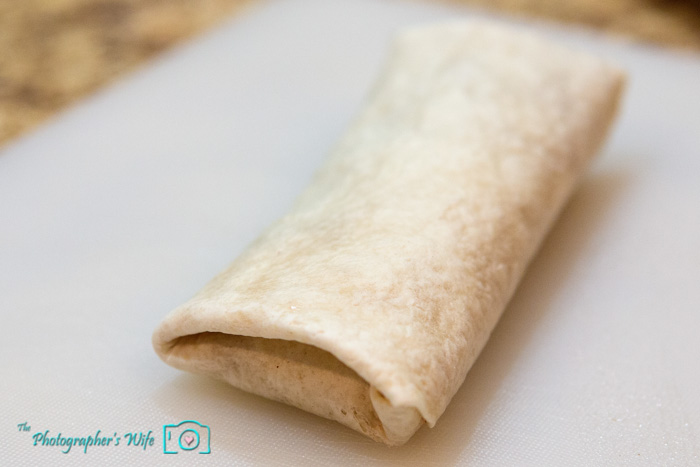
Roll over the one side of the tortilla.

cinnamon apple chimichangas-9

Fold in both sides, then roll up the rest of the tortilla.

cinnamon apple chimichangas-10

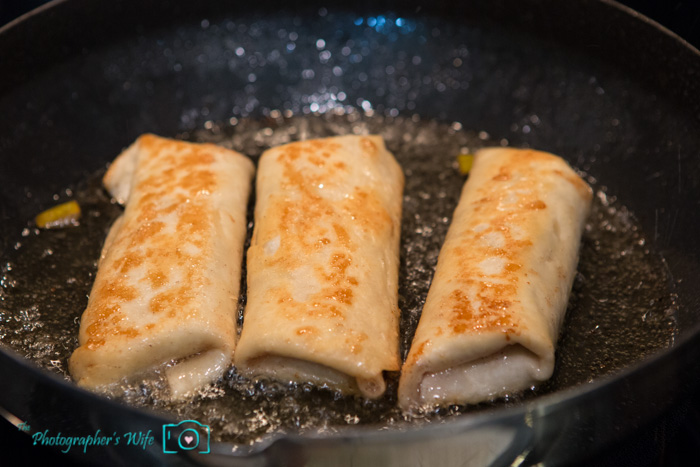
Once all the chimichangas are rolled up and ready, add about a quarter inch of oil for frying in a large heavy bottomed or deep cast iron skillet. Heat it until medium-hot. Using tongs, lower the Chimichangas into the hot oil one at a time. Let them fry for maybe 30 seconds per side, then move them off to drain on a paper towel once golden brown. We had to fry them in several batches, 2-3 at a time.

cinnamon apple chimichangas-11

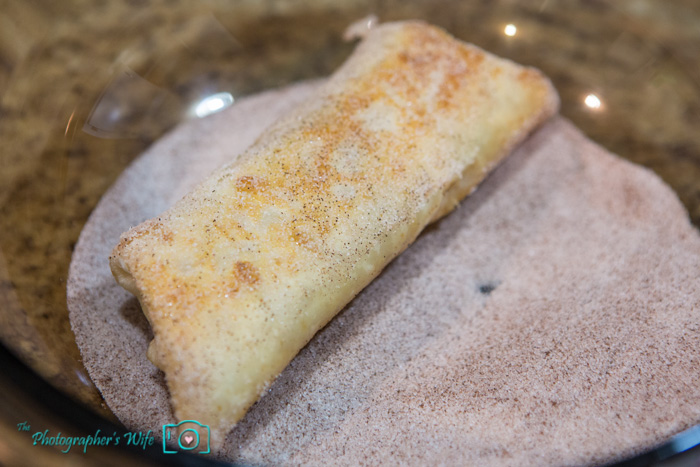
Roll each one around in the cinnmamon sugar mix while still moist, then put on another plate while you fry and coat the rest.

cinnamon apple chimichangas-12

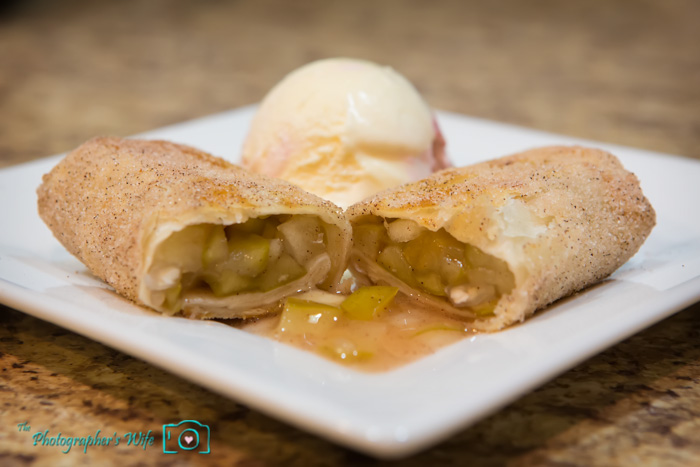
Let cool a little, but I suggest enjoying them while warm…and with a scoop (or two) of ice cream of course!
cinnamon apple chimichangas-13

Just as a side note, we had a few leftover that we ate tonight. They weren’t as crispy or good the second night, but were really good the first night. So eat as many as you can the first night…tough job, right?

Also, I recommend a splatter-screen when frying the chimichangas. We don’t have one and it made a M-E-S-S everywhere! Brett made sure to tell me several times that we will be buying a splatter screen the next time we see one.


Thank you to MexAmerica for sending me the delicious tortillas to make this tasty recipe! I received the following 3 varieties:

100% Whole Wheat Tortillas with Honey (mmm…these would make a tasty snack with peanut butter and banana!)

Flour Tortillas

Corn Tortillas (Gluten-free!)

MexAmerica

Learn more about MexAmerica:

Products Page:
http://mexamericafoods.com/products/
Store Locator:
http://mexamericafoods.com/store-locator/
YouTube Page:
http://www.youtube.com/user/MexAmericaFoods
Facebook Page:
http://www.facebook.com/mexamerica?fref=ts
Twitter Page:
https://twitter.com/MexAmericaFoods
xoxo
Lynn

Subscribe by email | Like us on Facebook | Follow us on Pinterest | Subscribe on YouTube


Donut Muffins

Cooking with Trent


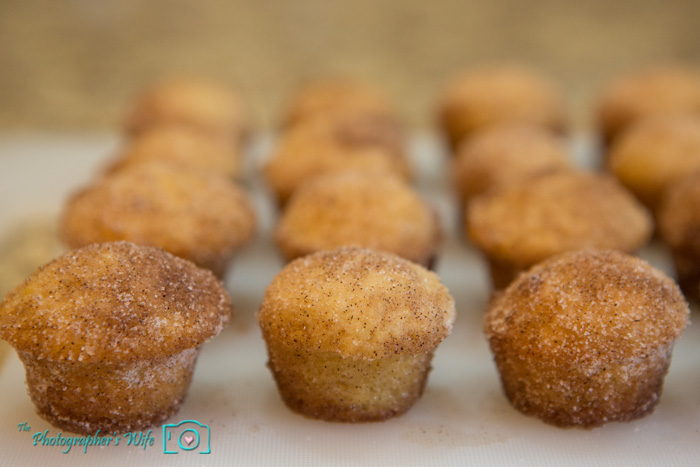
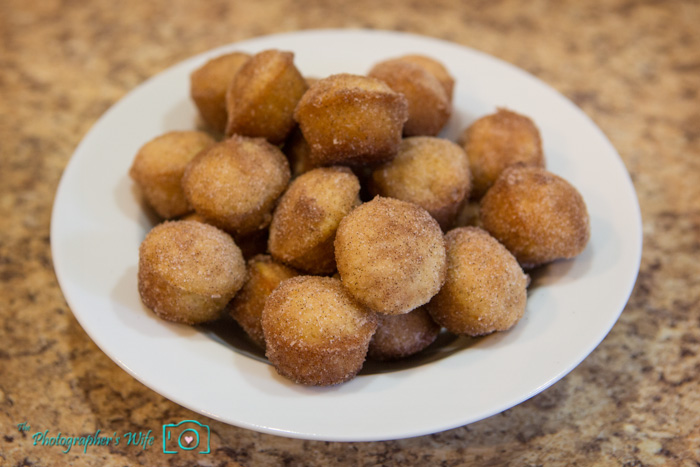
Brett made these donut muffins recently and it took everything in me not to eat all of them. Since they’re bite-sized, it was so easy to just pick ‘em up and pop ‘em in my mouth, especially every time I walked by them in the kitchen! They didn’t last long, that’s for sure!


Donut Muffins


From recipe found here.

Ingredients
1 cup white sugar
1/2 cup margarine, melted
3/4 teaspoon ground nutmeg
1/2 cup milk
1 teaspoon baking powder
1 cup all-purpose flour
1 teaspoon ground cinnamon


Directions

Preheat oven to 375 degrees F (190 degrees C). Grease 24 mini-muffin cups.

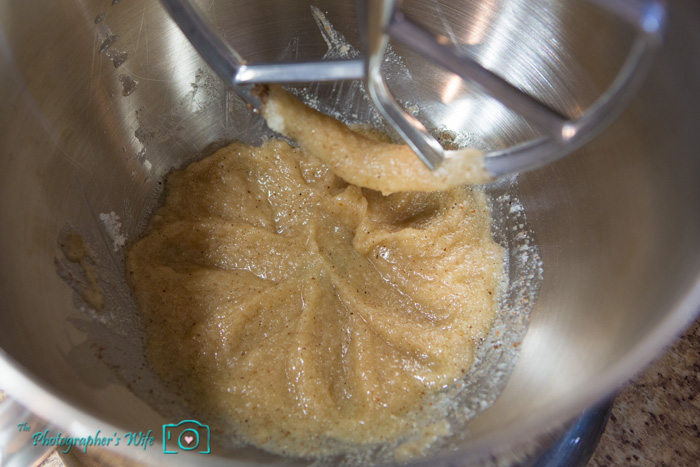
Mix 1/2 cup sugar, 1/4 cup margarine, and nutmeg in a large bowl.

Donut Muffins-1

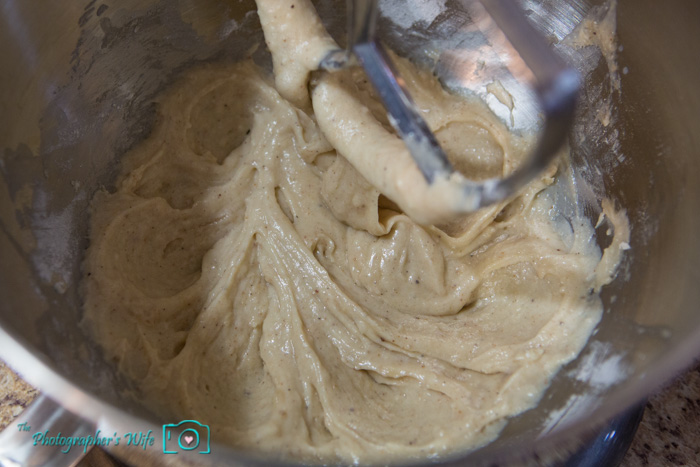
Stir in the milk, then mix in the baking powder and flour until just combined.

Donut Muffins-2

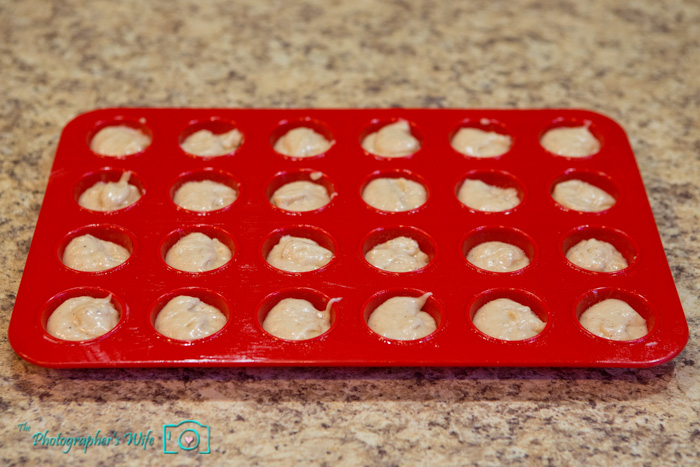
Fill the prepared mini muffin cups about half full.

Donut Muffins-3

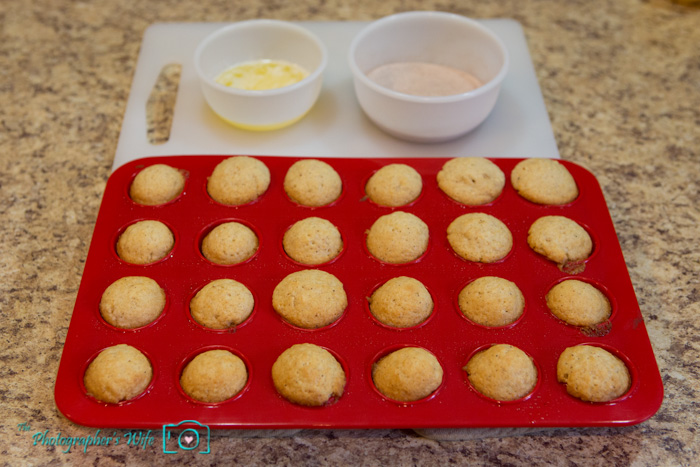
Bake in the preheated oven until the tops are lightly golden, 15 to 20 minutes.

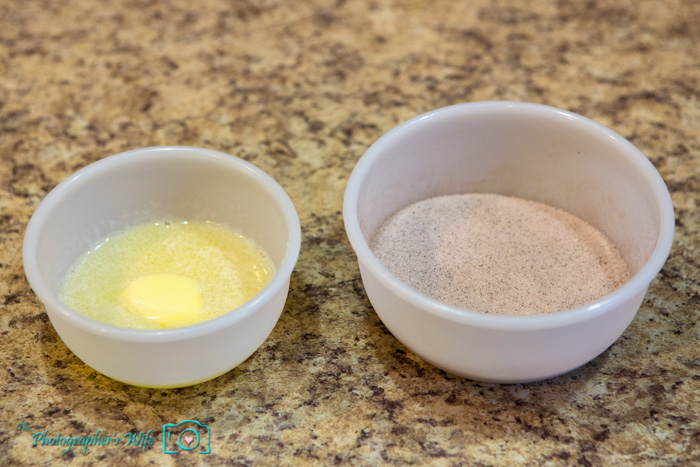
While muffins are baking, place 1/4 cup of melted margarine in a bowl. In a separate bowl, mix together 1/2 cup of sugar with the cinnamon.

Donut Muffins-4

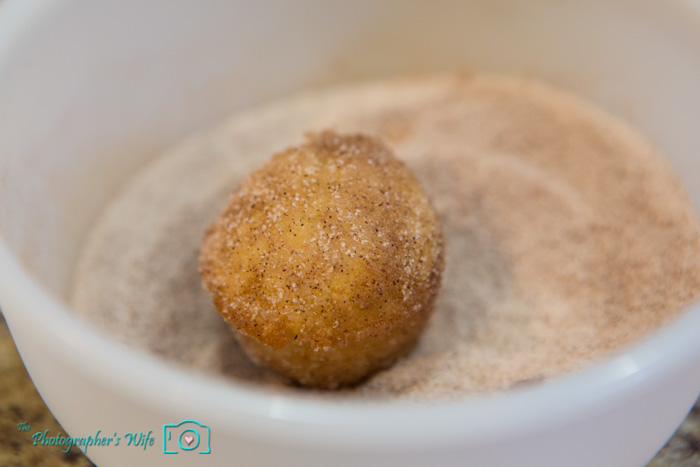
Remove muffins from their cups, dip each muffin in the melted margarine, and roll in the sugar-cinnamon mixture.

Donut Muffins-5

Donut Muffins-6

Donut Muffins-7

Donut Muffins-8

Let cool and serve. (Although I found it best to eat them when they were warm!)

Donut Muffins-9


If you enjoyed this post, please leave a comment below, share it or…

Subscribe by email | Like us on Facebook | Follow us on Pinterest | Subscribe on YouTube