Other Fun Stuff

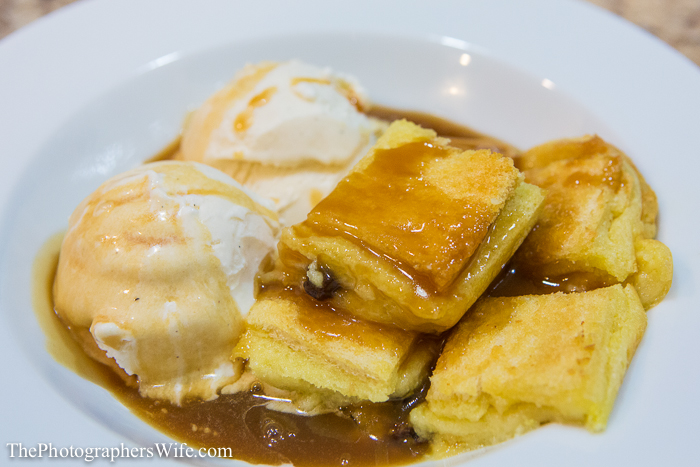
Raglan Road Ger’s Bread and Butter Pudding

Raglan Road is an Irish restaurant in Downtown Disney in Walt Disney World in Florida. Their most popular dessert is Ger’s Bread & Butter Pudding. This recipe was featured in the February issue of WDW Magazine, since Raglan Road was the featured restaurant in that issue.
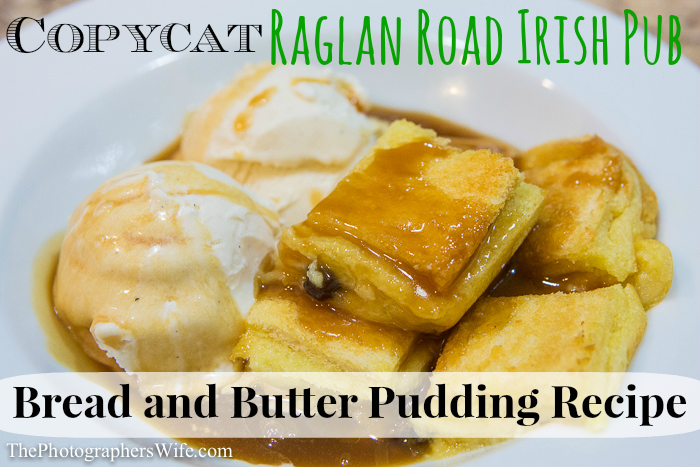
Bread & Butter Pudding Recipe


Ger’s Bread & Butter Pudding from Raglan Road

Ingredients (serves 8):

12 slices white bread
1/2 cup salted butter, softened
1/2 cup raisins
1 cup heavy cream
1 cup whole milk
4 egg yolks
1/2 cup sugar
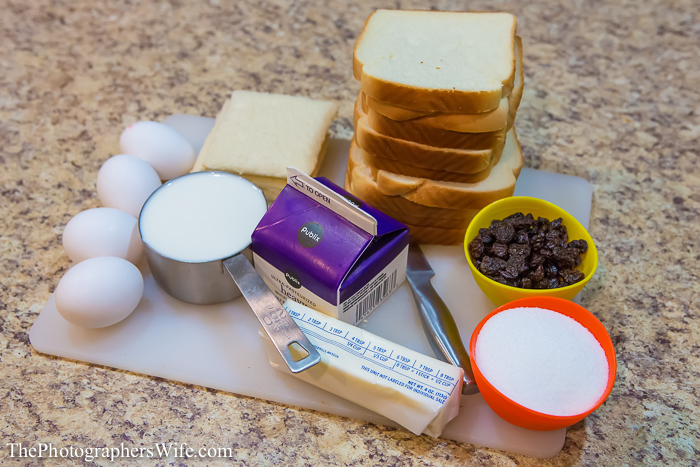
Buttered Bread Pudding-1

First, grease a 2-quart ovenproof dish. Then, cut the crust off of all the slices of bread.
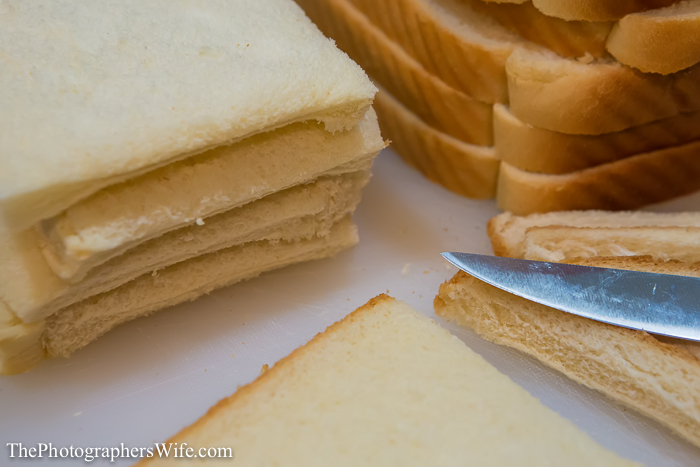
Buttered Bread Pudding-2

Spread the butter over both sides of each piece of bread and then cut each piece into 4 smaller pieces.
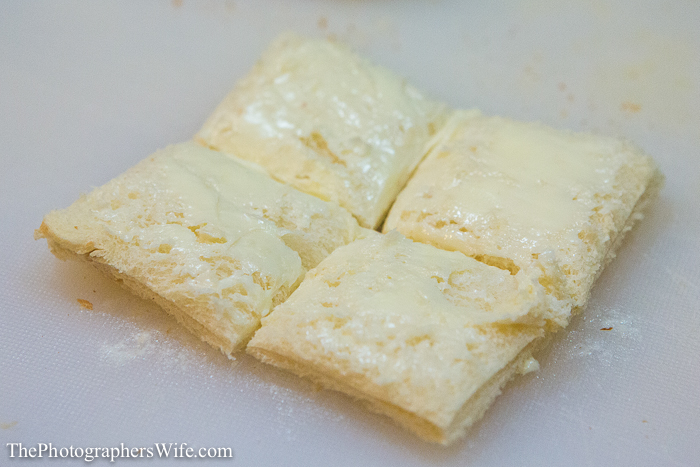
Buttered Bread Pudding-3

Arrange 1/3 of the bread pieces in the bottom of the dish.
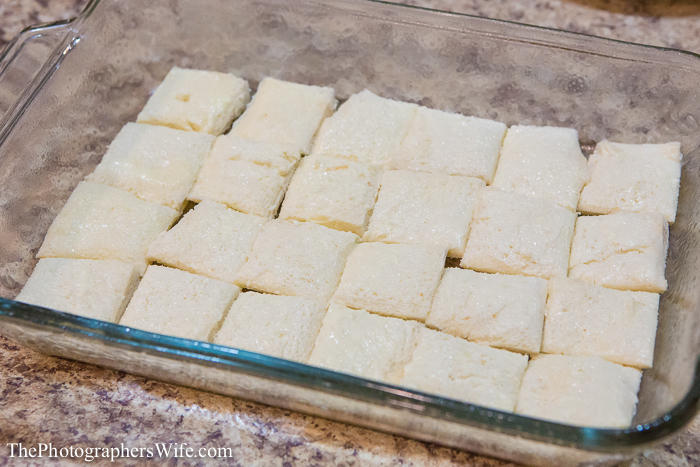
Buttered Bread Pudding-4

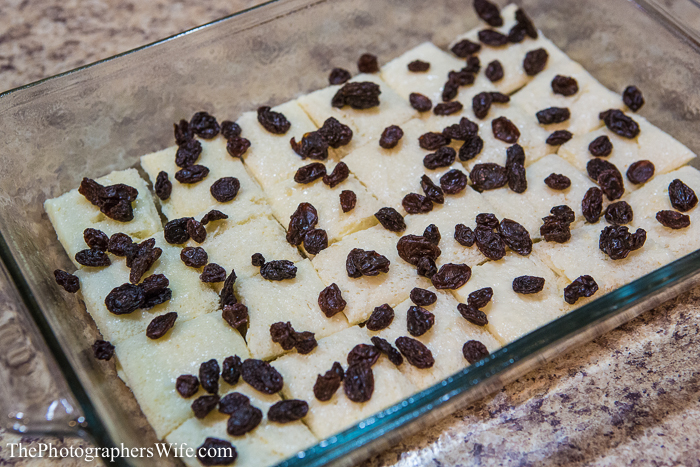
Sprinkle the raisins on top.

Buttered Bread Pudding-5

Lay out another layer of buttered bread on top of the raisins. Set aside.
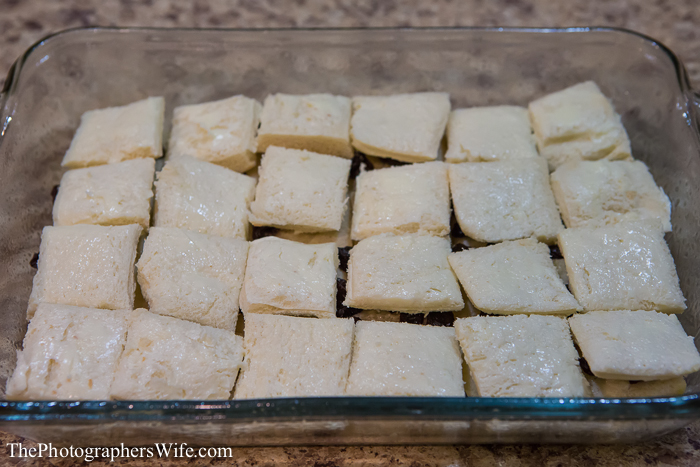
Buttered Bread Pudding-6

To make the custard, heat cream and milk in a medium saucepan over medium heat until it almost comes to a boil. Remove from heat.
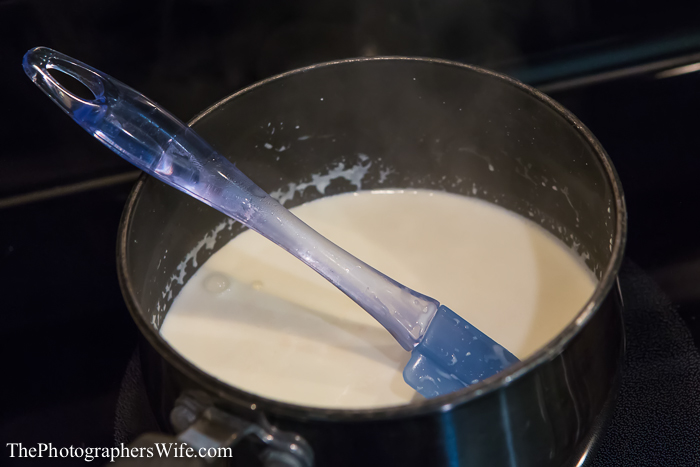
Buttered Bread Pudding-8

Fill another medium saucepan halfway with water and place over high heat. Bring to a boil.

Meanwhile, separate eggs and combine yolks with sugar in a large heatproof bowl.
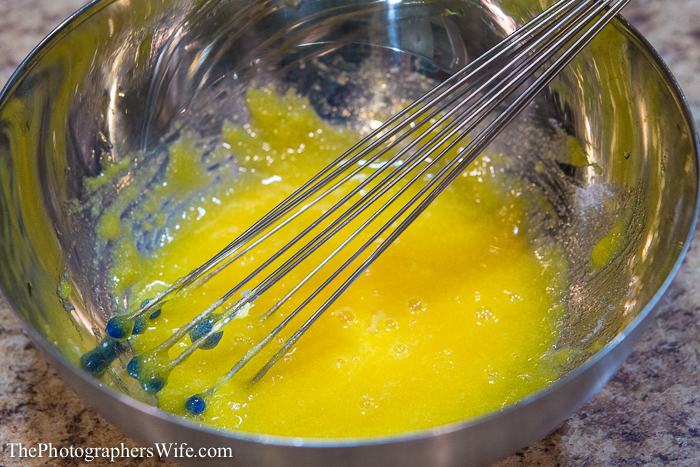
Buttered Bread Pudding-7

Once water in saucepan is boiling, turn heat down to medium and place heatproof bowl over the simmering water.
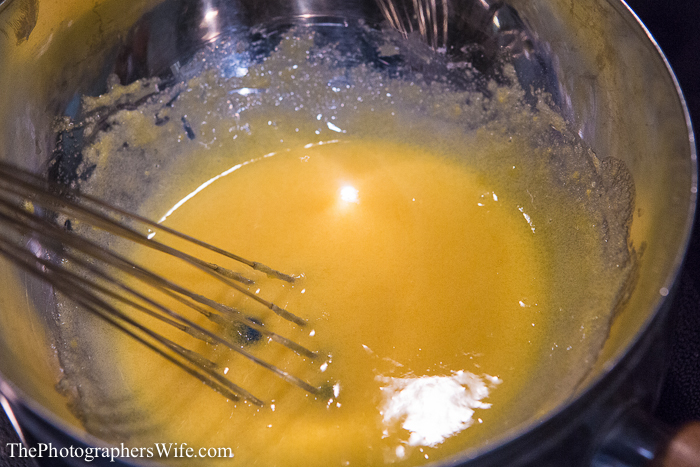
Buttered Bread Pudding-9

Whisk egg yolk mixture until whisk leaves a clear path behind it.
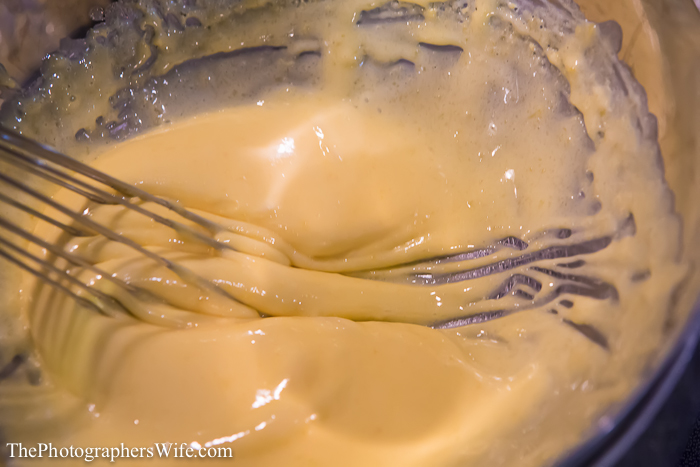
Buttered Bread Pudding-10

Then remove from heat and add cream mixture. Beat until well combined.

Pour two thirds of the custard over the layered bread and leave to stand for 30 minutes or until bread has soaked up all the custard.
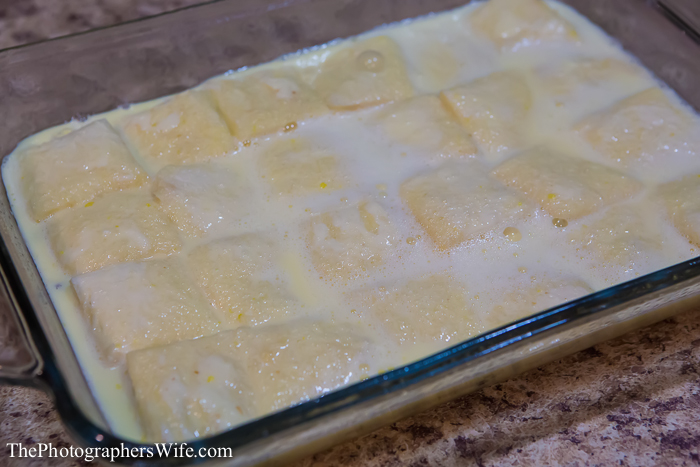
Buttered Bread Pudding-11

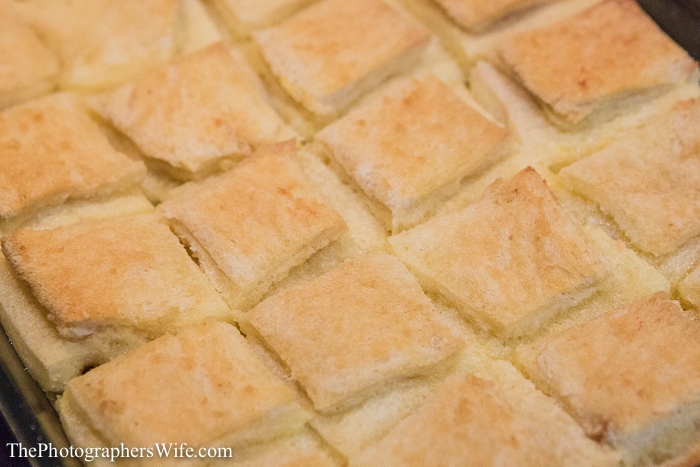
Preheat oven to 350 degrees. Pour remaining custard over the soaked bread and arrange the remaining bread pieces on top. Press down gently with a spatula so that the top layer of bread absorbs some of the custard.

Bake for 30 minutes or until the custard is set and the top is golden brown.
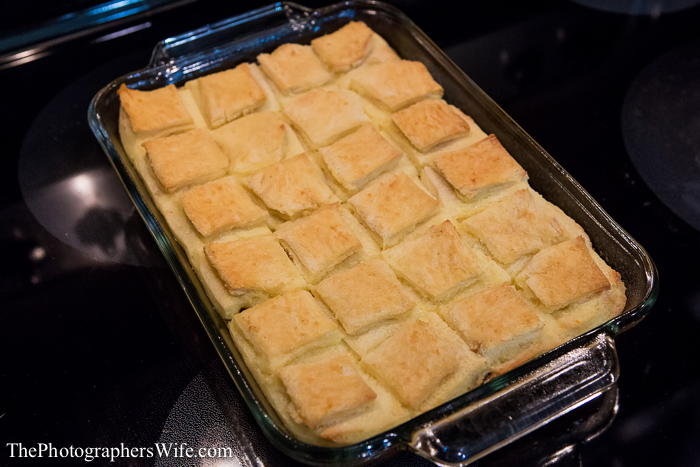
Buttered Bread Pudding-15 Buttered Bread Pudding-16

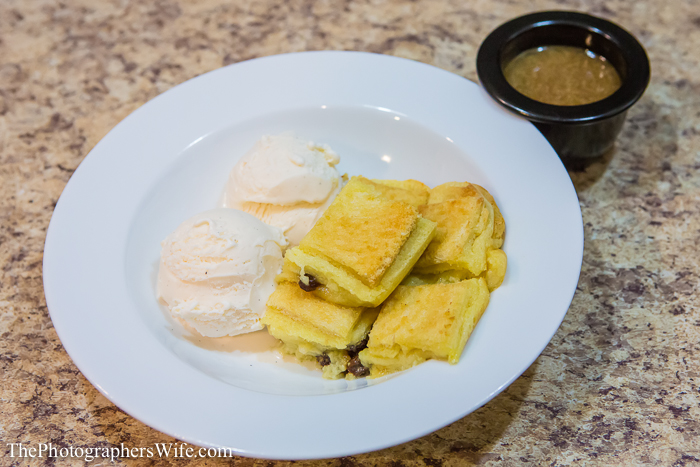
Cut up and serve immediately…

Buttered Bread Pudding-17

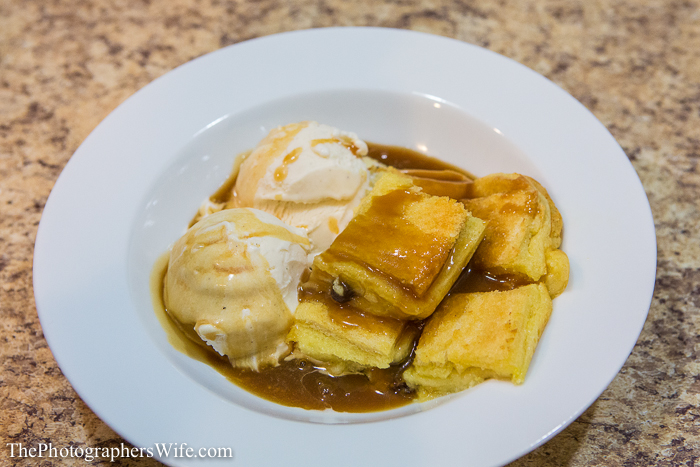
…preferably with caramel sauce and ice cream ;)

Buttered Bread Pudding-18 Buttered Bread Pudding-19


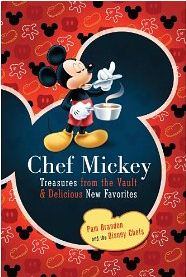
This recipe was derived from the recipe book: Chef Mickey Treasures from the Vault & Delicious New Favorites

Chef Mickey


…and was also featured in the February Issue of WDW Magazine (learn more here).

To see more Disney posts, check out our Disney page here!
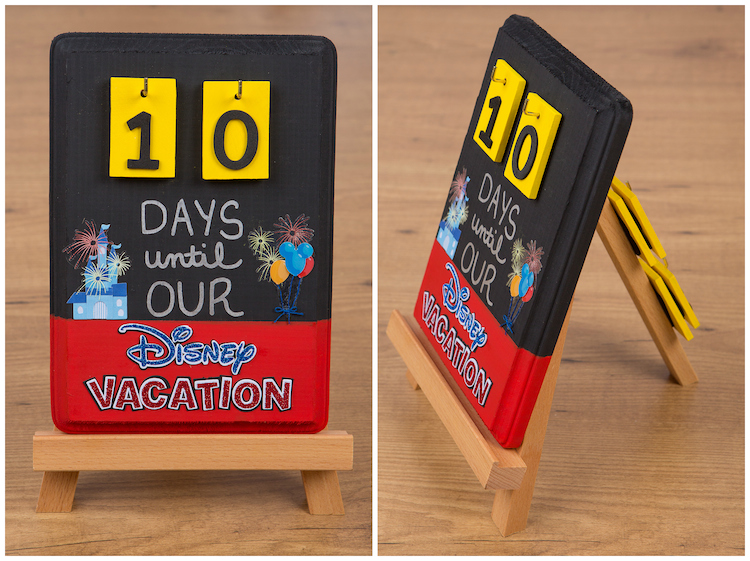
 

Disney Vacation Countdown DIY {Craft}

If you’re like us, the anticipation of your next vacation is half the fun…planning each fun activity you’ll do, dreaming about the delicious food, and counting down the days until you reach zero and you’re there!

Here’s a fun craft you can make to help you count down to your next Disney vacation - or any vacation with a few tweaks! What I love about this project is that you can be creative and make it your own by using different colors, stickers, etc.

Disney Countdown Collage

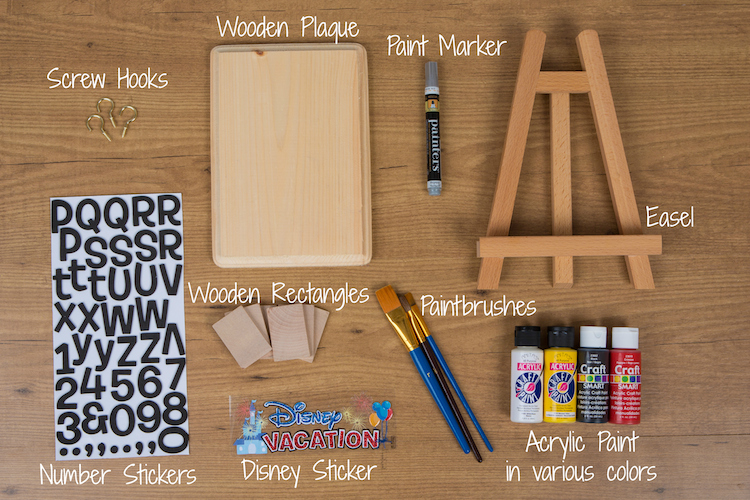
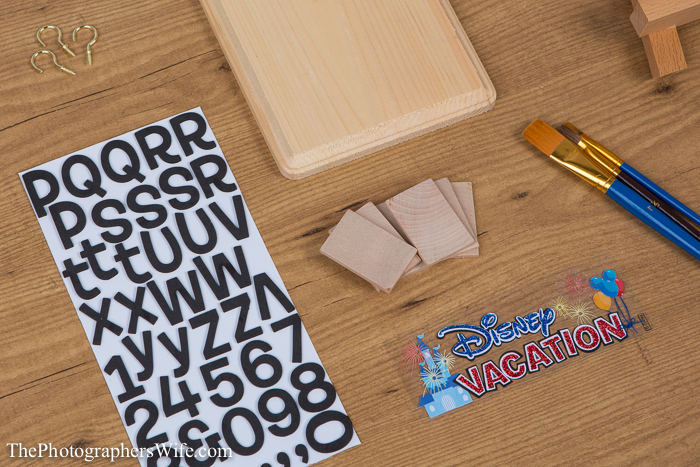
Here’s what you’ll need (all found at an arts/crafts store):

Disney Vacation Countdown 1

Disney Trip Countdown-2 Disney Trip Countdown-3

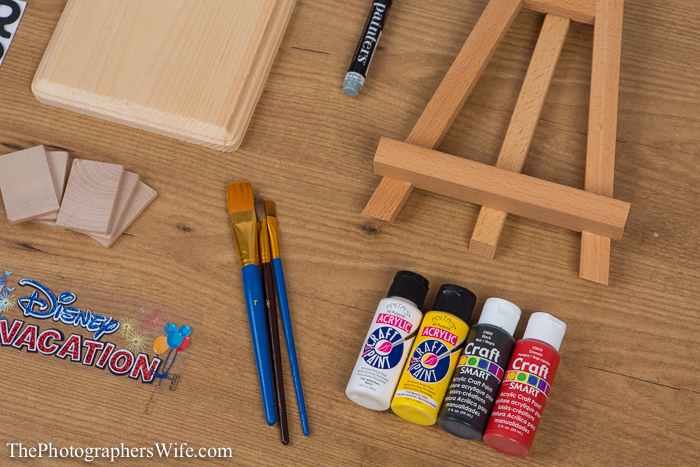
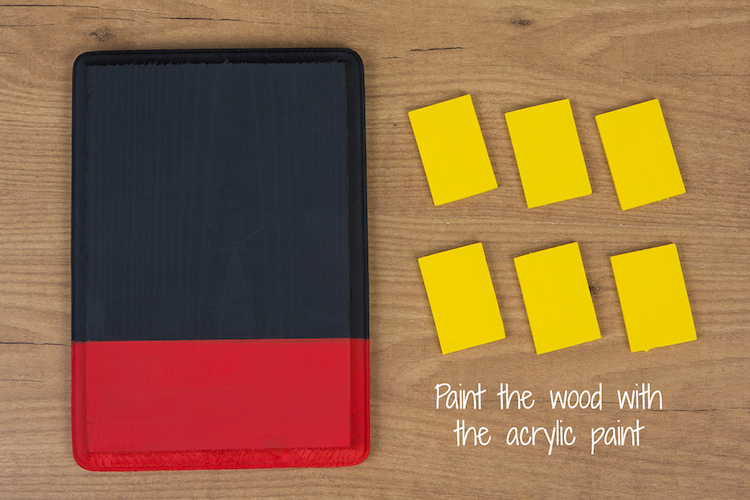
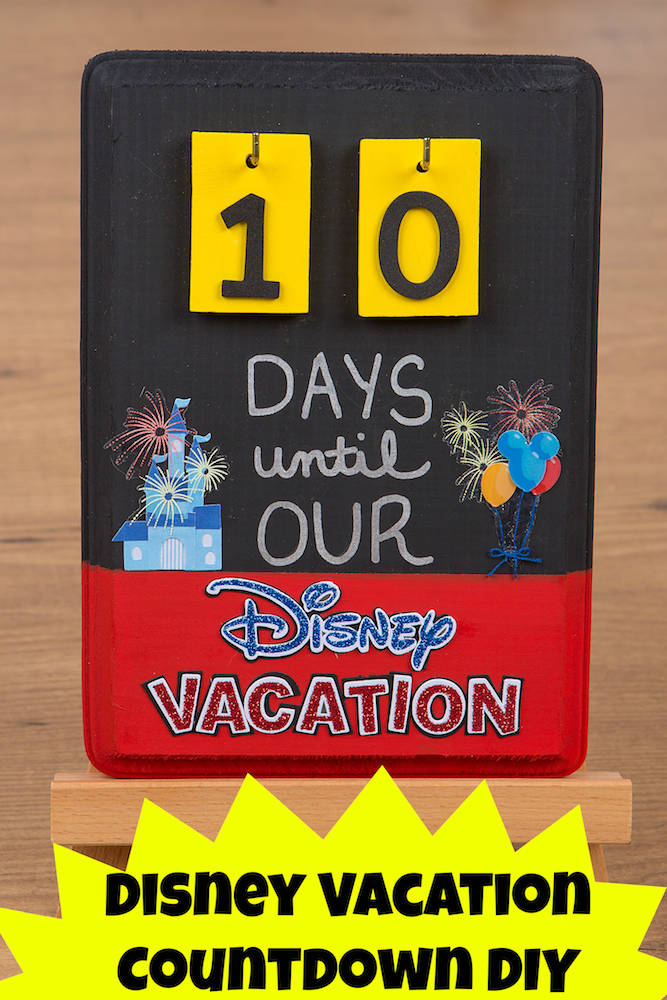
The first step in this project is to paint the wood: the plaque and the small wooden rectangles. You could also paint the easel, but we chose not to. You can choose any color paint for all the pieces, but I chose a Mickey theme. The plaque is painted black on top (his head/ears) and red on the bottom (his shorts) and the small rectangles are yellow (his shoes). Use painter’s tape to make the line straight on the plaque. Let all items dry well before going to the next step.

Disney Vacation Countdown 2

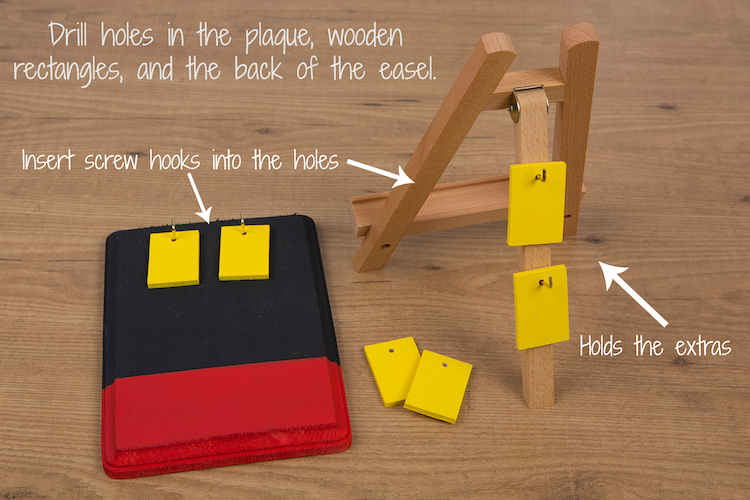
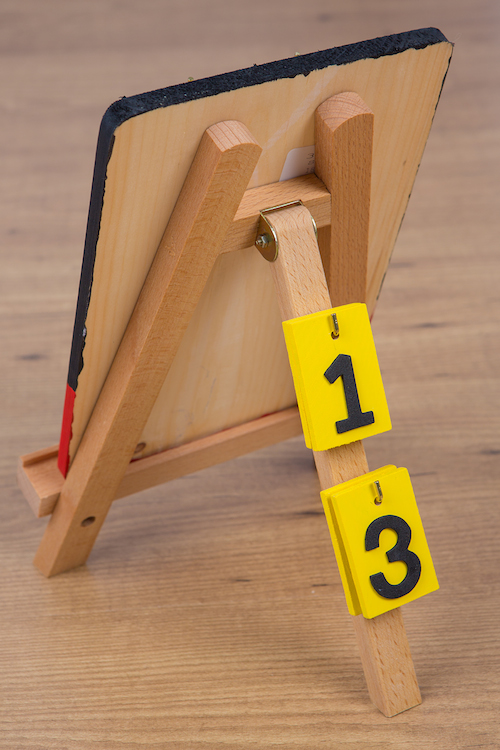
Next, drill two holes towards the top of the plaque, two holes in the back of the easel, and one hole towards the top of each small wooden rectangle. Then, insert the screw hooks into each hole on the plaque and easel. The ones on the plaque will be used to display how many days left in your countdown, and the ones on the back of the easel will be to hold the extra numbers.

Disney Vacation Countdown 3

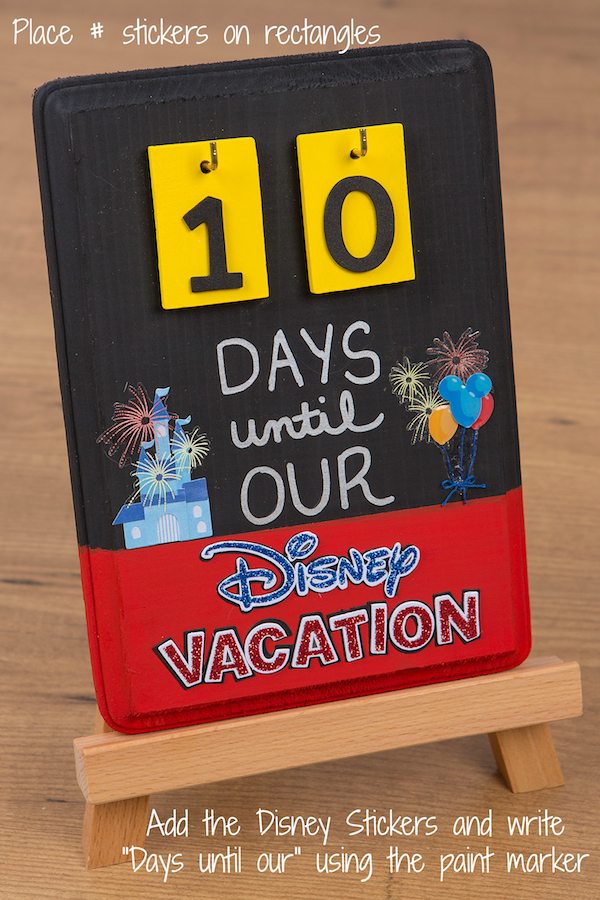
Next, place the number stickers on the wooden rectangles. We used 6 rectangles front and back. You’ll need (2) #1, (2) #2, and 1 of every other number. This will allow you to count down from 90 by tens, and then each day from 32 to 0. You can also choose to make more rectangles and use more numbers if you want to count down from a higher number. Lastly, place the Disney sticker on the plaque and write “Days until our” with the paint marker.

Disney Vacation Countdown 4

Disney Vacation Countdown 5

Now, you’re ready to count down to your next Disney vacation, no matter what time of the year you go!

If you loved this fun DIY, please consider sharing by pinning this photo to Pinterest or sharing on Facebook! Thanks for all your support!

Disney Vacation Countdown

This post was featured in last month’s issue of WDW Magazine. The new issue was just released and you can find a delicious Disney recipe from me, plenty of Brett’s amazing photos and many more great Disney articles. To learn more about WDW Magazine, visit their page here.

Blog Carnival

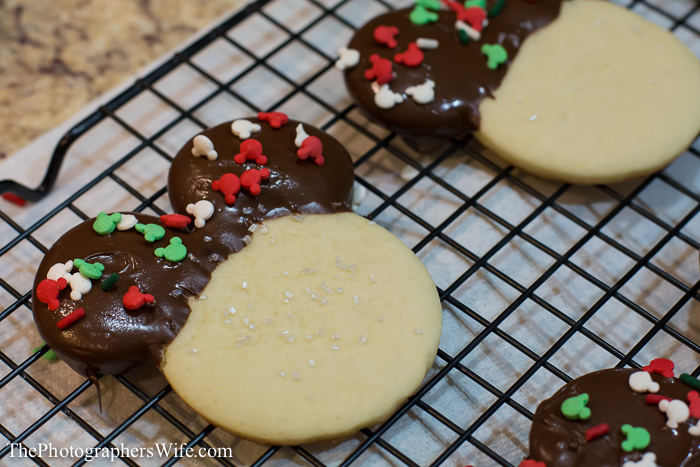
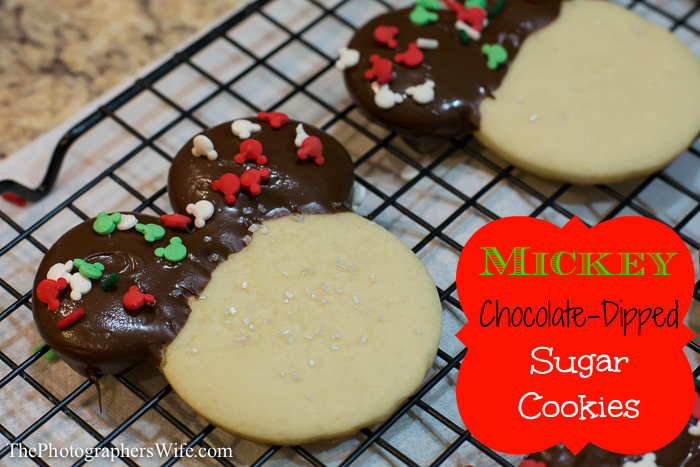
Mickey-Shaped Chocolate-Dipped Sugar Cookies

For the most recent issue of WDW Magazine, which was an entire issue on Christmas at WDW, I contributed to the section “Bringing the Magic Home” with a recipe for chocolate-dipped Mickey head sugar cookies…with sprinkles, of course!

Mickey cookies-9

At first, we tried to take the easy way out and bought pre-made sugar cookie dough…the kind in a tube at the grocery store. Brett rolled it out flat, cut the Mickey heads and then put them in the oven…where they puffed out far beyond being recognizable as a Mickey head. Fail.

After those were consumed (we had to hide the evidence of mistakes, duh!), Brett found this recipe for rolled sugar cookie dough…which was a success! Apparently, the rolled recipe is what you need to make sure the cookies keep their shape. So here is what you’ll need:

Mickey Head cookie cutter

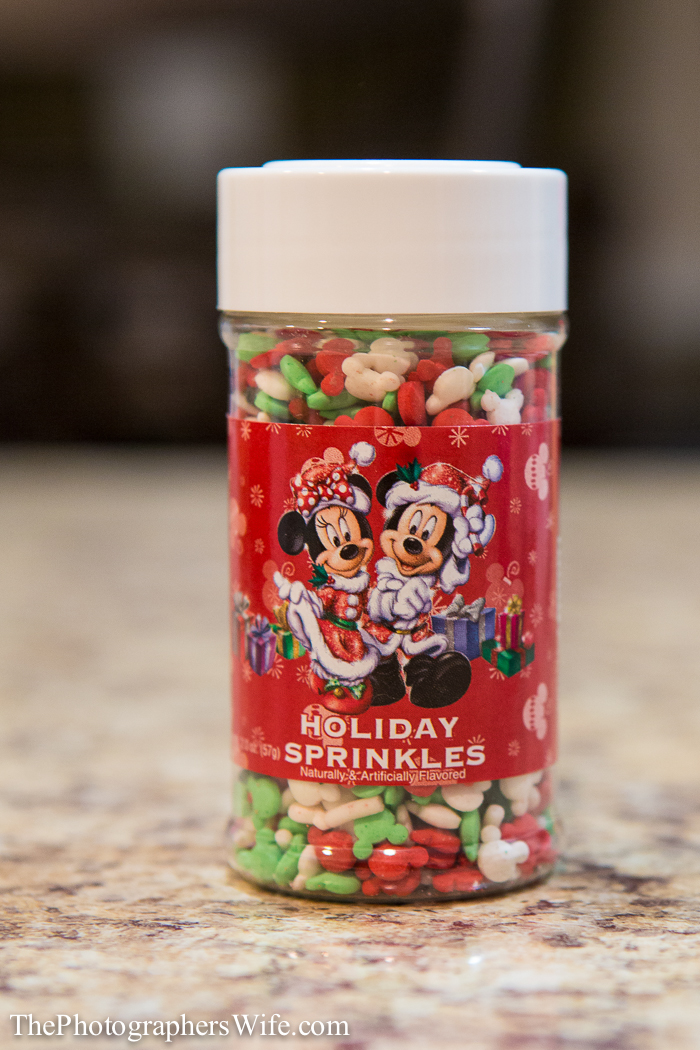
Mickey sprinkles (or any type of sprinkles)

Melting chocolates

and for the sugar cookies (insert the amount of servings on the linked recipe page to determine the amounts you’ll need of each ingredient):

Butter, softened
White sugar
Eggs
All-Purpose Flour
Baking Powder
Vanilla extract
Salt

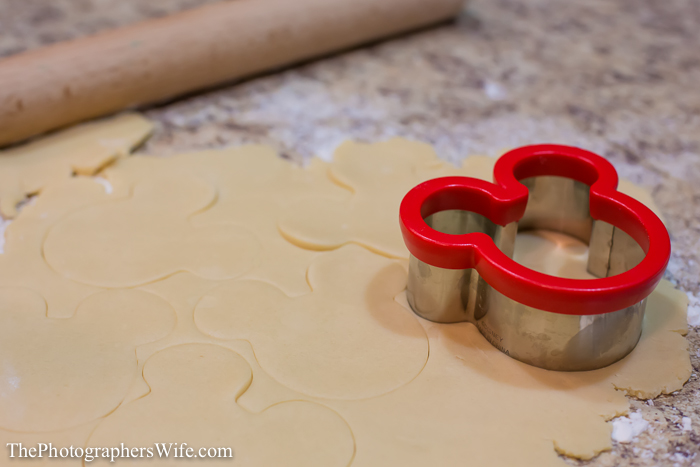
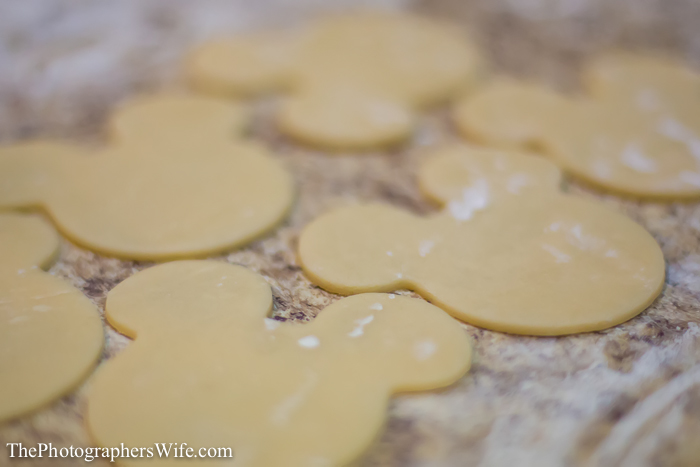
Once the sugar cookie dough is made, roll it out flat and use a Mickey head cookie cutter to cut out each cookie.

Mickey cookies-2

Try to maximize the cuts to make as many cookies as possible!

Mickey cookies-3

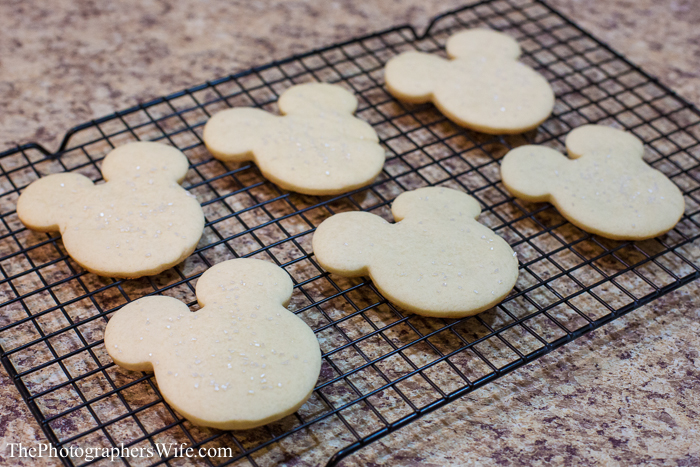
Place them on a baking sheet and place in the oven. Cook according to the recipe. Once they’re done, place them on a rack to cool and sprinkle with extra sugar (optional).

Mickey cookies-4

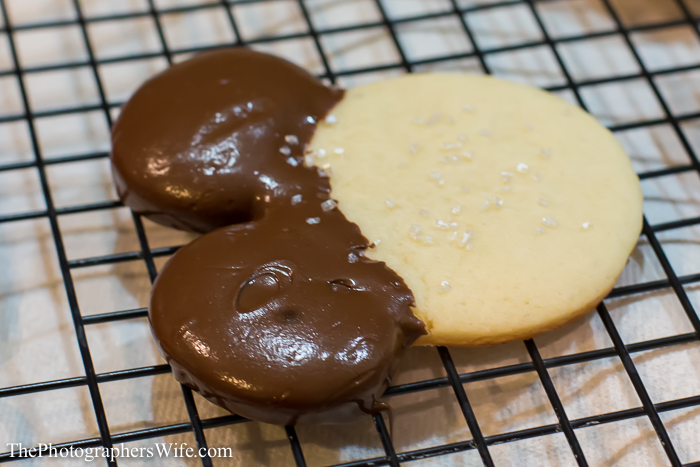
Once the cookies have cooled, melt the chocolate in a bowl in the microwave. Make sure the bowl is deep enough so that the chocolate will cover the top of the Mickey head when dunked.

Dunk the top of the Mickey head cookies into the chocolate, then lay flat back on the cookie rack.

Mickey cookies-5

Sprinkle Mickey sprinkles on top of the chocolate. We got these sprinkles in WDW!

Mickey cookies-1 Mickey cookies-6

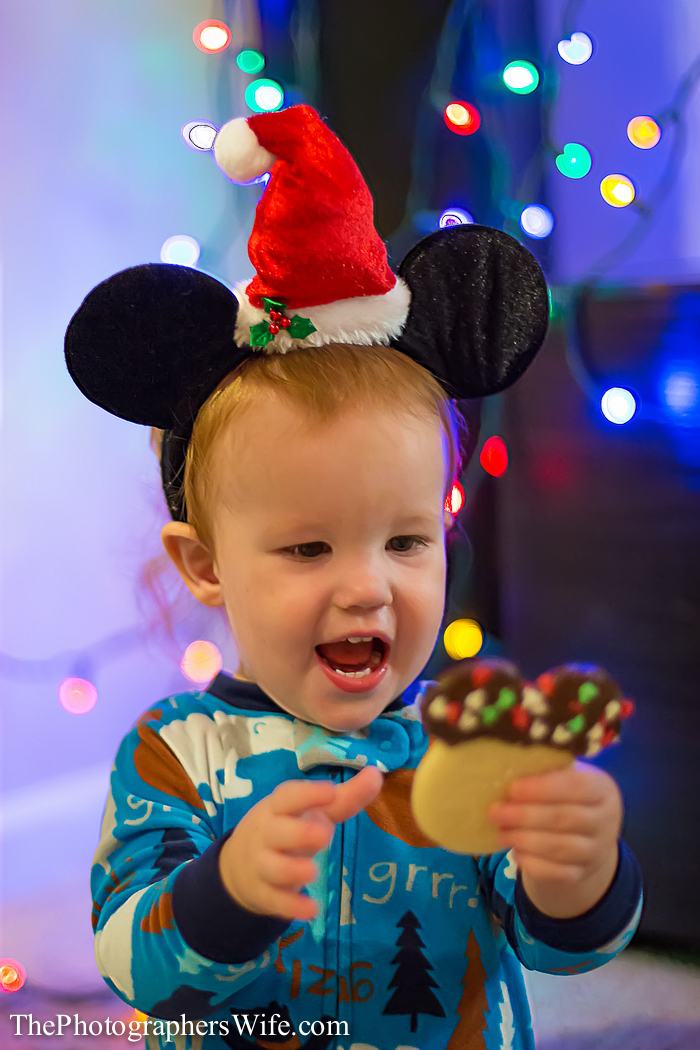
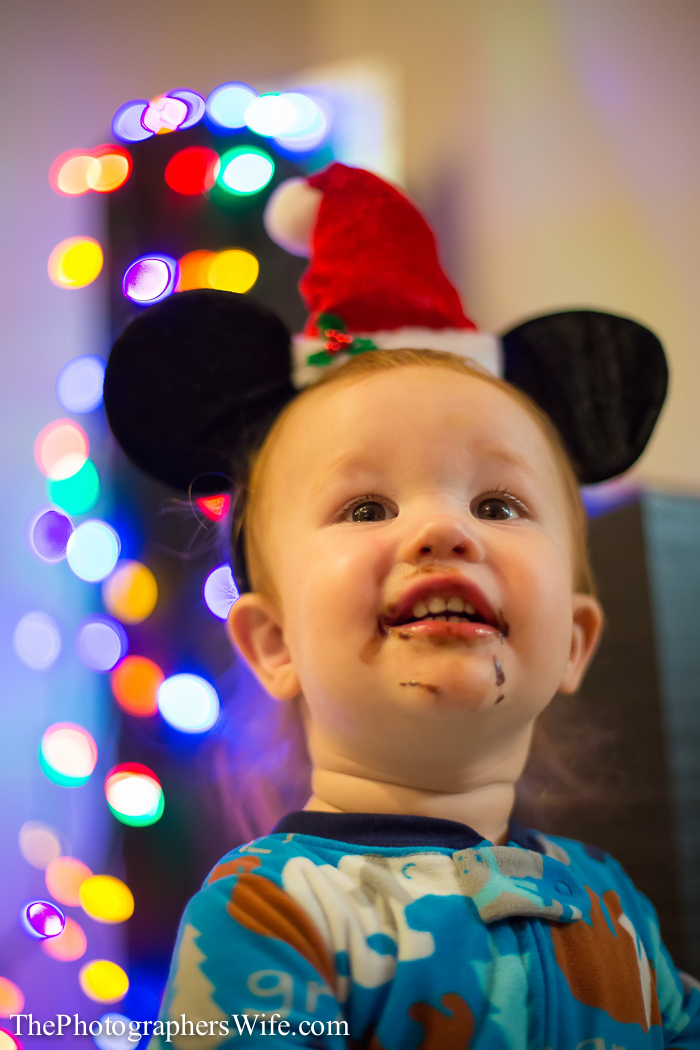
You can let the chocolate harden or eat them soon after the chocolate cools. I think Trent enjoyed them very much….

Mickey cookies-10

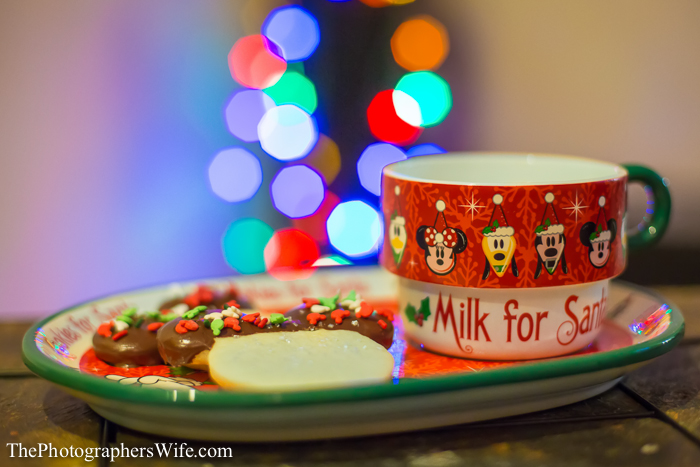
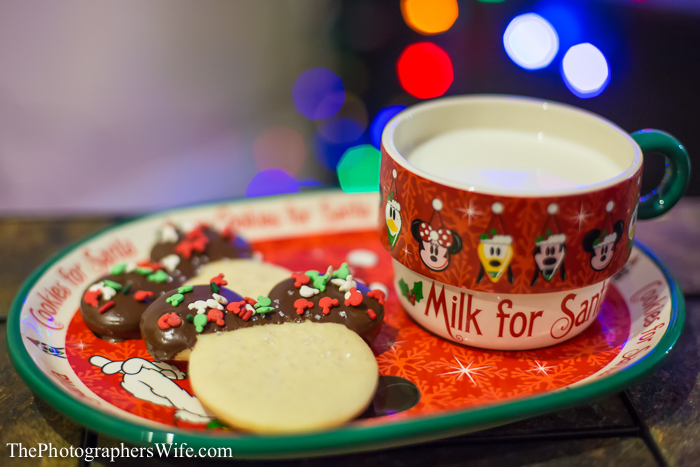
These are also perfect for our Disney Milk-and-Cookies for Santa platter (also from WDW!).

Mickey cookies-7 Mickey cookies-8


I’m also really excited about the article I contributed to the next issue of WDW Magazine, which is all about the best time to visit WDW. The magazine will be packed with all kinds of great advice and fantastic photos (including many from Brett). You can learn more about WDW Magazine here.

Mickey Chocolate-Dipped Sugar cookies-6

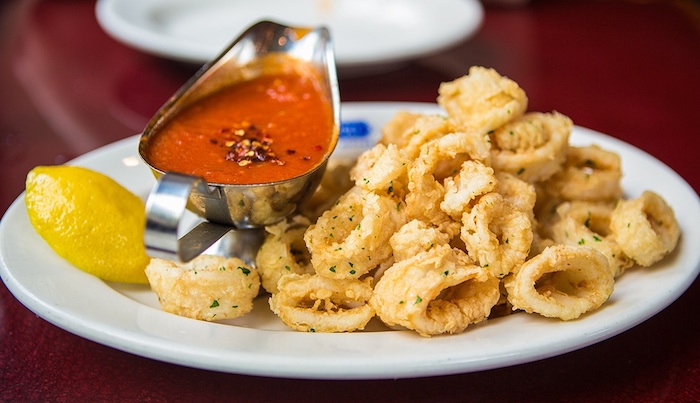
Photo Friday: WDW Via Napoli Calamari

You know those people take a photo of every single thing they eat while on vacation? They wait patiently (most of the time) to take the first bite just so they can get the perfect image to share with other people? Yep, that’s us.

To celebrate the start of the Epcot International Food & Wine Festival, today’s photo is of…you guessed it, food!

This photo was taken at Via Napoli in the Italy Pavilion in World Showcase at Epcot. We order the breaded calamari and spicy tomato sauce appetizer ever time. Each piece is golden and delicious. Via Napoli has plenty of natural light inside, so taking photos of all the food and details is easy.

I could make an entire post out of tips for food photos, but the main tips would be this:
-Take the photo before the first bite (this is the most difficult tip!)
-Take a photo of the inside if the first photo doesn’t capture all the awesomeness inside (like for a cupcake with filling)
-Make sure you have enough lighting to capture all of the details
-Oh yeah…and make sure you look back at the photo to reminisce about it’s deliciousness ;)

I wanted the photo below to be much larger, but for some reason my Lightbox plugin that would allow it to open as a larger photo isn’t working, so I had to stick with the size (width) of the blog section. Sorry :(


Technical:

*45mm
*1/80 sec
*f/2.8
*ISO 100

Via Napoli Calamari 1


Your thoughts?

Do you take photos of your food while on vacation?


Looking for more?

Click here to see last Friday’s awesome Photo!


xoxo
Lynn

Subscribe by email | Like us on Facebook | Follow us on Pinterest | Subscribe on YouTube

Baby’s 1st Disney World Trip Bucket List {Update}

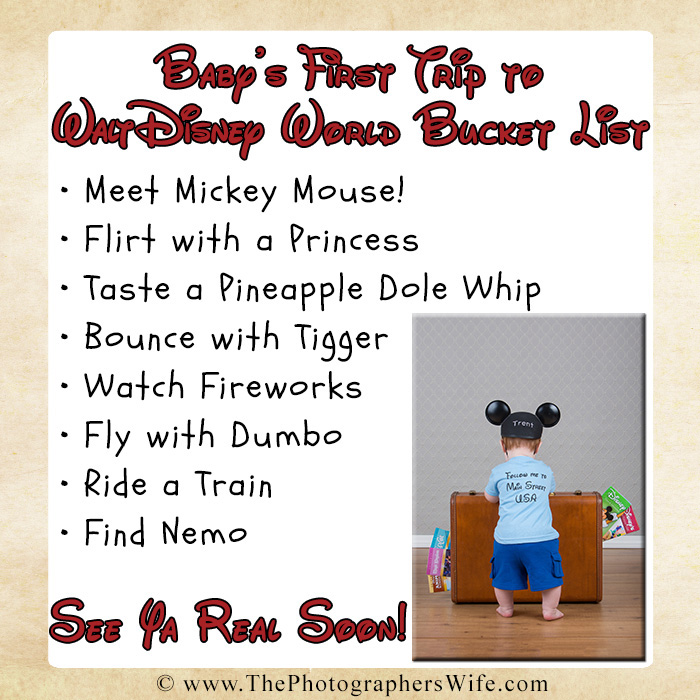
Way back before our WDW trip in April, I posted the following photo of Trent’s bucket list for the trip…a list of things for him to accomplish that trip.

Disney Baby Bucket List


He accomplished all of them!


1. Meet Mickey Mouse

This was his very first character meeting at WDW and Trent did fantastic! I wonder if he recognized him from Mickey Mouse Clubhouse.

First Disney Trip-147

First Disney Trip-149


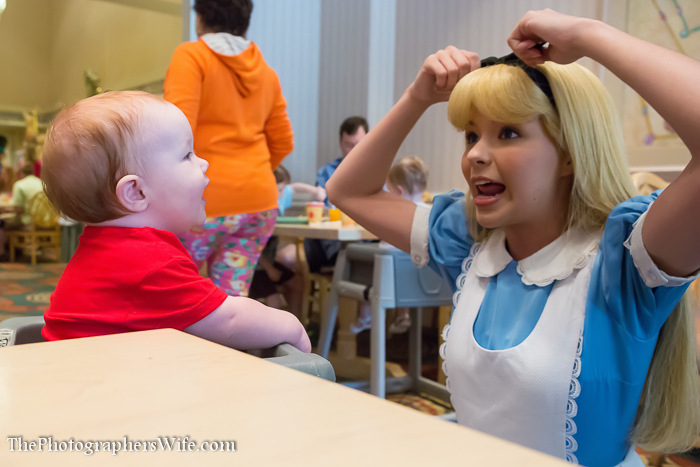
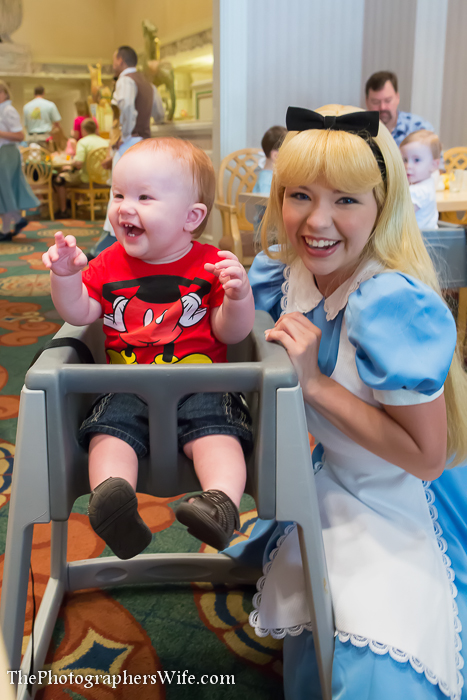
2. Flirt with a Princess

Alice may not technically be considered a princess, but I think she should be. Trent thought she was wonderful.

First Disney Trip-282

First Disney Trip-283


3. Taste a Pineapple Dole Whip

We didn’t get a photo of this, we got even better…a video! If you haven’t seen this video, please enjoy the entire video, but the part of him tasting his first Pineapple Dole Whip is at the 8:11 mark…and it cracks us up every time. I think he enjoyed it, don’t you?


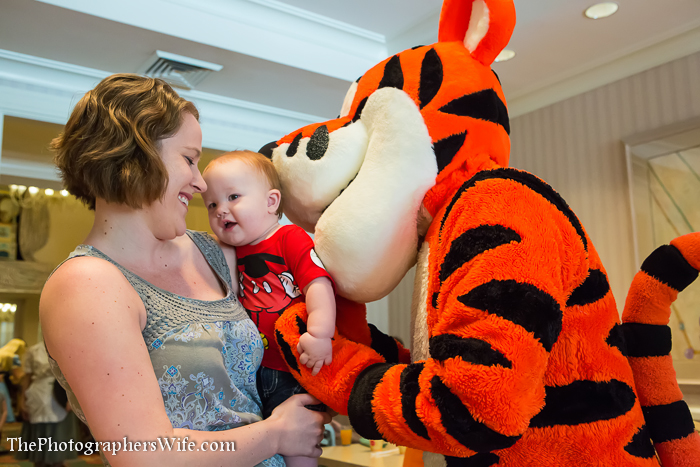
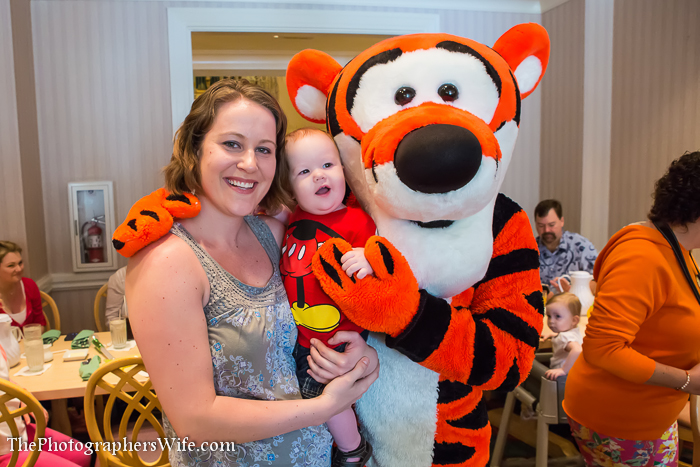
4. Bounce with Tigger

This is one where we got photos, but not video, but the photos don’t really show us bouncing, but trust me…we bounced! Yes, I bounced in the middle of 1900 Park Fare with Tigger…and I loved it! :P

First Disney Trip-280

First Disney Trip-278


5. Watch Fireworks

We watched Wishes and Illuminations. They definitely got his attention and I think he wasn’t sure what to think about them at first. Wishes was his first fireworks experience and he did a slight jump every time and then would say “Ohhh!”

First Disney Trip-539


6. Fly with Dumbo

We flew with Dumbo multiple times! It was Trent’s first ride at the Magic Kingdom! It was really early in the morning and I’m sure he was very tired still, but he seemed to really enjoy it.

First Disney Trip-320

First Disney Trip-325


7. Ride a Train

Trent rode the train at Magic Kingdom and yes, Trent quickly fell asleep on the train, too. Good thing it wasn’t “Stay awake on the train”

First Disney Trip-494

First Disney Trip-497


8. Find Nemo

Trent first found Nemo in his aquarium in The Seas with Nemo and Friends, but there were a bunch of kids doing the same thing, so we couldn’t get a photo. Luckily, we found Nemo again on the way out….a BIG Nemo!

First Disney Trip-77


You can read the full trip report by going here: Spring Walt Disney World Trip Report

xoxo
Lynn

Blog Carnival